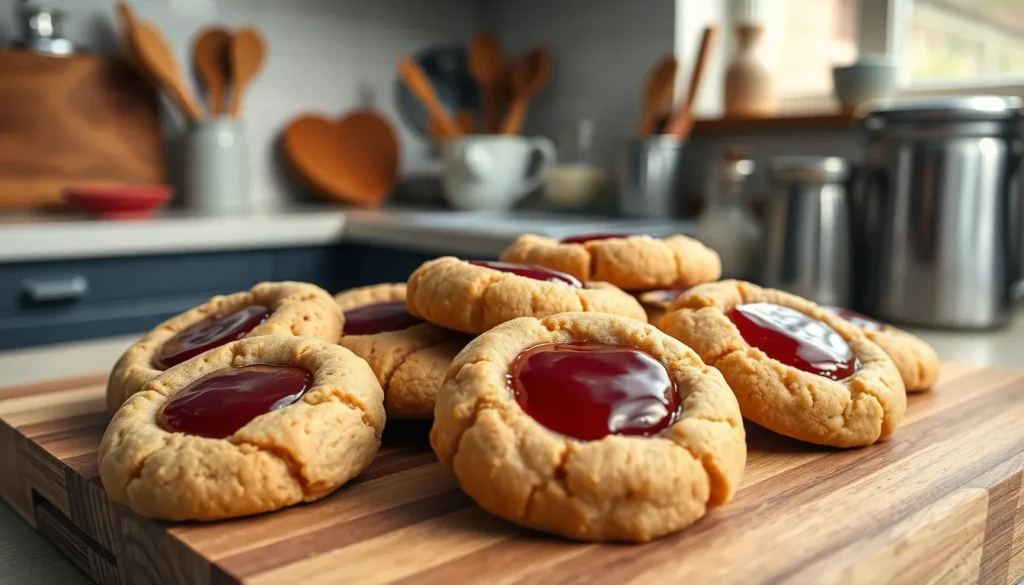
We’ve all been there – craving the nostalgic comfort of a peanut butter and jelly sandwich but wanting something a little more special. That’s exactly how these peanut butter and jelly cookies came to life in our kitchen. They capture everything we love about that classic childhood combination and transform it into an irresistible cookie that’s perfect for any occasion.
These aren’t your ordinary cookies. We’ve created the perfect balance of rich peanut butter flavor with sweet jelly centers that burst with fruity goodness in every bite. The soft chewy texture paired with that familiar PB&J taste makes them absolutely addictive – you’ll find yourself reaching for just one more.
What makes these cookies truly special is how they bring back memories while creating new ones. Whether you’re packing lunch boxes or hosting a bake sale these peanut butter jelly cookies are guaranteed crowd-pleasers that’ll have everyone asking for the recipe.
Ingredients
We’ve carefully selected each ingredient to recreate that beloved PB&J flavor in cookie form. These simple pantry staples combine to create cookies that taste just like your favorite childhood sandwich.
For the Peanut Butter Cookie Dough
- 1 cup creamy peanut butter (we recommend using a brand without added oil separation)
- 1/2 cup unsalted butter, softened to room temperature
- 1/2 cup granulated sugar
- 1/2 cup packed light brown sugar
- 1 large egg, at room temperature
- 1 teaspoon vanilla extract
- 1 1/4 cups all-purpose flour
- 1/2 teaspoon baking soda
- 1/2 teaspoon salt
- 2 tablespoons whole milk
For the Jelly Filling
- 1/2 cup grape jelly or strawberry jam (we prefer seedless varieties for smooth texture)
- 1 tablespoon cornstarch
- 1 teaspoon lemon juice (helps prevent the jelly from becoming too sweet)
Equipment Needed
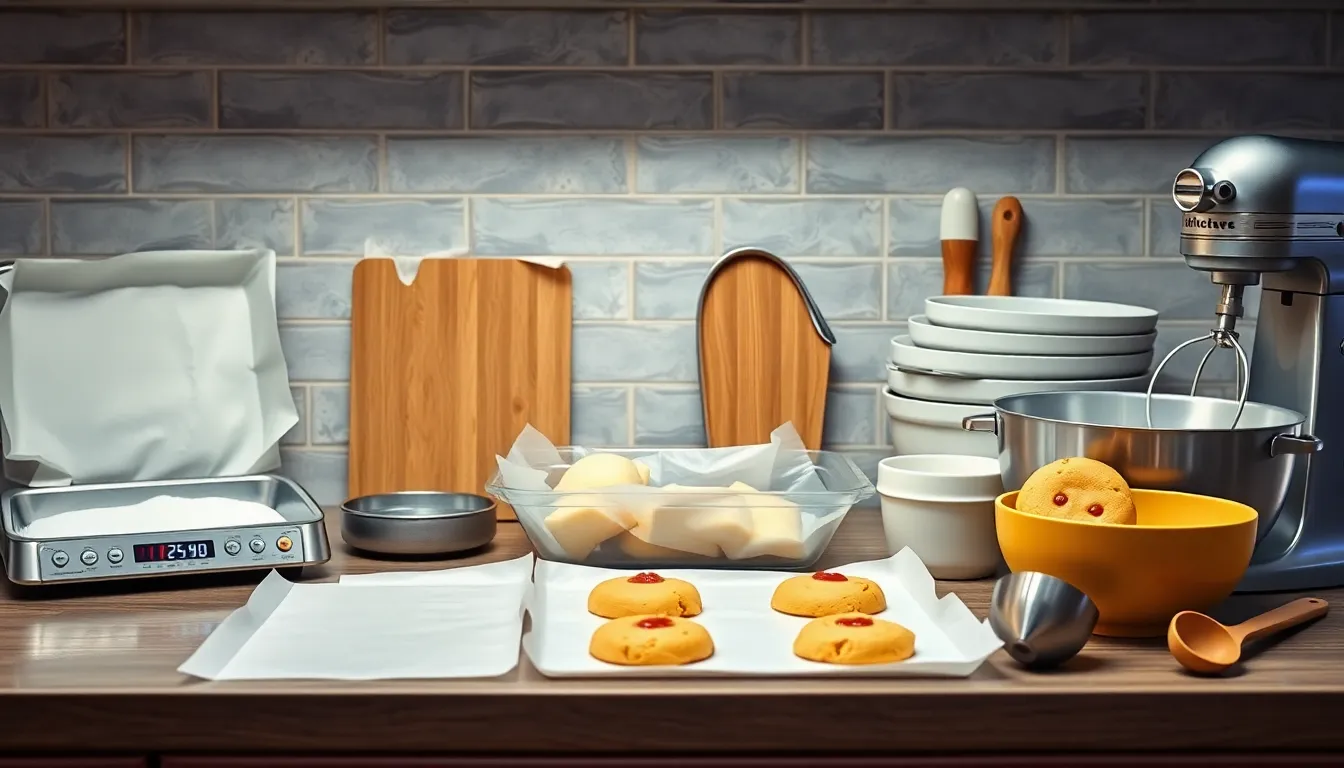
Creating perfect peanut butter and jelly cookies requires the right tools to ensure consistent results every time. We recommend gathering these essential pieces of equipment before starting your baking adventure.
Baking sheets form the foundation of successful cookie making. Three to four baking trays lined with parchment paper provide adequate space for cookie distribution while ensuring easy cleanup. The parchment paper prevents sticking and allows for effortless cookie removal once baked.
Digital scales offer precision that measuring cups simply cannot match. We find that weighing ingredients delivers consistent results batch after batch. This tool becomes especially valuable when measuring flour and sugars for optimal cookie texture.
Oven thermometers eliminate guesswork from the baking process. Many home ovens run hot or cold compared to their display settings. Accurate temperature control at 350°F ensures your cookies bake evenly without burning or undercooking.
One tablespoon scoops create uniformly sized cookies that bake at the same rate. This optional but highly recommended tool helps portion cookie dough evenly across your prepared baking sheets. Consistent sizing means no overcooked edges or raw centers.
Additional helpful tools include mixing bowls for combining ingredients and a hand mixer or stand mixer for creaming butter and peanut butter to the perfect fluffy consistency. A small spoon or your thumb works perfectly for creating the signature indentations that hold the jelly filling.
Instructions
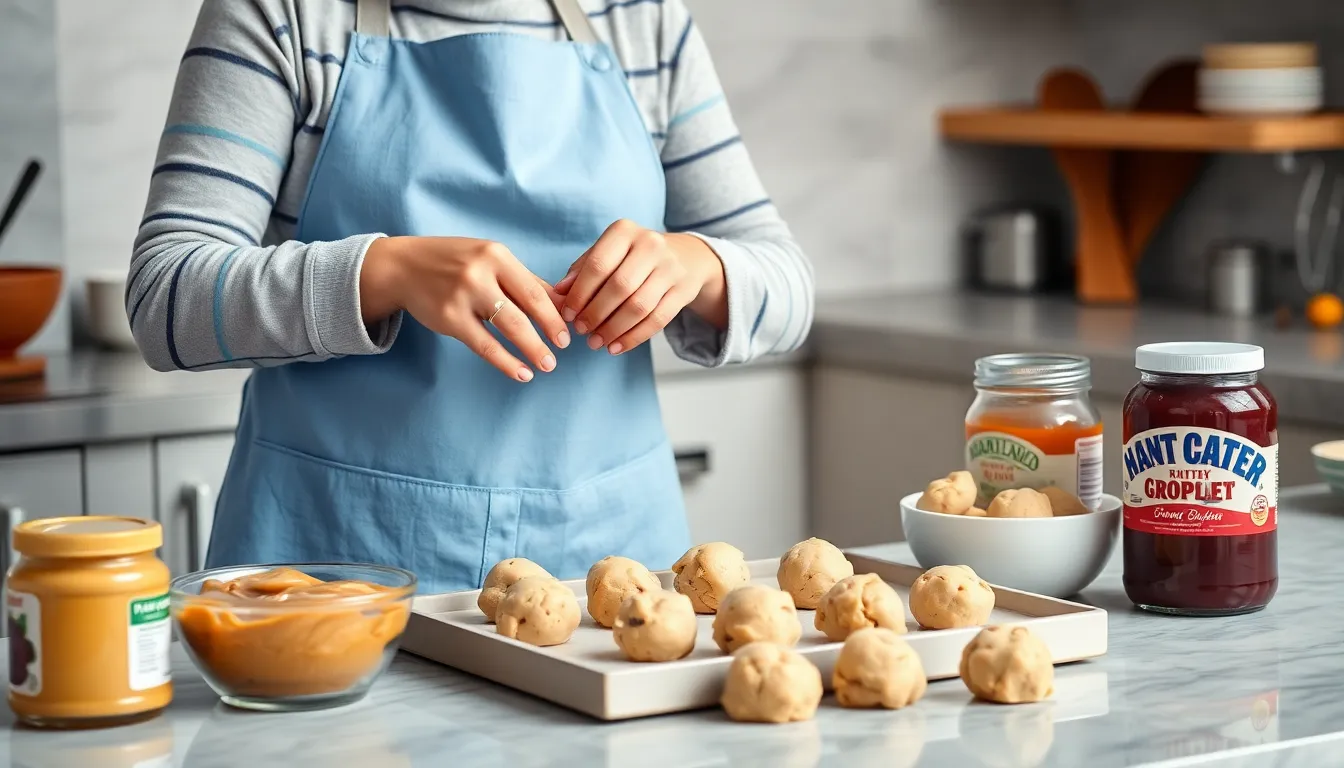
Follow these detailed steps to create perfect peanut butter and jelly cookies that capture all the nostalgic flavors of your favorite childhood sandwich. We’ll guide you through each stage from mixing the dough to achieving that signature jelly-filled center.
Prep the Cookie Dough
Begin by creaming together 1/2 cup of butter with 3/4 cup of granulated sugar and 1/4 cup of brown sugar in a large mixing bowl. Beat the mixture until it becomes light and fluffy, which typically takes 2-3 minutes with an electric mixer.
Add 1 cup of creamy peanut butter to the butter mixture along with 1 large egg and 1 teaspoon of vanilla extract. Mix these ingredients until the combination becomes smooth and well incorporated.
Combine 1 & 1/2 cups of all-purpose flour, 1 teaspoon of baking soda, and 1/4 teaspoon of kosher salt in a separate bowl. Gradually incorporate the dry ingredients into the wet mixture, stirring until just combined. Avoid overmixing to ensure tender cookies.
Shape the Cookies
Use a medium cookie scoop (approximately 1 1/2 tablespoons) to portion the dough into uniform balls. Place each dough ball on your prepared baking sheets, spacing them 2 inches apart to allow for spreading during baking.
Roll each dough ball in granulated sugar for an extra touch of sweetness and a slightly crispy exterior. This optional step adds wonderful texture contrast to the finished cookies.
Add the Jelly
Create a small indentation in the center of each cookie dough ball using a teaspoon or your thumb. Press gently to form a well that’s deep enough to hold the jelly without going through the bottom of the cookie.
Fill each indentation with approximately 1/2 teaspoon of seedless jam or jelly. We recommend grape jelly or strawberry jam for the most authentic PB&J experience.
Bake the Cookies
Preheat your oven to 350°F and bake the cookies for 9 to 13 minutes, adjusting the time based on your preferred cookie size. Look for cookies that are lightly golden around the edges with centers that appear just set.
Allow the cookies to cool on the baking sheet for several minutes before transferring them to a wire rack. This cooling period helps the cookies maintain their shape and prevents the jelly from spilling out during the transfer process.
Baking Tips for Perfect Peanut Butter and Jelly Cookies
Temperature and Timing Guidelines
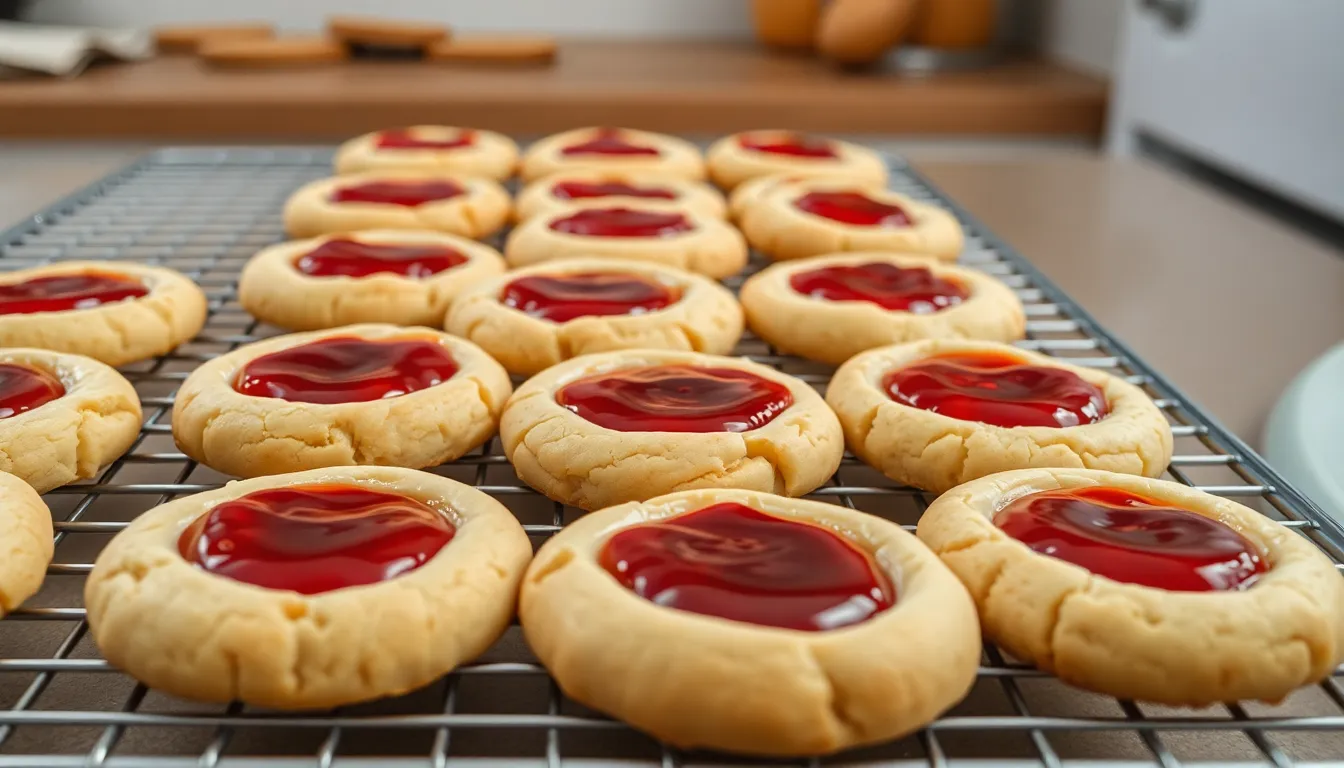
We recommend preheating your oven to 375°F (190°C) for optimal results. Baking time varies based on temperature settings and desired texture. At 375°F, we bake our cookies for 12-15 minutes until edges become golden brown. Lower temperatures of 350°F (175°C) require 13-15 minutes of baking time.
| Temperature | Baking Time | Result |
|---|---|---|
| 375°F (190°C) | 12-15 minutes | Crispy edges, chewy center |
| 350°F (175°C) | 13-15 minutes | Even baking, softer texture |
| Extended baking | 18-20 minutes | Golden edges, firmer cookies |
Dough Preparation Techniques
Rolling dough into uniform balls of 1 to 1.5 inches in diameter ensures even baking. We suggest chilling the prepared dough for several hours to develop deeper flavors and prevent excessive spreading. Brown and white sugar combinations create the perfect chewy center texture we all love in these cookies.
Creating the Perfect Jelly Wells
Using your thumb or the back of a spoon creates ideal wells for jelly placement. We place exactly one teaspoon of jelly in each well to prevent overflow during baking. Keeping jelly centered in the well stops it from spreading across the cookie surface while baking.
Essential Baking Techniques
Fork pressing with sugar prevents dough from sticking to utensils while creating attractive patterns. We space cookies adequately on baking sheets since they spread during the baking process. Watching for set edges and slight browning indicates our cookies have reached perfect doneness.
Quality Control Indicators
Properly baked cookies display golden edges that appear set but not overly dark. We check for these visual cues rather than relying solely on timer settings. Removing cookies when edges show light browning prevents overbaking while maintaining soft centers.
Storage Instructions
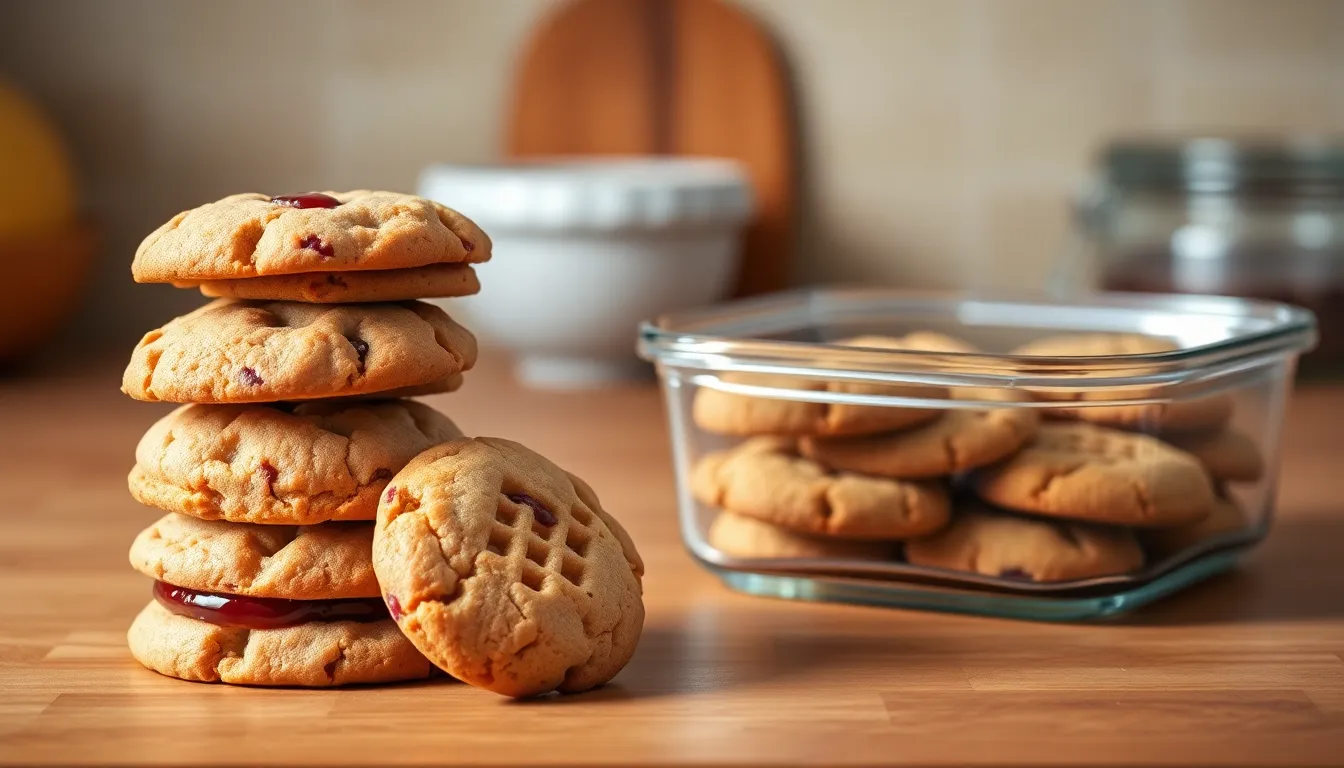
We recommend several storage methods to keep your peanut butter and jelly cookies fresh and maintain their delicious texture.
Room Temperature Storage
Allow cookies to cool completely on a wire rack before storing them in an airtight container. Our cookies stay fresh at room temperature for up to 5 days when properly stored. Keep in mind that extended storage may cause the cookies to become soggier due to the jelly filling.
Refrigerated Storage
We suggest refrigerating cookies for up to a week when you want to extend their freshness. This method works especially well if you add the jelly just before serving to prevent sogginess.
Freezing Options
Freezing cookie dough provides the best results for long-term storage. We recommend flash freezing dough balls on a baking sheet before transferring them to a freezer bag or container. Frozen dough keeps for up to 3 months and can be baked directly from frozen by adding a few extra minutes to the baking time.
Alternatively, we can freeze baked cookies for up to one month. But, cookies containing jelly may become soggy when thawed.
Storage Tips
| Storage Method | Duration | Key Points |
|---|---|---|
| Room Temperature | Up to 5 days | Use airtight container, may become soggy over time |
| Refrigerated | Up to 1 week | Best when jelly added before serving |
| Frozen Dough | Up to 3 months | Flash freeze first, bake from frozen |
| Frozen Cookies | Up to 1 month | May become soggy upon thawing |
We always place parchment paper between cookie layers when stacking to prevent them from sticking together. This simple step ensures each cookie maintains its shape and texture during storage.
Variations and Substitutions
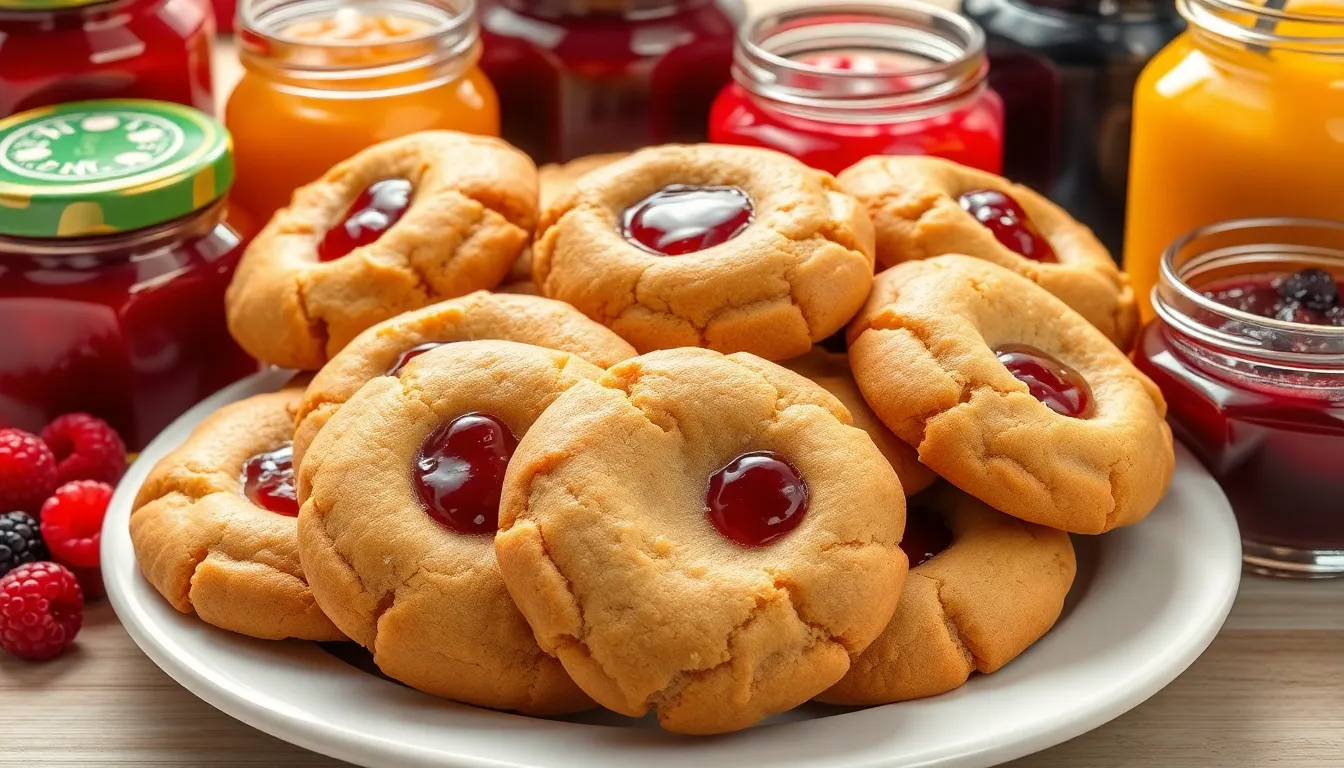
We can easily customize these classic peanut butter and jelly cookies to accommodate different tastes and dietary needs. The basic recipe serves as a flexible foundation that welcomes countless delicious modifications.
Different Jelly Flavors
Any seedless jam or fruit preserves transforms the flavor profile of our cookies while maintaining the beloved PB&J essence. Raspberry jam delivers a tart brightness that balances the rich peanut butter beautifully. Blackberry preserves offer deeper berry notes with subtle earthiness. Blueberry jam creates a milder sweetness that appeals to those who prefer gentler flavors.
Apricot jam brings a sunny tropical twist that pairs surprisingly well with peanut butter. Grape jelly remains the nostalgic favorite for true sandwich authenticity. Each jam variety changes both the taste and visual appeal of the finished cookies. We recommend choosing seedless varieties to ensure smooth texture in every bite.
Nut-Free Options
Sunflower seed butter creates an excellent nut-free alternative that maintains similar texture and richness to traditional peanut butter cookies. This substitution proves crucial for those with peanut allergies while delivering comparable results. Soy butter offers another reliable option that mimics the creamy consistency we need for proper cookie structure.
Both alternatives work using the same measurements as peanut butter in our original recipe. The flavor profile shifts slightly but remains deliciously satisfying. We find that sunflower seed butter produces cookies with a subtle nutty taste that children especially enjoy.
Gluten-Free Adaptations
Gluten-free flour blends substitute seamlessly for all-purpose flour using identical measurements in our recipe. Many commercial gluten-free flour brands perform well without requiring additional adjustments to liquid ratios. The texture may become slightly denser or more crumbly depending on the exact blend used.
We achieve best results with flour blends containing rice flour and tapioca starch as primary ingredients. Cookies made with gluten-free flour benefit from an extra minute or two of baking time to ensure proper structure development. The final cookies maintain the same delicious taste while accommodating gluten-sensitive dietary needs.
Make-Ahead Instructions
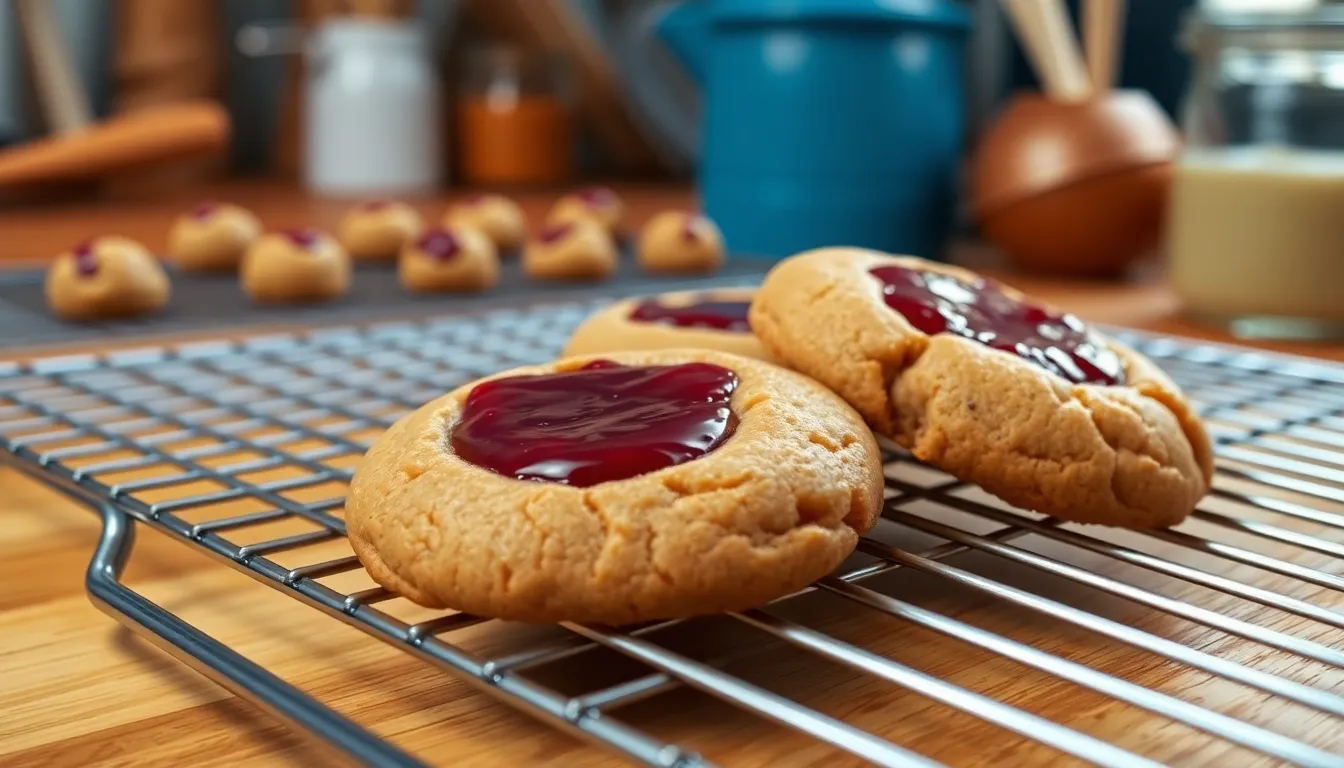
Planning your baking schedule becomes effortless when you prepare these peanut butter and jelly cookies ahead of time. We can make the dough up to three days in advance and store it in the refrigerator or freeze it for up to one month for ultimate convenience.
Preparing Cookie Dough in Advance
First, we prepare the complete dough following our standard recipe instructions. The finished dough should be wrapped tightly in plastic wrap or transferred to an airtight container before refrigerating. Cold storage actually improves the flavor development while making the dough easier to handle during shaping.
For longer storage, we wrap the dough portions in plastic wrap and place them in freezer bags. Frozen dough maintains its quality for up to one month when stored properly. Label each package with the preparation date to track freshness.
Shaping and Freezing Options
After rolling the dough into balls, we have two excellent make-ahead options. The first method involves freezing the shaped dough balls on a baking tray before transferring them to freezer bags for later use. This approach allows us to bake individual portions as needed.
Alternatively, we can press the indentations into the dough balls and freeze them on trays. This method prepares the cookies for immediate jam addition when we’re ready to bake.
Advanced Preparation Technique
We recommend chilling the shaped dough in the refrigerator for at least 30 minutes before baking for optimal results. This chilling period prevents excessive spreading during baking and helps maintain the cookie’s shape.
For perfect jelly placement, we can pre-portion teaspoon-sized dollops of peanut butter and jelly mixture. These portions should be frozen for at least 30 minutes before placing them in the center of each cookie dough disk. This technique prevents jam leakage and maintains proper texture throughout baking.
Baking from Frozen
When baking frozen dough balls, we thaw them overnight in the refrigerator first. The baking process follows our standard instructions with one small adjustment: we add an extra minute to the baking time if the dough feels particularly cold.
Fully assembled cookies with jam centers can be refrigerated on baking pans when covered tightly with plastic wrap. This method works perfectly for short-term make-ahead preparation when we plan to bake within 24 hours.
Timing Considerations
| Storage Method | Duration | Best Practice |
|---|---|---|
| Refrigerated dough | Up to 3 days | Wrap tightly in plastic |
| Frozen dough | Up to 1 month | Use freezer bags with dates |
| Shaped frozen balls | Up to 1 month | Freeze on trays first |
| Assembled cookies (pre-bake) | 24 hours | Cover with plastic wrap |
For cookies intended for storage beyond a few days, we add the jelly after baking and just before serving. This approach prevents the cookies from becoming soggy while maintaining their delightful texture and fresh taste.
Conclusion
These peanut butter and jelly cookies bring together everything we love about the classic sandwich in a delightful handheld treat. With our detailed guide you’ll have all the tools needed to create bakery-quality cookies that’ll impress family and friends alike.
Whether you’re making them for a special occasion or just because you’re craving that nostalgic PB&J flavor these cookies deliver every time. The make-ahead options and storage tips we’ve shared ensure you can enjoy fresh cookies whenever the mood strikes.
We’re confident that once you try this recipe it’ll become a regular in your baking rotation. Happy baking!
Frequently Asked Questions
What makes these peanut butter and jelly cookies special?
These cookies perfectly capture the nostalgic flavor of the classic PB&J sandwich in cookie form. They feature rich peanut butter flavor with sweet jelly centers, creating a soft and chewy texture that’s absolutely addictive. The combination evokes childhood memories while creating new ones, making them perfect for any occasion.
What ingredients do I need to make peanut butter and jelly cookies?
For the cookie dough, you’ll need creamy peanut butter, unsalted butter, granulated and brown sugars, an egg, vanilla extract, all-purpose flour, baking soda, salt, and whole milk. For the jelly filling, use grape jelly or strawberry jam, cornstarch, and lemon juice to balance the sweetness.
What equipment is essential for making these cookies?
You’ll need 3-4 baking sheets with parchment paper, digital scales for precise measurements, an oven thermometer for accurate temperature, a one-tablespoon scoop for uniform sizing, mixing bowls, and a hand or stand mixer. A small spoon or your thumb works perfectly for creating the jelly indentations.
What’s the best baking temperature and time for these cookies?
Preheat your oven to 375°F (190°C) for optimal results. Baking times vary based on temperature settings, but look for visual cues like golden edges to determine doneness. The cookies should be set but still soft when you remove them from the oven.
How should I store peanut butter and jelly cookies?
Store cookies at room temperature in an airtight container for up to 5 days. For longer storage, refrigerate for up to one week (add jelly just before serving). You can freeze baked cookies for up to one month, though jelly-filled ones may become soggy when thawed.
Can I make the cookie dough ahead of time?
Yes! Prepare the dough and store it in the refrigerator for up to 3 days or freeze for up to one month. You can also shape dough balls and freeze them for convenient baking later. Add the jelly filling after baking for best results when storing long-term.
What variations can I make to the basic recipe?
Try different jelly flavors like raspberry, blackberry, or apricot for variety. For nut-free options, substitute sunflower seed butter or soy butter for peanut butter. Use gluten-free flour blends as a direct replacement for all-purpose flour without major adjustments to accommodate dietary restrictions.
How do I prevent the cookies from spreading too much while baking?
Chill the cookie dough before baking to help maintain shape and enhance flavor. Roll uniform dough balls and create proper indentations for the jelly. Using parchment paper and maintaining consistent oven temperature also helps prevent excessive spreading during baking.

