Nothing beats the irresistible combination of crispy cereal treats dipped in rich chocolate. We’ve taken the classic Rice Krispie treat that we all know and love and elevated it to pure dessert perfection with a luxurious chocolate coating that’ll make your taste buds sing.
These chocolate covered Rice Krispie treats deliver the perfect balance of textures – that satisfying crunch from the cereal mixed with gooey marshmallow sweetness, all wrapped in a smooth chocolate shell. They’re incredibly easy to make and require just a few simple ingredients you probably already have in your pantry.
Whether you’re planning a birthday party, need a quick dessert for unexpected guests, or simply want to treat yourself to something special, these chocolate-dipped delights are guaranteed to impress. We’ll show you exactly how to create these bakery-quality treats right in your own kitchen with foolproof techniques that ensure perfect results every single time.
Ingredients
We need just a handful of simple ingredients to create these irresistible chocolate covered treats. Our recipe focuses on quality ingredients that deliver maximum flavor and texture.
For the Rice Krispie Treats
- 6 cups Rice Krispies cereal
- 4 tablespoons unsalted butter
- 1 package (10 oz) mini marshmallows
- 1/4 teaspoon vanilla extract
- 1/4 teaspoon salt
- Non-stick cooking spray
For the Chocolate Coating
- 12 oz semi-sweet chocolate chips
- 2 tablespoons coconut oil or vegetable shortening
- Optional: 1/2 cup chopped nuts, sprinkles, or sea salt for topping
Equipment Needed
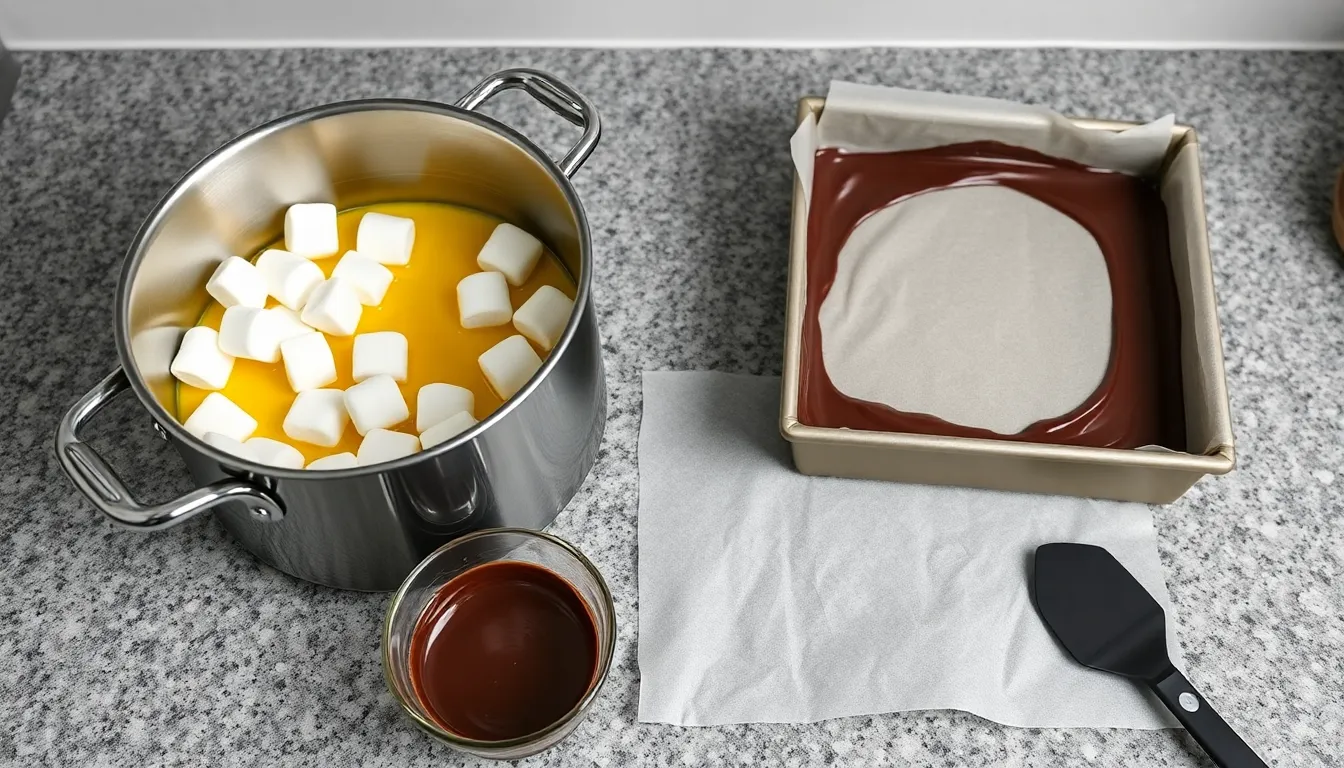
Creating perfect chocolate covered rice krispie treats requires exact kitchen tools that ensure smooth preparation and professional results. We recommend gathering all equipment before starting to make the process seamless and efficient.
Large pot or saucepan serves as our primary vessel for melting butter and marshmallows together. The size matters here since we need adequate space for stirring without overflow when combining ingredients.
8×8 or 9×9 inch square baking pan provides the ideal dimensions for shaping our treats into uniform thickness. This standard size ensures even cooling and creates perfectly portioned squares when sliced.
Parchment paper becomes essential for lining our baking pan. This simple addition guarantees easy removal of the finished treats and prevents sticking while allowing clean slicing without damaging the pan.
Microwave-safe bowl enables us to melt chocolate chips and coconut oil smoothly for the coating. We prefer this method for better control over the melting process compared to stovetop techniques.
Spatula or spoon assists with mixing the cereal into the marshmallow mixture and spreading the treats evenly in the pan. A sturdy spatula works best for handling the sticky mixture without breaking the rice krispies.
Offset spatula or knife proves invaluable for spreading the chocolate topping evenly across the surface. This tool creates that professional bakery finish we want to achieve at home.
Having these tools ready transforms what could be a messy process into an organized and enjoyable baking experience. Each piece of equipment serves a exact purpose in creating treats that rival store-bought versions in both appearance and taste.
Instructions
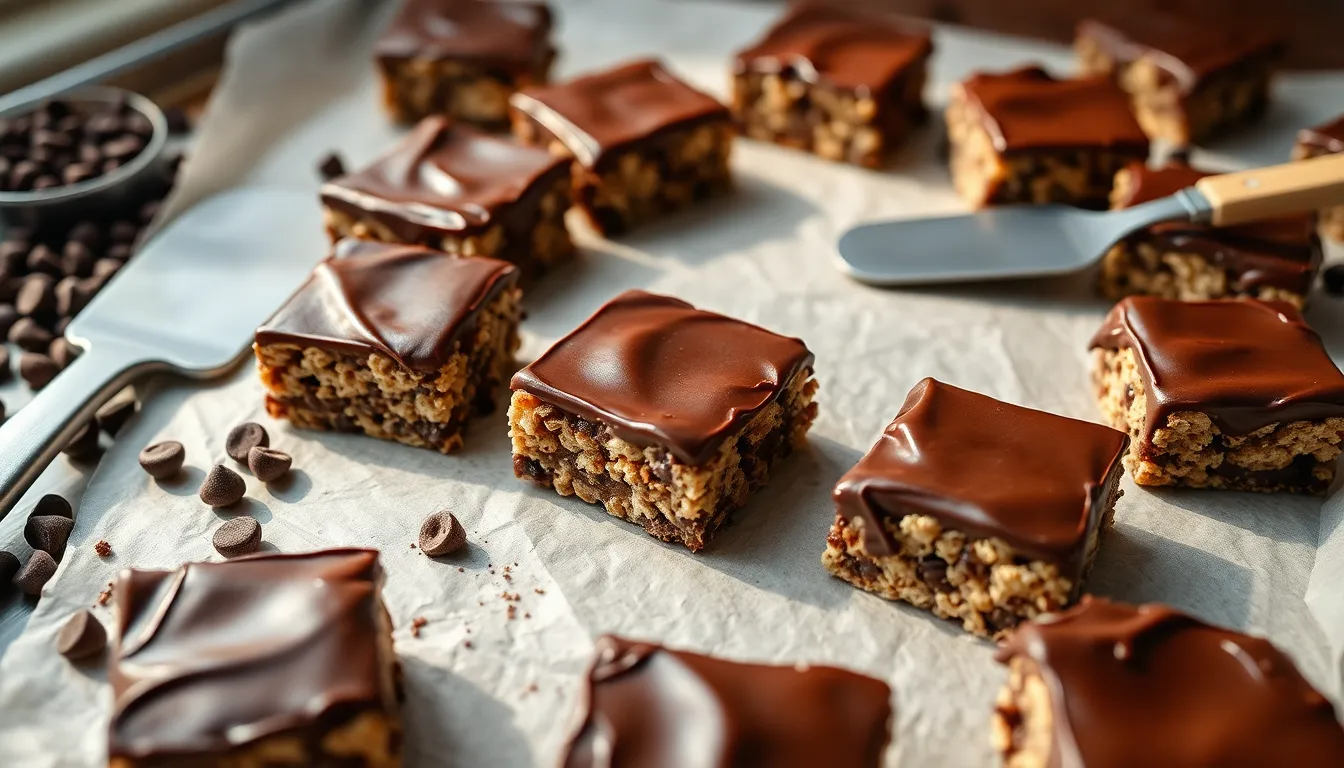
Let’s transform our simple ingredients into irresistible chocolate covered Rice Krispie treats. We’ll walk through each step to ensure bakery-quality results.
Prep the Pan
Line an 8×8 or 9×9 inch baking pan with parchment paper for easy removal. We can also grease a 9×13 inch pan with cooking spray or butter if we prefer a thinner treat.
Make the Rice Krispie Treats
Melt 6 tablespoons of butter in a large pot over medium heat. Add 6 cups of marshmallows to the melted butter and stir continuously until completely melted and smooth. Quickly add the remaining 1 cup of marshmallows along with the Rice Krispies cereal. Stir rapidly to combine all ingredients before the mixture hardens. Press the mixture firmly into our prepared pan using a greased spatula or clean hands to ensure even thickness.
Cool and Cut
Allow the treats to cool completely and harden at room temperature. This typically takes 30-45 minutes depending on room temperature. Cut the cooled treats into desired shapes or squares using a sharp knife. We recommend 2×2 inch squares for optimal dipping size.
Prepare the Chocolate Coating
Melt 1 cup of chocolate chips with 1½ tablespoons of butter in a microwave-safe bowl. Heat in 20-second increments and stir after each interval to prevent burning. Alternatively we can use a double boiler method for more controlled melting. Stir until the chocolate mixture is completely smooth and glossy.
Dip the Treats
Dip each Rice Krispie treat into the melted chocolate using a fork or dipping tool. Allow excess chocolate to drip off before transferring to a lined baking sheet. For easier coating we can pour the melted chocolate directly over the treats while still in the pan and spread evenly with an offset spatula.
Set the Chocolate
Place the chocolate-dipped treats on a parchment-lined baking sheet or leave them in the original pan if we used the pouring method. Allow the chocolate to set completely at room temperature or refrigerate for 15-20 minutes to speed the process. The chocolate should be firm to the touch before serving or storing.
Storage Instructions
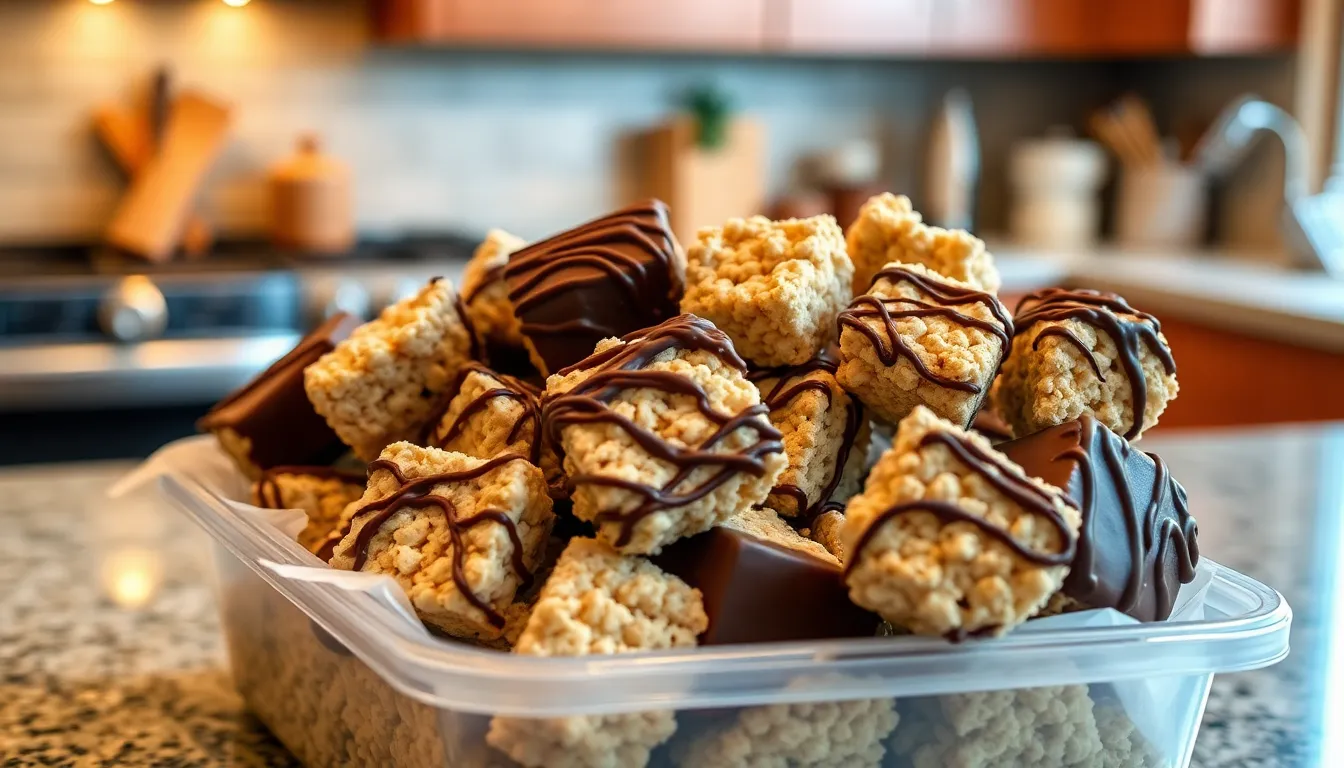
Proper storage keeps our chocolate covered Rice Krispie treats fresh and maintains their perfect texture. We recommend storing these treats in an airtight container at room temperature where they’ll stay delicious for up to 3-5 days.
Room Temperature Storage
We always store our chocolate covered treats at room temperature rather than in the refrigerator. Refrigeration introduces moisture that causes the treats to become stale and lose their signature crispiness. An airtight container protects them from humidity and preserves their texture perfectly.
Freezer Storage for Extended Freshness
For longer storage we can freeze these treats to extend their shelf life significantly. We wrap each treat individually in cellophane or plastic wrap before placing them in a sealed container or freezer bag. This method keeps our treats fresh for up to 3 months.
| Storage Method | Duration | Container Type |
|---|---|---|
| Room Temperature | 3-5 days | Airtight container |
| Freezer Storage | 3 months | Sealed container/freezer bag |
| Individual Wrapping | 6 weeks | Cellophane/plastic wrap |
Thawing Frozen Treats
We thaw frozen treats at room temperature before serving. The process typically takes 1 to 2 hours for complete thawing. This gradual thawing preserves the texture and prevents condensation from affecting the chocolate coating.
Additional Storage Tips
We use parchment paper to separate layers when stacking treats in containers. This prevents them from sticking together and maintains their pristine appearance. For extra protection we can individually wrap each treat in saran wrap before placing them in storage containers.
Make-Ahead Tips
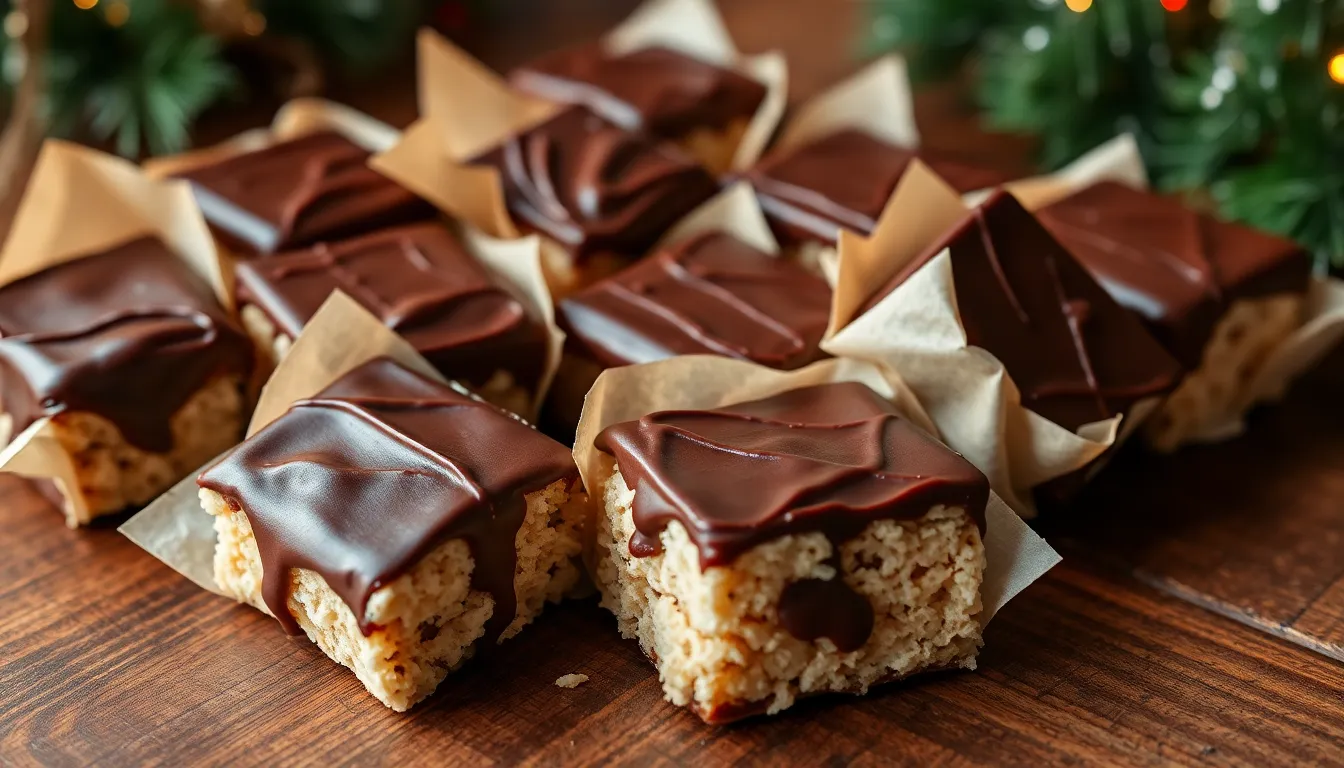
We understand that timing is everything when preparing treats for special occasions or busy schedules. Our make-ahead approach ensures you can enjoy fresh chocolate covered Rice Krispie treats without last-minute stress.
Preparing the Base Layer
We recommend making the Rice Krispie treat base up to 24 hours before adding the chocolate coating. Store the prepared treats in an airtight container at room temperature to maintain their signature crispiness. This advance preparation allows the treats to set completely while preserving their texture for optimal chocolate adhesion.
Timing the Chocolate Application
We suggest coating the treats with chocolate just before serving for the best flavor and texture combination. Fresh chocolate coating provides the ideal contrast between the crispy base and smooth chocolate layer. This timing prevents the chocolate from developing a dull appearance or compromising the treat’s overall appeal.
Extended Storage Strategy
Once we apply the chocolate coating and allow it to set completely, the finished treats store beautifully in an airtight container in the refrigerator for up to 3 days. We always allow refrigerated treats to come to room temperature before serving to restore their optimal texture and flavor profile.
Professional Presentation Tips
We find that wrapping individual treats in parchment paper squares prevents sticking during storage while maintaining their bakery-quality appearance. This technique also makes them perfect for grab-and-go snacking or elegant gift presentation. The parchment paper method works especially well when preparing large batches for events or gatherings.
Serving Suggestions
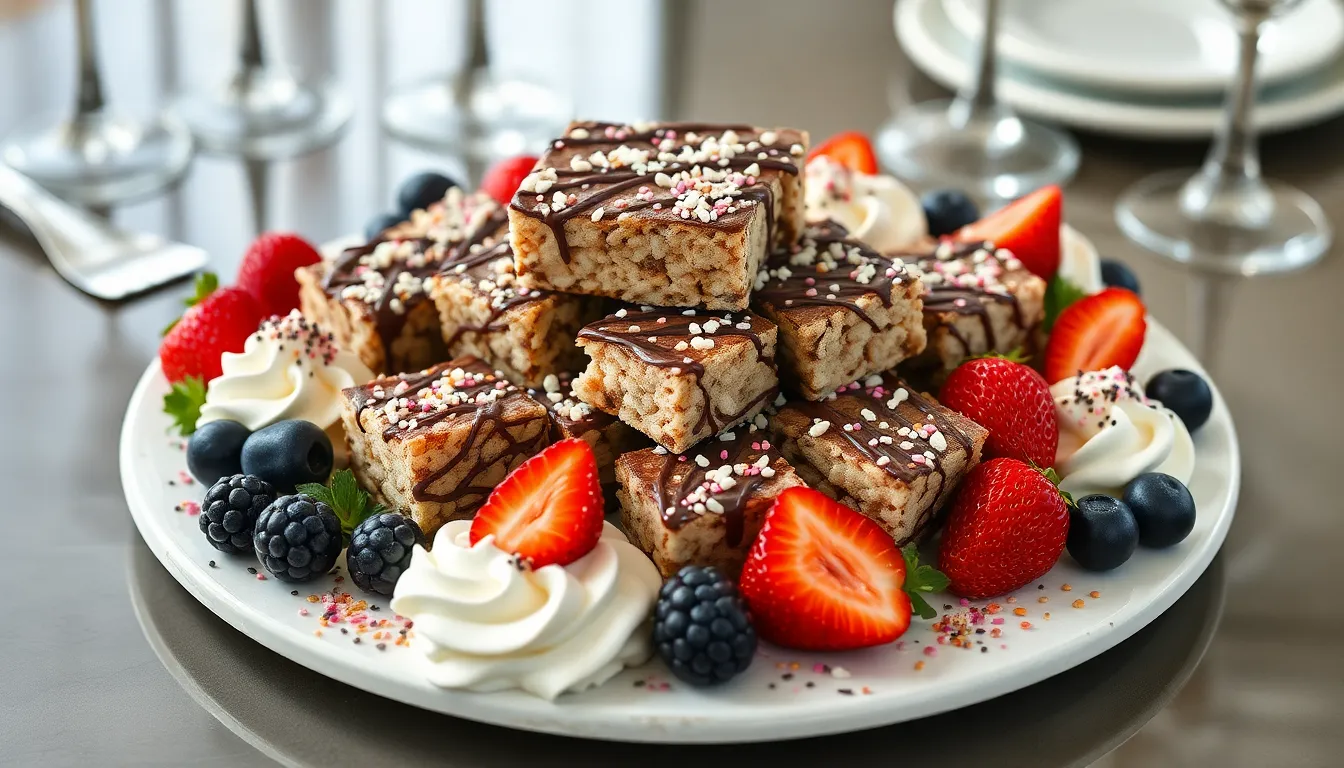
We love presenting these chocolate covered Rice Krispie treats in ways that highlight their irresistible appeal. Individual squares work beautifully on dessert platters alongside fresh berries and whipped cream for elegant dinner parties. Creating a dessert board with these treats as the centerpiece allows guests to build their own perfect bite combinations.
Party Presentation Ideas
| Occasion | Serving Style | Recommended Portions |
|---|---|---|
| Birthday Parties | Cut into fun shapes with decorative sprinkles | 2-3 pieces per guest |
| Holiday Gatherings | Arranged on tiered stands with seasonal toppings | 1-2 pieces per person |
| Casual Get-togethers | Served in paper cupcake liners | 2-4 pieces per guest |
Gift boxes transform these treats into thoughtful presents when we wrap each piece in parchment paper and arrange them in decorative containers. Adding a handwritten recipe card creates a personal touch that recipients appreciate. We often package them with other homemade goodies for bake sale fundraisers or teacher appreciation gifts.
Creative Serving Options
Breaking larger treats into bite-sized pieces works perfectly for ice cream sundae toppings or yogurt parfait additions. We recommend warming them slightly in the microwave for 10-15 seconds to soften the chocolate coating before serving with vanilla ice cream. This technique creates a delightful contrast between the warm chocolate and cold dessert.
Chocolate-dipped Rice Krispie pops make exceptional party favors when we insert wooden sticks before the chocolate sets completely. These portable treats eliminate the need for plates and work especially well for outdoor events or children’s parties. Decorating each pop with colorful sprinkles or chopped nuts adds visual appeal and extra flavor dimensions.
Beverage Pairings
Cold milk remains the classic companion that balances the sweetness while cleansing the palate between bites. Hot coffee or espresso creates sophisticated flavor combinations that adults particularly enjoy during afternoon gatherings. We find that herbal teas like chamomile or mint provide refreshing contrasts to the rich chocolate coating.
Conclusion
These chocolate covered Rice Krispie treats offer the perfect balance of nostalgia and indulgence that we all crave. They’re surprisingly simple to make yet impressive enough to wow guests at any gathering.
Whether you’re planning ahead for a special event or just want to satisfy a sweet tooth we know these treats won’t disappoint. The combination of textures and flavors creates an irresistible dessert that appeals to all ages.
We’re confident that once you try this recipe you’ll have a new go-to treat in your repertoire. The versatility and crowd-pleasing nature of these chocolate covered delights make them a valuable addition to any home baker’s collection.
Frequently Asked Questions
What ingredients do I need for chocolate-covered Rice Krispie treats?
You’ll need 6 cups Rice Krispies cereal, 4 tablespoons unsalted butter, one 10 oz package mini marshmallows, 1/4 teaspoon vanilla extract, and 1/4 teaspoon salt. For the chocolate coating, use 12 oz semi-sweet chocolate chips and 2 tablespoons coconut oil or vegetable shortening. Optional toppings include chopped nuts, sprinkles, or sea salt.
How long do chocolate-covered Rice Krispie treats last?
Store treats in an airtight container at room temperature for 3-5 days. Avoid refrigeration as it can make them lose crispiness. For longer storage, individually wrap and freeze for up to 3 months. Thaw frozen treats at room temperature for 1-2 hours before serving.
Can I make Rice Krispie treats ahead of time?
Yes! Prepare the Rice Krispie base up to 24 hours in advance and store at room temperature. Add the chocolate coating just before serving for best results. Once chocolate-coated, treats can be refrigerated for up to 3 days. Let them return to room temperature before serving.
What equipment do I need to make these treats?
Essential equipment includes a large pot or saucepan, an 8×8 or 9×9 inch square baking pan, parchment paper, a microwave-safe bowl for melting chocolate, a spatula for mixing, and an offset spatula for spreading chocolate. Having these tools ready ensures smooth preparation and professional results.
How should I serve chocolate-covered Rice Krispie treats?
Serve individual squares with fresh berries and whipped cream for elegant occasions, or create dessert boards for parties. Cut into bite-sized pieces for ice cream toppings, make Rice Krispie pops for party favors, or wrap individually in parchment paper for gifts. Pair with cold milk, coffee, or herbal tea.
Why shouldn’t I refrigerate Rice Krispie treats?
Refrigeration introduces moisture that can make Rice Krispie treats lose their signature crispiness and become soggy. Store them at room temperature in an airtight container instead. Only refrigerate chocolate-coated treats if needed for firming, but return to room temperature before serving for optimal texture.


