When we’re craving something sweet but want to feel good about our snack choice, these peanut butter oatmeal bars hit the perfect spot. They combine the rich, creamy comfort of peanut butter with the wholesome heartiness of oats, creating a treat that’s both indulgent and satisfying.
These bars are incredibly versatile and forgiving – perfect for busy weeknights when we need a quick dessert or weekend batch cooking sessions. The beauty lies in their simplicity: just a handful of pantry staples transforms into chewy, golden bars that disappear faster than we can make them.
What makes these bars truly special is their perfect balance of textures and flavors. We get that delightful chew from the oats, the creamy richness from peanut butter, and just enough sweetness to satisfy our cravings without being overwhelming. They’re portable, freezer-friendly, and guaranteed to become your new go-to recipe for potlucks, lunchboxes, or midnight snacking.
Ingredients
These simple pantry staples transform into irresistible bars that deliver the perfect balance of textures and flavors. We’ve organized our ingredient list by layers to make preparation seamless.
For the Oat Base
- 2 cups old-fashioned rolled oats
- 1 cup all-purpose flour
- 1 cup packed light brown sugar
- 1/2 teaspoon baking soda
- 1/2 teaspoon salt
- 3/4 cup unsalted butter, melted
- 1 large egg, lightly beaten
- 1 teaspoon vanilla extract
For the Peanut Butter Layer
- 1 cup creamy peanut butter
- 1/2 cup powdered sugar
- 1/4 cup unsalted butter, softened
- 1 teaspoon vanilla extract
- 1/4 teaspoon salt
- 2-3 tablespoons heavy cream or milk
For the Chocolate Topping (Optional)
- 1 cup semi-sweet chocolate chips
- 2 tablespoons coconut oil or vegetable shortening
- 1/4 teaspoon vanilla extract
- Pinch of sea salt for sprinkling
Equipment Needed
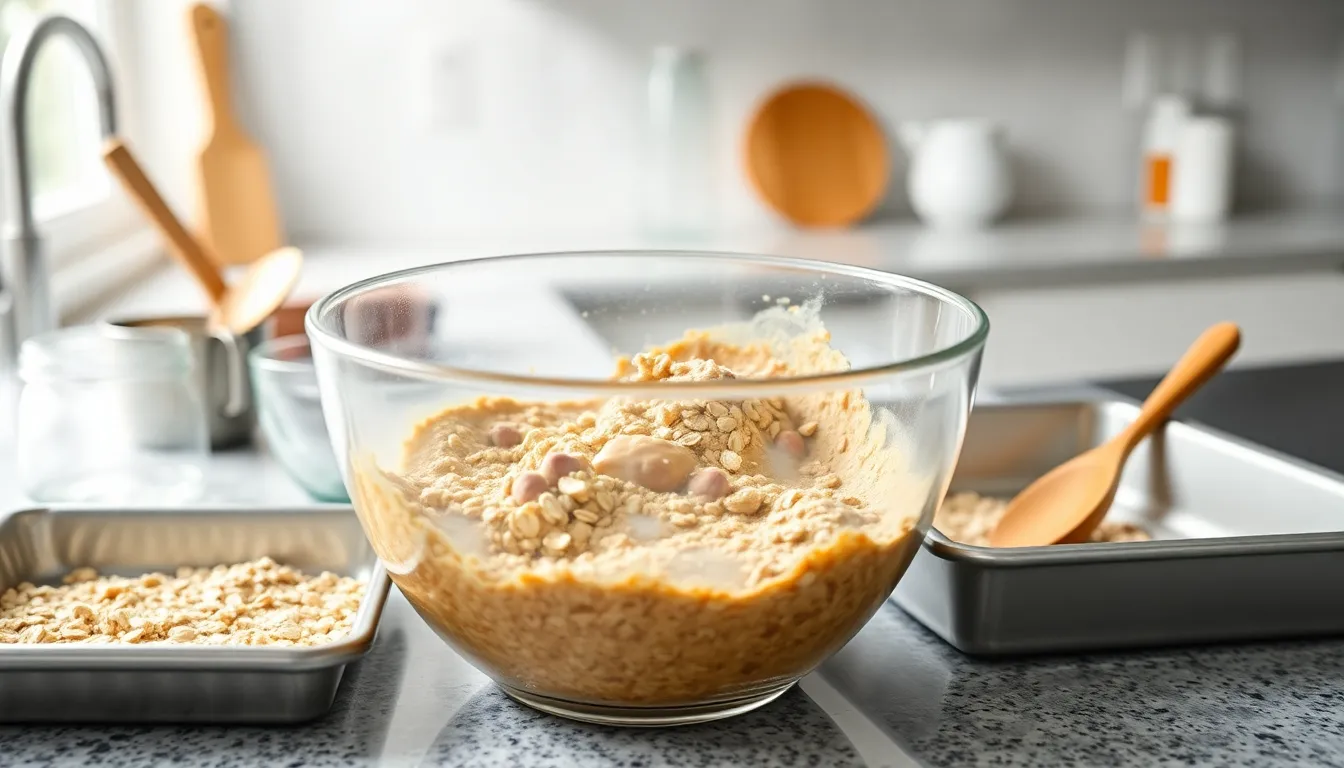
Creating perfect peanut butter oatmeal bars requires the right tools to ensure success. We recommend gathering these essential items before starting your baking adventure.
9×9 Inch Baking Pan serves as our foundation for baked versions of these delectable bars. The square shape provides even heat distribution and creates uniform bars when cut. For no-bake versions, an 8-inch square tin works perfectly and offers slightly thicker bars.
Large Mixing Bowl becomes our workspace for combining all ingredients thoroughly. We prefer a bowl with high sides to prevent ingredients from spilling during vigorous mixing sessions.
Spatula or Wooden Spoon helps us blend ingredients smoothly and spread the peanut butter mixture evenly across the base. A sturdy spatula works best for pressing the oat mixture firmly into the pan.
Food Processor offers an optional but valuable addition for no-bake recipes. We use this powerful tool to whiz dates and nuts into smooth pastes, creating natural binding agents that eliminate the need for baking.
Measuring Cups and Spoons ensure accuracy in our ingredient ratios. Proper measurements make the difference between perfectly balanced bars and disappointing results.
Parchment Paper lines our baking pan and prevents sticking while making removal effortless. We always leave overhang edges for easy lifting once the bars have cooled completely.
| Equipment | Purpose | Size/Type |
|---|---|---|
| Baking Pan | Baked versions | 9×9 inch |
| Square Tin | No-bake versions | 8-inch |
| Mixing Bowl | Ingredient combining | Large |
| Food Processor | Date/nut processing | Optional |
Having these tools ready streamlines our preparation process and ensures consistent results every time we make these irresistible treats.
Instructions
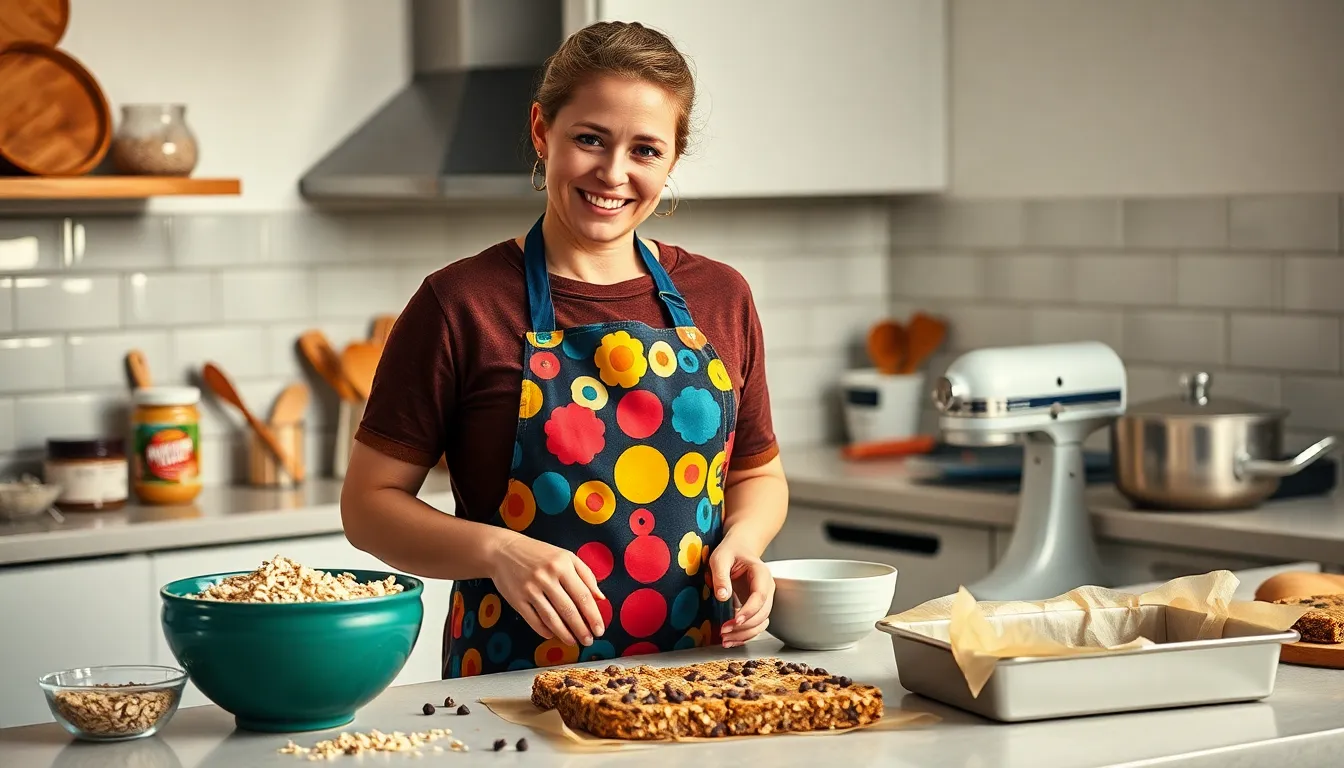
Now that we have all our ingredients measured and equipment ready, let’s walk through the step-by-step process to create these irresistible bars. The process is straightforward and requires just a few simple techniques.
Prep the Pan and Oven
We start by preheating our oven to 350°F (175°C) for optimal baking temperature. Line your 9×9 inch baking pan with parchment paper, leaving some overhang for easy removal later. Alternatively, we can lightly grease the pan and then add the parchment paper for extra insurance against sticking.
Make the Oat Base
In our large mixing bowl, we combine the old-fashioned rolled oats, all-purpose flour, baking soda, and salt. Whisk these dry ingredients together until evenly distributed. In a separate bowl, we mix the melted unsalted butter, light brown sugar, beaten egg, and vanilla extract until smooth. Pour the wet ingredients into the dry mixture and stir with our spatula until we achieve a cohesive, crumbly texture that holds together when pressed.
Prepare the Peanut Butter Layer
We create our creamy peanut butter filling by combining the creamy peanut butter, powdered sugar, softened unsalted butter, vanilla extract, and salt in a medium bowl. Mix these ingredients thoroughly until smooth and spreadable. If the mixture appears too thick, we gradually add heavy cream or milk, one tablespoon at a time, until we reach the perfect consistency for spreading.
Assemble the Bars
We press approximately three-quarters of our oat mixture firmly into the bottom of our prepared pan, creating an even base layer. Using the back of a measuring cup or our hands, we ensure the base is compact and level. Next, we spread the peanut butter mixture evenly over the oat base, reaching all corners. Finally, we sprinkle the remaining oat mixture on top, gently pressing it into the peanut butter layer.
Add Chocolate Topping (If Using)
For those adding the optional chocolate layer, we melt the semi-sweet chocolate chips with coconut oil in a microwave-safe bowl. Heat in 30-second intervals, stirring between each interval until completely smooth. Once melted, we stir in the vanilla extract and drizzle the chocolate over the assembled bars. A light sprinkle of sea salt on top adds the perfect finishing touch.
Bake and Cool
We bake our assembled bars for 20-25 minutes until the top is lightly golden brown and the edges begin to pull away from the sides. The center should still appear slightly soft as it will continue cooking from residual heat. Remove from the oven and allow the bars to cool completely in the pan for at least 2 hours before cutting. This cooling time ensures clean cuts and prevents the layers from separating.
Storage Instructions
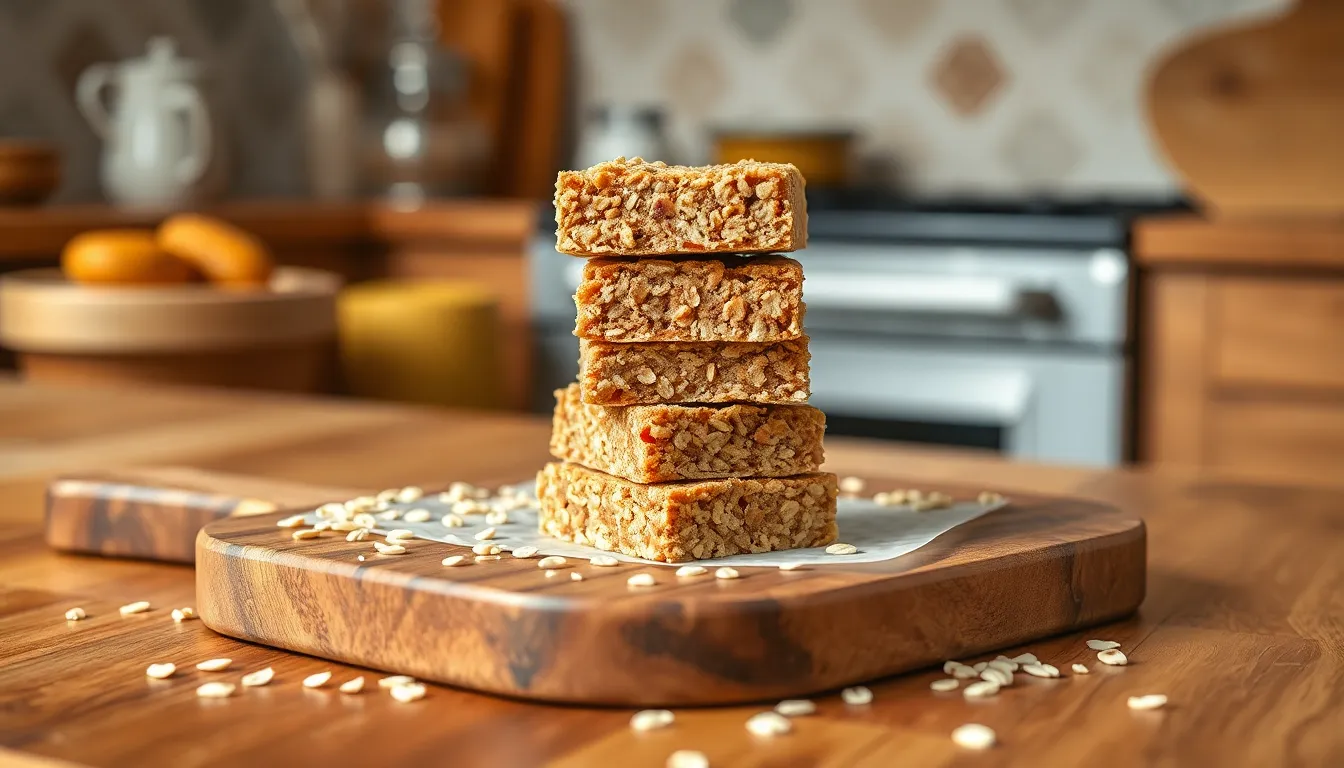
Proper storage keeps our peanut butter oatmeal bars fresh and maintains their perfect texture. We recommend storing these bars in airtight containers to preserve their delightful chewy consistency and prevent them from drying out.
Refrigerator Storage
We find that refrigeration works best for longer storage periods. Place the bars in an airtight container and store them in the refrigerator for up to 5 days. This method keeps the bars fresh significantly longer than room temperature storage. The cool temperature prevents the peanut butter layer from becoming too soft while maintaining the bars’ structural integrity.
Room Temperature Storage
For shorter storage periods we can keep the bars in a cool dry location for up to 4 days. We suggest consuming them within the first two days for optimal texture and flavor. When storing at room temperature ensure the storage area remains cool and dry to prevent softening.
Freezer Storage
Long term storage becomes simple with freezing. Allow the bars to cool completely before placing them in an airtight container or freezer safe bag. We can freeze these bars for up to 2 to 3 months without compromising quality. When freezing multiple layers use baking paper between each layer to prevent sticking.
| Storage Method | Duration | Container Type |
|---|---|---|
| Refrigerator | Up to 5 days | Airtight container |
| Room Temperature | Up to 4 days | Airtight container |
| Freezer | 2-3 months | Airtight container or freezer bag |
Essential Storage Tips
We always chill the bars completely before cutting to prevent them from falling apart during slicing. When warm weather strikes refrigeration becomes especially important to prevent the bars from becoming too soft. Before serving refrigerated bars we remove them about 10 minutes early to allow them to reach the perfect serving temperature.
Make-Ahead Tips
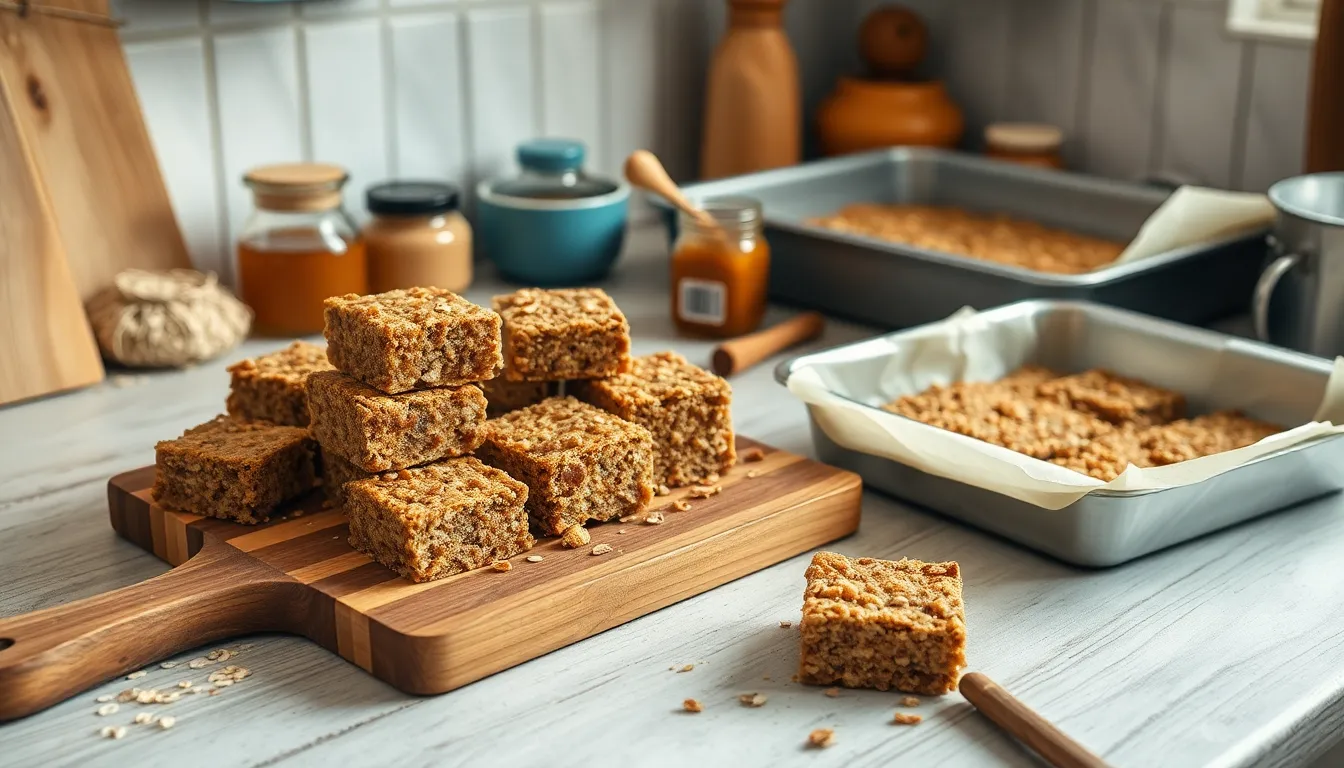
We love how these peanut butter oatmeal bars make meal prep effortless throughout the week. Planning ahead saves precious time during busy mornings while ensuring we always have a nutritious snack ready to grab.
Advance Dough Preparation
Preparing the dough ahead of time offers incredible flexibility for our baking schedule. We can mix all ingredients according to our recipe instructions then wrap the prepared dough tightly in plastic wrap. Storing the wrapped dough in the refrigerator keeps it fresh for 1 to 2 days before baking. This method allows us to complete the mixing process when we have time then bake fresh bars when needed.
Storage Timeline for Maximum Freshness
Understanding proper storage timelines helps us maintain optimal taste and texture. Room temperature storage keeps our baked bars fresh for approximately 5 days when placed in an airtight container. Refrigerator storage extends freshness while maintaining the bars’ signature chewy texture throughout the storage period.
| Storage Method | Duration | Container Type |
|---|---|---|
| Room Temperature | 5 days | Airtight container |
| Refrigerator | 5 days | Airtight container |
| No-Bake Refrigerator | 7 days | Airtight container |
| Freezer | 2-3 months | Freezer-safe container |
No-Bake Version Benefits
Creating no-bake versions transforms our approach to make-ahead planning entirely. These variations use similar ingredients but eliminate baking time while offering extended refrigerator storage up to 7 days. No-bake bars set properly in the refrigerator or freezer without requiring oven time or cooling periods.
Freezing Strategies for Long-Term Storage
Freezing extends our bars’ lifespan significantly while maintaining their delicious flavor profile. We recommend freezing bars in a single layer on a baking tray first then transferring them to freezer-safe containers once solid. This prevents the bars from sticking together during storage. Thawing occurs naturally at room temperature or in the refrigerator before serving. Both baked and no-bake versions freeze beautifully using this method.
Equipment Setup for Easy Removal
Using an 8×8 baking pan lined with parchment paper streamlines our entire process from baking to storage. The parchment paper prevents sticking while making removal effortless after cooling. Spraying the pan with cooking oil provides additional insurance against sticking issues.
Cooling and Cutting Guidelines
Allowing our bars to cool completely in the pan prevents crumbling during the cutting process. Complete cooling ensures clean slices with well-defined layers that showcase the beautiful contrast between our oat base and creamy peanut butter filling. We find that patience during this cooling phase results in professional-looking bars every time.
Serving Suggestions
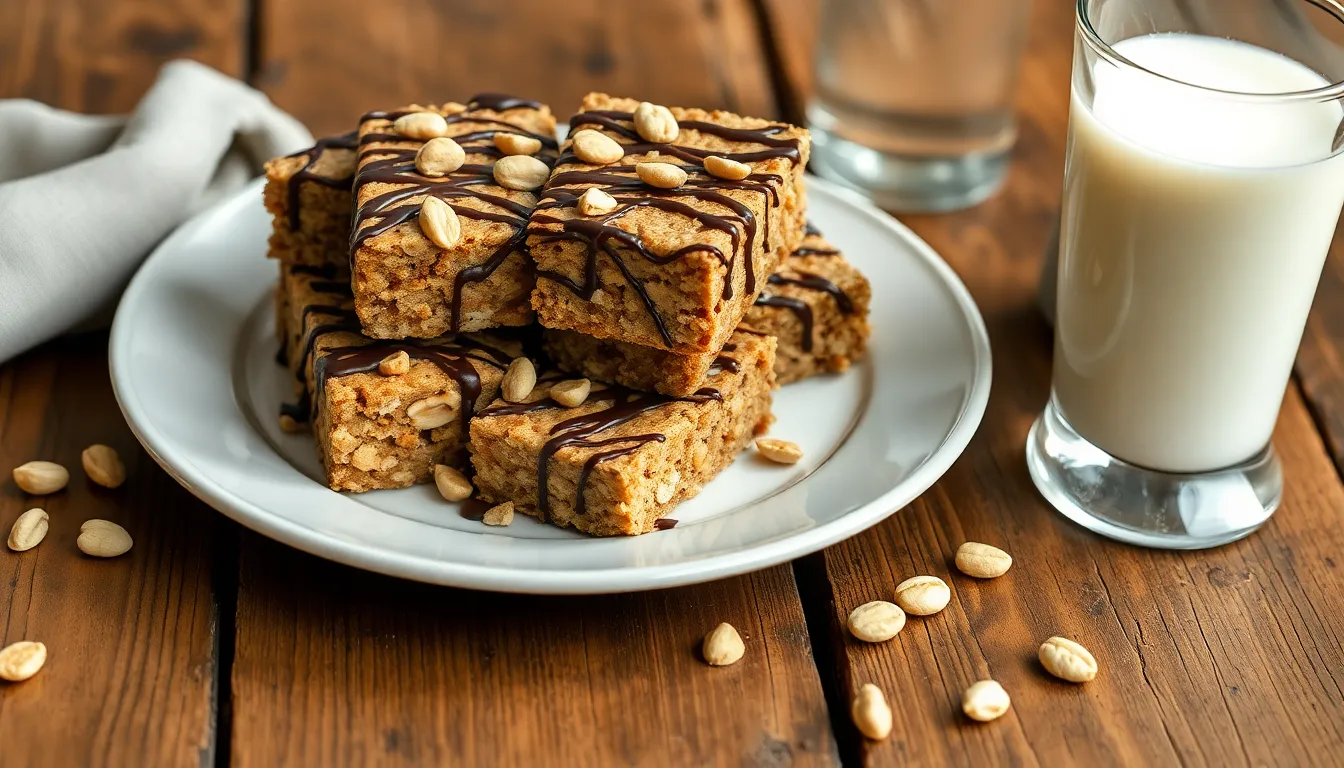
These peanut butter oatmeal bars transform into the perfect companion for various occasions throughout your day. We love serving them alongside a tall glass of cold milk, which perfectly balances the rich peanut butter flavor while complementing the hearty oat texture.
Coffee enthusiasts will find these bars pair beautifully with their morning brew or afternoon espresso. The nutty undertones in the bars enhance the coffee’s bold flavor, creating a satisfying combination that makes for an ideal breakfast or mid-day pick-me-up.
Transform these bars into an elevated dessert by adding optional toppings that enhance both flavor and visual appeal. A dark chocolate drizzle creates an elegant finish while adding depth to the overall taste profile. Simply melt dark chocolate and drizzle it across the cooled bars for a professional bakery appearance.
Salted peanuts sprinkled on top provide an extra crunch factor and intensify the peanut butter experience. We recommend crushing the peanuts slightly before sprinkling to ensure they adhere well to the surface. Other nuts like chopped almonds or pecans work equally well for those seeking variety.
Their filling and nutritious composition makes these bars particularly suitable for breakfast situations when you need portable nutrition. Pack them in lunch boxes for a wholesome midday treat that provides sustained energy without the sugar crash of typical snacks.
These bars excel as potluck contributions since they travel well and appeal to diverse taste preferences. Cut them into uniform squares and arrange on a decorative platter for an attractive presentation that guests will appreciate.
Late night cravings find their match in these satisfying bars, which provide protein and fiber to help curb hunger without feeling overly heavy before bedtime. Their balanced nutritional profile makes them a smarter choice than typical late-night snack options.
Recipe Variations
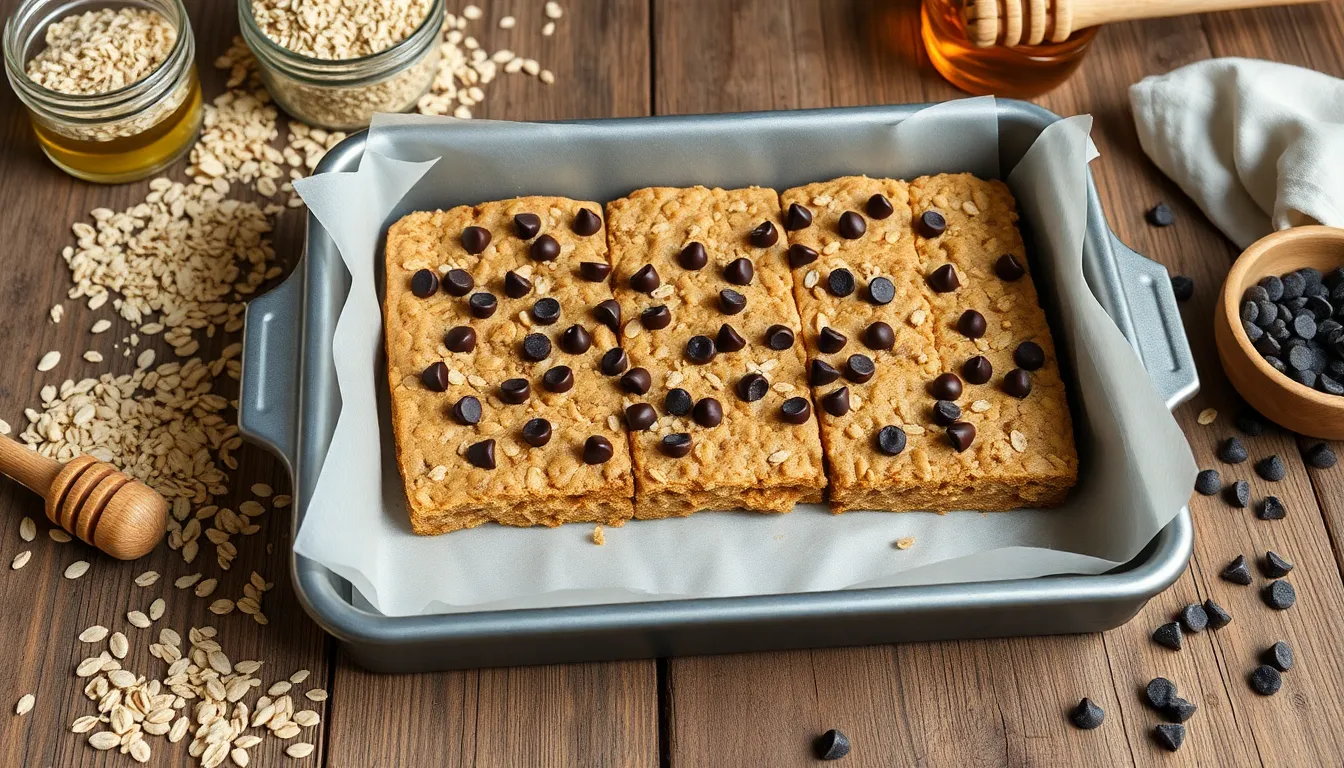
Our peanut butter oatmeal bars provide an excellent foundation for countless delicious variations. We can easily customize these treats to match different preferences and dietary needs.
Chocolate Chip Peanut Butter Oatmeal Bars
Adding chocolate chips transforms our basic bars into an irresistible dessert that satisfies every sweet tooth. We cream together butter, brown sugar, granulated sugar, and peanut butter until light and fluffy. Next, we incorporate eggs and vanilla extract before gradually mixing in oats, flour, baking powder, and salt.
For the chocolate element, we fold chocolate chips directly into the batter for an even distribution throughout each bar. Alternatively, we can melt extra chocolate chips with additional peanut butter to create a rich topping that we spread over the baked bars while they’re still warm. This method creates distinct layers that add visual appeal and concentrated chocolate flavor in every bite.
No-Bake Version
Our no-bake variation requires only three simple ingredients and delivers the same satisfying flavors without turning on the oven. We combine peanut butter with honey or maple syrup as our binding agent, then thoroughly mix in oats until everything holds together cohesively.
The mixture gets pressed firmly into a parchment-lined pan, ensuring even thickness throughout. We chill the bars for at least one hour until they become firm enough to cut cleanly. This protein-rich option works perfectly for hot summer days when we want to avoid heating up the kitchen, and the preparation time takes less than 10 minutes.
Healthier Substitutions
We can boost the nutritional value of our peanut butter oatmeal bars through several strategic ingredient swaps. Whole wheat flour replaces all-purpose flour to increase fiber content and add a subtle nutty flavor that complements the oats beautifully.
Natural peanut butter without added sugars or oils provides cleaner nutrition while maintaining the rich taste we love. We reduce refined sugar by substituting honey, maple syrup, or mashed bananas, which add natural sweetness along with additional nutrients.
For extra nutritional benefits, we incorporate chopped nuts, seeds, or dried fruit into the mixture. These additions provide healthy fats, protein, and antioxidants while creating interesting texture contrasts. Chia seeds, pumpkin seeds, or chopped almonds work particularly well, and dried cranberries or raisins add natural sweetness that balances the nutty flavors perfectly.
Conclusion
These peanut butter oatmeal bars truly deliver on every front – they’re simple to make customizable and absolutely delicious. Whether you’re preparing them for a special occasion or just want a reliable treat on hand they’ll quickly become a household favorite.
We love how these bars work for any skill level and dietary preference. The endless variations mean you’ll never get bored and the make-ahead friendly nature makes them perfect for busy schedules.
Give this recipe a try and discover why peanut butter oatmeal bars have earned their place as a timeless classic. Your taste buds (and your family) will thank you for it.
Frequently Asked Questions
What makes peanut butter oatmeal bars a great snack choice?
Peanut butter oatmeal bars offer the perfect balance of chewy oats, creamy peanut butter, and just the right sweetness. They’re portable, freezer-friendly, and made with simple pantry staples. These bars provide protein and fiber, making them satisfying for breakfast, lunch boxes, or late-night cravings without being overly heavy.
What equipment do I need to make peanut butter oatmeal bars?
You’ll need a 9×9 inch baking pan (or 8-inch square for no-bake), large mixing bowl, spatula or wooden spoon, measuring cups and spoons, and parchment paper. An optional food processor helps if you’re adding dates and nuts. Having these tools ready streamlines preparation and ensures consistent results.
How should I store peanut butter oatmeal bars?
Store bars at room temperature for up to 4 days, or refrigerate in an airtight container for up to 5 days. For long-term storage, freeze for 2-3 months using parchment paper between layers. Always cool completely before cutting, and let refrigerated bars sit 10 minutes at room temperature before serving.
Can I make peanut butter oatmeal bars ahead of time?
Yes! You can prepare the dough 1-2 days in advance and refrigerate before baking. Baked bars last 5 days at room temperature or refrigerated, while no-bake versions keep for up to 7 days. They’re perfect for meal prep and can be frozen for extended storage.
What are some popular variations of peanut butter oatmeal bars?
Popular variations include adding chocolate chips to the batter or as toppings, creating no-bake versions with just three ingredients, or making healthier substitutions like whole wheat flour and natural peanut butter. You can also add nuts, seeds, dried fruits, or drizzle with dark chocolate for extra flavor and nutrition.
What’s the best way to serve peanut butter oatmeal bars?
These bars pair perfectly with cold milk, coffee, or espresso. You can enhance them with optional toppings like dark chocolate drizzle or crushed salted peanuts. They’re ideal for potlucks, breakfast on-the-go, or as a satisfying snack that travels well and appeals to all ages.


