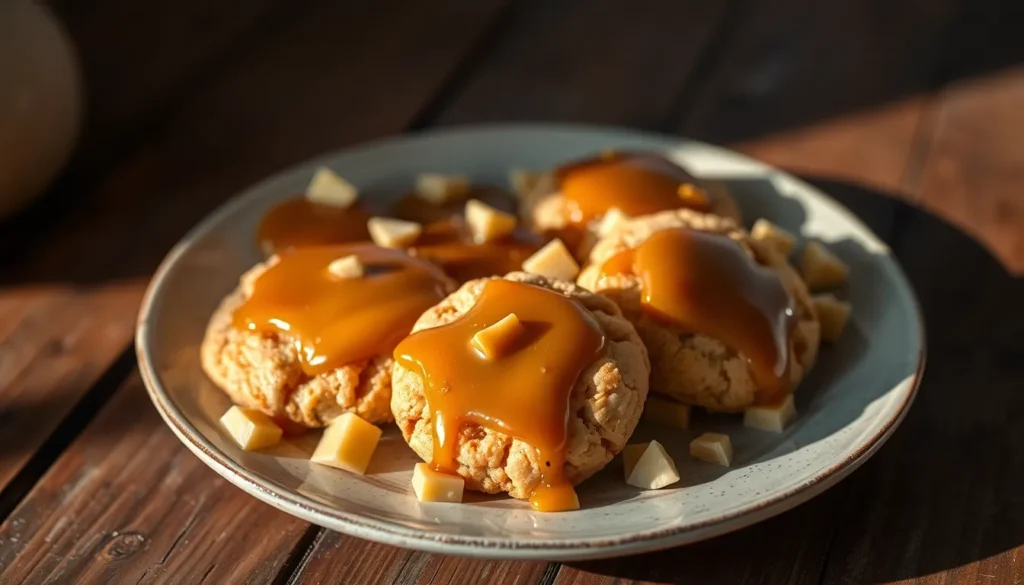
We’ve discovered one of baking’s best-kept secrets: caramelized white chocolate. This magical transformation turns ordinary white chocolate into something extraordinary – a golden, nutty confection that’ll revolutionize your dessert game. By slowly roasting white chocolate in the oven, we unlock deep caramel flavors and create a sophisticated ingredient that’s both luxurious and surprisingly simple to make.
The process might seem intimidating, but we promise it’s easier than you think. All you need is quality white chocolate and patience as it transforms from pale ivory to rich amber gold. The result? A complex flavor profile that combines white chocolate’s creamy sweetness with the nutty depth of caramel.
Once you’ve mastered this technique, you’ll find yourself adding caramelized white chocolate to everything from cookies and cakes to ice cream and ganache. It’s the secret weapon that’ll elevate your baking from good to absolutely unforgettable.
What Is Caramelized White Chocolate
Caramelized white chocolate represents a culinary transformation that turns ordinary white chocolate into a golden treasure with deep caramel notes. This technique involves slowly heating white chocolate at low temperatures until the milk solids and sugars undergo the Maillard reaction. The process creates complex flavors that blend the original creamy sweetness with rich nutty undertones and butterscotch notes.
We achieve this transformation through controlled heat application that breaks down the chocolate’s structure without burning it. White chocolate contains cocoa butter, milk solids, and sugar as its primary components. When heated gradually, these elements interact to develop new flavor compounds that create the signature caramel taste and golden amber color.
The resulting ingredient differs significantly from both regular white chocolate and traditional caramel. Caramelized white chocolate maintains the smooth texture of chocolate while delivering concentrated caramel flavors without the liquid consistency of caramel sauce. This unique combination makes it incredibly versatile for baking applications.
Temperature control serves as the most critical factor in successful caramelization. We typically heat white chocolate between 250°F and 275°F in the oven, stirring every 10 minutes to ensure even browning. The process usually takes 30 to 60 minutes depending on the desired depth of flavor and color.
Visual cues help determine doneness throughout the caramelization process. Fresh white chocolate appears ivory colored and smooth. As caramelization progresses, the chocolate transitions through various shades from pale yellow to deep amber. The texture also changes from smooth to slightly grainy as the milk solids break down and recombine.
Properly caramelized white chocolate develops a complex flavor profile that includes notes of toffee, butterscotch, and toasted nuts. The sweetness becomes more nuanced and less cloying than regular white chocolate. This enhanced flavor complexity makes caramelized white chocolate perfect for elevating simple desserts into sophisticated treats.
Ingredients
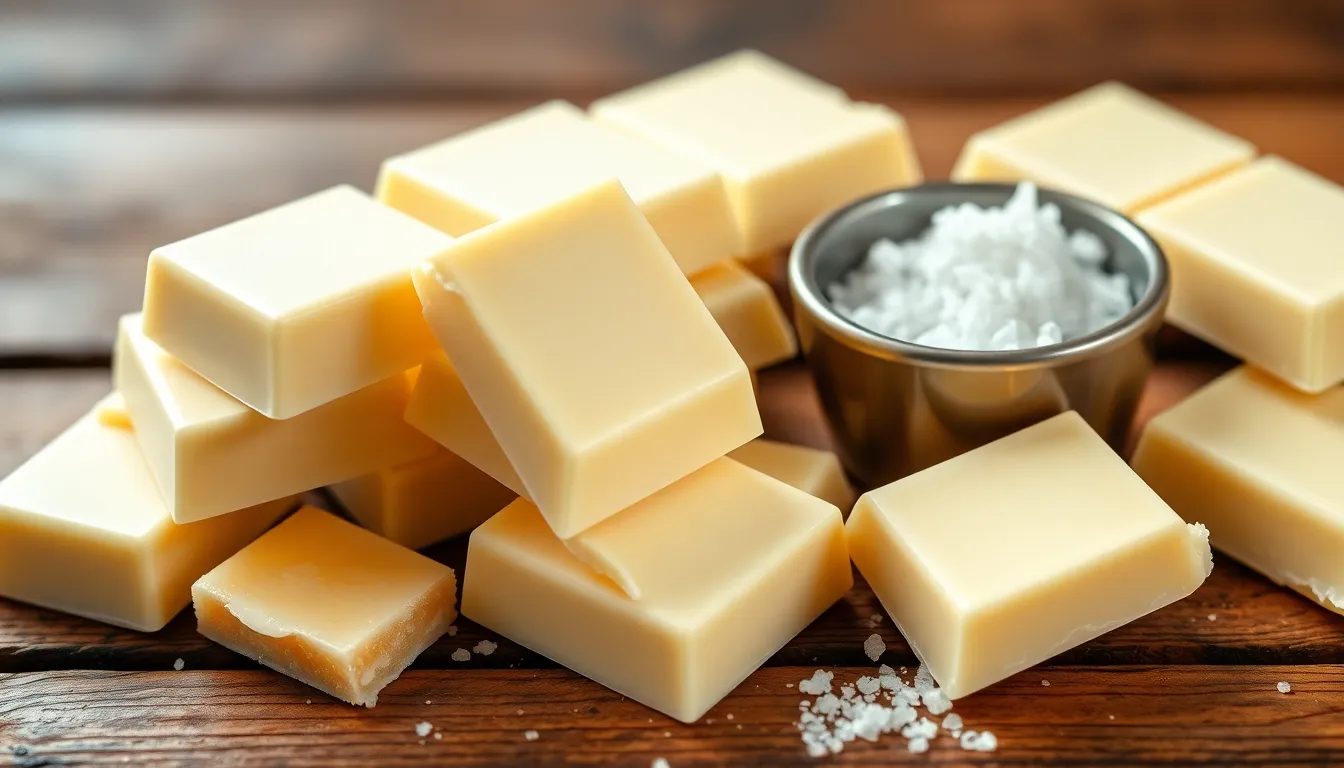
Creating perfect caramelized white chocolate requires minimal ingredients but maximum attention to quality. We recommend selecting premium white chocolate that lists cocoa butter as one of the first two ingredients on the label.
Essential Ingredients
- High-Quality White Chocolate (12 oz or 340g): Choose white chocolate with cocoa butter prominently featured in the ingredient list. Avoid products labeled as “white chocolate flavored” as these contain insufficient cocoa butter and milk solids for proper caramelization.
- Flaky Sea Salt (optional pinch): Enhances the caramel notes and adds sophisticated depth to the finished product.
Quality Selection Guidelines
We cannot stress enough the importance of ingredient quality when caramelizing white chocolate. Premium white chocolate contains the milk proteins and natural sugars essential for the Maillard reaction that creates those coveted caramel flavors. Products with artificial flavoring or excessive stabilizers will not caramelize properly and may result in grainy or seized chocolate.
The cocoa butter content determines how smoothly your chocolate will melt and caramelize. We look for brands that feature cocoa butter within the first two ingredients alongside milk powder and sugar. This composition ensures the chocolate will transform beautifully from ivory to deep amber during the caramelization process.
| Ingredient Quality Checklist | Requirements |
|---|---|
| Cocoa Butter Position | First or second ingredient |
| Avoid Products Labeled | “White chocolate flavored” |
| Texture Goal | Smooth melting properties |
| Color Transformation | Ivory to deep amber |
Equipment Needed
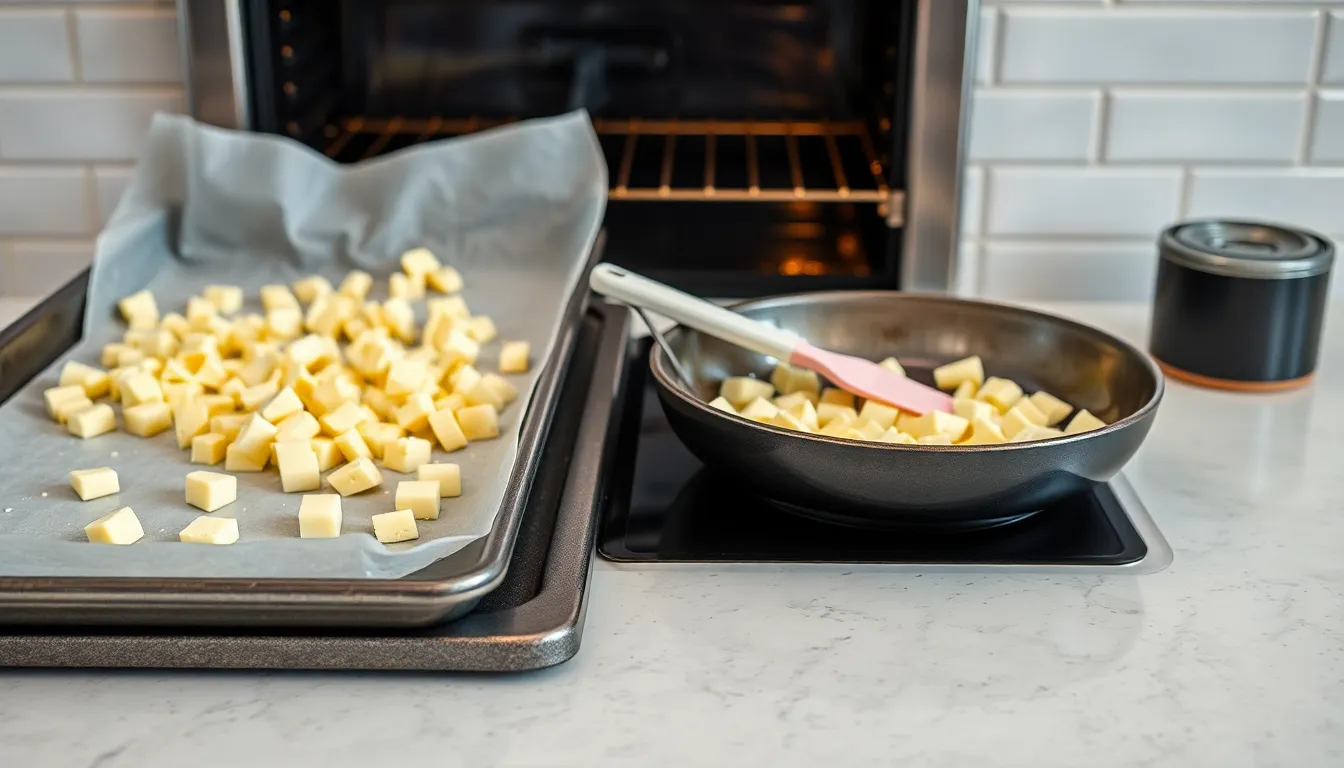
Creating caramelized white chocolate requires minimal equipment that most home bakers already have in their kitchens. We recommend gathering these essential tools before beginning the caramelization process to ensure smooth execution.
Oven serves as our primary heat source for this low and slow transformation. The controlled environment allows us to maintain consistent temperatures between 250°F and 285°F throughout the caramelization process.
Baking sheet or rimmed tray provides the foundation for spreading our white chocolate evenly. We prefer using a rimmed baking sheet to prevent any chocolate from sliding off during the stirring process.
Silicone spatula becomes our most important stirring tool during caramelization. The heat resistant properties allow us to stir the chocolate every 10 minutes without concern for melting or damage.
High quality white chocolate forms the star ingredient and requires careful selection. We need chocolate in blocks or fèves that can be chopped into coarse pieces for even heat distribution.
| Equipment | Purpose | Temperature Requirement |
|---|---|---|
| Oven | Primary heat source | 250°F – 285°F |
| Baking sheet | Chocolate distribution surface | Heat resistant |
| Silicone spatula | Stirring tool | Heat resistant |
| White chocolate | Main ingredient | Room temperature start |
Optional additions include a kitchen timer for tracking the 10 minute stirring intervals and flaky sea salt for flavor enhancement. These tools support the caramelization process but are not strictly necessary for success.
The beauty of this technique lies in its simplicity. We do not need specialized tempering equipment or complex machinery that professional chocolatiers might use. Our standard home kitchen setup provides everything necessary to transform ordinary white chocolate into golden caramelized perfection.
Instructions
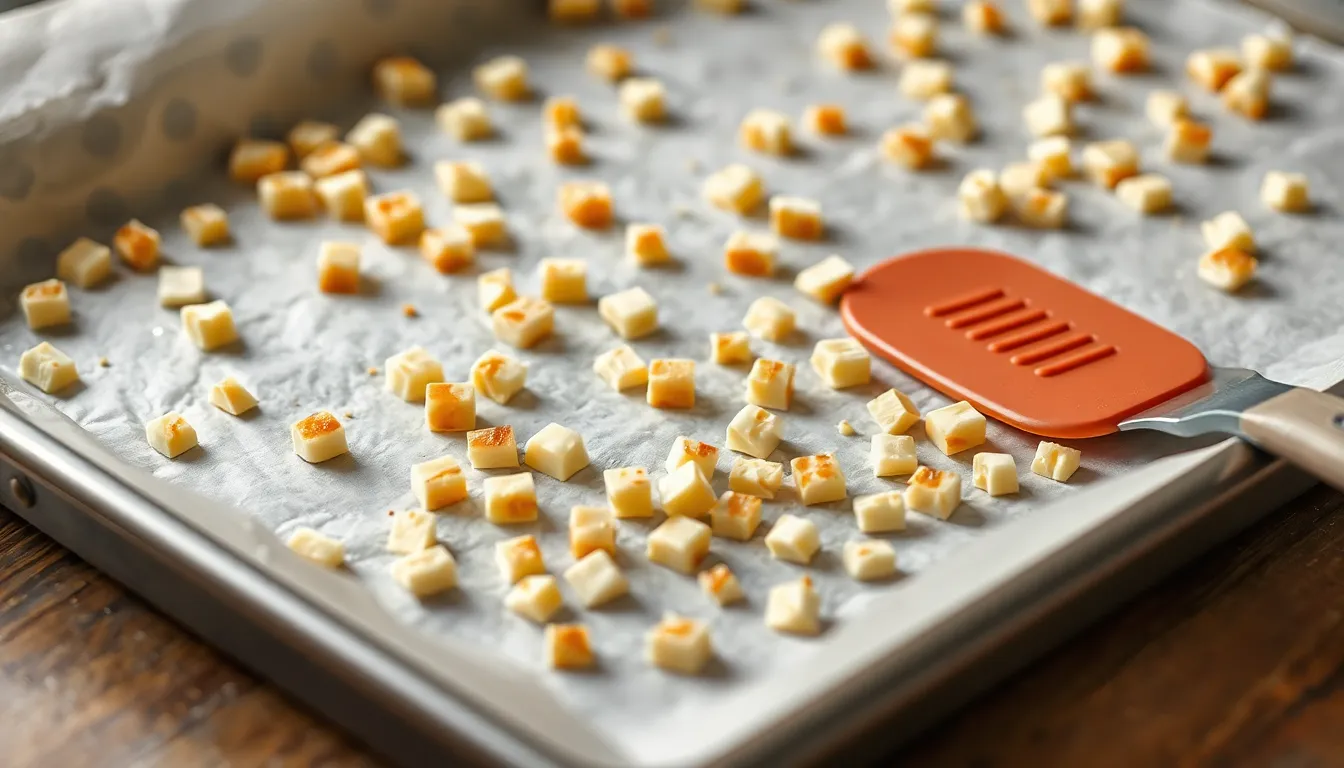
Transforming white chocolate into golden caramelized perfection requires careful attention to detail and patience. We’ll guide you through each stage of this magical process that turns ordinary chocolate into a complex flavor masterpiece.
Prep the White Chocolate
First, we need to chop our premium white chocolate into small, uniform pieces roughly the size of pebbles. This ensures even melting and consistent caramelization throughout the process. Breaking the chocolate into smaller pieces allows heat to penetrate evenly, preventing some sections from burning while others remain undercooked.
Before we begin, we must ensure all our equipment is completely dry. Even the smallest amount of moisture can cause the chocolate to seize, ruining our caramelization efforts. Wipe down the baking sheet, spatula, and any other tools with a clean, dry towel.
Line our rimmed baking sheet with a silicone baking mat or parchment paper to prevent sticking. Spread the chopped chocolate pieces evenly across the prepared surface, creating a single layer with minimal overlap.
Heat and Caramelize
Preheat the oven to 250°F (120°C) for consistent, gentle heat that allows proper caramelization without burning. Place the baking sheet with our prepared chocolate on the center rack of the preheated oven.
Set a timer for 10 minutes for our first heating interval. After 10 minutes, remove the sheet and use our heat-resistant silicone spatula to stir and spread the chocolate, breaking up any lumps that have formed. The chocolate will appear melted and slightly chunky at this stage.
Return the chocolate to the oven and continue heating in 10-minute intervals. After each interval, we’ll stir and redistribute the chocolate to ensure even browning. This process typically takes 30 to 60 minutes total, depending on the amount of chocolate and desired depth of caramelization.
| Time Interval | Chocolate Appearance | Action Required |
|---|---|---|
| 0-10 minutes | Melting begins | Stir and spread |
| 10-20 minutes | Lumpy, chalky texture | Stir thoroughly |
| 20-40 minutes | Gradual browning | Continue stirring every 10 minutes |
| 40-60 minutes | Deep golden brown | Monitor closely for doneness |
Monitor the Color Changes
Our chocolate will undergo several distinct transformations during caramelization. Initially, the pieces will melt and form a lumpy, somewhat chalky mixture that may seem concerning but is completely normal.
As heating continues, the chocolate progresses through various shades of cream and light brown. We’re looking for a deep golden brown color that indicates the Maillard reaction has properly developed those rich caramel and butterscotch notes.
The texture will gradually smooth out as caramelization advances, though it may remain slightly grainy until fully developed. Trust the process and continue stirring every 10 minutes to prevent hot spots and ensure uniform browning.
Watch carefully during the final stages as the chocolate can go from perfectly caramelized to burnt quite quickly. The ideal color resembles deep amber or caramel, with a rich, nutty aroma filling your kitchen.
Cool and Store
Once our chocolate reaches the perfect deep golden brown color, remove it from the oven immediately to stop the caramelization process. The chocolate will be very hot and somewhat fluid at this stage.
Allow the caramelized chocolate to cool completely on the baking sheet at room temperature. As it cools, the chocolate will firm up and develop its final texture, which should be smooth yet slightly more dense than regular white chocolate.
Transfer the cooled caramelized chocolate to an airtight container for storage. Properly stored caramelized white chocolate will keep at room temperature for up to one month or in the refrigerator for up to three months.
For immediate use, we can melt the caramelized chocolate gently using a double boiler or microwave at reduced power. The finished product can be chopped, grated, or melted for incorporation into our favorite baking recipes, bringing those complex caramel flavors to cookies, cakes, and other desserts.
Tips for Perfect Caramelization
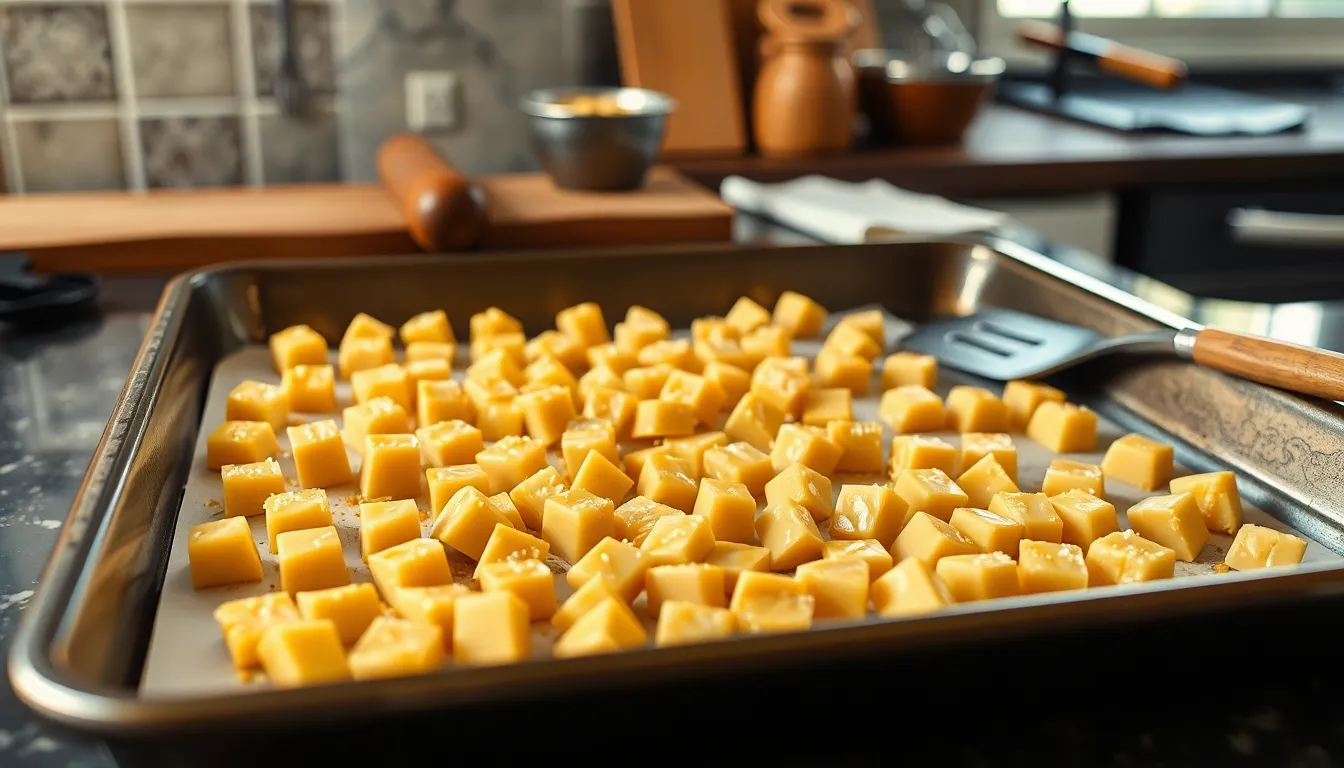
Mastering caramelized white chocolate requires attention to a few key techniques that ensure success every time. We’ve refined these methods through extensive testing to help you achieve consistently beautiful results.
Temperature Control
We recommend maintaining your oven at exactly 250°F (120°C) for optimal caramelization results. This precise temperature allows the milk solids and sugars to transform gradually without burning or seizing.
| Method | Temperature | Time Range | Notes |
|---|---|---|---|
| Oven Method | 250°F (120°C) | 30-60 minutes | Most reliable for home bakers |
| Sous Vide Method | 194°F (90°C) | 6-8 hours | Professional technique |
The oven method proves most accessible for home bakers and delivers consistent results. We spread the chopped white chocolate evenly on our baking sheet and bake for an initial 10 minutes before beginning our stirring routine. Sous vide enthusiasts can achieve similar results by sealing chocolate in vacuum bags and cooking at 194°F for 6 to 8 hours.
Stirring Technique
Stirring every 10 to 15 minutes prevents hot spots and ensures even caramelization throughout your chocolate. We use gentle folding motions with our heat-resistant spatula to redistribute the melting chocolate without creating air bubbles.
The chocolate will initially appear lumpy and chalky as it begins to transform. Continue stirring patiently as this texture smooths out naturally during the caramelization process. We avoid aggressive stirring that might introduce moisture or create unwanted texture changes.
Consistent stirring also helps us monitor the color progression and prevents any areas from over-browning. Each stirring session allows us to assess whether additional time is needed for complete caramelization.
Color Indicators
Visual cues provide the most reliable indicators for perfect caramelization completion. We look for the chocolate to transform from its original ivory color to a rich deep golden brown that resembles butterscotch.
The caramelization progresses through distinct stages that we monitor carefully. Initially the chocolate melts and appears glossy white. As heating continues it develops pale amber tones before deepening to the desired golden brown color.
We know caramelization is complete when the chocolate achieves a uniform deep golden hue throughout. This color change indicates that the Maillard reaction has fully developed the complex caramel flavors we’re seeking. The chocolate should maintain a smooth consistency once it reaches this final stage.
Troubleshooting Common Issues
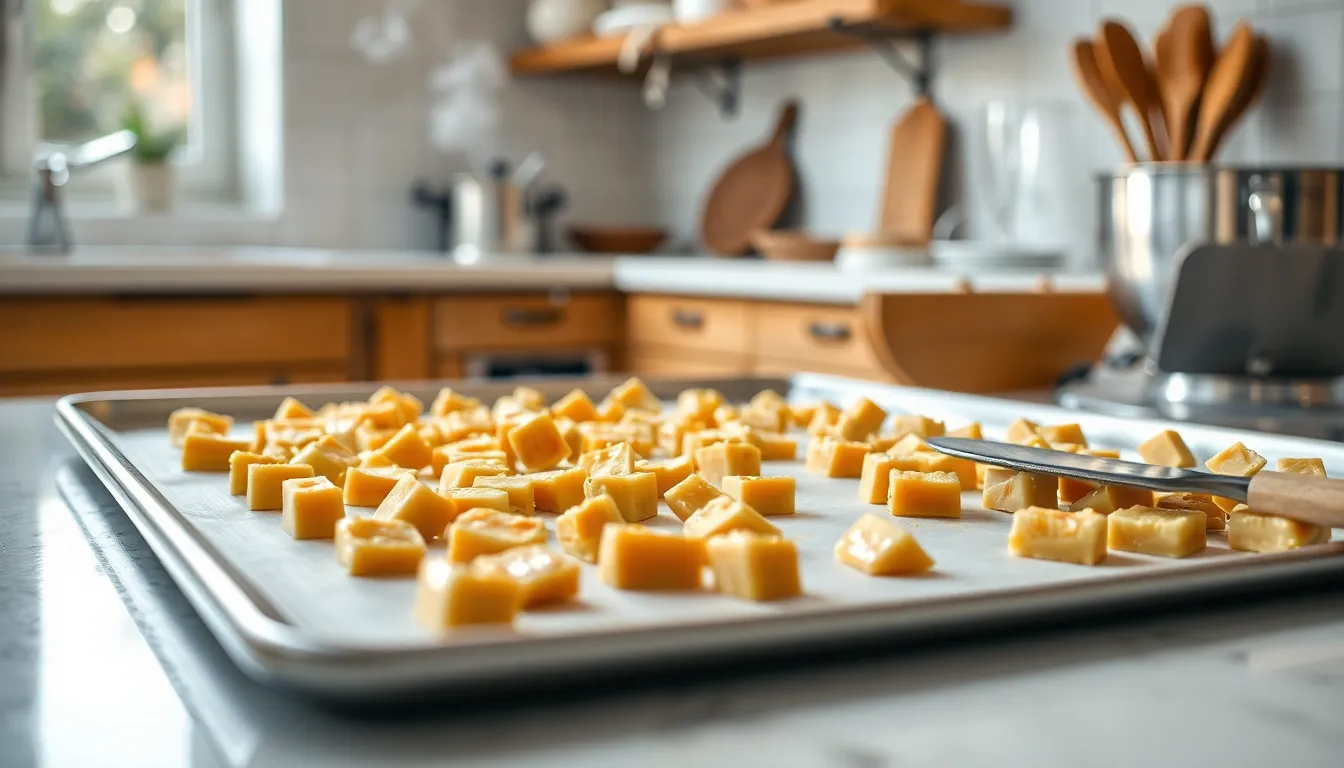
Even experienced bakers encounter challenges when creating caramelized white chocolate. Understanding how to address these common problems ensures consistent results every time we make this luxurious ingredient.
Chocolate Seized or Clumped
Moisture represents the primary enemy of successful white chocolate caramelization. When water enters the chocolate during the heating process, the cocoa butter and sugar separate, creating a grainy, clumped texture that cannot be salvaged.
We must ensure all utensils and surfaces remain completely dry before handling the chocolate. Even trace amounts of water on mixing bowls or spatulas can cause the entire batch to seize. High-quality white chocolate with adequate cocoa butter content helps prevent seizing, while inferior products with artificial ingredients prove more susceptible to moisture-related issues.
Our workspace should be free from steam and humidity. Avoid working near dishwashers, stovetops with boiling water, or open windows on humid days. If chocolate does seize, we cannot reverse the process, making prevention absolutely critical.
Uneven Caramelization
Inconsistent browning occurs when heat distribution remains uneven or stirring intervals prove inadequate. Some portions of the chocolate may achieve perfect caramelization while others stay pale, resulting in unbalanced flavors.
We recommend stirring the chocolate every 10 to 15 minutes throughout the caramelization process. This regular movement redistributes the chocolate and exposes all portions to consistent heat. The oven temperature should remain steady at 250°F, as temperature fluctuations create hot spots that brown unevenly.
Spreading chocolate in a thin, uniform layer across the baking sheet promotes even heating. Thick clusters take longer to caramelize and may burn on the outside while remaining undercooked inside. Our stirring technique should involve gentle folding motions that move chocolate from the edges toward the center.
Burnt Flavor
Overheating destroys the delicate balance between caramelization and burning. When chocolate exceeds safe temperatures or stays in the oven too long, bitter, acrid flavors develop that overpower the desired caramel notes.
We must monitor the visual cues rather than relying solely on timing. The chocolate should progress from ivory to light golden to deep amber without developing dark brown or black spots. Any signs of smoking or harsh odors indicate overheating.
Temperature control proves essential for preventing burnt flavors. Our oven should never exceed 275°F, and we should check the chocolate’s progress every 10 minutes during the final stages. If the chocolate browns too quickly, we can reduce the temperature by 25°F and extend the cooking time accordingly.
Storage Instructions
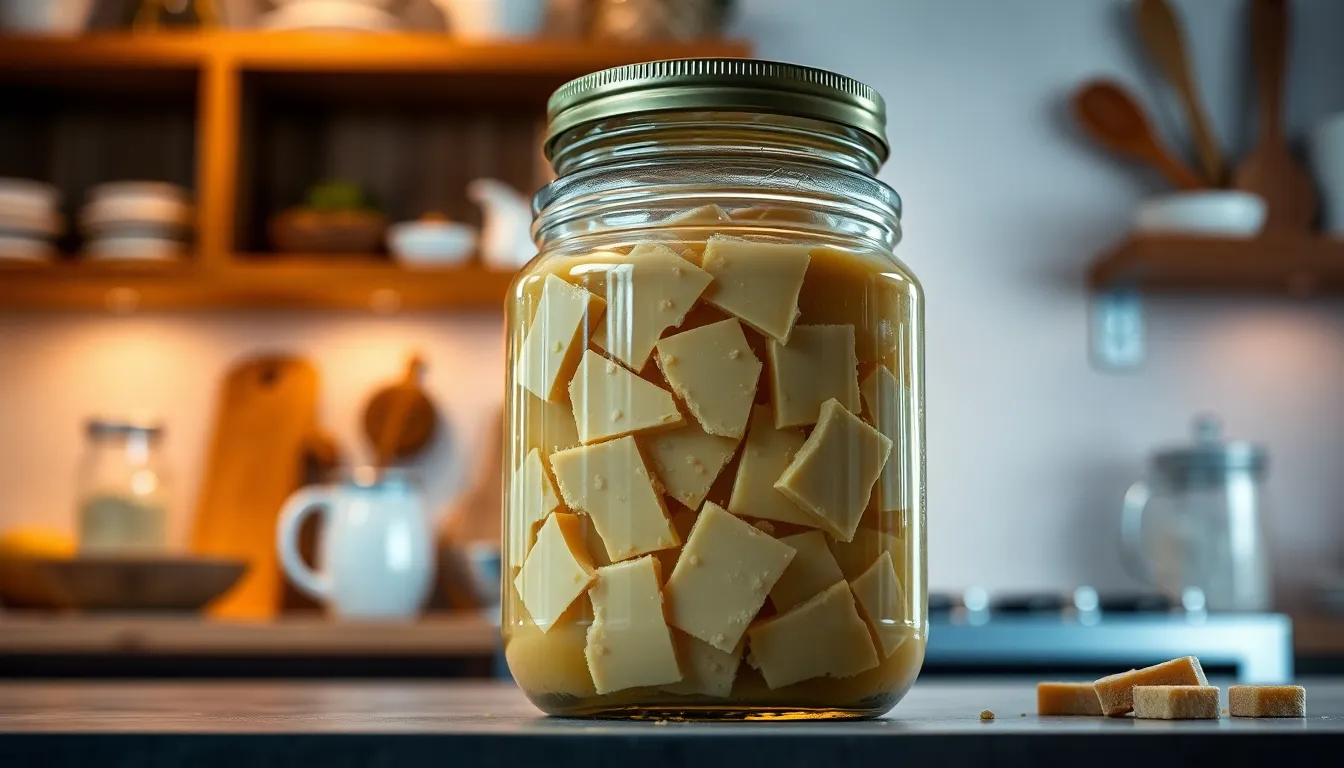
Once we’ve created our golden caramelized white chocolate masterpiece, proper storage becomes essential for maintaining its complex flavors and smooth texture. We can preserve this precious ingredient using several effective methods that suit different timelines and usage needs.
Room Temperature Storage
For immediate use within the next month or two, we recommend storing caramelized white chocolate at room temperature in a cool, dark location. The chocolate should be placed in an airtight container to prevent moisture absorption and flavor loss. Our kitchen pantry or a cabinet away from heat sources works perfectly for this storage method.
| Storage Method | Duration | Temperature Requirements |
|---|---|---|
| Room Temperature | 1-2 months | Cool, dark place |
| Refrigerator | Several months | Standard fridge temperature |
| Freezer | Several months | Standard freezer temperature |
Long Term Storage Options
We can extend the shelf life significantly by utilizing cold storage methods. Refrigerator storage allows us to keep caramelized white chocolate fresh for several months when properly contained in an airtight vessel. The cool temperature helps preserve the delicate caramel notes we worked so hard to develop.
Freezer storage offers the longest preservation period, maintaining quality for several months while keeping the chocolate ready for our next baking adventure. We should ensure the container is completely sealed to prevent freezer burn and unwanted odors from affecting our caramelized treasure.
Handling Texture Changes
Sometimes our stored caramelized white chocolate may develop a slightly grainy texture over time. We can easily remedy this issue by adding a small amount of water and blending the mixture while it’s warm. This technique smooths out any graininess and restores the chocolate to its original silky consistency.
Best Practices for Quality Maintenance
We should always use clean, dry utensils when handling stored caramelized white chocolate to prevent contamination. Room temperature storage works best when we plan to use the chocolate frequently, while cold storage methods suit longer term preservation needs. The airtight container requirement remains crucial regardless of which storage method we choose, protecting our caramelized creation from moisture and external flavors that could compromise its distinctive butterscotch notes.
Ways to Use Caramelized White Chocolate
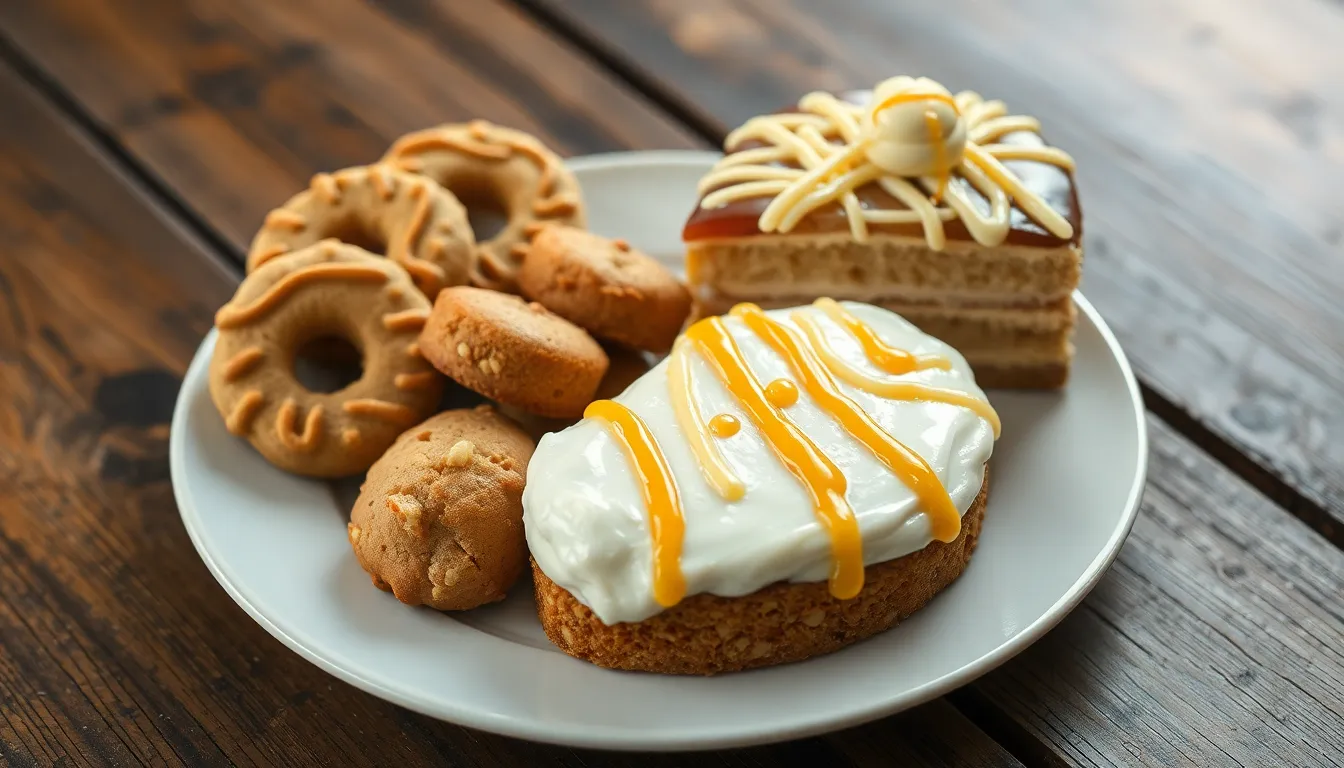
Now that we’ve mastered the art of creating caramelized white chocolate, let’s explore the endless possibilities this golden treasure offers in our kitchen creations. The rich caramel notes and complex flavor profile make it incredibly versatile for both baking and dessert applications.
Baking Applications
We can incorporate caramelized white chocolate into our favorite baking recipes just like regular white chocolate but with dramatically enhanced flavor. Cookies transform into gourmet treats when we fold chopped pieces into the dough, while scones become bakery-worthy with this luxurious addition. Our frostings gain sophisticated depth when we melt the caramelized chocolate into buttercreams, creating professional-quality finishes for cakes and cupcakes.
| Application | Best Uses | Flavor Benefits |
|---|---|---|
| Cookies | Chocolate chip, oatmeal, shortbread | Rich caramel undertones |
| Scones | Mixed into dough or glazes | Buttery complexity |
| Frostings | Buttercream, cream cheese frosting | Sophisticated sweetness |
| Whipped Cream | Melted into warm cream base | Luxurious texture |
The key lies in treating caramelized white chocolate exactly as we would premium white chocolate, remembering that its concentrated flavors mean we often need less to achieve the desired taste impact.
Dessert Toppings
Transform simple desserts into restaurant-quality presentations by warming caramelized white chocolate and drizzling it over ice cream for an instantly decadent treat. We can create elegant plated desserts by incorporating it into cheesecakes, where the caramel notes complement creamy textures beautifully. Truffles become exceptional when we use caramelized white chocolate as the base, while tarts gain sophistication with this ingredient in fillings or ganache toppings.
Marshmallows reach new heights when we coat them in melted caramelized white chocolate, creating confections that rival expensive chocolatiers. Ice cream makers will find that folding chunks into their base creates premium frozen desserts with complex flavor profiles that develop beautifully as they melt on the palate.
Candy Making
Our candy making repertoire expands dramatically when we use caramelized white chocolate for ganaches and mousses. The smooth, creamy texture makes it ideal for creating professional-quality confections that showcase the deep caramel flavors we’ve developed. Ganache made with caramelized white chocolate produces silky centers for chocolates or elegant cake fillings that elevate any dessert.
We can create exceptional mousses by incorporating the melted chocolate into our base, creating desserts with layers of flavor that surprise and delight. The natural sweetness paired with nutty undertones makes it perfect for pairing with fruits in tarts or incorporating into cream-based desserts where we want complexity without overwhelming richness.
For chocolate chip bars, we simply chop our caramelized white chocolate and fold it into the batter, creating treats that taste like they came from an upscale bakery. Pies benefit tremendously from this ingredient, especially when paired with nuts or seasonal fruits that complement the caramel notes.
Make-Ahead Instructions
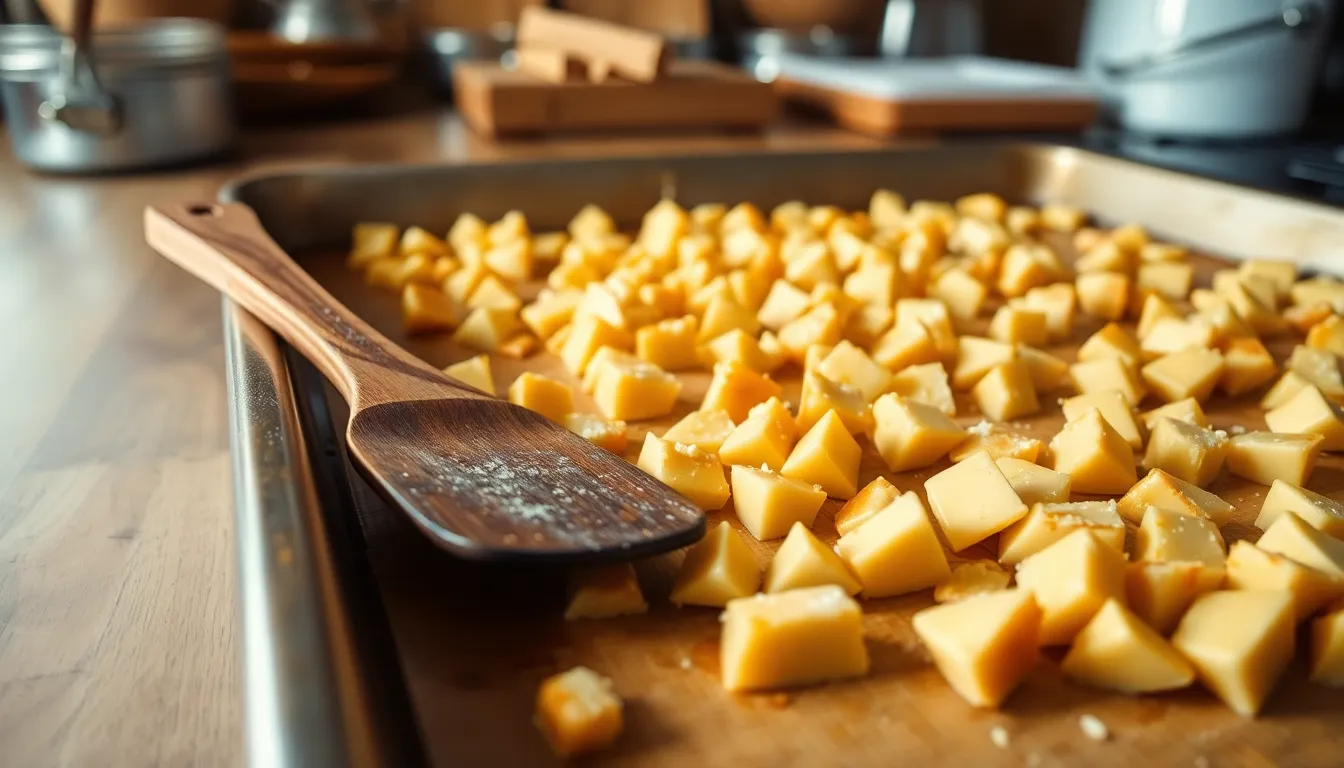
Making caramelized white chocolate ahead of time transforms your baking schedule and ensures you always have this luxurious ingredient ready for spontaneous dessert creations. We recommend preparing larger batches since the process takes 40 to 60 minutes regardless of quantity.
Preparation Process
Start by chopping high-quality white chocolate into coarse pieces and spreading them in a thin, even layer on a dry, rimmed baking sheet lined with a silicone mat. Preheat your oven to 250°F to 255°F (120°C to 125°C) for optimal caramelization temperatures. Roast the chocolate for 10 minutes, then remove and stir with a clean, dry spatula before returning to the oven.
Continue this process in 10-minute intervals until the chocolate develops a deep golden-brown color. The transformation typically requires 40 to 60 minutes total, depending on your desired depth of caramel flavor. We suggest finishing with a pinch of flaky sea salt to enhance the complex caramel notes.
Storage Guidelines
| Storage Method | Duration | Temperature | Container Type |
|---|---|---|---|
| Refrigeration | Several months | 35°F to 40°F | Airtight container |
| Freezer storage | Up to 6 months | 0°F or below | Airtight container |
| Room temperature | Not recommended | – | – |
Once your caramelized white chocolate reaches room temperature, transfer it to an airtight container immediately. Refrigeration preserves the complex flavors for several months, while freezer storage extends the shelf life even further. Room temperature storage should be avoided as it can compromise texture and flavor integrity.
Usage Flexibility
Your prepared caramelized white chocolate solidifies when cooled and becomes incredibly versatile for future baking projects. Chop it directly into cookies or melt it for ganaches and frostings whenever inspiration strikes. The convenience of having this gourmet ingredient ready eliminates the hour-long preparation time from your baking schedule.
We find that storing caramelized white chocolate in portion-sized amounts makes it even more convenient for spontaneous baking sessions. Simply break off what you need and return the remainder to proper storage conditions.
Conclusion
We’ve shown you that creating caramelized white chocolate isn’t just achievable—it’s groundbreaking for your baking repertoire. With the right techniques and quality ingredients you can consistently produce this golden treasure that adds sophisticated depth to any dessert.
The journey from basic white chocolate to caramelized perfection requires patience but the reward is worth every minute. You’ll discover that this single ingredient can elevate simple recipes into restaurant-quality creations.
Now it’s time to put this knowledge into practice. Start with our step-by-step method and soon you’ll have batches of caramelized white chocolate ready to transform your next baking adventure into something truly memorable.
Frequently Asked Questions
What is caramelized white chocolate?
Caramelized white chocolate is regular white chocolate that has been slowly heated at low temperatures (250°F-275°F) to develop rich caramel flavors. Through the Maillard reaction, the milk solids and sugars transform the chocolate from ivory to deep amber, creating complex nutty and butterscotch notes while maintaining a smooth texture.
How long does it take to caramelize white chocolate?
The caramelization process typically takes 30 to 60 minutes at 250°F. You’ll need to stir the chocolate every 10 minutes to ensure even browning. The exact time depends on your desired color and flavor intensity – deeper amber means richer caramel flavors.
What type of white chocolate should I use?
Use high-quality white chocolate that lists cocoa butter as one of the first two ingredients. Avoid “white chocolate flavored” products as they lack sufficient cocoa butter and milk solids needed for proper caramelization. Premium chocolate ensures smooth melting and better flavor development.
Do I need special equipment to make caramelized white chocolate?
No special equipment is required. You only need basic kitchen tools: an oven, baking sheet, parchment paper, and heat-resistant silicone spatula. The process is designed for home bakers using standard kitchen equipment, making it accessible and straightforward.
How do I know when the chocolate is properly caramelized?
Watch for visual cues as the chocolate transforms from ivory to deep golden brown or amber. The color change indicates proper caramelization and flavor development. Avoid letting it turn too dark brown, as this can create burnt flavors.
What can go wrong during caramelization?
Common issues include moisture causing the chocolate to seize, uneven caramelization from inadequate stirring, and overheating leading to burnt flavors. Keep all equipment dry, stir regularly every 10 minutes, and maintain consistent temperature at 250°F to avoid these problems.
How should I store caramelized white chocolate?
Store in an airtight container at room temperature for up to two months, refrigerate for several months, or freeze for extended storage. Always use clean, dry utensils and ensure airtight storage to protect from moisture and external flavors.
Can I fix grainy caramelized white chocolate?
Yes, if your caramelized white chocolate becomes grainy, add a small amount of water and blend to restore its silky consistency. This texture issue often occurs due to temperature fluctuations but is easily correctable with proper reheating techniques.
What can I make with caramelized white chocolate?
Caramelized white chocolate enhances cookies, scones, frostings, whipped cream, ice cream, cheesecakes, ganaches, and mousses. It can be drizzled, chopped, or melted into various recipes, transforming ordinary desserts into gourmet treats with rich caramel flavors.
Can I make caramelized white chocolate ahead of time?
Absolutely! Making larger batches saves time for future baking projects. Properly stored caramelized white chocolate maintains its quality for months in the refrigerator or freezer, making it convenient to have on hand for spontaneous baking sessions.

