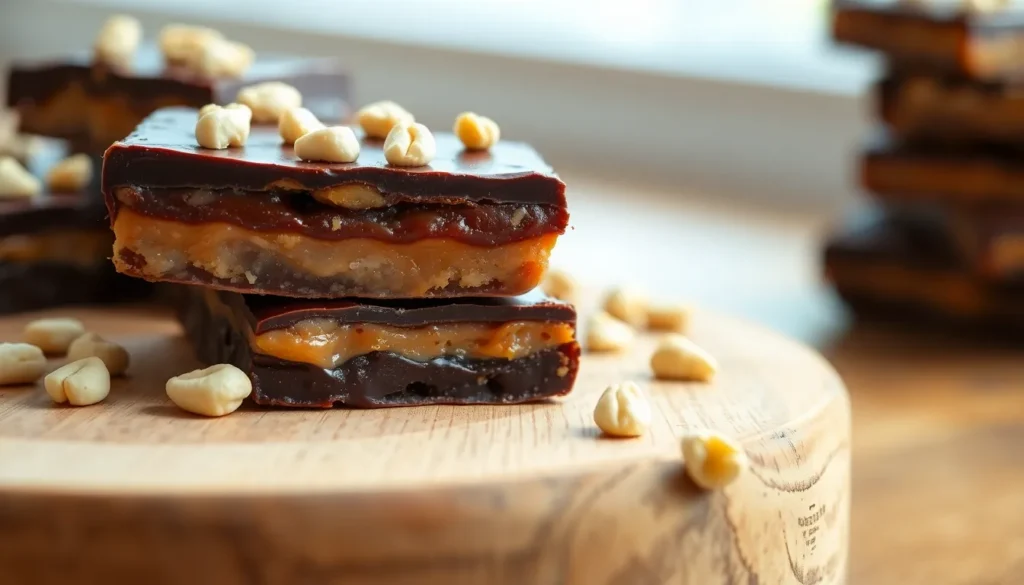
We’ve all been there – craving something sweet and indulgent but wanting to keep things healthier. That’s exactly why we fell head over heels for date snickers. These incredible treats capture all the gooey caramel richness and nutty satisfaction of the classic candy bar without any of the processed sugar or artificial ingredients.
What makes these homemade delights so amazing? They’re built on a foundation of soft Medjool dates that naturally provide that perfect chewy-sweet base. Add some crunchy peanuts and a smooth chocolate coating and you’ve got yourself a guilt-free version that tastes even better than the original.
The best part? You probably already have most of the ingredients sitting in your pantry right now. In just 20 minutes you’ll be biting into these rich chocolatey bars that satisfy every sweet tooth craving while actually nourishing your body.
Ingredients
We’ve organized our date snickers ingredients into three simple layers that create the perfect texture and flavor balance. Each component plays a crucial role in mimicking that beloved candy bar taste while keeping everything natural and wholesome.
For the Date Caramel Layer
- 2 cups pitted Medjool dates (about 12-15 large dates)
- 2 tablespoons natural peanut butter
- 1 tablespoon coconut oil (melted)
- 1 teaspoon vanilla extract
- 1/4 teaspoon sea salt
- 2-3 tablespoons warm water (as needed)
For the Nougat Layer
- 1 cup raw cashews (soaked for 2 hours)
- 1/4 cup coconut cream (thick part from chilled can)
- 2 tablespoons maple syrup
- 1 tablespoon coconut oil (melted)
- 1 teaspoon vanilla extract
- 1/4 teaspoon sea salt
- 1/2 cup roasted peanuts (roughly chopped)
For the Chocolate Coating
- 1 cup dark chocolate chips (70% cocoa or higher)
- 2 tablespoons coconut oil
- 1 tablespoon maple syrup
- Pinch of sea salt
- 1/4 cup chopped peanuts (for topping)
Equipment Needed
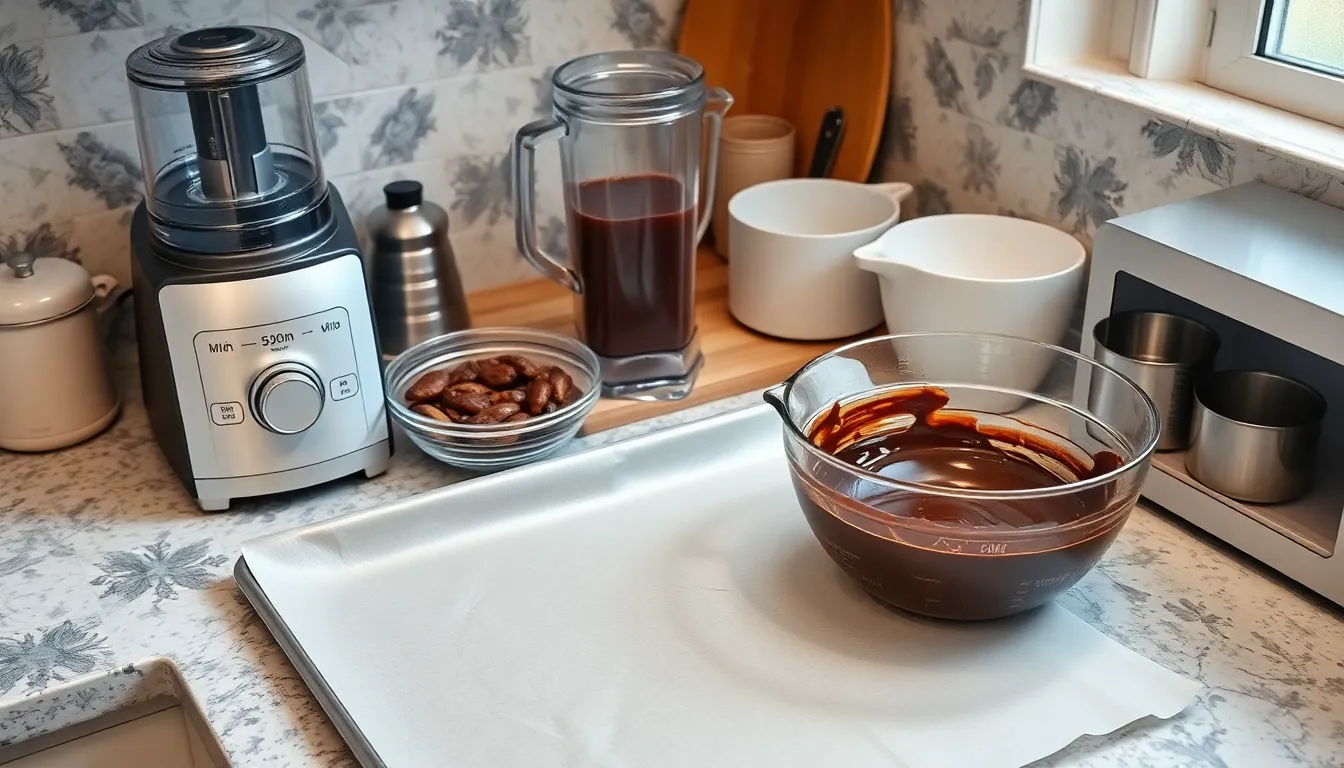
Making date snickers requires minimal kitchen equipment that most home cooks already have on hand. We recommend gathering these essential tools before starting your recipe to ensure a smooth preparation process.
Food Processor – A food processor serves as our most important tool for creating the smooth date caramel layer. This appliance breaks down the Medjool dates into a paste-like consistency that mimics traditional caramel texture.
High-Speed Blender – We use a high-speed blender to create the creamy nougat layer from soaked cashews. This equipment ensures our cashew mixture becomes completely smooth without any gritty texture.
Baking Sheet or Large Plate – A small baking sheet or large plate provides the perfect surface for arranging our finished date snickers. We prefer using a rimmed baking sheet to prevent any pieces from sliding off during the chilling process.
Parchment Paper – Lining our baking surface with parchment paper prevents sticking and makes cleanup effortless. This simple step ensures we can easily remove our finished treats without damaging their chocolate coating.
Microwave-Safe Bowl – We need a microwave-safe bowl for melting the chocolate coating smoothly and efficiently. Glass or ceramic bowls work best for even heat distribution during the melting process.
Small Spoon or Offset Spatula – These tools help us spread and shape each layer evenly. We find that a small spoon works perfectly for dolloping the nougat layer while an offset spatula creates clean edges.
Measuring Cups and Spoons – Accurate measurements ensure consistent results every time we make this recipe. We recommend having both liquid and dry measuring tools readily available.
Most home kitchens already contain these basic tools. Having everything organized and within reach makes the assembly process much more enjoyable and efficient.
Instructions
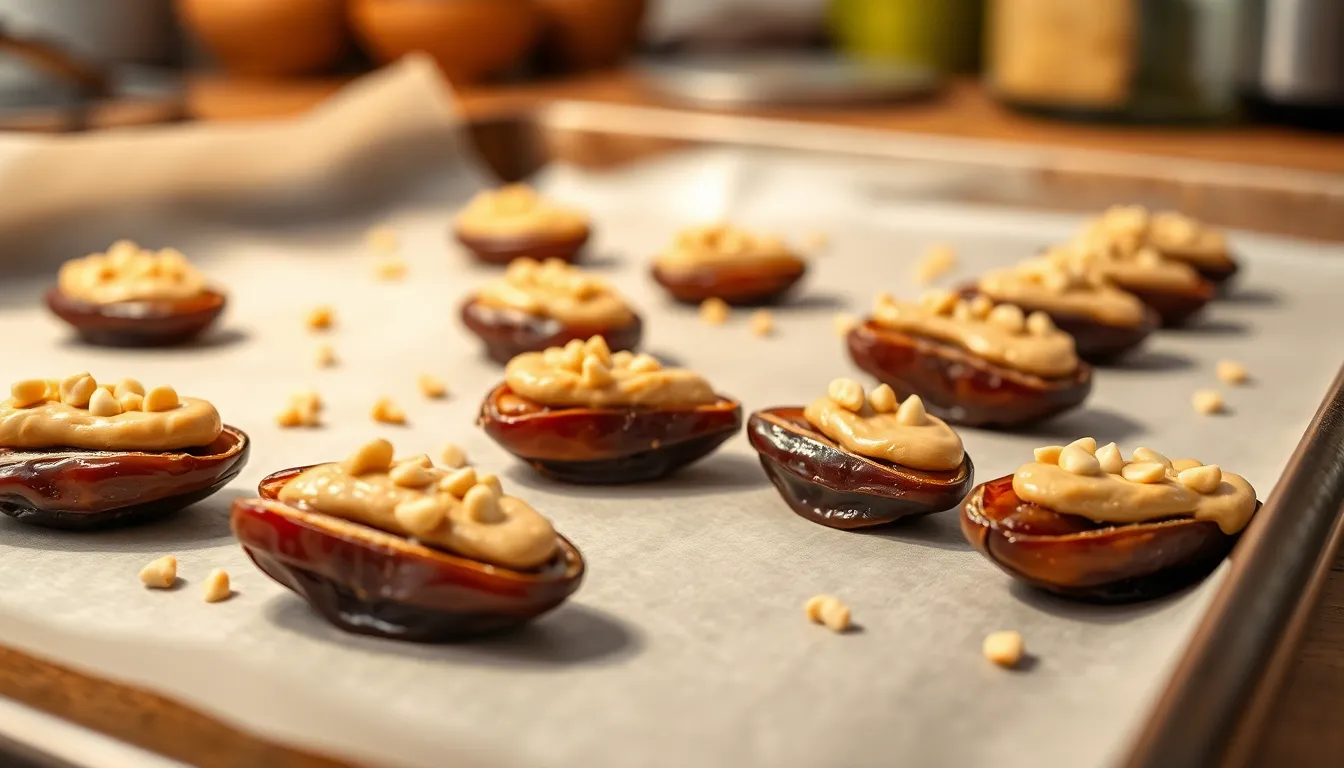
Now we’ll walk through each step to create these delicious date snickers bars. The process involves layering each component to build the perfect balance of flavors and textures.
Prep the Dates
We start by selecting soft Medjool dates for the best results. Remove pits from each date and slice them halfway open if they aren’t already split. Arrange the date halves cut side up on a parchment-lined baking sheet or tray. Place another piece of parchment paper on top of the dates and gently press them with a cup or rolling pin to flatten them into a base layer. This creates the foundation for our bars and ensures even coverage of the subsequent layers.
Make the Nougat Layer
We use a spoon or offset spatula to spread an even layer of peanut butter or almond butter over our flattened dates. Make sure the nut butter covers the entire surface completely. The natural oils in the nut butter help bind the ingredients together while providing that signature nougat flavor we love in traditional snickers bars.
Assemble the Date Snickers
Sprinkle chopped peanuts or almonds generously over the nut butter layer to add essential crunch to our bars. We recommend adding a pinch of sea salt at this stage to enhance all the flavors and create that perfect sweet and salty balance. Press the nuts gently into the nut butter layer to ensure they stay in place during the chocolate coating process.
Prepare the Chocolate Coating
Place dark chocolate or your preferred chocolate variety in a microwave-safe bowl. Melt the chocolate in short 30-second bursts, stirring thoroughly between each interval until completely smooth. Some recipes benefit from mixing a small amount of coconut oil with the melted chocolate for easier spreading and a glossier finish.
Coat the Bars
Pour the melted chocolate evenly over the assembled nut layer, ensuring complete coverage of the surface. Use a spatula to spread the chocolate smoothly and fill any gaps. Work quickly while the chocolate is still warm and fluid for the best coverage and appearance.
Chill and Set
Transfer the prepared tray to either the refrigerator or freezer to set the chocolate coating. Refrigerate for approximately one hour or freeze for about 30 minutes until the chocolate becomes firm to the touch. Once completely set, use a sharp knife to cut the bars into squares or rectangles. Store finished bars in an airtight container in the refrigerator and allow them to sit at room temperature for a few minutes before serving for easier cutting.
Storage Instructions
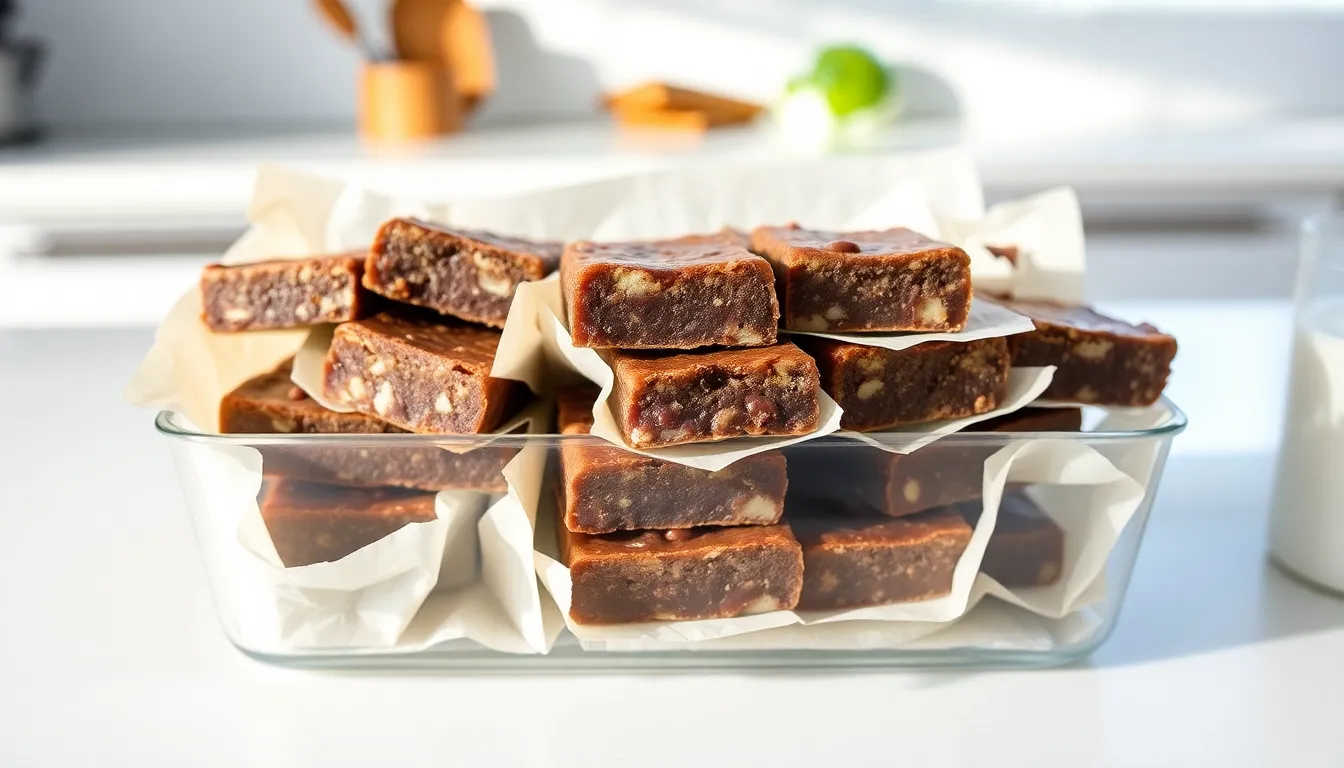
We recommend storing your homemade date snickers in an airtight container to maintain their fresh taste and texture. These natural treats require more careful storage than commercial candy bars since they contain no preservatives.
Refrigerator Storage
Place the date snickers in an airtight container and store them in the refrigerator for up to 2 weeks. We suggest wrapping individual bars in wax paper to prevent them from sticking together. Layer the wrapped bars with parchment paper between each level to maintain their shape and prevent the chocolate coating from transferring.
Freezer Storage
For longer storage, we recommend freezing your date snickers for up to 3 months. Wrap each bar individually in wax paper, then place them in a freezer-safe container or bag. Layer with freezer paper for optimal protection against freezer burn. Allow the bars to thaw at room temperature for 10-15 minutes before serving for the best texture.
Room Temperature Considerations
Store date snickers at room temperature only for short periods, typically no more than 2-3 days in a cool, dry place. We advise against leaving them in warm environments as the chocolate coating may soften and the dates can become overly sticky. Keep them away from direct sunlight and moisture to preserve their quality.
Serving Tips
Remove the bars from refrigerated storage 5-10 minutes before serving to allow the chocolate to soften slightly. This brief warming period makes cutting and eating much easier while maintaining the perfect chewy texture we love in these homemade treats.
Tips for Perfect Date Snickers
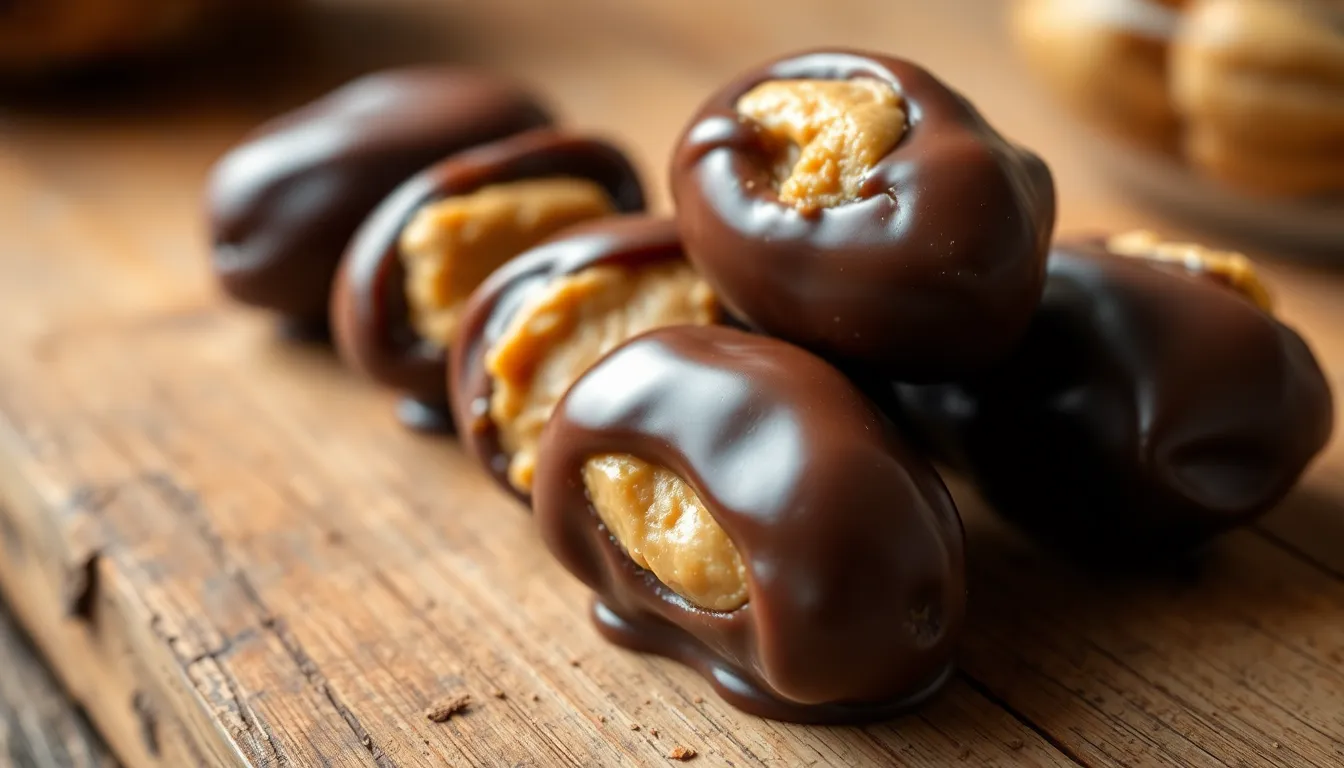
Creating the perfect date snickers requires attention to detail and the right techniques. We’ve gathered essential tips to help you achieve bakery-quality results every time.
Choosing the Right Dates
Medjool dates work best for date snickers due to their larger size and naturally sweeter flavor profile. These premium dates create the ideal foundation because they pair exceptionally well with peanut butter and chocolate coatings. We recommend selecting dates that feel soft and pliable when gently squeezed. Fresh Medjool dates should have a glossy appearance without any crystallization on the surface.
Getting the Perfect Consistency
Smooth nut butter delivers the most consistent texture inside your date snickers. We prefer using natural peanut butter or almond butter because they maintain their creamy consistency without separating. The filling should spread easily without tearing the delicate date flesh. When melting chocolate for the coating, use short microwave intervals and stir between each heating session to prevent burning. This technique ensures your chocolate coating remains silky and smooth.
Coating Tips
Insert a toothpick into each stuffed date before dipping it into the melted chocolate for better control. We use a spoon to ensure complete coverage while allowing excess chocolate to drip off naturally. This method prevents waste and creates an even coating thickness. Chill your chocolate-covered dates in the refrigerator for approximately 10 minutes to properly set the coating. Store finished date snickers in the refrigerator for up to one month or freeze them for up to six months for longer storage.
Variations and Substitutions
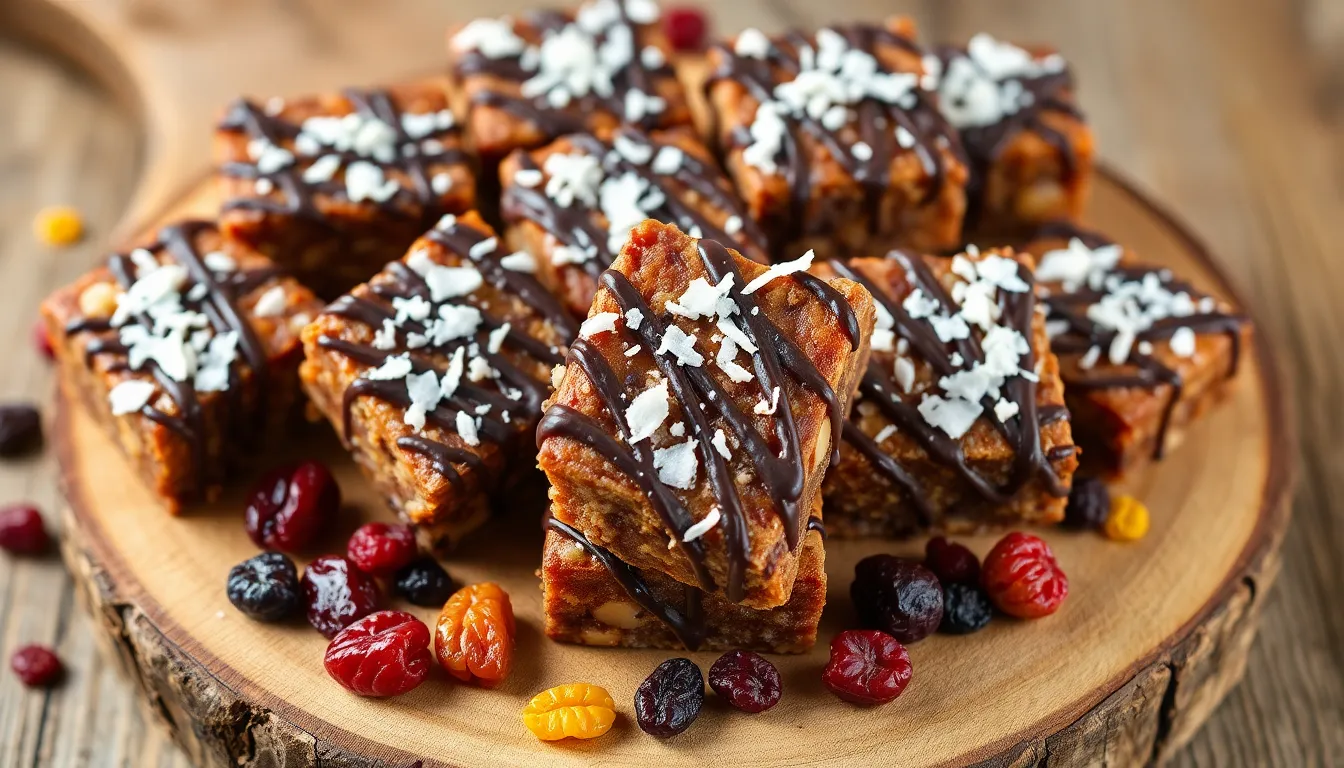
We love how versatile this date snickers recipe is, allowing you to customize each component to match your dietary needs and flavor preferences. The beauty of homemade treats lies in their adaptability, and these variations prove you can enjoy this indulgent snack regardless of allergies or taste preferences.
Nut-Free Options
For those managing nut allergies, we recommend substituting the peanut butter and chopped peanuts with seed-based alternatives that maintain the same satisfying crunch and rich flavor profile. Sunflower seed butter works exceptionally well as a peanut butter replacement, offering a similar creamy consistency and nutty taste. Toasted sunflower seeds or pumpkin seeds can replace the chopped peanuts, providing that essential textural contrast against the soft dates.
We’ve found that tahini (sesame seed paste) creates another excellent nut-free option, delivering a distinctive flavor that pairs beautifully with dark chocolate. When using seed alternatives, we suggest adding a pinch of extra sea salt to enhance the overall taste balance, as seeds tend to be milder than nuts.
Different Chocolate Types
The chocolate coating offers endless opportunities for customization based on your sweetness preferences and nutritional goals. Dark chocolate remains our top recommendation, as it provides a rich, less sweet coating that balances the natural sweetness of dates while delivering more antioxidants than milk chocolate varieties.
White chocolate creates a completely different flavor experience, offering a sweeter and creamier coating that appeals to those who prefer milder chocolate flavors. We suggest using high-quality white chocolate to avoid an overly artificial taste that might overpower the dates’ natural complexity.
| Chocolate Type | Flavor Profile | Sweetness Level | Antioxidant Content |
|---|---|---|---|
| Dark Chocolate | Rich, intense | Low to medium | High |
| White Chocolate | Creamy, mild | High | Low |
| Milk Chocolate | Sweet, familiar | Medium to high | Medium |
Add-In Ideas
We encourage experimenting with various add-ins to create your signature version of date snickers that reflects your personal taste preferences. Coconut flakes add a delightful tropical twist when sprinkled over the chocolate layer before it sets, creating both visual appeal and textural interest.
Cinnamon or vanilla extract can transform the flavor profile entirely. We recommend adding a pinch of ground cinnamon to the date mixture for warmth, or incorporating a few drops of vanilla extract into the melted chocolate for enhanced depth.
Dried fruits such as cranberries or cherries introduce a tart contrast to the sweet dates, creating a more complex flavor experience. These additions work particularly well when chopped finely and mixed into the nut butter layer, where they won’t interfere with the chocolate coating process.
Other creative additions we’ve tested include mini chocolate chips mixed into the filling, a drizzle of caramel sauce between layers, or even a sprinkle of crushed freeze-dried strawberries for a fruity surprise that complements the chocolate beautifully.
Make-Ahead Instructions
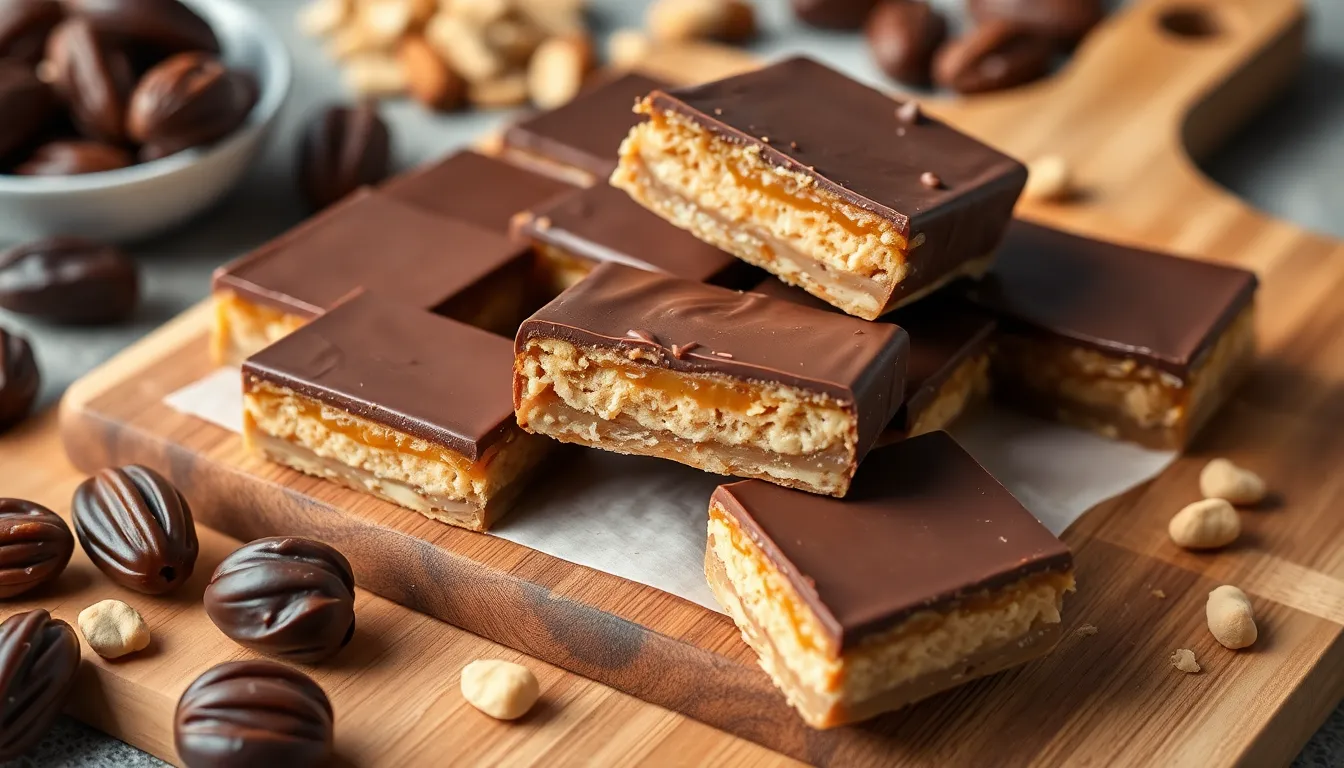
We recommend preparing date snickers up to several days or even weeks in advance since they actually improve in flavor and texture over time. The natural sugars in the dates develop deeper caramel notes while the chocolate coating maintains its satisfying snap.
Advance Preparation Timeline:
| Timeline | Storage Method | Quality |
|---|---|---|
| 1-3 days ahead | Room temperature | Good |
| 1-4 weeks ahead | Refrigerated | Excellent |
| 3-6 months ahead | Frozen | Very good |
Start by completing all three layers as outlined in our recipe instructions. Allow the assembled bars to chill completely in the refrigerator for at least 2 hours before cutting them into individual pieces. This initial chilling period ensures clean cuts and prevents the layers from separating.
For refrigerated storage we suggest wrapping each bar individually in parchment paper or wax paper to prevent sticking. Place the wrapped bars in an airtight container and store them in the refrigerator for up to one month. The cool temperature keeps the date caramel layer from becoming too soft while maintaining the chocolate’s texture.
Freezing offers the longest storage option for date snickers. Wrap each bar individually in plastic wrap or parchment paper then place them in a freezer-safe container or heavy-duty freezer bag. We find that date snickers taste best when eaten directly from the freezer since the frozen texture mimics traditional candy bars perfectly.
When preparing large batches we recommend making the date caramel layer first and storing it separately in the refrigerator for up to one week. This base layer can be portioned and shaped whenever you need fresh date snickers. The nougat layer ingredients can be prepped and stored in separate containers then quickly assembled when ready to make the complete bars.
For optimal make-ahead results prepare the chocolate coating fresh each time rather than storing melted chocolate. The coating takes only a few minutes to melt and creates a better seal around the date and nut layers when applied immediately.
Conclusion
We’ve discovered that date snickers aren’t just a healthier alternative to store-bought candy bars—they’re genuinely delicious treats that’ll satisfy your sweet tooth without compromise. These homemade bars prove that wholesome ingredients can create indulgent flavors that rival any processed snack.
The beauty of this recipe lies in its simplicity and flexibility. Whether you’re meal prepping for the week or creating a special treat for guests we’ve shown you how easy it is to customize these bars to your taste preferences and dietary needs.
Now it’s time to get into your kitchen and start creating these amazing date snickers. Your taste buds (and your body) will thank you for choosing this nutritious option that doesn’t sacrifice flavor for health benefits.
Frequently Asked Questions
What are date snickers and how are they different from regular candy bars?
Date snickers are a healthier alternative to traditional candy bars made with natural ingredients like Medjool dates, peanuts, and dark chocolate. Unlike regular candy bars, they contain no processed sugar or artificial ingredients, using dates as a natural sweetener while still providing the same indulgent taste and texture.
How long does it take to make homemade date snickers?
The entire preparation process takes only about 20 minutes of active time. However, you’ll need additional chilling time (typically 1-2 hours) to allow the chocolate coating to set properly before cutting and serving the bars.
What kitchen equipment do I need to make date snickers?
You’ll need basic kitchen tools that most home cooks already have: a food processor, high-speed blender, baking sheet, parchment paper, microwave-safe bowl, small spoon or offset spatula, and measuring cups and spoons. No special equipment is required.
How should I store homemade date snickers?
Store date snickers in an airtight container in the refrigerator for up to 2 weeks or freeze for up to 3 months. Wrap individual bars in wax paper to prevent sticking. Avoid storing at room temperature for more than 2-3 days.
Can I make date snickers ahead of time?
Yes, date snickers are perfect for make-ahead preparation and actually improve in flavor and texture over time. You can prepare them several days or even weeks in advance, making them ideal for meal prep or special occasions.
What are some variations I can try with the basic recipe?
You can customize date snickers by using different nut butters (sunflower seed butter for nut-free), various chocolate types (white or milk chocolate), and add-ins like coconut flakes, cinnamon, dried fruits, or mini chocolate chips to create your own unique flavors.
What type of dates work best for this recipe?
Medjool dates are ideal for date snickers because of their large size, natural sweetness, and soft texture. Choose fresh, plump dates that are easy to pit and flatten, as they form the base layer of your homemade candy bars.
How do I prevent the chocolate coating from burning when melting?
Melt chocolate gently using short intervals in the microwave (15-30 seconds at a time) or use a double boiler method. Stir frequently and add a small amount of coconut oil to help create a smooth, glossy coating that won’t seize or burn.

