Nothing beats the bright, zesty aroma of fresh lemon loaf baking in your kitchen. This classic quick bread delivers the perfect balance of tangy citrus flavor and tender, moist crumb that melts in your mouth with every bite.
We’ve perfected this foolproof lemon loaf recipe that transforms simple pantry staples into bakery-quality magic. The secret lies in using both fresh lemon juice and zest, creating layers of bright flavor that’ll make your taste buds sing. Whether you’re hosting a brunch, need the perfect afternoon treat with tea, or want to impress guests with minimal effort, this lemon loaf delivers every time.
Ingredients
We’ve carefully selected each ingredient to create the perfect balance of tangy citrus flavor and tender crumb. Our ingredient list includes everything needed for both the moist lemon loaf and the glossy finishing glaze.
For the Lemon Loaf
- 1½ cups all-purpose flour
- 1 teaspoon baking powder
- ½ teaspoon salt
- ⅓ cup unsalted butter, melted and cooled slightly
- 1 cup granulated sugar
- 2 large eggs, room temperature
- ½ cup whole milk
- ¼ cup fresh lemon juice (about 2 lemons)
- 2 tablespoons fresh lemon zest (about 2 lemons)
- 1 teaspoon vanilla extract
For the Lemon Glaze
- 1 cup powdered sugar, sifted
- 3 tablespoons fresh lemon juice
- 1 tablespoon fresh lemon zest
- 1 tablespoon whole milk
Equipment Needed
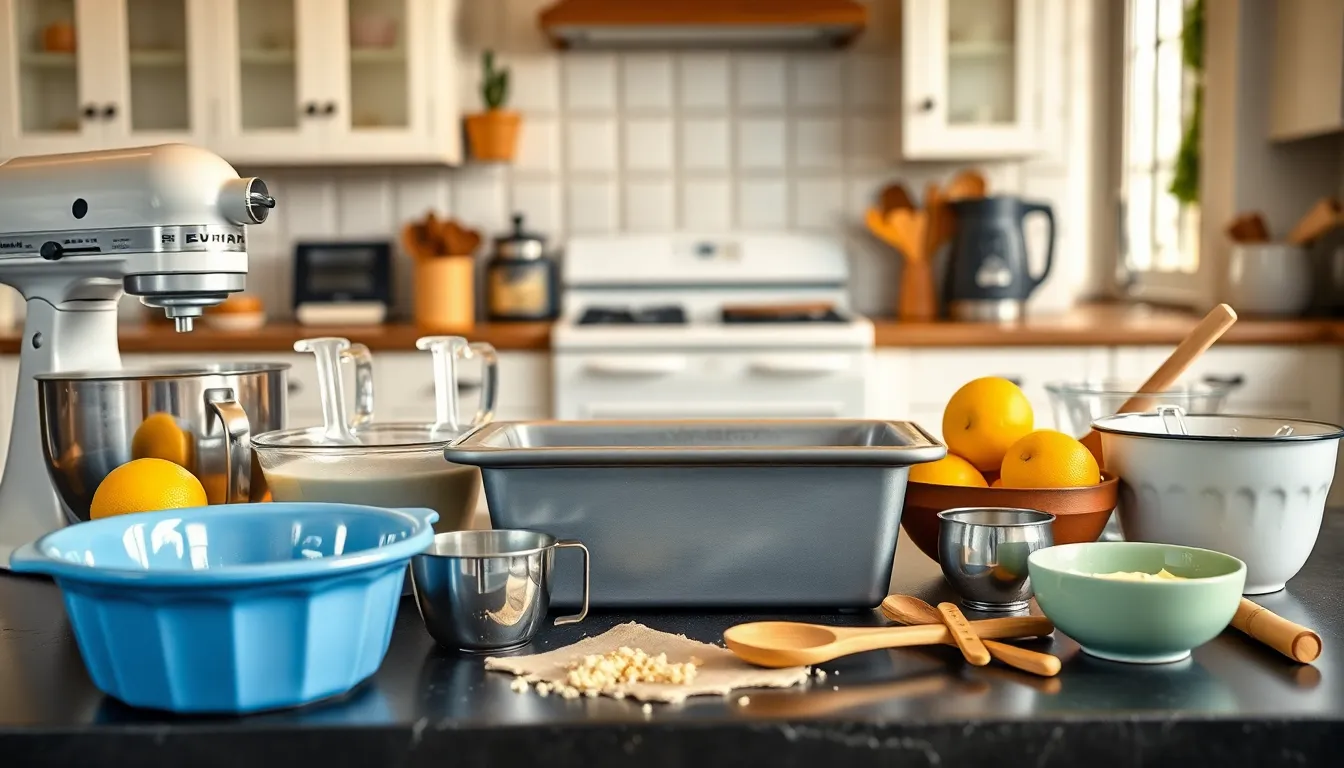
Creating our perfect lemon loaf requires exact tools that ensure optimal mixing and baking results. We recommend gathering these essential items before starting your baking process.
Essential Baking Equipment:
- Loaf pan (9×5 inch or 8×4 inch) – The foundation for our perfectly shaped lemon loaf
- Large mixing bowls – Separate bowls for wet and dry ingredients prevent overmixing
- Electric mixer or stand mixer – Creates the ideal creamy texture when combining butter and sugar
- Rubber spatula – Essential for gentle folding and scraping bowl sides clean
- Measuring cups and spoons – Precise measurements guarantee consistent results every time
- Fine mesh grater or microplane – Creates the perfect lemon zest texture without bitter white pith
- Wooden spoon – Ideal for final ingredient incorporation without overworking the batter
Additional Tools for Success:
- Toothpick or cake tester – Our reliable method for checking doneness at the center
- Wire cooling rack – Promotes proper air circulation during the cooling process
- Non-stick cooking spray or parchment paper – Prevents sticking and ensures easy loaf removal
- Small saucepan – Necessary for preparing our glossy lemon glaze
- Pastry brush – Helps achieve even glaze distribution across the loaf surface
We find that having all equipment ready before beginning creates a smoother baking experience. Our recommended loaf pan size ensures the perfect height and texture ratio that makes this lemon loaf so irresistible.
Instructions

Follow our step-by-step process to create this perfectly moist and tangy lemon loaf that delivers exceptional results every time. These detailed instructions ensure your loaf achieves the ideal texture and vibrant citrus flavor.
Prep
Preheat your oven to 160°C (320°F) for convection ovens or 170°C (340°F) for conventional ovens. Position the rack in the center of your oven for even heat distribution.
Prepare your loaf pan by thoroughly greasing an 8×4-inch or 9×5-inch loaf pan with butter or non-stick spray. Dust lightly with flour and tap out excess to prevent sticking.
Gather all ingredients at room temperature for optimal mixing. Room temperature ingredients blend more easily and create a smoother batter.
Make the Lemon Loaf Batter
Combine the dry ingredients by whisking together flour, baking powder, and salt in a medium bowl. Set this mixture aside for later use.
Cream butter and sugar in a large mixing bowl using an electric mixer on medium speed for 3-4 minutes until the mixture becomes light and fluffy. Add lemon zest during this process to release the oils and maximize flavor.
Add eggs one at a time to the butter mixture, beating well after each addition. Pour in the lemon juice and mix until just combined.
Alternate wet and dry ingredients by adding one-third of the flour mixture to the butter mixture, followed by half the milk. Repeat this process, ending with the remaining flour mixture. Mix on low speed until just combined to avoid overmixing, which can result in a tough loaf.
Bake the Loaf
Pour the batter into your prepared loaf pan, spreading it evenly with a spatula. Tap the pan gently on the counter to release air bubbles.
Bake for 40 to 50 minutes or until the top is golden brown and a toothpick inserted into the center comes out clean or with just a few moist crumbs. The internal temperature should reach 200°F (93°C) for doneness.
Cool in the pan for 10 minutes before turning out onto a wire rack. This prevents the loaf from breaking while still warm.
Prepare the Lemon Glaze
Sift the icing sugar into a small bowl to eliminate lumps and ensure a smooth glaze texture.
Add fresh lemon juice gradually to the icing sugar, whisking constantly until you achieve a pourable consistency. The glaze should coat the back of a spoon but still drip easily.
Adjust consistency by adding more lemon juice for a thinner glaze or more icing sugar for a thicker coating based on your preference.
Glaze and Finish
Allow the loaf to cool completely on the wire rack before glazing. A warm loaf will cause the glaze to melt and run off instead of setting properly.
Drizzle the glaze evenly over the cooled loaf using a spoon or whisk, allowing it to cascade down the sides naturally. Work quickly as the glaze will begin to set within minutes.
Let the glaze set for 15-20 minutes before slicing to achieve clean cuts and prevent the glaze from smearing. Store covered at room temperature for up to three days.
Storage Instructions
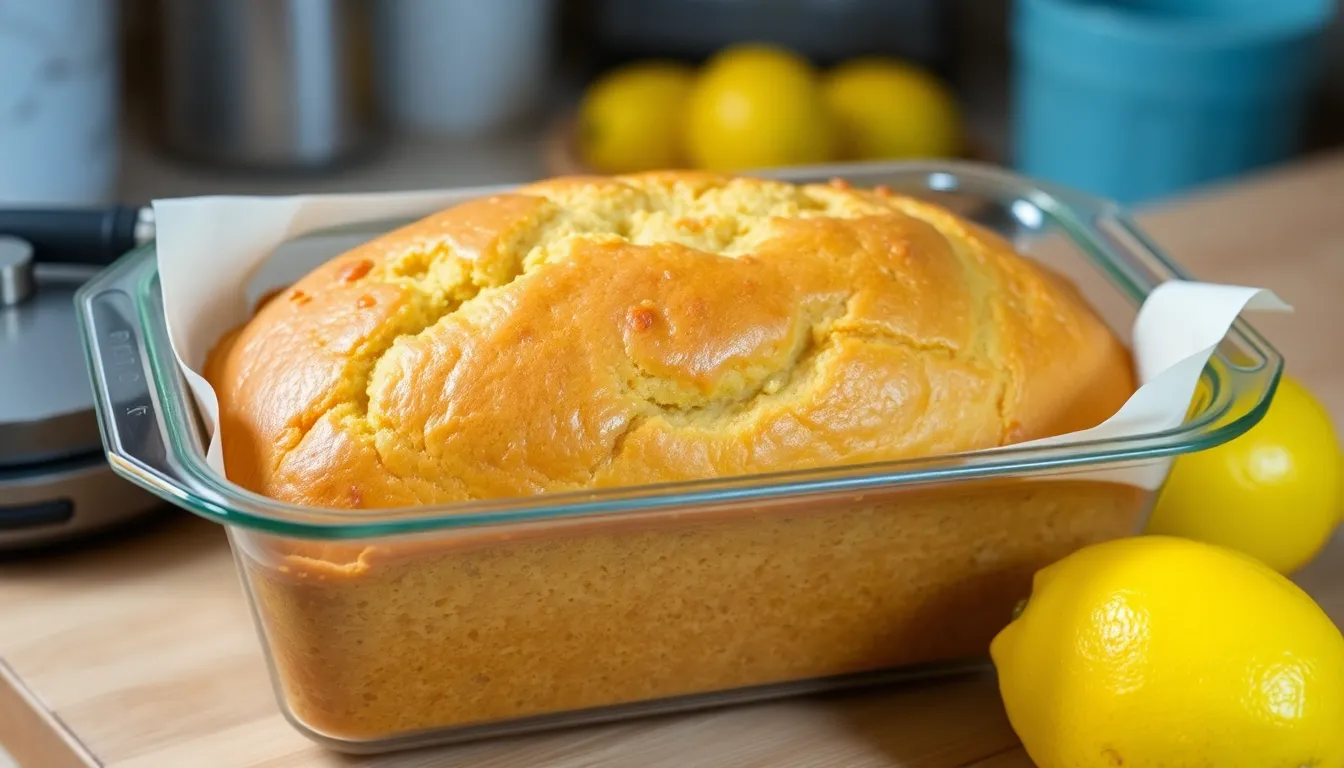
We recommend storing your lemon loaf properly to maintain its moist texture and bright citrus flavor for as long as possible. Room temperature storage works best for short term enjoyment. Place the cooled loaf in an airtight container where it will stay fresh for up to 5 days. The high fat content from butter and the natural preservative qualities of citrus help maintain optimal freshness during this period.
Refrigeration extends the storage life significantly when you need to keep the loaf longer. Store your lemon loaf in the refrigerator for up to 7 days in an airtight container. We suggest storing the glaze separately from the cake during refrigeration to prevent the loaf from drying out.
Freezing provides the longest storage option for your lemon loaf. Cool the loaf completely before beginning the freezing process. Wrap individual slices or the whole loaf tightly in plastic wrap followed by aluminum foil for maximum protection against freezer burn.
| Storage Method | Duration | Temperature |
|---|---|---|
| Room Temperature | 2-5 days | Airtight container |
| Refrigeration | Up to 7 days | Refrigerator |
| Freezing | 3-6 months | Freezer |
Your frozen lemon loaf will maintain quality for 3 to 6 months when properly wrapped. Thaw frozen portions at room temperature or transfer them to the refrigerator for gradual thawing. We recommend freezing the loaf without glaze and adding fresh glaze after thawing for optimal taste and texture.
Fresh lemon juice creates the best flavor profile for both the loaf and glaze. Bottled lemon juice serves as an acceptable substitute when fresh lemons are unavailable. Always ensure your lemon loaf reaches room temperature before applying any glaze to achieve the perfect glossy finish.
Make-Ahead Tips

Planning ahead with our lemon loaf allows us to enjoy this delightful citrus treat without last-minute stress. We can prepare this moist cake several days in advance while maintaining its signature tender crumb and bright flavor.
Storage Timeline Options
| Storage Method | Duration | Best Practices |
|---|---|---|
| Room Temperature | Up to 4 days | Airtight container |
| Refrigerated | 3-7 days | Wrapped tightly |
| Frozen | Up to 3 months | Double-wrapped |
Room Temperature Storage
We recommend storing our finished lemon loaf in an airtight container at room temperature for optimal freshness. This method preserves the cake’s moisture for up to 4 days while preventing it from drying out. Room temperature storage works best when we plan to serve the loaf within this timeframe.
Extended Refrigeration
Refrigeration becomes necessary when we need to store our lemon loaf beyond 4 days. We should wrap the cake tightly or place it in an airtight container before refrigerating. While refrigerated storage extends the loaf’s safe consumption period, the texture may become slightly drier over time.
Freezing for Long-Term Storage
Freezing offers our best option for long-term make-ahead preparation. We achieve optimal results by wrapping the unglazed loaf tightly in plastic wrap followed by aluminum foil. This double-wrapping method prevents freezer burn and maintains quality for up to 3 months. Thawing occurs naturally at room temperature before we apply any glaze or icing.
Strategic Glazing Timing
Our glazing strategy depends on when we plan to serve the loaf. For cakes prepared 1-2 days ahead, we can apply the glaze immediately after the loaf cools completely. When making the cake several days in advance, applying a lemon-sugar syrup soak before wrapping helps maintain moisture throughout storage.
Preparation Sequence
We must allow our lemon loaf to cool completely before adding any glazes or icings. Applying warm glazes or soaks while the cake remains slightly warm maximizes absorption. But, thick icings require the loaf to reach room temperature for proper adherence and appearance.
Serving Suggestions
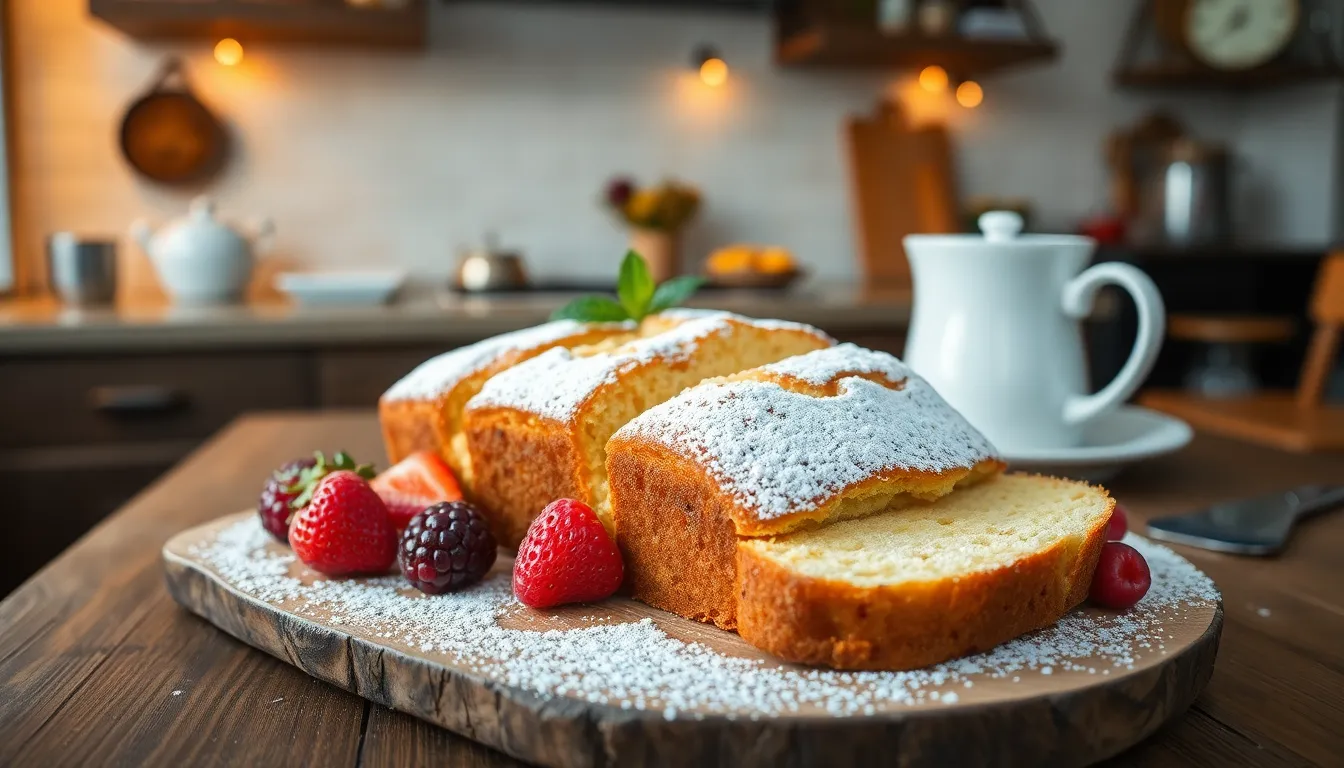
Our lemon loaf shines brightest when paired with complementary accompaniments that enhance its tangy sweetness. Fresh berries make an excellent choice for topping each slice, with strawberries, raspberries, and blueberries providing natural sweetness and beautiful color contrast against the golden loaf.
We recommend starting with the classic approach of dusting your cooled loaf with powdered sugar for an elegant presentation. For those who crave extra citrus intensity, spread slices generously with lemon curd to amplify that bright, tangy flavor profile.
Whipped cream serves as a light and creamy complement that we love to dollop alongside each serving. Ice cream transforms our lemon loaf into a proper dessert course, with vanilla or citrus-flavored varieties working particularly well when served on top or alongside warm slices.
Creative topping combinations elevate this simple loaf into something special. Strawberry cream cheese offers a delightful balance of tangy and sweet flavors, while raspberry jam creates another winning fruit pairing. For a more sophisticated presentation, we suggest spreading ricotta cheese on each slice and finishing with a delicate drizzle of honey.
Our lemon loaf adapts beautifully to different serving occasions and temperatures. Room temperature slices work perfectly for afternoon tea service alongside coffee or your favorite tea blend. The versatility extends to both casual snacking and elegant dessert presentations, making it suitable for everything from family gatherings to dinner parties.
Storage flexibility adds to the serving convenience since we can wrap and freeze portions for later enjoyment. Thawing happens quickly at room temperature or in the microwave, ensuring fresh-tasting slices are always ready when guests arrive unexpectedly.
Recipe Variations
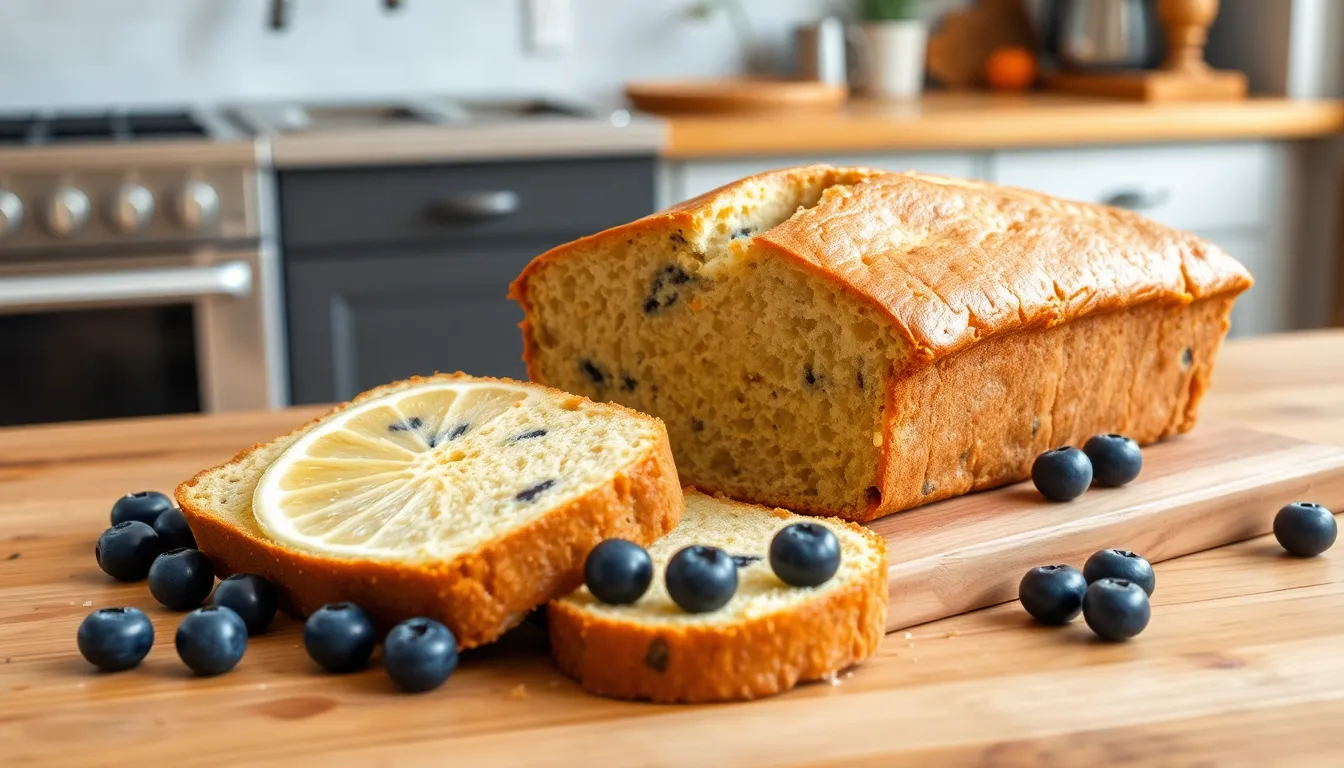
Our classic lemon loaf recipe serves as the perfect foundation for countless delicious variations. These adaptations allow you to customize the flavor profile while maintaining the same tender crumb texture that makes this loaf so beloved.
Meyer Lemon Loaf
Meyer lemons transform our traditional recipe into something extraordinary with their naturally sweeter and less acidic profile. We substitute Meyer lemon juice and zest for regular lemons in equal amounts to create a more delicate citrus flavor. The reduced acidity of Meyer lemons produces a gentler tang that pairs beautifully with the buttery crumb. This variation works especially well for those who prefer a milder lemon taste without sacrificing the bright citrus essence.
Lemon Blueberry Loaf
Fresh blueberries create a stunning contrast against the golden lemon batter while adding bursts of natural sweetness. We fold 1 cup of fresh blueberries into the prepared batter just before transferring to the loaf pan. The berries should be lightly tossed in flour to prevent them from sinking to the bottom during baking. This combination delivers the perfect balance between tangy lemon and sweet berry flavors in every slice.
Glazed vs. Unglazed Options
The choice between glazed and unglazed versions depends on your preferred level of sweetness and presentation style. Our glazed version features a zesty lemon glaze made with lemon juice and powdered sugar that creates an extra layer of moisture and intense citrus flavor. The glaze adds visual appeal with its glossy finish and provides additional sweetness that complements the tangy loaf.
Unglazed loaves allow the natural lemon flavors to shine through without additional sweetness competing for attention. This option works perfectly for those who prefer a lighter texture or want to control their sugar intake. The unglazed version also stores better for longer periods since there’s no glaze to potentially become sticky or lose its texture over time.
Troubleshooting Tips

Even experienced bakers encounter challenges when making lemon loaf. We’ve compiled the most effective answers to help you achieve perfect results every time.
Preventing a Sunken Center
Loaves that sink in the middle typically result from four main issues. Too much sugar disrupts the cake’s structure and prevents proper rising. Excessive fat content creates similar problems by weakening the loaf’s framework. Insufficient baking powder fails to provide adequate lift during baking. Underbaking leaves the center too soft to support itself as the loaf cools.
| Common Cause | Solution |
|---|---|
| Too much sugar | Follow recipe measurements exactly |
| Excess fat | Measure butter/oil precisely |
| Insufficient leavening | Check baking powder expiration date |
| Underbaking | Test with skewer before removing |
Achieving Perfect Doneness
Temperature control and timing determine whether your loaf emerges perfectly baked or disappointing. We recommend testing doneness with a clean skewer or butter knife inserted into the center. The tester should come out clean or with just a few moist crumbs attached. Overbaking creates dry texture while underbaking causes structural collapse.
Mastering Mixing Technique
Proper mixing technique prevents dense or tough texture. Overmixing after adding flour overdevelops gluten strands and creates undesirable chewiness. We suggest folding dry ingredients gently into wet ingredients until just combined. Visible streaks of flour indicate you need a few more gentle folds.
Improving Texture with Resting
Allowing batter to rest for 30 minutes before baking significantly improves final texture. This resting period lets flour fully absorb moisture and creates more even crumb structure. The brief wait reduces density issues and promotes uniform baking throughout the loaf.
Perfecting Glaze Consistency
Glaze problems stem from incorrect liquid ratios. Thin glaze that disappears into the cake contains too much lemon juice or milk. Thick glaze that won’t spread smoothly needs additional liquid added gradually. We add liquid one teaspoon at a time until the glaze coats the back of a spoon but still flows easily.
Conclusion
We’ve covered everything you need to create the perfect lemon loaf from start to finish. With our detailed recipe and troubleshooting tips you’ll confidently bake a moist tangy treat that’s sure to impress.
Whether you choose the classic version or experiment with Meyer lemons and blueberries this versatile recipe adapts to any occasion. The key lies in proper preparation careful mixing and patience during the cooling process.
Now it’s time to gather your ingredients and start baking. Your kitchen will soon fill with that irresistible citrus aroma and you’ll have a delicious homemade lemon loaf to share with family and friends.
Frequently Asked Questions
How long does homemade lemon loaf stay fresh?
Homemade lemon loaf stays fresh for up to 4 days when stored in an airtight container at room temperature. For extended freshness, wrap it tightly and refrigerate for 3-7 days. For long-term storage, double-wrap the loaf and freeze for up to 3 months to maintain its moist texture and bright citrus flavor.
Can I make lemon loaf ahead of time?
Yes, lemon loaf is perfect for making ahead. You can bake it completely and store it at room temperature for up to 4 days or freeze it for up to 3 months. For best results, wait to apply the glaze until closer to serving time to maintain the proper consistency and appearance.
What’s the difference between glazed and unglazed lemon loaf?
Glazed lemon loaf features a sweet lemon glaze that adds extra moisture and sweetness to complement the tangy bread. Unglazed versions allow the natural lemon flavors to shine through more prominently and tend to store better over time without becoming soggy or losing their texture.
What are the best serving suggestions for lemon loaf?
Lemon loaf pairs beautifully with fresh berries, whipped cream, lemon curd, or a light dusting of powdered sugar. For creative variations, try topping with strawberry cream cheese or ricotta with honey. It’s also delicious served alongside vanilla ice cream or as part of a brunch spread.
How do I prevent my lemon loaf from sinking in the center?
To prevent a sunken center, avoid overmixing the batter, ensure your leavening agents are fresh, and don’t use too much sugar or fat. Make sure your oven temperature is accurate, avoid opening the oven door during baking, and allow the batter to rest briefly before baking for improved texture.
Can I use Meyer lemons instead of regular lemons?
Yes, Meyer lemons make an excellent substitute for regular lemons in this recipe. They produce a milder, sweeter flavor profile due to their naturally lower acidity. This variation creates a more delicate citrus taste while maintaining the same moist, tender texture of the original recipe.
What equipment do I need to make lemon loaf?
Essential equipment includes a standard loaf pan, large mixing bowls, an electric mixer, and accurate measuring cups. Additional helpful tools include a toothpick for testing doneness, a wire cooling rack for proper air circulation, and a fine-mesh sieve for preparing smooth glaze ingredients.


