Nothing beats the aroma of warm, cheesy biscuits fresh from the oven, especially when they’re this easy to make. Bisquick cheddar biscuits combine the convenience of baking mix with the irresistible flavor of sharp cheddar cheese, creating fluffy, golden treats that’ll have your family gathering around the kitchen in minutes.
We’ve perfected this simple recipe that transforms basic pantry staples into bakery-quality biscuits. The beauty of using Bisquick lies in its foolproof formula – you can’t mess this up even if you’re a beginner baker. Each bite delivers buttery layers with pockets of melted cheese that create the perfect balance of comfort and flavor.
Whether you’re serving these alongside a hearty soup, pairing them with scrambled eggs for breakfast, or simply enjoying them warm with butter, these cheddar biscuits will become your go-to recipe. They’re ready in under 30 minutes and require just five ingredients you probably already have at home.
Ingredients
We gather these five simple ingredients to create our perfect batch of Bisquick cheddar biscuits. Each component plays a crucial role in delivering the fluffy texture and rich cheese flavor that makes these biscuits irresistible.
Essential Ingredients List
- 2 cups Bisquick Original Pancake & Baking Mix
- 3/4 cup whole milk
- 1 cup sharp cheddar cheese, shredded
- 3 tablespoons butter, melted
- 1/4 teaspoon garlic powder
Ingredient Preparation Notes
Bisquick mix forms our foundation and ensures consistent results every time. We recommend using the original formula rather than reduced-fat versions for optimal texture and rise.
Sharp cheddar cheese delivers the bold flavor profile we love in these biscuits. Freshly shredded cheese melts better than pre-packaged varieties and creates those delicious pockets of melted cheese throughout each biscuit.
Whole milk provides the necessary moisture and fat content for tender biscuits. We avoid using low-fat milk as it can result in denser texture.
Melted butter adds richness and helps create the golden-brown tops we want. Room temperature butter works best for even distribution throughout the dough.
Garlic powder enhances the savory profile without overwhelming the cheese flavor. Fresh garlic can be substituted but requires mincing very finely to distribute evenly.
Equipment Needed

Creating perfect Bisquick cheddar biscuits requires minimal kitchen equipment that most home bakers already have on hand. We recommend gathering these essential tools before starting to ensure a smooth baking process.
Large mixing bowl serves as our primary workspace for combining all ingredients. A spacious bowl prevents spillage and allows us to mix the dough thoroughly without making a mess.
Danish dough whisk or regular whisk helps us blend the ingredients effectively while maintaining the proper texture. We prefer a Danish dough whisk for its ability to handle thick batters without overworking the dough.
Measuring cups and spoons ensure accuracy in our ingredient proportions. Precise measurements are crucial for achieving the ideal biscuit texture and flavor balance every time we bake.
Cookie scoop (1½-Tablespoon size) provides consistent portioning for uniform biscuits. This tool helps us create evenly sized portions that bake at the same rate and present beautifully on our serving plate.
Baking sheet accommodates our shaped biscuit dough during the baking process. We recommend using a heavy duty sheet pan that distributes heat evenly for golden brown results.
Parchment paper lines our baking sheet and prevents sticking while making cleanup effortless. This simple addition protects our biscuits and ensures easy removal from the pan.
Pastry brush becomes essential when we want to apply the optional garlic butter topping. This tool allows us to distribute melted butter evenly across each warm biscuit for maximum flavor impact.
Cooling rack provides proper air circulation around our finished biscuits. Elevating the biscuits prevents soggy bottoms and maintains their crispy exterior while they cool to the perfect serving temperature.
Instructions

Follow these straightforward steps to create perfectly golden Bisquick cheddar biscuits that deliver restaurant-quality flavor in your own kitchen. Our method ensures consistent results every time.
Prep the Oven and Baking Sheet
Preheat your oven to 425°F (218°C) for optimal baking temperature. Line a baking sheet with parchment paper or a silicone mat to prevent sticking and ensure easy cleanup. Position the oven rack in the center for even heat distribution.
Mix the Dry Ingredients
Combine 2 cups of Bisquick baking mix with ¼ teaspoon of garlic powder in a large mixing bowl. Whisk the ingredients together thoroughly to distribute the garlic powder evenly throughout the mix. This step creates the flavor foundation for our savory biscuits.
Add Wet Ingredients
Pour ¾ cup of whole milk into the dry mixture and stir gently with a Danish dough whisk or regular whisk. Add 1 cup of freshly shredded sharp cheddar cheese and fold into the dough until just combined. The mixture should appear slightly tacky and moist but not overly sticky. Avoid overmixing to maintain tender biscuit texture.
Form the Biscuits
Use a cookie scoop or two spoons to portion the dough into mounds approximately 2 tablespoons each. Drop the dough portions onto your prepared baking sheet with about 2 inches of space between each biscuit for proper expansion. We recommend working quickly to maintain the dough’s ideal consistency.
Bake the Biscuits
Place the baking sheet in the preheated oven and bake for 10-12 minutes until the biscuits turn golden brown on top. While they bake melt the remaining 3 tablespoons of butter for brushing. Remove from oven when the tops achieve a beautiful golden color and brush immediately with the melted butter for extra flavor and shine.
| Baking Step | Temperature | Time | Visual Cue |
|---|---|---|---|
| Prep Oven | 425°F | – | Center rack position |
| Bake Biscuits | 425°F | 10-12 minutes | Golden brown tops |
| Final Brush | – | Immediately after baking | Glossy butter coating |
Tips for Perfect Bisquick Cheddar Biscuits

Creating bakery-quality biscuits at home requires attention to a few key details that make all the difference. We’ve gathered essential techniques to help you achieve consistently delicious results every time.
Choosing the Right Cheese
Cheddar is the preferred choice for Bisquick cheddar biscuits and delivers optimal flavor results. Sharp cheddar provides a bold taste while mild cheddar offers a subtler cheese presence depending on your preference.
Grating vs. shredding makes a important difference in the final texture. Grated cheese mixes more evenly into the dough creating uniform distribution throughout each biscuit. Shredded cheese provides a more textured biscuit with distinct pockets of melted cheese.
Fresh cheese always performs better than pre-packaged options and ensures maximum flavor intensity. We recommend grating your own cheese from a block when possible for superior results.
Getting the Perfect Texture
The dough should be soft and slightly lumpy for optimal biscuit texture. Adjust the amount of milk if necessary to achieve this perfect consistency rather than forcing the original measurement.
Preheat your oven to 425°F or 450°F for optimal baking results. This temperature range creates the ideal environment for fluffy biscuits with golden exteriors.
| Temperature | Result |
|---|---|
| 425°F | Standard fluffy texture |
| 450°F | Extra golden exterior |
Proper ingredient measurement ensures the right balance of moisture and texture throughout your biscuits. We emphasize accurate measuring of the Bisquick mix as the foundation ingredient.
Preventing Overmixing
Stir ingredients just until they combine and resist the urge to continue mixing. Overmixing develops gluten strands that lead to tough dense biscuits instead of light fluffy ones.
Use gentle folding motions rather than vigorous stirring when incorporating the cheese and liquid ingredients. This mixing technique preserves the tender crumb structure we want in perfect biscuits.
Stop mixing immediately once you no longer see dry flour streaks in the dough. The mixture should look slightly shaggy and uneven for the best final texture.
Serving Suggestions

These golden, cheesy biscuits complement an impressive variety of meals throughout the day. We love how versatile they are for creating memorable dining experiences.
Breakfast and Brunch Options
Start your morning right by pairing warm cheddar biscuits with crispy bacon and fluffy frittatas. The combination creates a hearty brunch spread that satisfies even the hungriest appetites. We recommend serving them alongside breakfast fries for a complete comfort food experience, or try pairing them with lemon blueberry sweet rolls for a delightful sweet and savory contrast.
Transform these biscuits into substantial breakfast sandwiches by slicing them in half and filling with fried eggs, crispy bacon, and additional cheese. The buttery, cheesy bread provides the perfect foundation for a filling morning meal.
Lunch and Dinner Pairings
Our Bisquick cheddar biscuits shine as accompaniments to homemade chili, hearty stews, and warming soups. The rich, cheesy flavor enhances comfort food meals while providing a satisfying bread component. They work beautifully as dinner sides for salads and main courses, adding substance and flavor to lighter dishes.
| Meal Type | Best Pairings | Preparation Time |
|---|---|---|
| Breakfast | Bacon, frittatas, breakfast fries | 15 minutes prep |
| Brunch | Sweet rolls, eggs, sandwich fillings | 10-14 minutes baking |
| Lunch/Dinner | Chili, stew, soup, salads | Total 25-29 minutes |
Creative Variations
Beyond traditional serving methods, we can adapt the basic biscuit mix for other delicious creations. Use the same mixture as a base for cheesy cornbread, giving you another crowd-pleasing side dish option. The versatile dough also works wonderfully as a crust for savory tarts, expanding your culinary possibilities.
Store leftover biscuits in an airtight container for several days, then reheat them in your oven or toaster to restore their original texture and warmth. This makes them perfect for meal prep or enjoying throughout the week.
Storage and Reheating
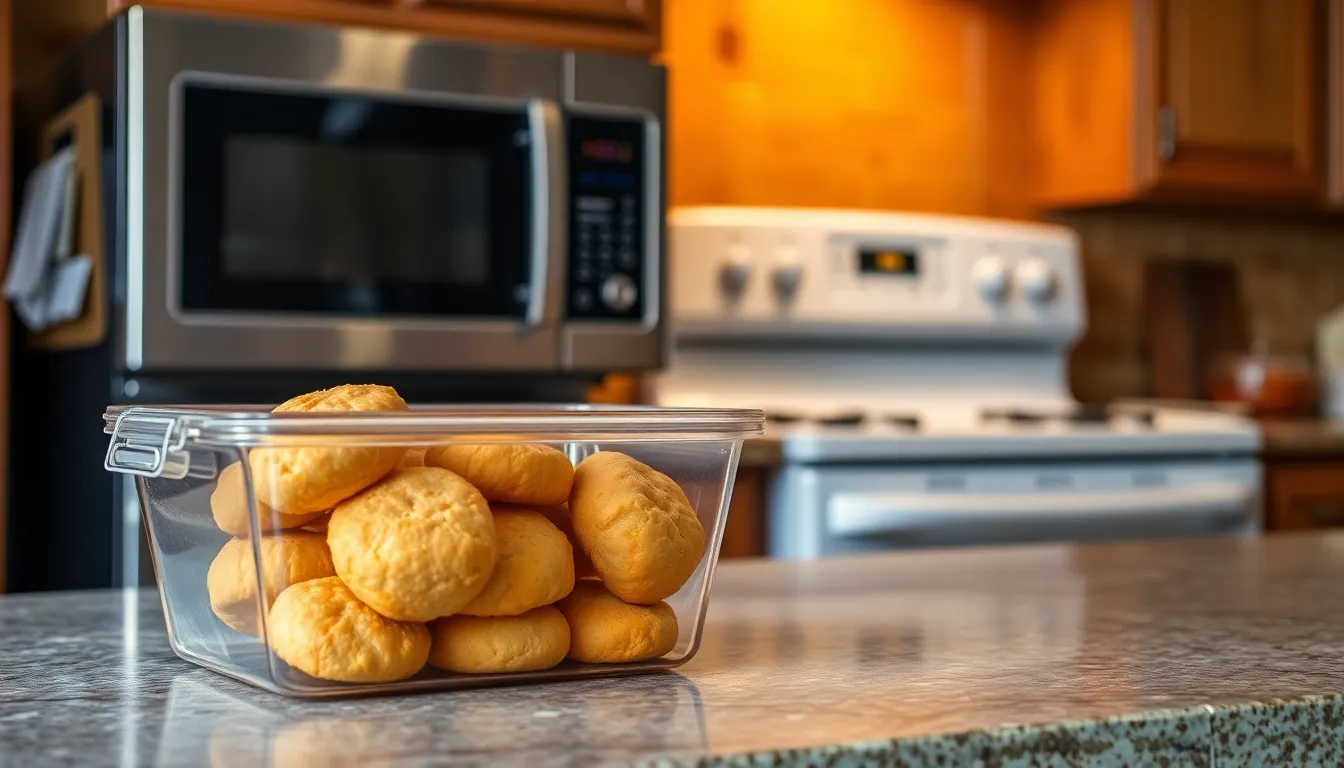
We know these delicious Bisquick cheddar biscuits are best enjoyed fresh from the oven. But, proper storage and reheating techniques ensure you can savor them for days to come.
Storing Leftover Biscuits
Room temperature storage works perfectly for short term enjoyment. We recommend placing leftover biscuits in an airtight container where they stay fresh for 2-3 days at room temperature.
Refrigerator storage extends their lifespan when you need more time. Our biscuits maintain their quality for 3-4 days when stored in an airtight container in the refrigerator.
Freezer storage offers the longest preservation option for meal planning. We suggest freezing biscuits in an airtight container or freezer bag for up to 3 months. Before freezing, allow the biscuits to cool completely and consider excluding any seasoned butter toppings since these additions work best when applied after reheating.
| Storage Method | Duration | Container Type |
|---|---|---|
| Room Temperature | 2-3 days | Airtight container |
| Refrigerator | 3-4 days | Airtight container |
| Freezer | Up to 3 months | Airtight container or freezer bag |
Reheating Instructions
Microwave reheating provides the quickest warming method for individual servings. We heat our biscuits in the microwave for 15-20 seconds to restore their warmth without overcooking.
Oven reheating delivers more thorough and even warming for multiple biscuits. We place our biscuits in a 350°F oven until warmed through, which helps restore their original texture.
Air fryer reheating maintains the biscuits’ desirable texture while warming them efficiently. This method works especially well for achieving that slightly crispy exterior we love.
When reheating frozen biscuits, we recommend thawing them overnight in the refrigerator before applying any of these reheating methods for optimal results.
Variations and Add-Ins

These variations transform our basic Bisquick cheddar biscuits into exciting flavor combinations. Each add-in creates a unique taste profile while maintaining the same simple preparation method.
Herb Cheddar Biscuits
We elevate our biscuits by incorporating 1 teaspoon of Italian seasoning into the dry ingredients. The herbs blend beautifully with the cheddar cheese while adding aromatic complexity to each bite. For a more customized herb profile we can mix dried parsley thyme and rosemary in equal parts. These herbs infuse the biscuits with garden-fresh flavors that pair perfectly with soups and salads.
The dried herbs distribute evenly throughout the dough when added with the Bisquick mix. We recommend crushing the herbs gently between our fingers before mixing to release their essential oils. This technique intensifies the herbal notes without overwhelming the cheese flavor.
Spicy Jalapeño Cheddar Biscuits
We add 1-2 tablespoons of diced jalapeños to create biscuits with a spicy kick. Fresh jalapeños provide the best flavor and texture while canned jalapeños offer convenience. We recommend removing the seeds for moderate heat or keeping them for extra spice.
The jalapeños should be finely diced to distribute evenly throughout each biscuit. We fold them in with the shredded cheese to ensure proper incorporation. These spicy biscuits complement chili dishes and add excitement to breakfast sandwiches.
Bacon Cheddar Biscuits
We incorporate 1/4 cup of crispy bacon bits for a smoky savory enhancement. The bacon should be cooked until crispy and drained on paper towels before adding to our dough. We can use store-bought bacon bits or cook fresh bacon and crumble it ourselves.
The bacon pieces add textural contrast and rich flavor to complement the melted cheddar. We mix the bacon bits with the cheese before folding into the wet ingredients. This distribution method ensures every biscuit contains bacon in each bite while preventing the pieces from sinking to the bottom during baking.
Troubleshooting Common Issues

Even with our straightforward Bisquick cheddar biscuit recipe, we sometimes encounter challenges that can affect the final results. Understanding these common problems and their answers helps us achieve perfect biscuits every time.
Fixing Crumbly Dough
When our dough feels too dry or crumbly, insufficient moisture is typically the culprit. We can remedy this by adding milk gradually, one tablespoon at a time, until the dough reaches a soft consistency. Avoiding overmixing during this adjustment prevents the biscuits from becoming tough.
Preventing Dense or Hard Biscuits
Overworking the dough creates the primary cause of dense, hard biscuits. We should mix our ingredients just until combined to maintain that tender, fluffy texture we desire. The moment no dry flour streaks remain, we stop mixing immediately.
Stopping Cheese from Leaking
Cheese that melts out and burns during baking can ruin our biscuits’ appearance and taste. We prevent this by using shredded cheese mixed thoroughly throughout the dough rather than placing cheese on the surface before baking. Sticking to baked-in cheese delivers the best results.
Achieving Even Browning
Uneven browning frustrates many bakers, but we can solve this with proper equipment and technique. Using a light-colored baking sheet and spacing our biscuits apart ensures consistent heat distribution. Rotating the pan halfway through baking helps if our oven has hot spots.
Avoiding Burnt Bottoms
Burnt bottoms occur when direct heat transfers too aggressively to our biscuits. We prevent this by lowering our oven rack and using parchment paper or a silicone mat as a protective barrier between the biscuits and the baking sheet.
Maintaining Proper Shape
Flat biscuits that spread too much indicate temperature or preparation issues. We ensure our oven reaches the proper 450°F temperature before baking begins. Chilling the dough for 10 minutes before baking also helps maintain the desired shape.
Preventing Dry Results
Biscuits become dry when baked too long or when the dough lacks sufficient moisture. We check for doneness at the minimum recommended baking time and adjust accordingly based on our oven’s performance.
Most troubleshooting issues resolve with minor adjustments during preparation or baking. Accurate ingredient measurements, proper mixing technique, and following our specified baking temperature and time guidelines ensure consistent success with every batch.
Make-Ahead Instructions
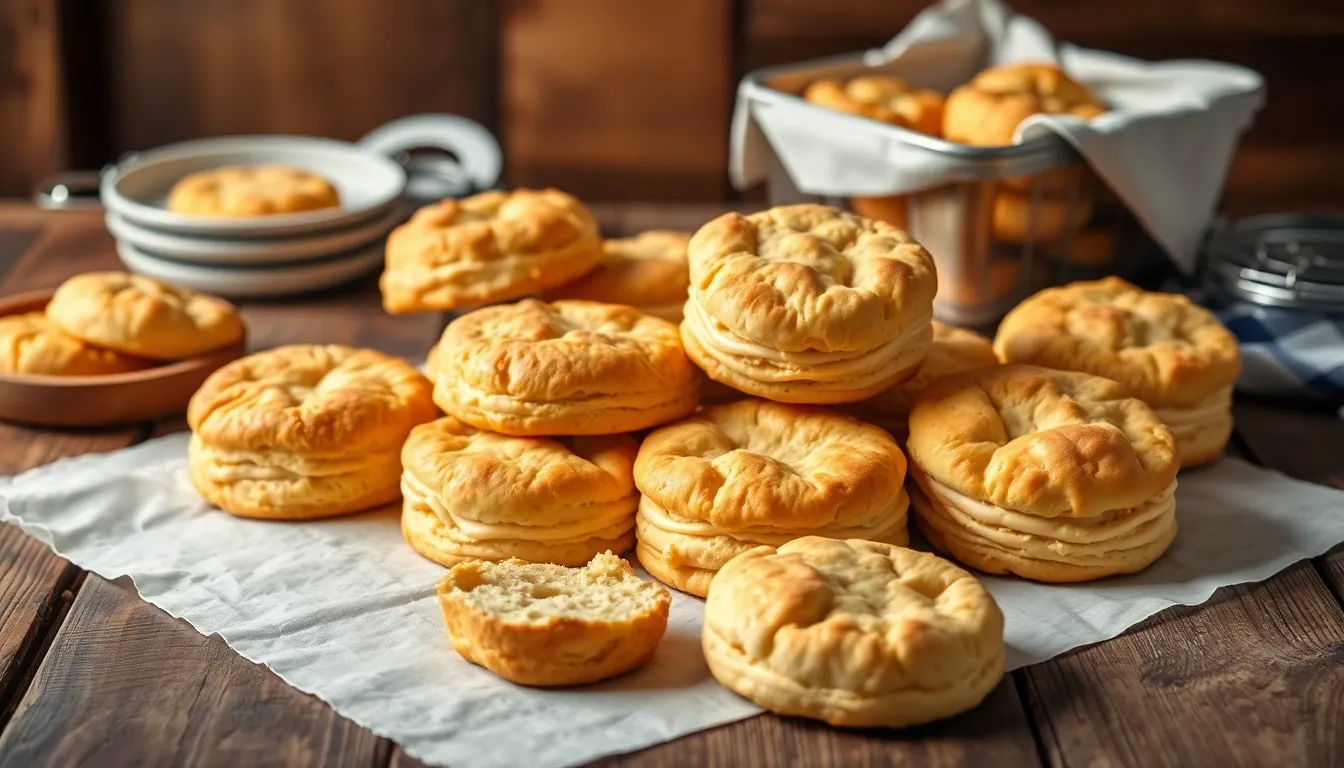
We love how these Bisquick cheddar biscuits can be prepared in advance to make meal planning effortless. Planning ahead with these delicious biscuits saves time during busy weekdays and ensures we always have a warm bread option ready for our family meals.
Baking Ahead of Time
Baking our biscuits up to two days in advance works perfectly for meal prep. Store the completely cooled baked biscuits in an airtight container at room temperature. When we’re ready to serve them, we simply reheat the biscuits in a 350°F oven for 3-4 minutes until they’re warmed through and regain their fresh-baked texture.
Freezing for Long-Term Storage
Our baked Bisquick cheddar biscuits freeze beautifully for up to three months without losing their flavor or texture. Wrap each cooled biscuit individually in plastic wrap or place them in a freezer-safe container with parchment paper between layers. We recommend labeling the container with the date to track freshness.
Refrigeration Options
Storing our cooked biscuits in the refrigerator extends their freshness for 1-2 days. Place the completely cooled biscuits in an airtight container or wrap them securely in plastic wrap. This method works well when we plan to enjoy the biscuits within a few days of baking.
Reheating from Frozen
Reheating frozen biscuits requires no thawing time for quick preparation. We can reheat them directly from frozen in a 350°F oven for 5-7 minutes or use the microwave for 30-45 seconds per biscuit. The oven method maintains the best texture while the microwave offers speed and convenience for individual servings.
Conclusion
These Bisquick cheddar biscuits prove that homemade doesn’t have to mean complicated. We’ve shown you how five simple ingredients can create something truly special for your table.
Whether you’re serving them at breakfast with eggs or alongside your favorite soup for dinner they’ll quickly become a household staple. The beauty lies in their versatility – from basic cheese biscuits to creative variations with herbs bacon or jalapeños.
With proper storage techniques and make-ahead options you can always have these golden treasures ready when hunger strikes. We’re confident that once you try this foolproof recipe you’ll find yourself reaching for that Bisquick box again and again.
Frequently Asked Questions
How long do Bisquick cheddar biscuits take to make?
These biscuits can be made in under 30 minutes from start to finish. The preparation takes about 10 minutes, and they bake for approximately 15-18 minutes at 425°F (218°C) until golden brown.
What ingredients do I need for Bisquick cheddar biscuits?
You only need five simple ingredients: 2 cups Bisquick Original Pancake & Baking Mix, 3/4 cup whole milk, 1 cup shredded sharp cheddar cheese, 3 tablespoons melted butter, and 1/4 teaspoon garlic powder.
Can I use pre-shredded cheese for these biscuits?
While pre-shredded cheese works, freshly grated cheese is recommended for better melting and distribution. Pre-shredded cheese contains anti-caking agents that can affect texture and flavor, so freshly shredded sharp cheddar gives the best results.
How should I store leftover Bisquick cheddar biscuits?
Store leftover biscuits in an airtight container at room temperature for 2-3 days, in the refrigerator for 3-4 days, or freeze for up to 3 months. For best quality, wrap frozen biscuits individually or layer with parchment paper.
What’s the best way to reheat Bisquick cheddar biscuits?
For quick reheating, use the microwave for 15-20 seconds. For even heating, use the oven at 350°F for 5-7 minutes. An air fryer at 350°F for 2-3 minutes helps maintain texture. Thaw frozen biscuits overnight before reheating.
Can I make variations of these cheddar biscuits?
Yes! Try Herb Cheddar Biscuits with Italian seasoning, Spicy Jalapeño Cheddar with diced jalapeños, or Bacon Cheddar with crispy bacon bits. Each variation maintains the simple preparation method while offering unique flavor profiles.
Why are my Bisquick cheddar biscuits dense or crumbly?
Dense biscuits usually result from overmixing the dough or using too little milk. Crumbly dough indicates insufficient liquid. Mix gently until just combined, and adjust milk gradually to achieve a soft, slightly lumpy consistency.
Can I make Bisquick cheddar biscuits ahead of time?
Yes! Bake biscuits up to two days ahead and store at room temperature in an airtight container. For longer storage, freeze for up to three months. They reheat beautifully while maintaining their fluffy texture and cheesy flavor.

