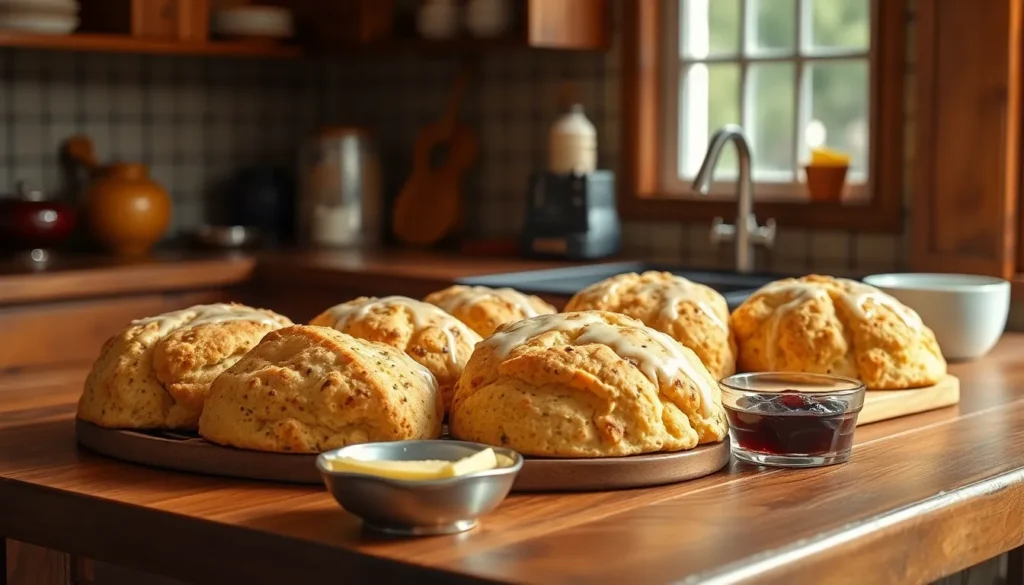
We’ve discovered the perfect shortcut to bakery-quality scones that’ll transform your morning routine forever. These Bisquick scones deliver all the buttery flakiness and tender crumb you crave without the hassle of cutting cold butter into flour or worrying about overworking the dough.
What makes these scones absolutely irresistible is how Bisquick’s pre-mixed ingredients create that coveted light texture every single time. We’re talking about golden-brown beauties that emerge from your oven in just 15 minutes – perfect for unexpected guests or when you’re craving something special for breakfast.
The versatility of this recipe means you can customize these scones with fresh berries chocolate chips or dried fruits to match any mood or season. Whether you’re a seasoned baker or just starting your culinary journey these easy Bisquick scones will become your go-to recipe for impressive results with minimal effort.
Ingredients
We need just a handful of simple ingredients to create these delectable Bisquick scones that deliver bakery-quality results without the fuss.
For the Basic Scones:
- 2 cups Bisquick baking mix
- 2/3 cup milk
- 3 tablespoons granulated sugar
- 1 large egg
Optional Add-ins (choose one or combine):
- 1/2 cup fresh blueberries
- 1/2 cup mini chocolate chips
- 1/3 cup dried cranberries
- 2 tablespoons lemon zest
- 1/4 cup chopped pecans or walnuts
For the Glaze:
- 1 cup powdered sugar
- 2-3 tablespoons milk
- 1/2 teaspoon vanilla extract
Our ingredient list keeps things refreshingly simple while maintaining the flexibility to customize according to your preferences. The Bisquick mix serves as our foundation and eliminates the traditional step of cutting cold butter into flour. Fresh or frozen berries work equally well in this recipe though we recommend patting frozen berries dry before folding them into the dough.
We suggest using whole milk for the richest flavor and most tender texture. The egg acts as both a binding agent and contributes to the golden color we love in perfectly baked scones. Room temperature ingredients blend more easily so we recommend taking your egg and milk out of the refrigerator about 30 minutes before baking.
Equipment Needed

Making our delicious Bisquick scones requires just a few essential kitchen tools that most home bakers already have on hand. We recommend gathering these items before starting to ensure a smooth baking process.
Mixing bowl serves as our primary workspace for combining the dry and wet ingredients. A large bowl provides ample room for stirring without creating a mess on our countertops.
Pastry blender or pastry cutter becomes crucial for cutting the cold butter into the Bisquick mix until we achieve those perfect coarse crumbs. This tool helps us maintain the butter’s temperature while creating the flaky texture we love in our scones.
Sharp knife works as an alternative to the pastry blender for cutting butter into small pieces before incorporating it into our dry ingredients. We find that smaller butter pieces distribute more evenly throughout the dough.
Rubber spatula allows us to gently fold our ingredients together without overworking the dough. This flexible tool helps us scrape down the sides of our mixing bowl efficiently.
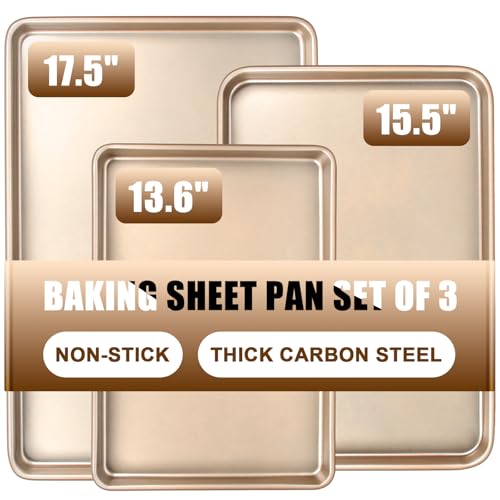
Baking sheet provides the perfect surface for baking our scones to golden brown perfection. We recommend using a heavy duty sheet pan for even heat distribution.
Parchment paper lines our baking sheet and prevents sticking while making cleanup effortless. This simple addition ensures our scones release cleanly from the pan.
Bowl scraper or bench scraper offers optional assistance for scraping the sides of our mixing bowl and transferring dough. While not essential, this tool streamlines our preparation process and minimizes waste.
Instructions

These simple steps will guide you through creating perfect Bisquick scones that rival any bakery. We’ll walk you through each stage to ensure your scones turn out tender and golden every time.
Prep the Dough
We start by whisking together our Bisquick baking mix and granulated sugar in a large mixing bowl. Add the cold cubed butter to the dry mixture and use a pastry blender or your fingers to cut it into the flour until the mixture resembles coarse crumbs.
Combine the wet ingredients by whisking together the half and half, egg, and vanilla extract in a separate bowl. Pour this mixture into our dry ingredients and gently stir until a soft dough forms. We want to mix just until the ingredients come together to avoid tough scones.
If you’re adding mix-ins like dried fruit or chocolate chips, fold them in now. Should the dough seem too wet, sprinkle in a small amount of extra Bisquick mix to achieve the right consistency.
Shape the Scones
Turn our soft dough onto a work surface lightly dusted with Bisquick mix. Gently knead the dough 5 to 10 times to bring it together without overworking it. Pat the dough into a circle approximately 8 inches in diameter.
We can shape individual scones by cutting the circle into 8 equal wedges using a sharp knife. For round scones, use a biscuit cutter or glass to cut straight down without twisting. Keep the cut scones close together on the baking sheet as they’ll separate naturally during baking.
Roll the shaped dough lightly in additional Bisquick mix to coat the exterior for extra texture and to prevent sticking.
Bake the Scones
Preheat our oven to 425°F and line a baking sheet with parchment paper. Transfer the shaped scones to the prepared baking sheet, spacing them about 2 inches apart. Brush the tops with milk and sprinkle with turbinado sugar for a beautiful golden finish.
Bake for 12 to 16 minutes until the scones are golden brown and fragrant. We know they’re done when the tops spring back lightly when touched and the bottoms sound hollow when tapped.
Allow the scones to cool on the baking sheet for 5 minutes before transferring to a wire cooling rack. Serve them warm with butter, jam, or drizzle with a simple glaze made from powdered sugar and cream.
Flavor Variations

We can transform our basic Bisquick scones into countless delicious variations by incorporating different ingredients and flavors. The beauty of this recipe lies in its adaptability to both sweet and savory preferences.
Sweet Scone Options
Blueberry Lemon Scones offer a perfect balance of tart and sweet flavors by combining fresh blueberries with a hint of lemon zest. We simply fold 3/4 cup of fresh blueberries and 1 tablespoon of lemon zest into our basic dough for a light and refreshing treat.
Cinnamon Scones provide warmth and comfort with their aromatic spice blend. We add 1 1/2 teaspoons of ground cinnamon to our Bisquick mixture along with an extra tablespoon of sugar to enhance the sweet cinnamon flavor.
Cherry Chocolate Chip Scones create an indulgent combination by incorporating 1/2 cup of dried cherries and 1/2 cup of semisweet chocolate chips into our dough. This variation delivers bursts of fruity sweetness complemented by rich chocolate notes.
Additional sweet options include vanilla almond scones with 1/2 teaspoon vanilla extract and 1/4 cup sliced almonds, or orange cranberry scones featuring 1 tablespoon orange zest and 2/3 cup dried cranberries.
Savory Scone Options
Savory Bisquick scones open up exciting possibilities for breakfast or dinner accompaniments. We can create herb and cheese scones by adding 1/2 cup shredded sharp cheddar cheese and 2 tablespoons of fresh chopped herbs like rosemary or thyme to our basic recipe.
Bacon Chive Scones combine 1/2 cup cooked crumbled bacon with 3 tablespoons of fresh chopped chives for a hearty option. We reduce the sugar to 1 tablespoon when making savory variations to balance the flavors properly.
Sun Dried Tomato and Parmesan Scones feature 1/3 cup chopped sun dried tomatoes and 1/4 cup grated Parmesan cheese, creating Mediterranean inspired flavors. These savory options typically bake at the same temperature of 425°F but may require an additional 2 to 3 minutes of baking time due to the added moisture from ingredients like cheese or tomatoes.
Storage Instructions
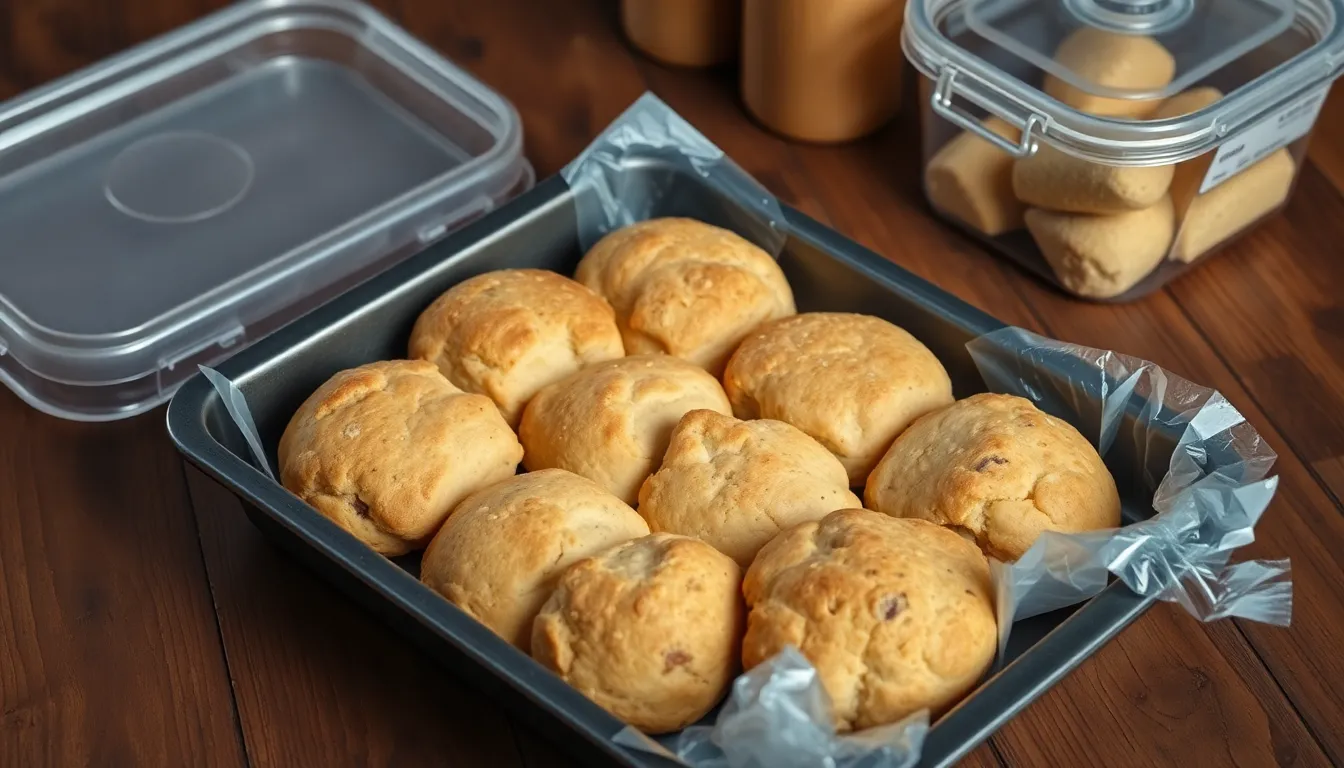
Proper storage ensures our Bisquick scones maintain their delightful texture and flavor for maximum enjoyment. We can choose from several storage methods depending on how long we plan to keep them fresh.
Room Temperature Storage
We recommend storing freshly baked scones in an airtight container at room temperature for optimal convenience. Our scones will stay fresh for 1 to 3 days when properly covered. Alternatively, we can loosely cover them with plastic wrap if an airtight container isn’t available.
Refrigerator Storage
For extended freshness, we can store our scones in the refrigerator for up to one week. This method works particularly well when we want to prepare scones ahead of time for the week ahead.
Freezer Storage
We achieve the longest storage life by freezing our scones for 2 to 3 months in an airtight container. Both cooled baked scones and unbaked scone dough freeze exceptionally well using this method.
| Storage Method | Duration | Container Type |
|---|---|---|
| Room Temperature | 1-3 days | Airtight container or plastic wrap |
| Refrigerator | Up to 1 week | Airtight container |
| Freezer | 2-3 months | Airtight container |
Freezing Best Practices
We should wrap cooled scones tightly before placing them in the freezer to prevent freezer burn. Individual wrapping in plastic wrap or wax paper makes retrieving single servings much easier. Unglazed scones freeze better than glazed ones, so we recommend adding any glazes after thawing and reheating.
Make Ahead Tips
We can prepare our Bisquick scone dough up to one day in advance for ultimate convenience. Store the covered dough in the refrigerator overnight and bake fresh scones the next morning. This method gives us warm, bakery fresh scones with minimal morning preparation time.
Make-Ahead Tips
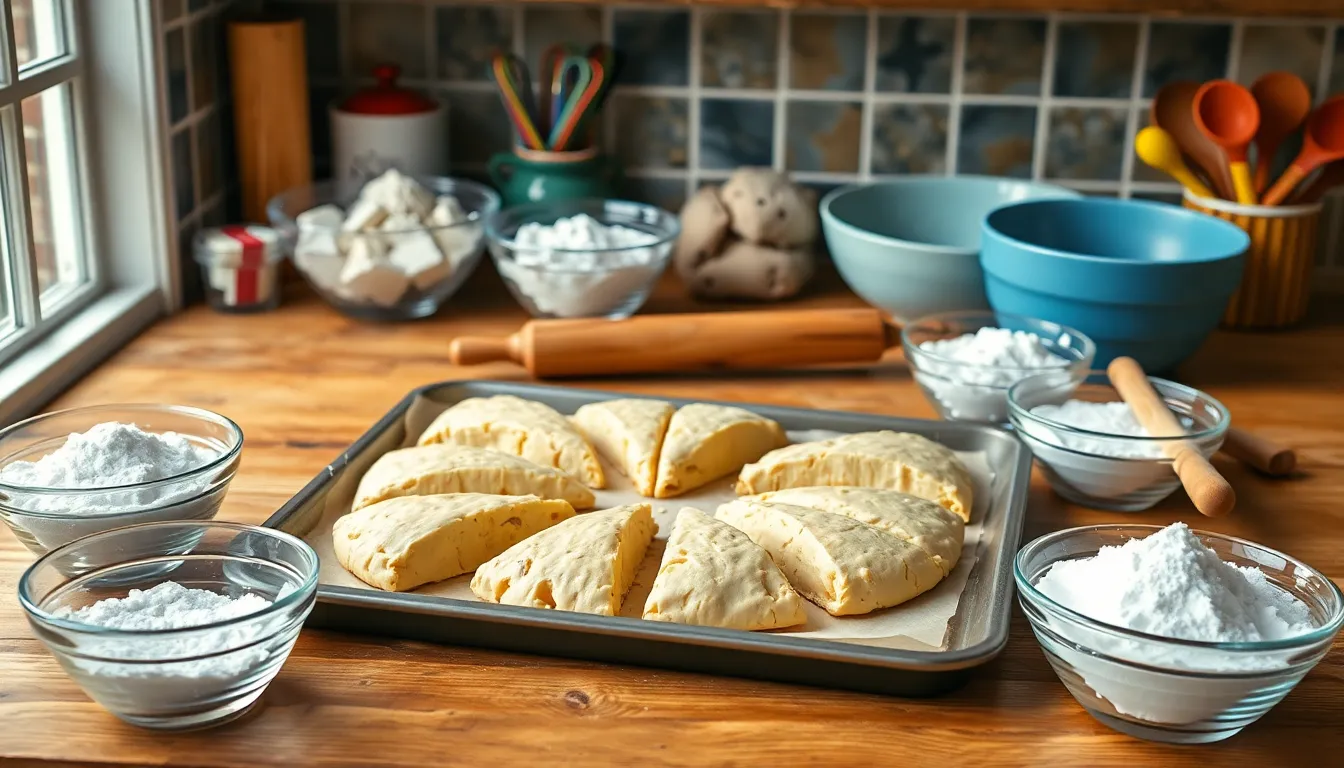
Planning ahead transforms our Bisquick scone baking into an even more convenient experience. We can prepare these delicious treats using several strategic approaches that maintain their exceptional quality while saving precious time during busy mornings.
Chill the Shaped Dough Before Baking
After we shape our scones and cut them into wedges, placing them on a baking sheet and chilling for 15 to 20 minutes delivers superior results. This refrigeration step helps our scones maintain their texture and achieve better rise during baking. The cold temperature prevents the butter from melting too quickly and creates those coveted flaky layers we love.
Freeze Unbaked Scone Wedges for Extended Storage
For longer term preparation, we can freeze our unbaked scone wedges on a tray until they become solid. Once frozen completely, we transfer them to freezer bags where they stay fresh and ready to bake. When we want fresh scones, we bake them directly from the frozen state and simply add a few extra minutes to our baking time.
Pre Mix Dry Ingredients in Advance
We can combine our Bisquick mix and sugar ahead of time and store this mixture in an airtight container. But, we should only add the liquid components when we are ready to bake. Adding wet ingredients too early causes moisture absorption that compromises the texture and creates dense scones instead of light, fluffy ones.
Bake Fresh for Optimal Quality
While we can freeze baked scones for up to 3 months, they deliver the best texture and flavor when enjoyed fresh from the oven. The contrast between the crispy exterior and tender interior reaches its peak within hours of baking.
These make ahead strategies ensure we always have convenient access to bakery quality scones without sacrificing the exceptional taste and texture that makes them special. Gentle handling throughout the preparation process prevents overmixing and maintains the tender crumb we desire.
Serving Suggestions

These fresh Bisquick scones offer incredible versatility that transforms them from simple breakfast treats into elegant accompaniments for any occasion. We recommend serving them warm directly from the oven when their texture remains perfectly tender and their aroma fills the kitchen.
Temperature and Timing
Fresh scones deliver the best experience when enjoyed within hours of baking. Room temperature scones maintain their delightful crumb structure while still offering that homemade appeal we all crave. Reheating leftover scones briefly in a 300°F oven for 3-5 minutes restores their original warmth and texture.
Glaze Options
A simple glaze elevates these scones from ordinary to bakery-worthy presentations. We suggest combining powdered sugar with vanilla extract and heavy cream for a classic vanilla glaze that complements any flavor variation. Lemon juice mixed with powdered sugar creates a bright citrus glaze that pairs beautifully with blueberry or plain scones.
Beverage Pairings
Coffee serves as the perfect morning companion to these tender scones, while afternoon tea creates an elegant pairing for a traditional experience. Hot chocolate offers a cozy option during cooler months, and fresh orange juice provides a refreshing contrast to sweeter scone varieties.
Traditional Accompaniments
Fresh butter allows the scone’s natural flavors to shine through each bite. Quality jam or preserves add fruity sweetness that complements both sweet and savory variations. Clotted cream transforms your serving into an authentic British tea experience, while fresh seasonal fruit provides natural sweetness and visual appeal.
Storage and Serving Tips
We store leftover scones in airtight containers at room temperature for up to two days to maintain their texture. Parchment paper prevents sticking during storage and makes reheating simple. Fresh fruit arrangements alongside your scones create an appealing presentation that guests will remember long after the last crumb disappears.
Troubleshooting Tips
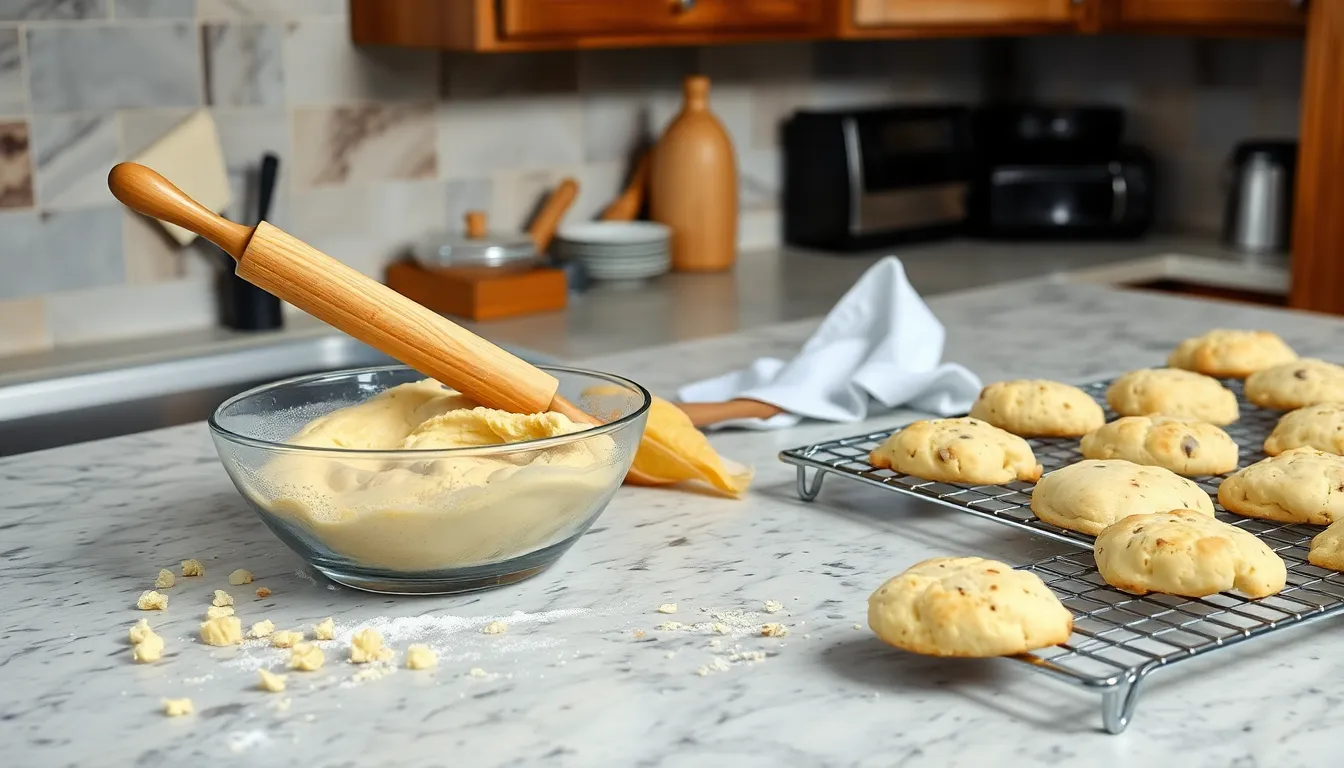
Even with our straightforward Bisquick scone recipe, we occasionally encounter baking challenges that can affect the final result. Understanding these common issues and their answers helps us achieve perfect scones every time.
Dough Texture Problems
Too Crumbly Dough occurs when our mixture lacks sufficient moisture. We can fix this by gradually adding small amounts of half and half or buttermilk until the dough forms a cohesive ball. Adding liquid slowly prevents us from overcorrecting and creating the opposite problem.
Too Sticky Dough happens when we add excess liquid or overmix our ingredients. We solve this by sprinkling in small amounts of Bisquick mix to absorb the extra moisture. This adjustment brings our dough back to the proper consistency without compromising the texture.
Rising and Shape Issues
Scones Not Rising can result from several factors that we need to address systematically. Overmixing breaks down the leavening agents and creates dense scones. We also need to check that our baking powder hasn’t expired and ensure our oven reaches the correct temperature of 425°F before baking.
| Issue | Cause | Solution |
|---|---|---|
| Not Rising | Overmixing | Mix just until dough forms |
| Not Rising | Expired leavening | Check baking powder date |
| Not Rising | Wrong temperature | Preheat oven thoroughly |
| Spreading | Insufficient chilling | Chill 15 min (fridge) or 10 min (freezer) |
Scones Spreading Instead of Rising indicates we need to chill our shaped dough properly. We place the scones in the refrigerator for 15 minutes or the freezer for 10 minutes before baking. This chilling time helps the scones maintain their shape and rise upward rather than outward.
Flavor Problems
Baking Powder Taste creates an unpleasant metallic flavor that we can prevent through proper measuring and mixing. We double check that we’re using the correct amount of baking powder and ensure all dry ingredients are thoroughly combined before adding wet ingredients.
Essential Prevention Tips
We use cold ingredients, particularly butter, to create the layered texture that makes scones tender and flaky. Cutting butter into dry ingredients until the mixture resembles coarse crumbs is crucial for achieving the right texture.
Proper oven preheating ensures our scones rise well from the moment they enter the oven. We always verify our oven has reached 425°F before placing the baking sheet inside for consistent results.
Conclusion
These Bisquick scones prove that exceptional homemade baking doesn’t require complicated techniques or extensive preparation time. We’ve shown you how to create bakery-quality results with simple ingredients and straightforward methods that work every time.
The versatility of this recipe means you’ll never run out of delicious variations to try. Whether you’re craving sweet blueberry lemon scones for breakfast or savory herb and cheese options for dinner your creativity is the only limit.
With our storage tips and make-ahead strategies you can always have fresh scones ready when you need them. The troubleshooting guide ensures that even beginner bakers can achieve consistently perfect results.
Start your scone-making journey today and discover how easy it is to bring warm bakery-fresh goodness to your kitchen whenever the craving strikes.
Frequently Asked Questions
What makes Bisquick scones different from traditional scones?
Bisquick scones eliminate the need for cutting cold butter into flour, making the process much faster and easier. The baking mix already contains the necessary ingredients for a light, fluffy texture, allowing you to create bakery-quality scones in just 15 minutes without the traditional time-consuming steps.
How long do Bisquick scones stay fresh?
Fresh Bisquick scones can be stored at room temperature in an airtight container for 1-3 days. For longer storage, refrigerate them for up to one week or freeze for 2-3 months. They’re best enjoyed within hours of baking for optimal texture and flavor.
Can I make the scone dough ahead of time?
Yes, you can prepare scone dough a day in advance and store it in the refrigerator overnight. You can also shape the dough into wedges and freeze them unbaked, then bake directly from frozen with just a slight increase in baking time.
What’s the secret to preventing tough scones?
The key is to mix the dough just until it comes together – don’t overmix. Use cold ingredients, handle the dough gently, and avoid overworking it. Mix only until a soft dough forms to ensure your scones remain light and tender.
What temperature should I bake Bisquick scones?
Bake Bisquick scones at 425°F for 12-16 minutes until they’re golden brown. Make sure your oven is fully preheated before baking, and use parchment paper on your baking sheet to prevent sticking and ensure even browning.
Can I customize Bisquick scones with different flavors?
Absolutely! You can add blueberries, chocolate chips, dried cranberries, lemon zest, or nuts for sweet variations. For savory options, try herbs, cheese, bacon, or sun-dried tomatoes. Add about 1/2 to 3/4 cup of your chosen mix-ins to the basic recipe.
Why use whole milk instead of low-fat milk?
Whole milk provides better flavor and creates a richer, more tender texture in your scones. The fat content helps achieve that bakery-quality result. However, you can substitute with half-and-half for even richer scones or use what you have on hand.
How do I fix dough that’s too crumbly or too sticky?
If your dough is too crumbly, add a tablespoon of half-and-half at a time until it holds together. If it’s too sticky, gradually add small amounts of Bisquick mix until you achieve the right consistency. Room temperature ingredients blend more easily.

