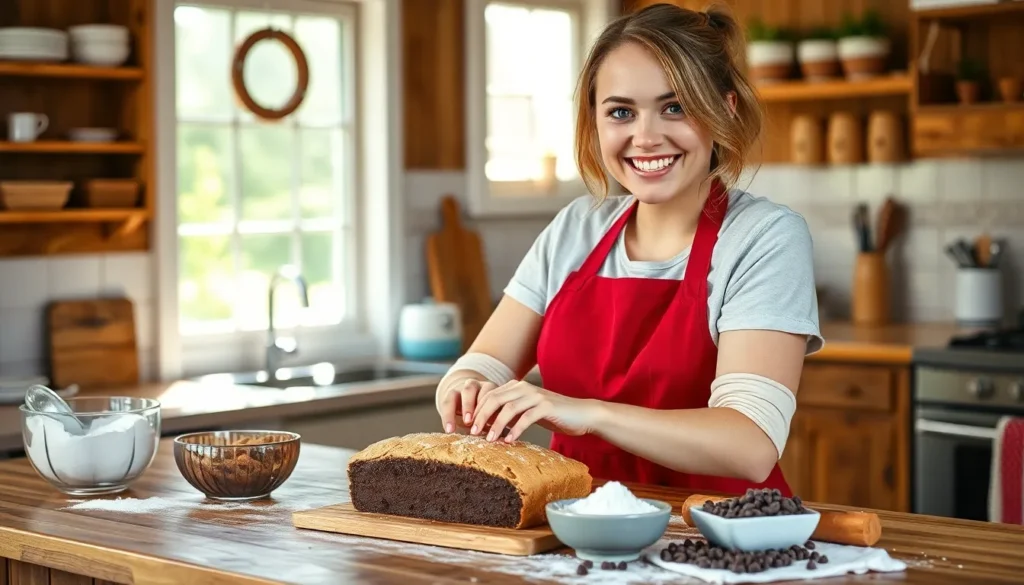
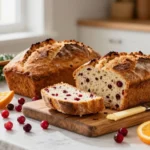
We’ve all experienced that moment when our sweet tooth demands satisfaction but we’re craving something more substantial than a simple cookie or candy. That’s exactly where chocolate bread comes to the rescue – a perfect fusion of rich cocoa and tender bread that transforms an ordinary loaf into pure indulgence.
This decadent treat isn’t just another dessert bread. It’s a versatile creation that works beautifully for breakfast with your morning coffee, as an afternoon snack, or even as a sophisticated dessert when served warm with a scoop of vanilla ice cream. The deep chocolate flavor weaves through every bite while maintaining that soft, pillowy texture we love in homemade bread.
What makes our chocolate bread recipe truly special is how it balances intense chocolate taste with the comforting familiarity of fresh-baked bread. We’ll show you how to achieve that perfect crumb and rich flavor that’ll have your kitchen smelling like a boutique bakery.
Ingredients
Creating our rich and decadent chocolate bread requires three essential components that work together to deliver layers of chocolate flavor. We’ve organized the ingredients by their exact purpose to ensure perfect results every time.
For the Bread Dough
- 3 cups all-purpose flour
- 1/4 cup granulated sugar
- 1 packet (2 1/4 teaspoons) active dry yeast
- 1 teaspoon salt
- 1/2 cup warm milk (110°F)
- 1/4 cup unsalted butter, melted
- 2 large eggs, room temperature
- 1 teaspoon vanilla extract
For the Chocolate Filling
- 1/2 cup unsweetened cocoa powder
- 1/3 cup granulated sugar
- 3 tablespoons all-purpose flour
- 1/4 teaspoon salt
- 1/2 cup heavy cream
- 2 tablespoons unsalted butter
- 1/2 cup semi-sweet chocolate chips
- 1 teaspoon vanilla extract
For the Topping (Optional)
- 2 tablespoons powdered sugar for dusting
- 1/4 cup mini chocolate chips for sprinkling
- 1 tablespoon coarse sugar for texture
Equipment Needed
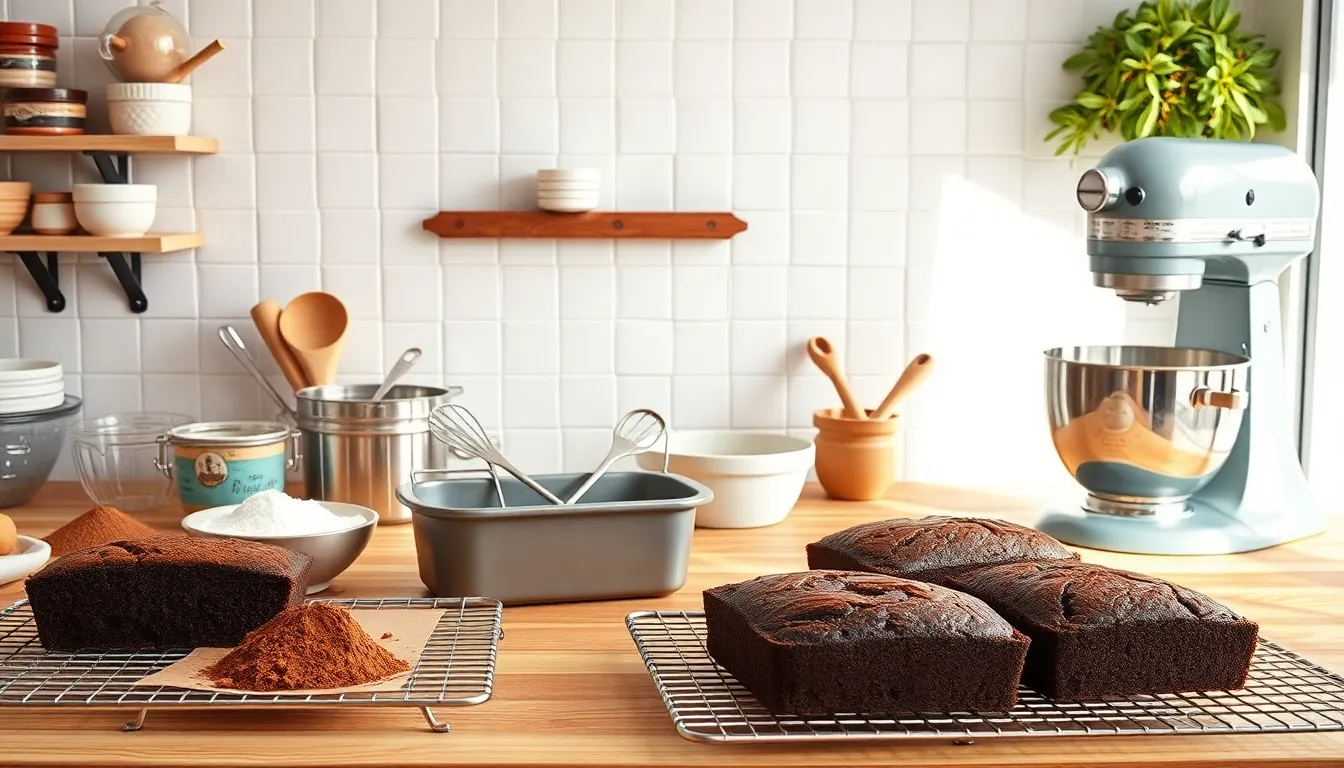
Creating perfect chocolate bread requires exact tools that ensure optimal mixing textures and baking results. We recommend gathering all equipment before starting to streamline your baking process.
Essential Mixing Equipment
Large mixing bowls serve as our primary workspace for combining ingredients. We suggest having at least two bowls available – one for dry ingredients and another for wet components. A stand mixer or hand mixer makes blending the dough effortless though manual mixing works equally well for smaller batches.
Measuring and Preparation Tools
A kitchen scale provides the most accurate measurements for consistent results every time. We also need measuring cups and spoons for liquid ingredients and smaller quantities. A sifter removes lumps from cocoa powder and flour while ensuring even distribution throughout our chocolate bread.
Baking Essentials
The standard 9×5 inch loaf pan creates the ideal shape and size for chocolate bread. We recommend using a light colored metal pan for even browning. Parchment paper prevents sticking and makes removal effortless after baking.
Finishing Tools
A rubber spatula helps fold ingredients together without overmixing the batter. Wire cooling racks allow proper air circulation around the finished loaf. We need these racks to prevent soggy bottoms and maintain the bread’s perfect texture.
Optional Equipment Upgrades
Bread machines simplify the entire process for hands off baking. These appliances handle mixing and rising automatically while producing consistent results. Digital kitchen timers ensure we never overbake our chocolate creation.
| Equipment Type | Essential Items | Optional Upgrades |
|---|---|---|
| Mixing | Large bowls, spatula | Stand mixer, hand mixer |
| Measuring | Measuring cups, spoons | Kitchen scale |
| Baking | 9×5 loaf pan, parchment paper | Bread machine |
| Finishing | Wire cooling rack | Digital timer |
Instructions
Follow these systematic steps to create our rich and aromatic chocolate bread that delivers bakery-quality results from your home kitchen.
Prep the Dough
Combine flour, granulated sugar, active dry yeast, and salt in our designated large mixing bowl. Create a well in the center of these dry ingredients. Warm the milk to approximately 110°F and whisk it together with melted butter, beaten eggs, and vanilla extract in our second mixing bowl. Pour the wet mixture into the dry ingredients and mix using a wooden spoon or flat beater attachment until a soft dough forms. The dough should feel slightly sticky but manageable when properly combined.
Make the Chocolate Filling
Sift together cocoa powder, granulated sugar, flour, and salt in a medium bowl to eliminate any lumps. Heat heavy cream and butter in a small saucepan over medium heat until the butter melts completely. Remove from heat and gradually whisk the warm cream mixture into our dry chocolate ingredients until smooth. Stir in semi-sweet chocolate chips and vanilla extract until the filling reaches a spreadable consistency. Set aside to cool slightly while our dough completes its first rise.
First Rise
Transfer the prepared dough to a greased large bowl and cover with a damp kitchen towel or plastic wrap. Place the bowl in a warm, draft-free location and allow the dough to rise for approximately one hour. The dough should double in size during this rising period. Test for proper rise by gently pressing two fingers into the surface; the indentations should remain when the dough is ready.
Shape the Bread
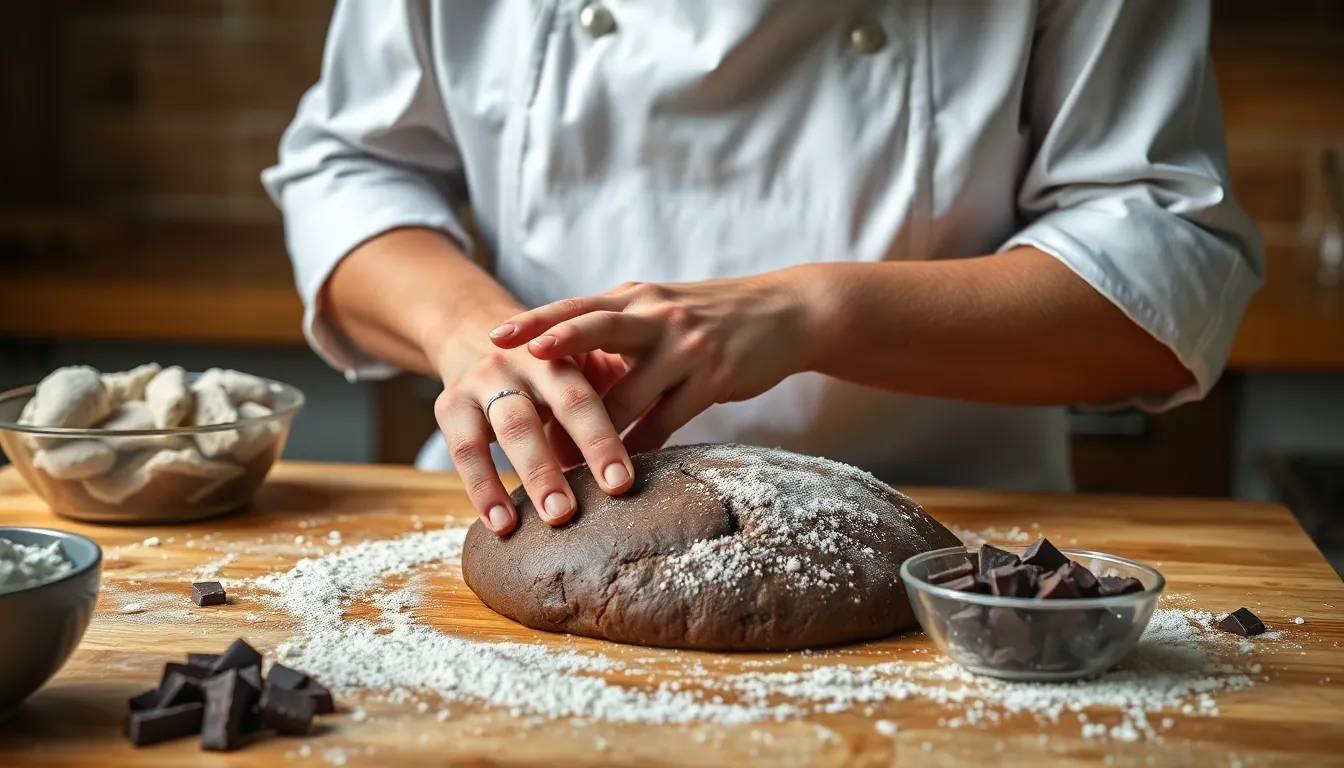
Punch down the risen dough and turn it out onto a lightly floured surface. Roll the dough into a rectangle measuring approximately 12×8 inches using a rolling pin. Spread our prepared chocolate filling evenly across the surface, leaving a half-inch border on all sides. Starting from the short end, tightly roll the dough into a cylinder, pinching the seam to seal. Cut the rolled dough into equal pieces if making individual portions, or keep whole for a traditional loaf shape.
Second Rise
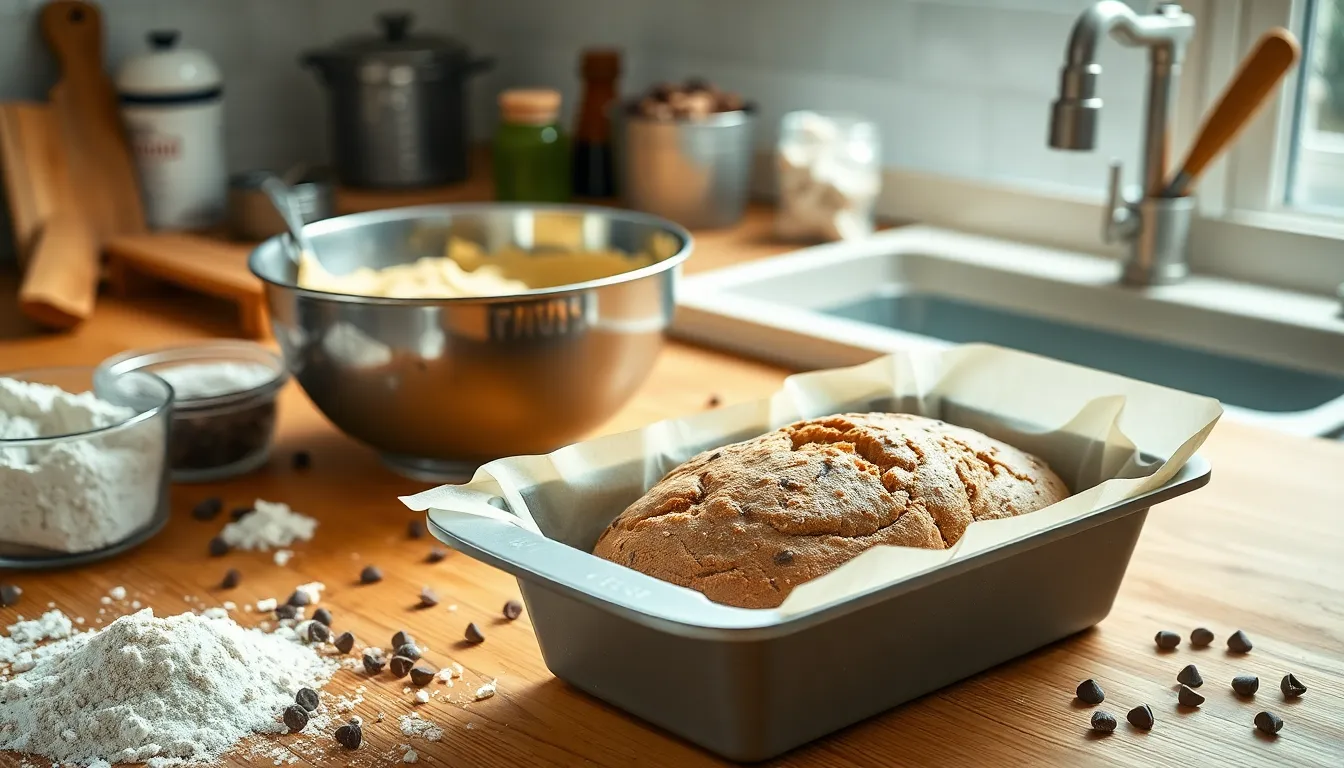
Place our shaped chocolate bread into the prepared 9×5 inch loaf pan lined with parchment paper. Cover the pan with a clean kitchen towel and let the bread rise for another hour in a warm location. The dough should rise just above the rim of the pan when ready for baking. This second rise ensures our bread achieves the perfect light and airy texture.
Bake the Chocolate Bread
Preheat the oven to 350°F during the final 15 minutes of the second rise. Remove the towel and place the pan on the center rack of our preheated oven. Bake for 40-45 minutes until the top turns golden brown and a toothpick inserted into the center comes out with just a few moist crumbs. The internal temperature should reach 190°F when fully baked. Cool the bread in the pan for 10 minutes before transferring to a wire rack for complete cooling.
Directions for Serving
Our freshly baked chocolate bread transforms into countless delicious experiences depending on how we choose to serve it. The rich chocolate flavor pairs beautifully with both sweet and savory accompaniments that enhance its decadent nature.
Classic Sweet Pairings
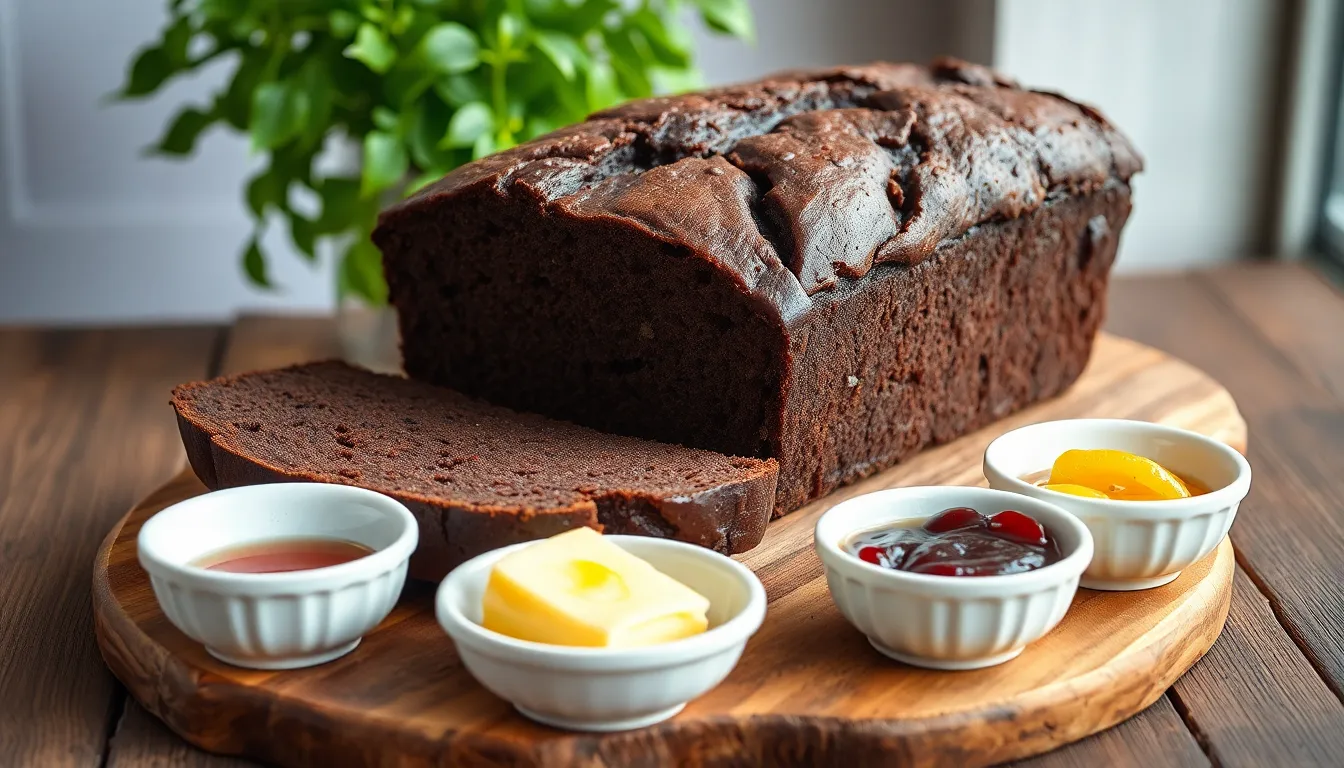
We recommend starting with the timeless combination of butter and honey on a toasted slice. This pairing creates a perfect balance where the creamy butter melts into the warm bread while honey adds natural sweetness that complements the chocolate without overwhelming it.
For nut butter enthusiasts we suggest spreading peanut butter or chocolate nut butter on toasted slices. The creamy texture adds indulgence while the nutty flavors create a satisfying contrast. Almond butter works equally well and provides a slightly more delicate nutty flavor profile.
Gourmet Serving Options
Soft spreadable cheeses like brie or goat cheese offer an unexpectedly delightful pairing. The tangy elements from these cheeses balance the sweetness of our chocolate bread and create a sophisticated flavor combination perfect for brunch entertaining.
Orange marmalade brings a bright fruity twist that cuts through the rich chocolate. The citrus notes add complexity and freshness that makes each bite more interesting than the last.
Dessert Presentations
We love serving chocolate bread with a scoop of raw milk ice cream for an indulgent dessert option. The cold creamy ice cream melts slightly against the warm bread creating a temperature contrast that enhances both textures.
Transform leftover chocolate bread into rich bread pudding by cubing the bread and baking it with custard. Serve this decadent dessert with chocolate creme anglaise or freshly whipped cream for special occasions.
| Serving Method | Best Temperature | Occasion |
|---|---|---|
| Butter and Honey | Warm/Toasted | Breakfast |
| Nut Butters | Warm/Toasted | Snack |
| Soft Cheeses | Room Temperature | Brunch |
| Orange Marmalade | Any Temperature | Tea Time |
| Ice Cream | Warm Bread/Cold Ice Cream | Dessert |
| Bread Pudding | Warm | Special Dessert |
These versatile serving options ensure our chocolate bread satisfies different tastes and fits various occasions from casual breakfast to elegant dessert presentations.
Storage Tips
Proper storage ensures our freshly baked chocolate bread maintains its rich flavor and moist texture for days to come. We recommend several storage methods depending on how quickly you plan to consume your homemade treat.
Room Temperature Storage
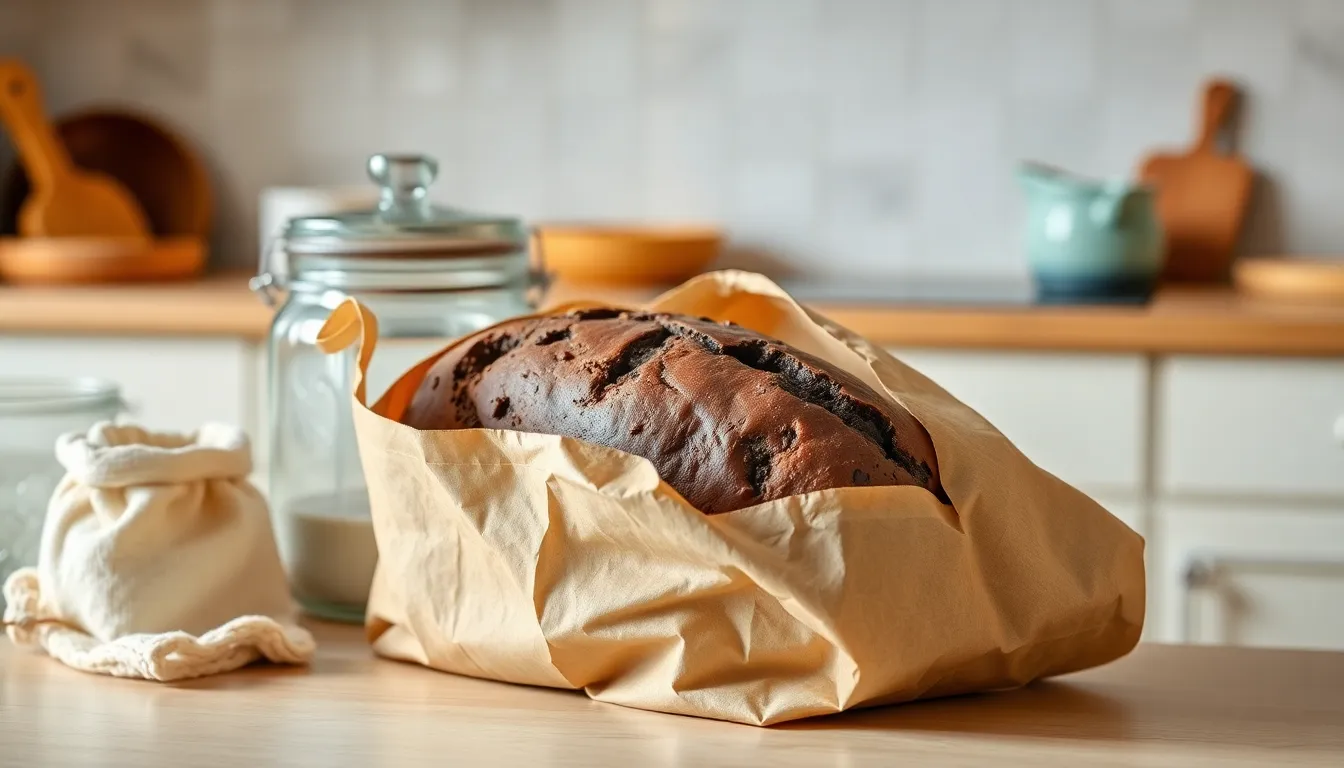
For short-term storage when we plan to enjoy our chocolate bread within a day or two, room temperature storage works perfectly. We store uncut chocolate bread in a paper bag or bread box to maintain optimal freshness. This breathable storage method prevents moisture buildup while protecting the bread from drying out.
Once we’ve cut into our chocolate bread, we place it cut side down on a plate or tray to prevent the exposed surface from drying out. Covering the bread with a paper bag or storing it in a bread box continues to provide protection while allowing proper air circulation.
Airtight Containers for Extended Freshness
When we need to store our chocolate bread for up to a week, plastic or reusable bags offer superior moisture retention. This airtight storage method prevents the bread from losing its tender crumb and keeps the chocolate flavors intact.
We seal the bread completely in plastic bags or airtight containers to create an optimal environment for longer storage. This method works exceptionally well for maintaining the bread’s bakery-fresh quality throughout the week.
Freezing for Long-Term Storage
Freezing extends our chocolate bread’s shelf life up to three months without compromising taste or texture. We can freeze whole loaves or individual slices in reusable or plastic bags for maximum convenience.
Before freezing, we ensure the bread is completely cooled and wrapped securely to prevent freezer burn. Individual slices freeze beautifully and allow us to defrost only what we need for immediate consumption.
Climate Considerations
Storage methods may require adjustment based on our local climate conditions. In dry climates, we carry out additional moisture retention methods to prevent our chocolate bread from drying out prematurely.
For crusty chocolate bread varieties, breathable storage options like linen bags help maintain freshness without creating excess moisture that could lead to mold growth. We monitor our bread regularly and adjust storage methods as needed to ensure optimal quality.
Make-Ahead Instructions
We understand that busy schedules often require flexible baking options. Our chocolate bread recipe adapts beautifully to advance preparation methods that save time without compromising taste or texture.
Dough Preparation Timeline
We recommend preparing the dough up to 24 hours before baking for optimal results. Mix all ingredients according to our recipe instructions and complete the first rise as directed. After the initial rising period, punch down the dough and shape it into your desired loaf form. Place the shaped dough in your prepared loaf pan and cover tightly with plastic wrap. The dough will continue its slow rise in the refrigerator overnight.
Short-Term Storage Options
For preparations spanning 2-3 days, we store our unbaked shaped dough in airtight containers within the refrigerator. The cold temperature slows yeast activity while allowing flavors to develop more fully. Before baking, we remove the dough from refrigeration and allow it to come to room temperature for approximately 30-45 minutes. This resting period ensures even baking and proper texture development.
Freezing Unbaked Dough
We freeze shaped chocolate bread dough for storage periods extending up to 3 months. Wrap the formed loaf tightly in plastic wrap followed by aluminum foil to prevent freezer burn. When ready to bake, we transfer the frozen dough to the refrigerator for overnight thawing. The thawed dough requires an additional 60-90 minutes at room temperature before baking to ensure proper rising.
Baked Bread Storage
Our finished chocolate bread maintains peak quality when wrapped properly for advance preparation. We slice the completely cooled bread and wrap individual portions in plastic wrap before placing them in freezer bags. This method allows us to thaw only the portions needed while preserving the remaining bread’s moisture and flavor. Frozen baked chocolate bread retains its quality for up to 4 months when stored using this technique.
Reheating Instructions
We restore freshness to our make-ahead chocolate bread through gentle reheating methods. For refrigerated bread, we warm individual slices in a 300°F oven for 5-7 minutes or use brief microwave intervals of 15-20 seconds. Frozen slices require thawing at room temperature for 10-15 minutes before applying heat. This process revives the bread’s original texture and enhances the chocolate aroma that makes our recipe so appealing.
Recipe Variations
We’ve crafted several delicious variations of our classic chocolate bread recipe to satisfy different flavor preferences. Each version builds upon our foundational recipe while introducing unique elements that create distinct textures and intensities.
Double Chocolate Version
We enhance our chocolate bread by incorporating both cocoa powder and chocolate chips for an incredibly rich experience. Dutch-process cocoa works best in this variation due to its deep flavor profile that complements the chocolate chips perfectly. We fold semisweet chocolate chips throughout the batter to ensure every bite delivers chocolate satisfaction.
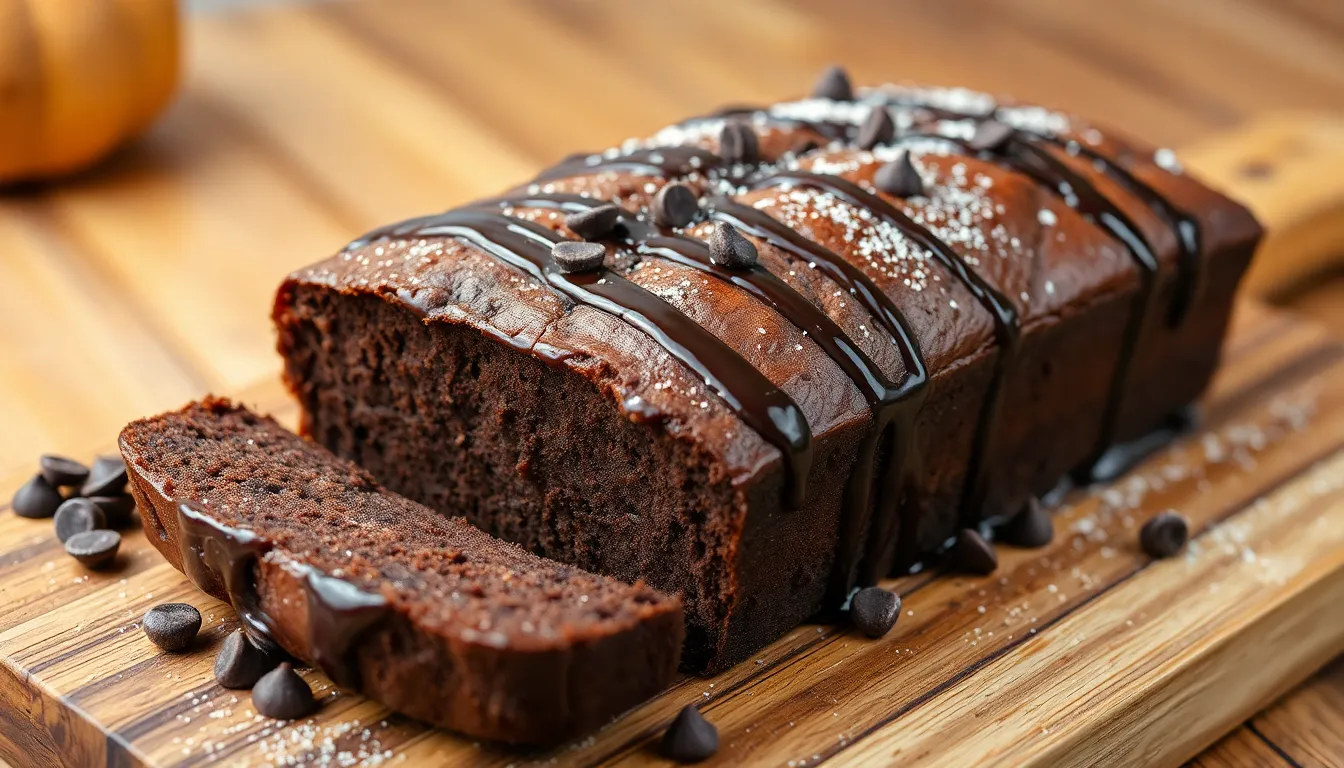
Our double chocolate version requires no electric mixer since we combine ingredients until just mixed to maintain a moist and tender crumb. We recommend dusting the finished loaf with powdered sugar or drizzling it with chocolate glaze for an extra indulgent touch. This variation creates a bakery-quality treat with intense chocolate flavor in every slice.
Chocolate Chip Addition
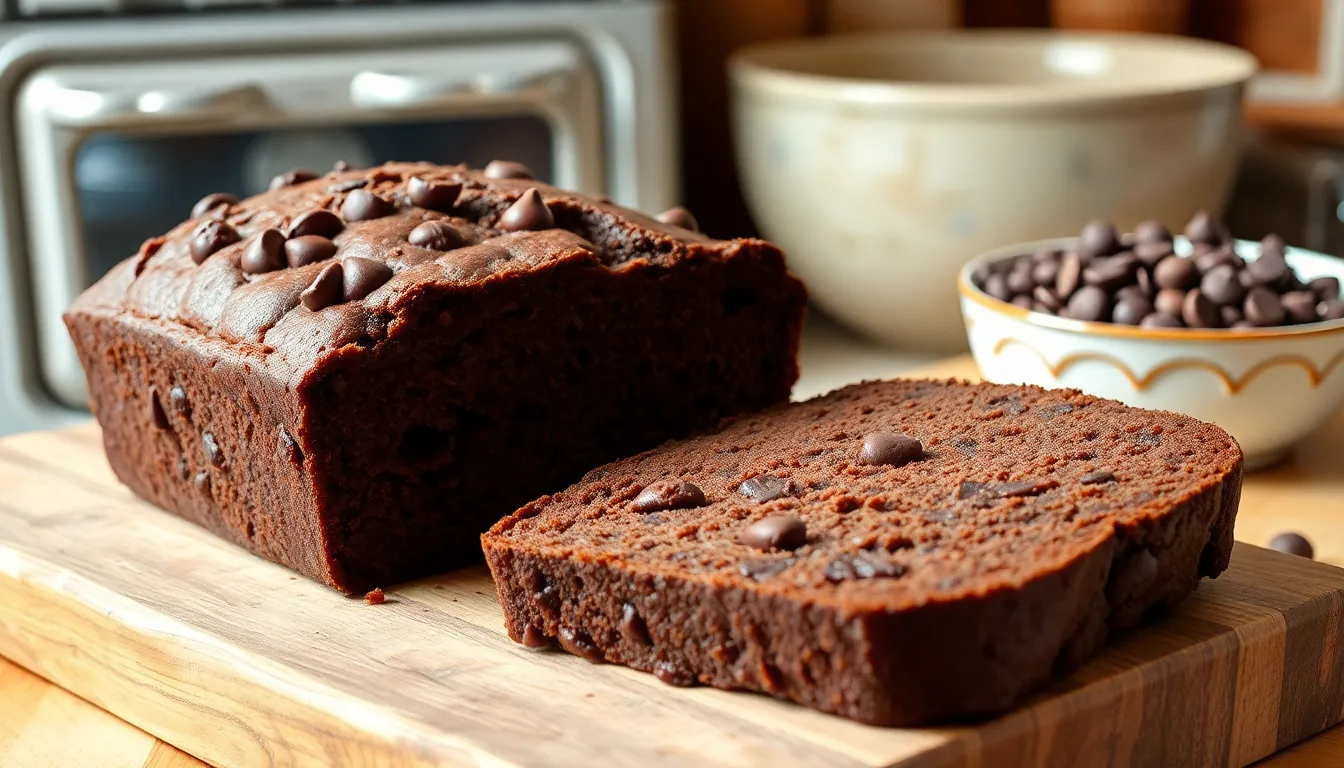
We transform our basic chocolate bread by folding in extra chocolate chips to create pockets of melted chocolate throughout the loaf. This simple addition increases the chocolate intensity while providing delightful textural contrast with every bite. We maintain our straightforward mixing method by combining dry and wet ingredients separately before gently folding in the chocolate chips.
Our chocolate chip variation produces a soft and cake-like texture with visible chocolate chunks distributed evenly throughout. We prepare this version quickly since it follows our established mixing technique while delivering enhanced chocolate satisfaction. The melted chocolate chips create bursts of rich flavor that complement the tender bread base perfectly.
Nutella Swirl Option
We create a marbled effect by incorporating Nutella into our chocolate bread batter for added hazelnut-chocolate complexity. After preparing our basic batter we spoon dollops of Nutella across the top of the batter in the prepared pan. We then use a knife to create elegant swirls that distribute the Nutella throughout the loaf before baking.
Our Nutella swirl variation produces a visually stunning bread with ribbons of creamy hazelnut-chocolate flavor woven throughout each slice. We follow the same baking instructions while achieving a gourmet appearance that rivals professional bakery offerings. This variation combines the comfort of homemade bread with the sophisticated flavor profile of premium chocolate-hazelnut spread.
Troubleshooting Tips
Even experienced bakers encounter challenges when making chocolate bread. We’ve compiled answers to the most common issues you might face during the baking process.
Dough Not Rising Properly
When your chocolate bread dough refuses to rise, the yeast is likely the culprit. We recommend checking that your yeast is fresh and active before starting the recipe. Water temperature plays a crucial role—aim for approximately 35°C (95°F) to activate the yeast without killing it.
Adding a teaspoon of sugar to your yeast mixture provides extra nutrients that encourage yeast activity. Place your dough in a warm location for optimal proofing conditions. We suggest using your oven with just the light on to create a gentle warming environment.
Heavy or Soggy Texture
A dense, soggy loaf typically results from insufficient heat or improper moisture balance. Cocoa powder increases liquid absorption in your dough, so we need to adjust hydration levels when cocoa exceeds 10% of the flour weight.
Preheating a baking stone or placing your loaf pan on a preheated baking sheet ensures even bottom heat distribution. This technique creates a crisp crust while maintaining the soft interior texture we desire.
Overly Dense or Dry Results
Too much cocoa powder can interfere with gluten development and absorb excessive moisture. We recommend limiting cocoa to about 10% of your flour weight for optimal texture balance.
Monitor your dough consistency carefully—add small amounts of flour if the mixture feels too sticky, or incorporate a little liquid if it becomes too dry. Finding the right balance prevents dense, dry bread that lacks the tender crumb we’re aiming for.
Uneven Chocolate Distribution
Chocolate chunks settling at the bottom or clustering in one area creates an unbalanced flavor profile. We suggest incorporating chocolate pieces after the initial kneading phase to ensure even distribution without overworking the dough.
| Issue | Possible Cause | Solution |
|---|---|---|
| Dough not rising | Old yeast, cold environment | Fresh yeast, warm proofing spot, add sugar |
| Heavy/soggy loaf | Low oven heat, excess cocoa | Use baking stone, adjust hydration |
| Dense/dry texture | Too much cocoa, over-mixing | Limit cocoa, adjust mixing |
| Uneven chocolate distribution | Poor mixing technique | Add chocolate after initial kneading |
These troubleshooting strategies address the most frequent problems we encounter when baking chocolate bread. Understanding these answers helps ensure consistent, bakery-quality results every time you make this indulgent treat.
Conclusion
Creating homemade chocolate bread opens up a industry of delicious possibilities right in your kitchen. We’ve shown you how this versatile treat can transform any ordinary moment into something special whether you’re enjoying a quiet breakfast or hosting an elegant dessert course.
The beauty of chocolate bread lies in its adaptability – from classic preparations to exciting variations like double chocolate or Nutella swirl. With proper storage techniques and make-ahead options we’ve outlined you can always have this delightful bread ready when cravings strike.
Armed with our troubleshooting tips and serving suggestions you’re now equipped to bake chocolate bread that rivals any boutique bakery. The rich aroma filling your home and the satisfied smiles of those who taste your creation will make every step of this baking journey worthwhile.
Frequently Asked Questions
What ingredients do I need to make chocolate bread?
For the bread dough, you’ll need all-purpose flour, granulated sugar, active dry yeast, salt, warm milk, melted unsalted butter, eggs, and vanilla extract. The chocolate filling requires unsweetened cocoa powder, granulated sugar, flour, salt, heavy cream, butter, semi-sweet chocolate chips, and vanilla extract. Optional toppings include powdered sugar and mini chocolate chips.
How long does chocolate bread stay fresh?
Uncut chocolate bread stays fresh for 2-3 days at room temperature in a paper bag or bread box. Cut bread should be stored cut-side down and covered. For longer storage, use airtight containers or plastic bags. Properly wrapped chocolate bread can be frozen for up to three months while maintaining quality.
Can I make the dough ahead of time?
Yes, chocolate bread dough can be prepared up to 24 hours in advance. Store it in the refrigerator, which actually enhances flavor development. For longer storage, the dough can be frozen. This make-ahead option is perfect for busy schedules and allows you to enjoy fresh bread with minimal morning preparation.
What are the best ways to serve chocolate bread?
Chocolate bread is incredibly versatile. Serve it toasted with butter and honey for breakfast, or pair with nut butters like peanut or almond butter. For gourmet options, try it with soft cheeses like brie or orange marmalade. As dessert, serve with vanilla ice cream or transform leftovers into rich bread pudding.
What equipment do I need to make chocolate bread?
Essential equipment includes large mixing bowls, a stand or hand mixer, measuring cups and spoons, and a kitchen scale for accuracy. You’ll need a 9×5 inch loaf pan, parchment paper, rubber spatula, and wire cooling racks. Optional upgrades include a bread machine and digital kitchen timers for convenience.
How do I fix dense or heavy chocolate bread?
Dense chocolate bread usually results from expired yeast, over-mixing, or incorrect liquid ratios. Check yeast freshness by proofing it first. Mix just until ingredients are combined to avoid developing too much gluten. Ensure proper hydration levels and allow adequate rising time. Room temperature ingredients also help achieve better texture.
Can I make variations of the basic chocolate bread recipe?
Absolutely! Popular variations include double chocolate bread with added cocoa powder and chocolate chips, chocolate chip bread with scattered chips throughout, and Nutella swirl bread with marbled hazelnut-chocolate flavor. Each variation builds on the basic recipe while offering unique textures and intensities for different preferences.
Why didn’t my chocolate bread rise properly?
Poor rising typically indicates inactive yeast, incorrect water temperature, or unfavorable environment conditions. Ensure your yeast is fresh and proof it in warm (not hot) water. The ideal rising environment is warm and draft-free. Cold temperatures slow rising, while excessive heat can kill the yeast completely.

