We’ve all experienced that perfect moment when sweet meets tart – and chocolate covered apples deliver this magical combination in every single bite. These delightful treats transform ordinary apples into extraordinary desserts that’ll have your taste buds dancing with joy.
Whether you’re planning a fall celebration or simply craving something special, chocolate covered apples offer the perfect balance of fresh fruit and rich indulgence. We love how they combine the crisp texture of apples with smooth, velvety chocolate that melts on your tongue.
The best part? They’re surprisingly simple to make at home and incredibly versatile. You can customize them with your favorite toppings – from chopped nuts and sprinkles to caramel drizzles and coconut flakes. These treats aren’t just delicious; they’re also a feast for the eyes that’ll impress guests at any gathering.
Equipment Needed
Creating chocolate covered apples requires minimal equipment that most home cooks already have in their kitchens. We recommend gathering all items beforehand to ensure a smooth chocolate coating process.
Essential Equipment:
- Large saucepan or double boiler for melting chocolate
- Wooden spoons or heat-resistant spatula for stirring
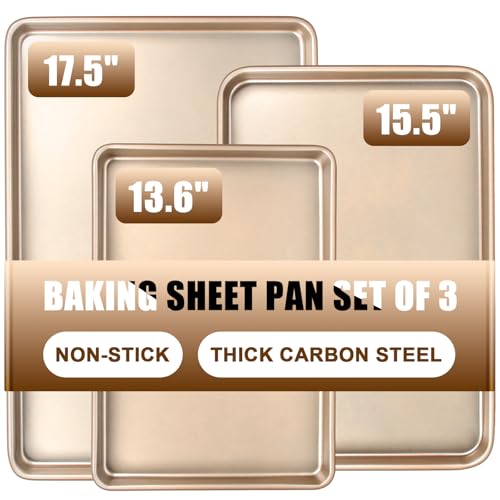
- Baking sheet lined with parchment paper
- Apple corer or sharp knife for removing stems
- Wooden skewers or popsicle sticks for handles
- Small bowls for toppings and decorations
Optional but Helpful Items:
- Candy thermometer for precise chocolate temperature control
- Wire cooling rack for elevated drying
- Offset spatula for smoothing chocolate coating
- Piping bags for decorative drizzling
- Small measuring cups for portion control of toppings
The double boiler method provides the most controlled heat for melting chocolate without burning. A makeshift version works perfectly by placing a heat-proof bowl over simmering water. Parchment paper prevents sticking and makes cleanup effortless after the chocolate sets.
Wooden skewers create sturdy handles that make dipping and eating much easier. We suggest inserting them firmly into the core area where the stem was removed. Sharp knives help create clean cuts if you prefer apple wedges instead of whole fruits.
Having small bowls ready for nuts, sprinkles, or coconut flakes allows for quick decoration while the chocolate remains workable. Temperature control becomes crucial since chocolate can seize or become too thick if overheated.
Ingredients
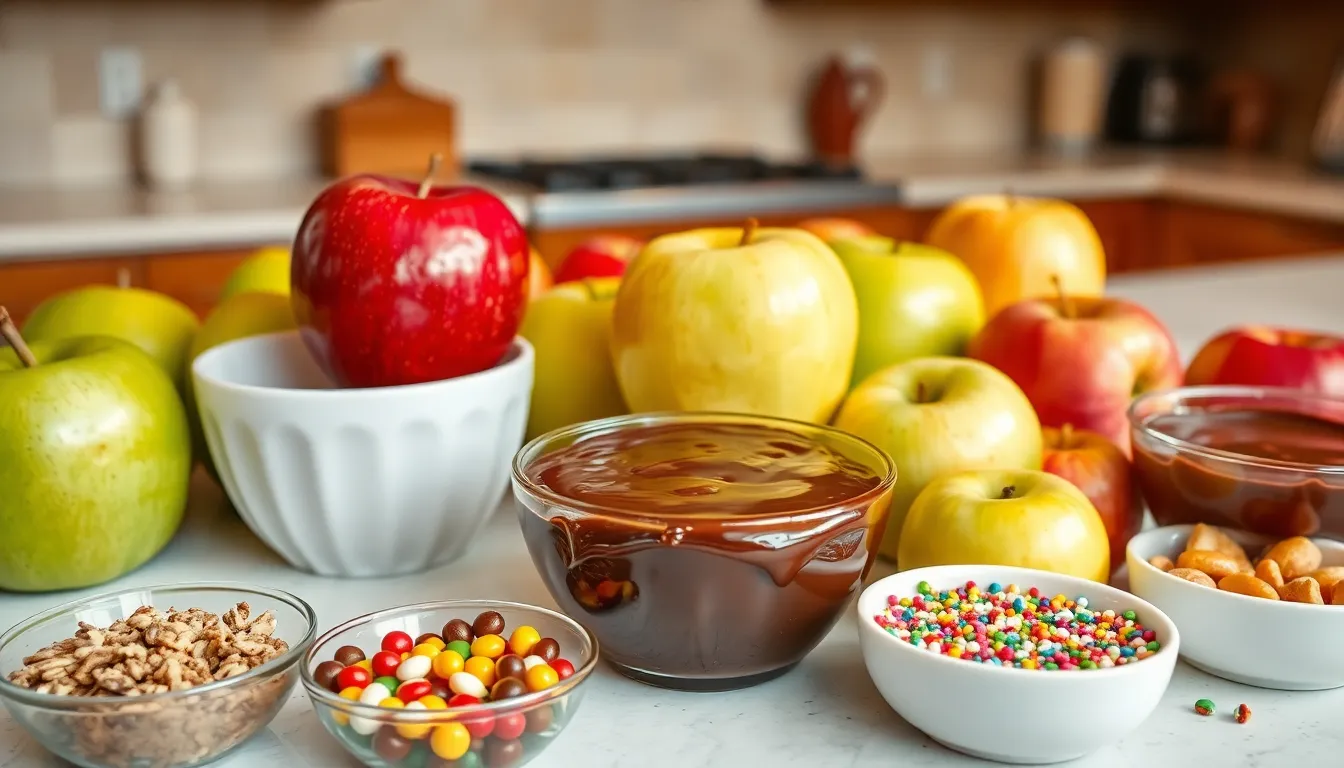
We need just a few key ingredients to create these delicious chocolate covered treats. Our ingredient list focuses on quality components that ensure perfect flavor and texture in every bite.
For the Apples
- 4 to 10 apples – We recommend Granny Smith for their tartness and firm texture, though Honeycrisp or Fuji varieties work beautifully too
- Wooden popsicle sticks or lollipop sticks – Essential for easy handling and dipping
For the Chocolate Coating
- 16 oz to 2 pounds semisweet chocolate, chopped – The amount depends on how many apples we’re coating
- 8 oz white chocolate – Perfect for drizzling or creating marbled effects
- 6 oz to 12 oz dark chocolate – Adds rich, intense flavor for chocolate lovers
- 1 tablespoon coconut oil (optional) – Helps create a smoother melting consistency
For Optional Toppings
- Chopped roasted peanuts or pecans – Add satisfying crunch and nutty flavor
- Candy coated milk chocolate candies – Bring vibrant color and extra sweetness
- Sprinkles – Create festive, decorative appeal
- Dried cranberries – Offer natural sweetness and chewy texture
- Toasted coconut flakes, finely chopped – Provide tropical flavor and appealing texture contrast
Prep Work
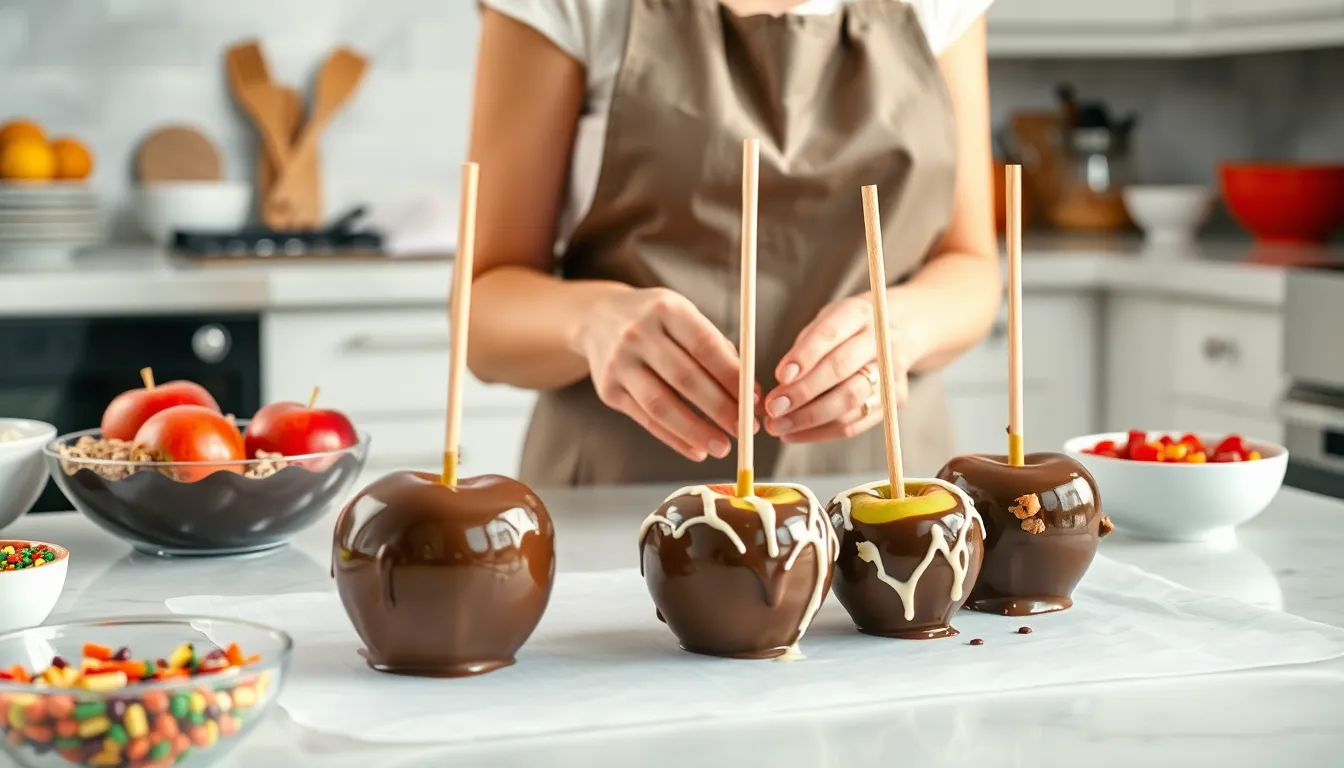
Proper preparation sets the foundation for creating perfect chocolate covered apples that look professional and taste amazing. We’ll walk you through each essential step to ensure your chocolate adheres beautifully and your workspace stays organized.
Preparing the Apples
We start by washing our apples thoroughly under cool running water to remove any wax coating or residue that might prevent the chocolate from sticking properly. After washing, we dry each apple completely with paper towels since any moisture will cause the chocolate to slide off or create an uneven coating.
Next, we chill our apples in the refrigerator for at least 30 minutes before dipping. This crucial step helps the chocolate stick better and creates a smoother finish on our final product. While our apples chill, we can prepare our chocolate and workspace.
For whole apples, we insert wooden sticks firmly into the stem end, pushing them about halfway through the apple for secure handling. When working with apple slices, we cut our apples into wedges after they’ve been washed and dried, making them easier to handle during the dipping process.
Setting Up Your Workspace
We cover our work surface with parchment paper or silicone mats to prevent our chocolate covered apples from sticking to the counter. If using parchment paper, we apply a light spray of cooking spray to create an even more effective non stick surface.
Our workspace should include several essential tools within easy reach. We arrange wooden sticks for whole apples, forks or dipping tools for apple slices, and small bowls containing our chosen toppings like nuts, coconut flakes, or candy pieces. We also prepare a microwave safe bowl for melting our chocolate, stirring occasionally to ensure even melting throughout the process.
Finally, we clear space in our refrigerator where we can place our finished chocolate covered apples to set for approximately 20 minutes until the chocolate becomes firm and ready to serve.
Instructions
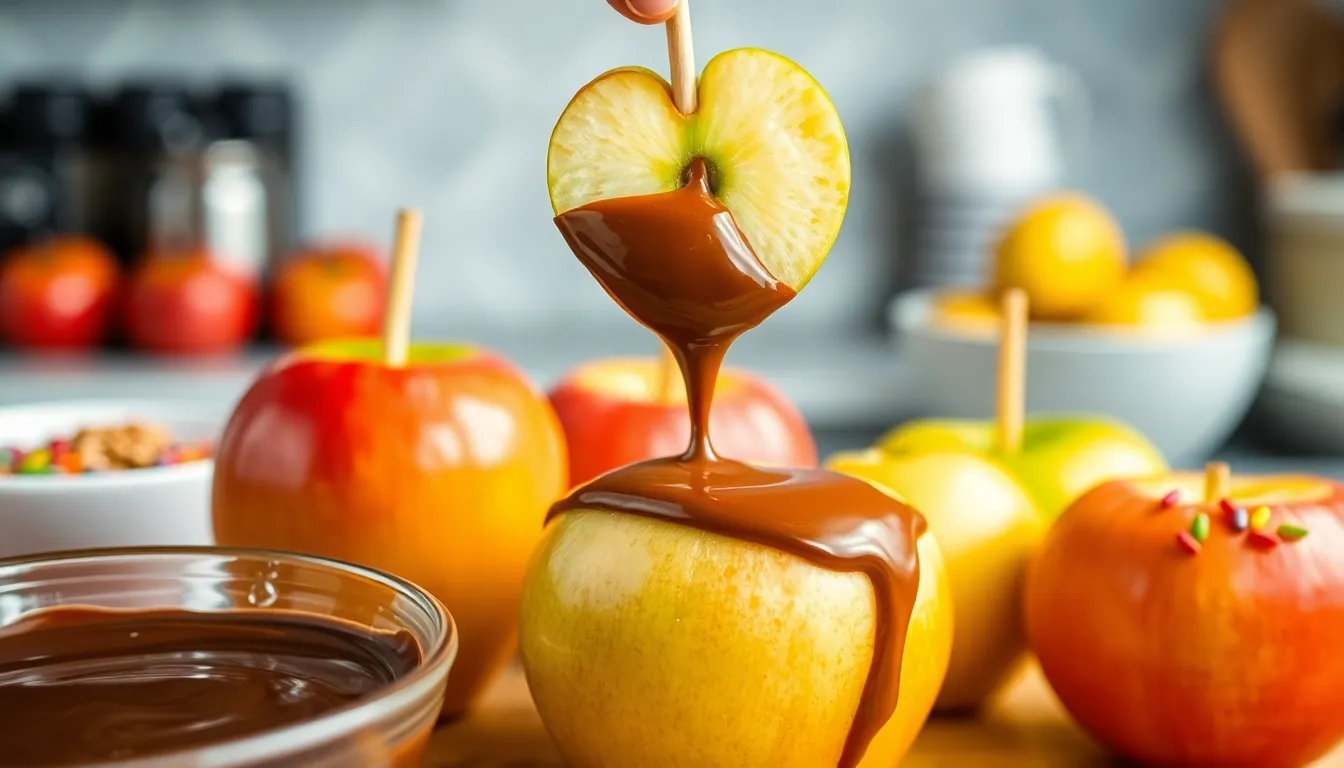
Now that we have our workspace prepared and ingredients ready, we can begin the chocolate covering process. These simple steps will transform our fresh apples into irresistible chocolate treats.
Melting the Chocolate
We start by melting our chocolate using either a double boiler or microwave method. For the double boiler approach, we place our chocolate in a heat-proof bowl over a pot of simmering water, ensuring the bowl doesn’t touch the water to prevent overheating. Alternatively, we can use a microwave-safe bowl and heat the chocolate in short intervals, stirring between each interval to prevent burning. We maintain gentle heat throughout the melting process to achieve a smooth, glossy consistency perfect for dipping.
Dipping the Apples
We begin by washing and drying our apples thoroughly to remove any residual wax or moisture. Next, we insert wooden sticks or bamboo skewers into the apple cores, pushing them about halfway through for secure handling. We hold each apple by its stick and dip it into the melted chocolate, rotating slowly to ensure complete coverage. Using a spoon, we help coat any missed spots and allow excess chocolate to drip back into the bowl for an even finish.
Adding Toppings
We work quickly while the chocolate remains wet to apply our chosen toppings effectively. Common options include chopped nuts, colorful sprinkles, and candy pieces that add both texture and visual appeal. We either sprinkle the toppings directly over the chocolate-covered apple or gently roll the apple in bowls of our prepared toppings. This step requires swift action since the chocolate begins setting within minutes of application.
Setting the Chocolate
We carefully place each finished apple on a sheet of waxed paper or baking parchment to prevent sticking. Our chocolate-covered apples then go into the refrigerator for approximately 15 minutes to harden completely. During this chilling period, the chocolate transforms from its liquid state to a firm, glossy coating that perfectly encases our apples. We ensure adequate spacing between apples on our lined baking sheet to prevent them from touching while setting.
Directions for Storage
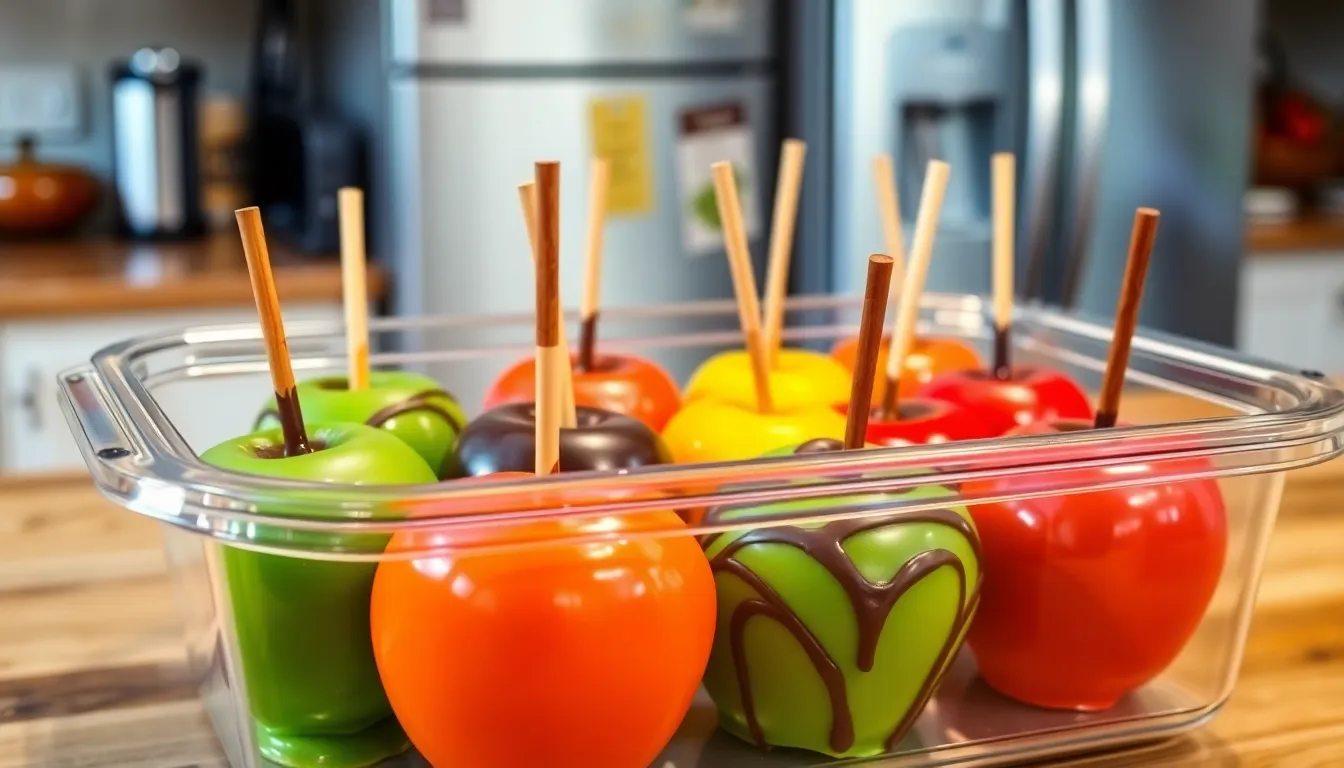
Once we have crafted our beautiful chocolate covered apples, proper storage becomes essential for maintaining their freshness and quality. We recommend refrigerating these treats to preserve their best taste and texture.
Refrigeration Storage
We store our chocolate covered apples in the refrigerator for optimal freshness. These delicious treats maintain their quality for 3 to 4 days when properly refrigerated. The cool temperature prevents the chocolate and any caramel layers from melting while protecting the apple’s crisp texture.
| Storage Method | Duration | Temperature |
|---|---|---|
| Refrigeration | 3-4 days | 35-40°F |
| Room Temperature | Few hours only | 68-72°F |
Airtight Container Protection
We always place our chocolate covered apples in airtight containers before refrigerating. This prevents moisture from entering and stops the treats from absorbing odors from other foods in the refrigerator. The sealed environment also prevents the chocolate and caramel from sticking to other surfaces.
Room Temperature Considerations
We can store chocolate covered apples at room temperature for short periods if we plan to consume them quickly. But, we avoid extended room temperature storage as the chocolate and any caramel coatings may soften or melt.
Chocolate Bloom Management
We sometimes notice our chocolate turning white during refrigeration due to fat migration, known as chocolate bloom. This natural occurrence does not affect the taste or safety of our treats. The white appearance indicates temperature changes but the chocolate covered apples remain perfectly safe to consume.
Storage Tips for Best Results
We wrap each apple individually or place them in containers with adequate spacing to prevent them from touching. This prevents the chocolate coatings from sticking together and maintains the visual appeal of our decorated treats. We also ensure the apples are completely set before storing to avoid smudging the chocolate surface.
Make-Ahead Tips
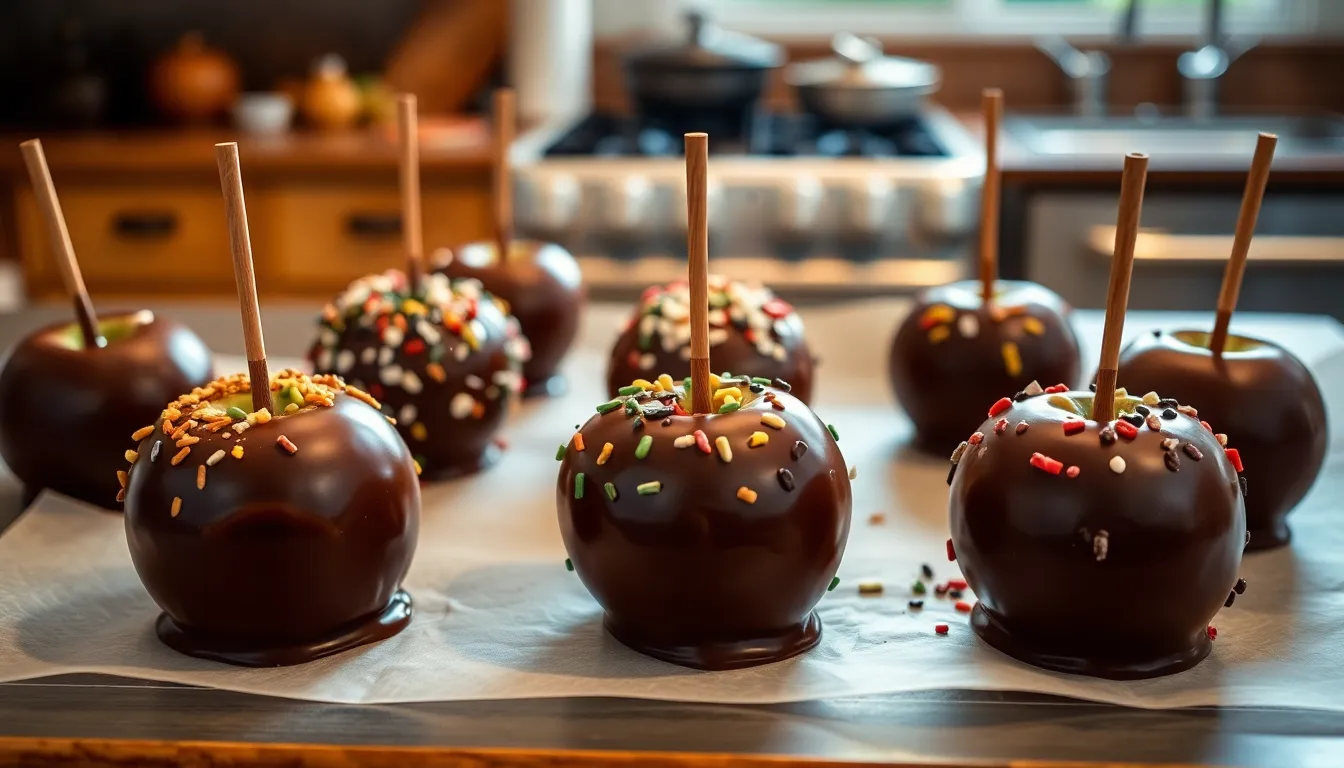
Planning ahead makes chocolate covered apples perfect for entertaining and special occasions. We recommend preparing these treats a full day before your event to allow ample time for the chocolate to set completely and flavors to meld.
Start by selecting your apples and completing all the preparation steps 24 hours in advance. Wash and thoroughly dry the apples with paper towels to remove any surface moisture that could prevent proper chocolate adhesion. Insert wooden sticks and arrange your workspace with parchment lined baking sheets before beginning the dipping process.
Melt your chocolate using either the double boiler or microwave method we outlined earlier. Dip each apple or slice in the melted chocolate and add your desired toppings while the coating remains wet. The toppings will only stick properly during this brief window when the chocolate hasn’t begun to set.
Transfer the finished apples immediately to your prepared baking sheets. Place them in the refrigerator for at least 30 minutes to ensure the chocolate hardens completely before serving. This chilling time prevents smudging and creates that satisfying snap when guests bite into the coating.
Store your make ahead chocolate covered apples in airtight containers arranged in single layers. We suggest keeping them refrigerated until ready to serve since room temperature storage can compromise both texture and food safety. Apple slices coated in chocolate maintain optimal taste and texture for 2 to 3 days when properly stored.
Remove the treats from refrigeration 10 to 15 minutes before serving to take the chill off while maintaining the chocolate’s firm texture. This brief warming period enhances the eating experience without risking the coating’s integrity.
Serving Suggestions
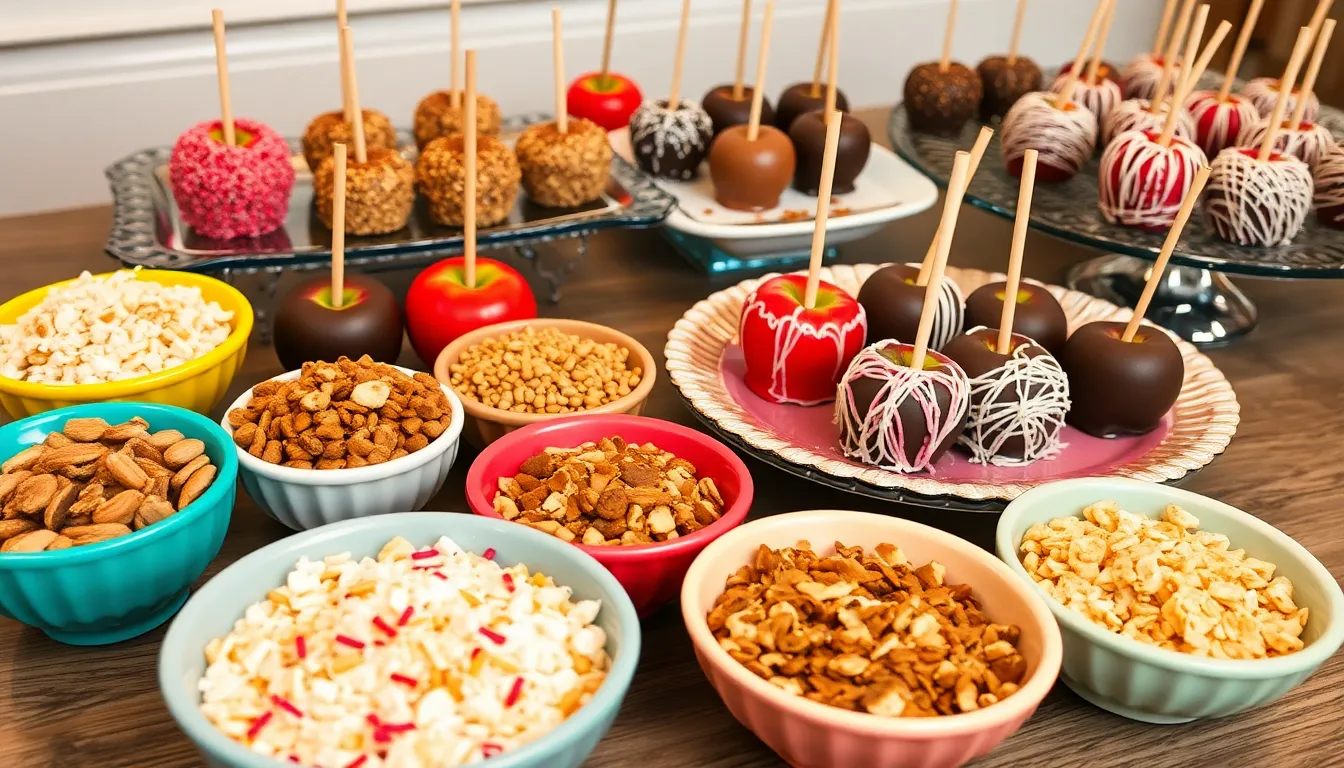
We love presenting our chocolate covered apples in ways that transform them from simple treats into memorable experiences. Setting up a toppings bar allows guests to customize their own chocolate covered apples during parties or gatherings. We arrange small bowls filled with chopped nuts, shredded coconut, sprinkles, and crushed cookies for an interactive dessert station.
Adding caramel creates a chocolate covered caramel apple effect that elevates the flavor profile significantly. We drizzle warm caramel over the chocolate coating or dip apples in caramel first before the chocolate layer. This combination delivers the rich sweetness that makes these treats irresistible.
Our chocolate covered apple slices work perfectly for elegant presentations at dinner parties. We arrange them on decorative platters with accompanying small forks for easy eating. The bite sized portions allow guests to sample different flavor combinations without committing to a whole apple.
Creating themed presentations enhances the visual appeal of our chocolate covered apples. We match toppings to seasonal celebrations by using orange and black sprinkles for Halloween or red and green coconut flakes for Christmas. These color coordinated displays make stunning centerpieces.
We package individual chocolate covered apples as unique gifts for special occasions. Wrapping each apple in clear cellophane with colorful ribbons transforms them into thoughtful presents. The personal touch makes these treats perfect party favors for birthdays, holidays, or corporate events.
| Serving Style | Presentation Method | Best Occasions |
|---|---|---|
| Toppings Bar | Interactive station with customizable options | Parties, gatherings |
| Caramel Addition | Drizzled or double dipped coating | Special celebrations |
| Sliced Portions | Elegant platter presentation | Dinner parties, formal events |
| Themed Display | Color coordinated seasonal toppings | Holiday celebrations |
| Gift Packaging | Individual cellophane wrapped treats | Party favors, gifts |
Temperature considerations play a crucial role in our serving strategy. We remove chocolate covered apples from refrigeration 10 to 15 minutes before serving to achieve the optimal eating experience. This timing allows the chocolate to soften slightly while maintaining its structure.
Troubleshooting Common Issues
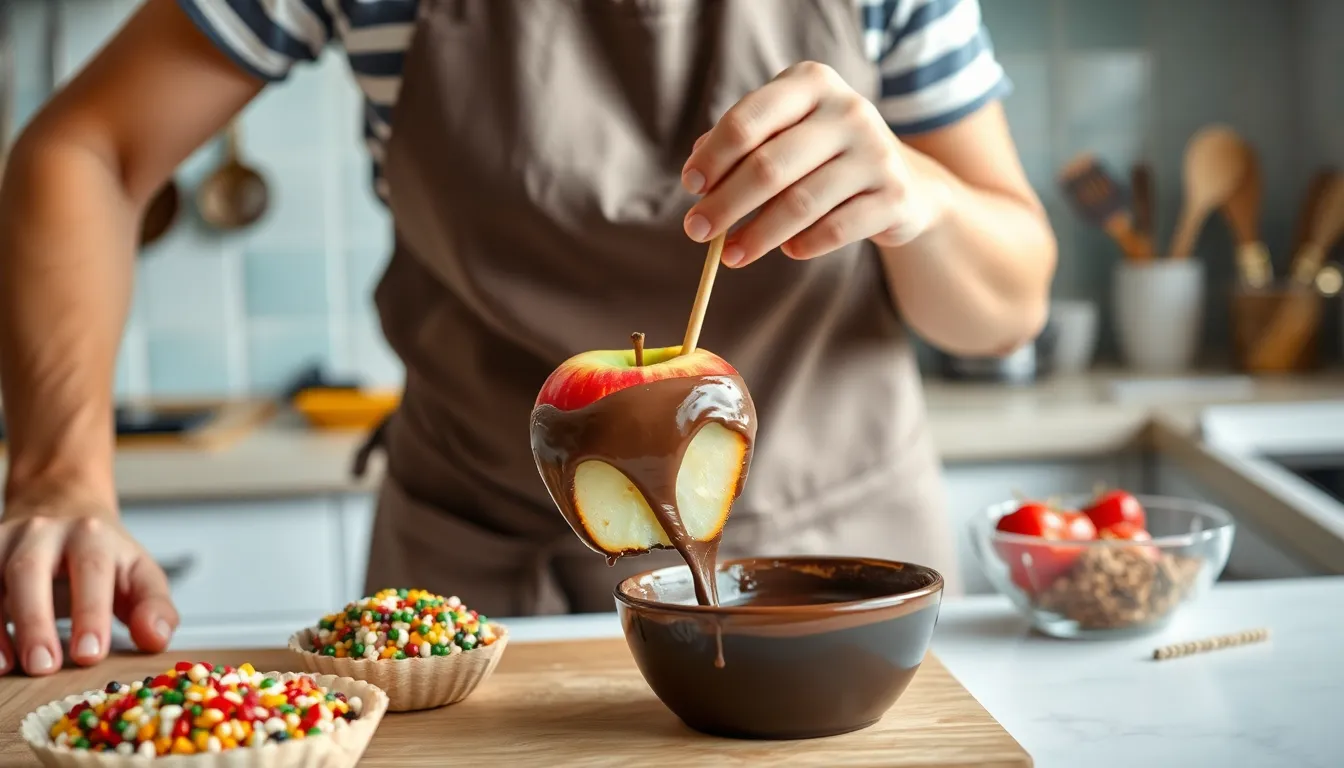
Even with careful preparation, we sometimes encounter challenges when making chocolate covered apples. These common issues have simple answers that will help us achieve perfect results every time.
Chocolate Won’t Stick
Moisture on apple surfaces creates the most frequent adhesion problems we face. After washing and slicing our apples, we must thoroughly dry them with paper towels before dipping into melted chocolate. Any residual water forms a barrier that causes chocolate to slide off or create gaps in our coating.
We should insert sticks gently to prevent splitting the apple, which introduces additional moisture. Firm, unwaxed apples work best for chocolate adherence. Chilling our prepared apples in the refrigerator for 30 minutes before dipping also improves chocolate bonding.
Chocolate Coating Too Thick
Thick coatings typically result from chocolate that hasn’t melted completely or has cooled too much during the dipping process. We need to ensure our chocolate melts smoothly using gentle heat from a double boiler or short microwave bursts. Adding a small amount of coconut oil or heavy cream helps thin the chocolate to our desired consistency.
Stirring frequently maintains even temperature and prevents the chocolate from cooling unevenly. We should keep our melted chocolate warm throughout the dipping process by returning it to low heat as needed.
Preventing Chocolate Drips
Excess chocolate creates unwanted drips that pool at the bottom of our finished apples. After dipping each apple, we hold it over the chocolate bowl for several seconds to allow surplus coating to drip back. This technique prevents waste and creates cleaner looking treats.
Placing our dipped apples on parchment lined trays minimizes sticking and mess. We can use skewers or popsicle sticks inserted into stable bases like foam blocks to keep apples vertical while chocolate sets. This positioning reduces pooling at the bottom and creates more professional looking results. Refrigerating our chocolate covered apples immediately after dipping speeds the setting process and prevents running.
Conclusion
We’ve shared everything you need to transform simple apples into irresistible chocolate-covered treats that’ll impress family and friends. With the right techniques and our troubleshooting tips you’ll create professional-looking desserts from your own kitchen.
These delightful treats offer endless possibilities for customization and make perfect additions to any celebration. Whether you’re planning ahead for a party or satisfying a spontaneous craving the process is straightforward and rewarding.
Now it’s time to gather your ingredients and start dipping! We’re confident you’ll love both the process and the delicious results.
Frequently Asked Questions
What equipment do I need to make chocolate covered apples at home?
You’ll need basic kitchen tools that most home cooks already have: a large saucepan or double boiler for melting chocolate, wooden spoons for stirring, a baking sheet lined with parchment paper, and wooden skewers for handles. Optional items like a candy thermometer and piping bags can enhance the process, but aren’t essential for success.
What type of apples work best for chocolate covering?
Granny Smith apples are recommended as the top choice due to their perfect tartness that balances the sweetness of chocolate. Their firm texture also holds up well during the dipping process. However, any crisp, firm apple variety will work well for this treat.
How long do chocolate covered apples last?
Chocolate covered apples can be stored in the refrigerator for 3 to 4 days when properly stored in airtight containers. They can also sit at room temperature for a few hours without spoiling. For best quality, wrap each apple individually to maintain freshness and visual appeal.
Can I make chocolate covered apples ahead of time?
Yes, chocolate covered apples are perfect for making ahead! Prepare them 24 hours in advance by completing all steps including dipping and adding toppings, then refrigerate for at least 30 minutes to harden. Store in airtight containers and remove 10-15 minutes before serving for optimal texture.
Why won’t my chocolate stick to the apples?
The most common reason chocolate won’t stick is moisture on the apple’s surface. Always wash apples thoroughly to remove wax, dry them completely, and chill them in the refrigerator before dipping. Any remaining moisture will prevent proper chocolate adherence, so thorough drying is essential.
What toppings work best for chocolate covered apples?
Popular toppings include chopped nuts, candy-coated chocolates, colorful sprinkles, dried cranberries, and toasted coconut flakes. Add toppings immediately while the chocolate is still wet for best adhesion. You can also drizzle with caramel or contrasting chocolate colors for visual appeal.
How do I prevent chocolate from being too thick when dipping?
If your chocolate coating is too thick, it likely needs more gentle heat or a small amount of coconut oil or shortening to thin it out. Use a double boiler for controlled melting and maintain proper temperature to ensure smooth, even coating consistency.
What’s the best way to serve chocolate covered apples?
Remove apples from refrigeration 10-15 minutes before serving to achieve the best texture. Consider setting up a toppings bar for customization, slicing apples for elegant presentation, or packaging individual apples as gifts. Temperature matters for optimal eating experience.


