We’ve all experienced that moment when regular Oreos just aren’t indulgent enough. That’s where chocolate covered Oreos come to the rescue – transforming America’s favorite cookie into an irresistible gourmet treat that’ll have everyone begging for the recipe.
These decadent delights take the beloved chocolate sandwich cookie and elevate it with a smooth coating of melted chocolate. Whether you’re planning a special celebration or simply want to surprise your family with something extraordinary the process is surprisingly simple yet produces bakery-quality results.
The beauty of chocolate covered Oreos lies in their versatility. We can customize them with colorful sprinkles festive decorations or different chocolate varieties to match any occasion. They’re perfect for holidays birthday parties or those moments when we need a little extra sweetness in our lives.
Ingredients
We need just a few simple ingredients to transform ordinary Oreos into elegant chocolate covered treats. Our ingredient list focuses on quality components that deliver professional results every time.
For the Chocolate Coating
- 12 oz high-quality chocolate chips or chopped chocolate (dark, milk, or white chocolate)
- 1 tablespoon coconut oil or vegetable shortening
- 1 package (14.3 oz) Oreo cookies (original or your preferred variety)
For Decoration (Optional)
- 1/2 cup mini chocolate chips
- 1/4 cup chopped nuts (almonds, pecans, or hazelnuts)
- 2 tablespoons sprinkles or nonpareils
- 1/4 cup crushed Oreo cookies
- 1/4 cup shredded coconut
- 2 oz melted white chocolate for drizzling
- Sea salt flakes for finishing
Equipment Needed
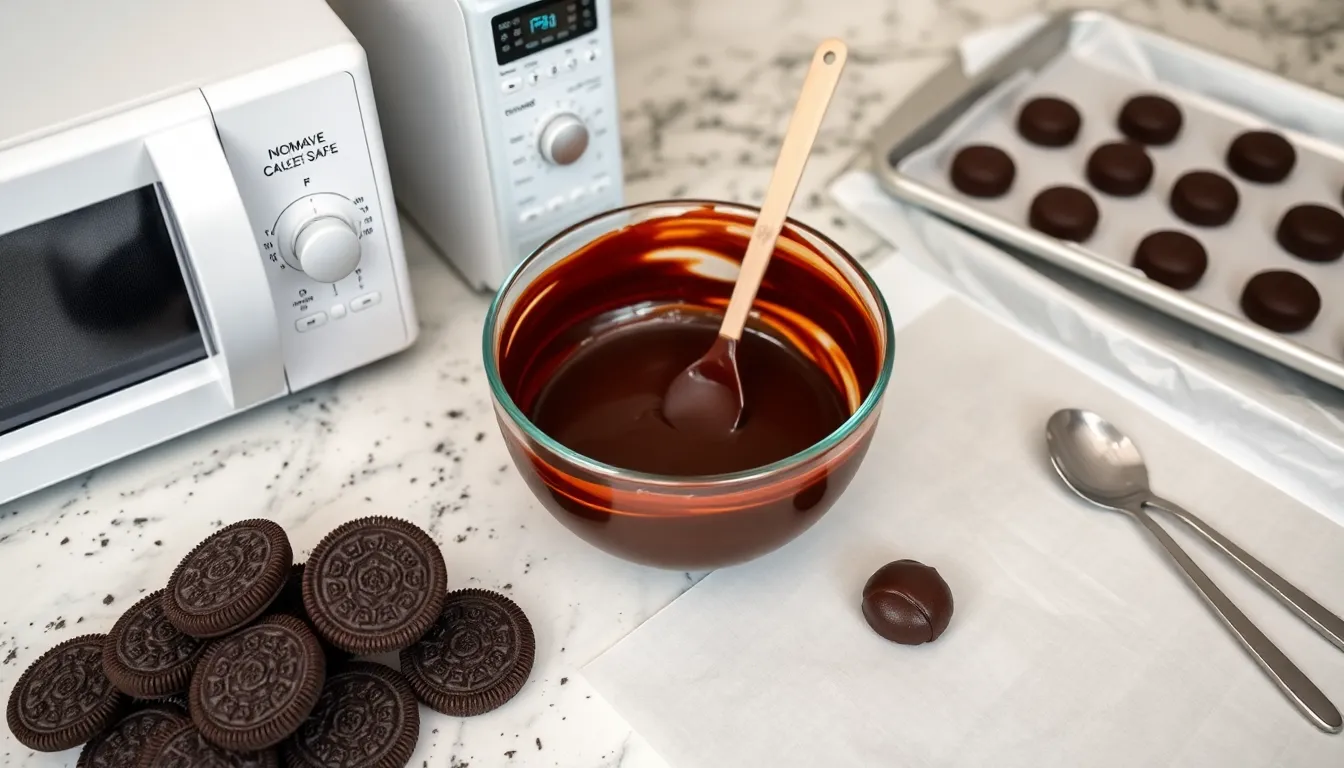
Creating perfect chocolate covered Oreos requires the right tools to achieve that smooth professional finish we all desire. We have compiled a comprehensive list of essential equipment that will make your chocolate coating process seamless and enjoyable.
Essential Equipment:
- Microwave or Double Boiler – We recommend using either option for melting chocolate evenly and maintaining optimal temperature control
- Microwave-Safe Bowl – A small bowl works best for controlled dipping and reduces chocolate waste
- Baking Sheet – Essential for placing finished Oreos during the cooling and setting phase
- Parchment Paper or Wax Paper – Prevents sticking and allows easy removal once chocolate sets
- Fork or Slotted Spoon – These tools help achieve an even smooth chocolate layer when dipping
- Tipless Piping Bag – Perfect for drizzling chocolate patterns or creating decorative finishes
Optional Equipment for Enhanced Results:
- Oreo Silicone Mold – Creates consistently shaped molded chocolate covered Oreos instead of traditional dipping
- Thermometer – Helps maintain chocolate temperature between 89-96°F for optimal coating texture
| Equipment | Primary Function | Benefit |
|---|---|---|
| Microwave/Double Boiler | Melting chocolate | Even heat distribution |
| Microwave-Safe Bowl | Chocolate preparation | Controlled dipping process |
| Baking Sheet | Setting surface | Organized cooling space |
| Parchment/Wax Paper | Non-stick surface | Easy removal after setting |
| Fork/Slotted Spoon | Dipping tool | Smooth even coating |
| Piping Bag | Decorating | Professional drizzle patterns |
Quality Considerations:
We emphasize using high-quality equipment for best results. Your chocolate coating will maintain better texture and appearance when proper temperature control is achieved through reliable melting equipment. Organized arrangement of all tools before starting streamlines the entire process and ensures consistent results every time.
Instructions
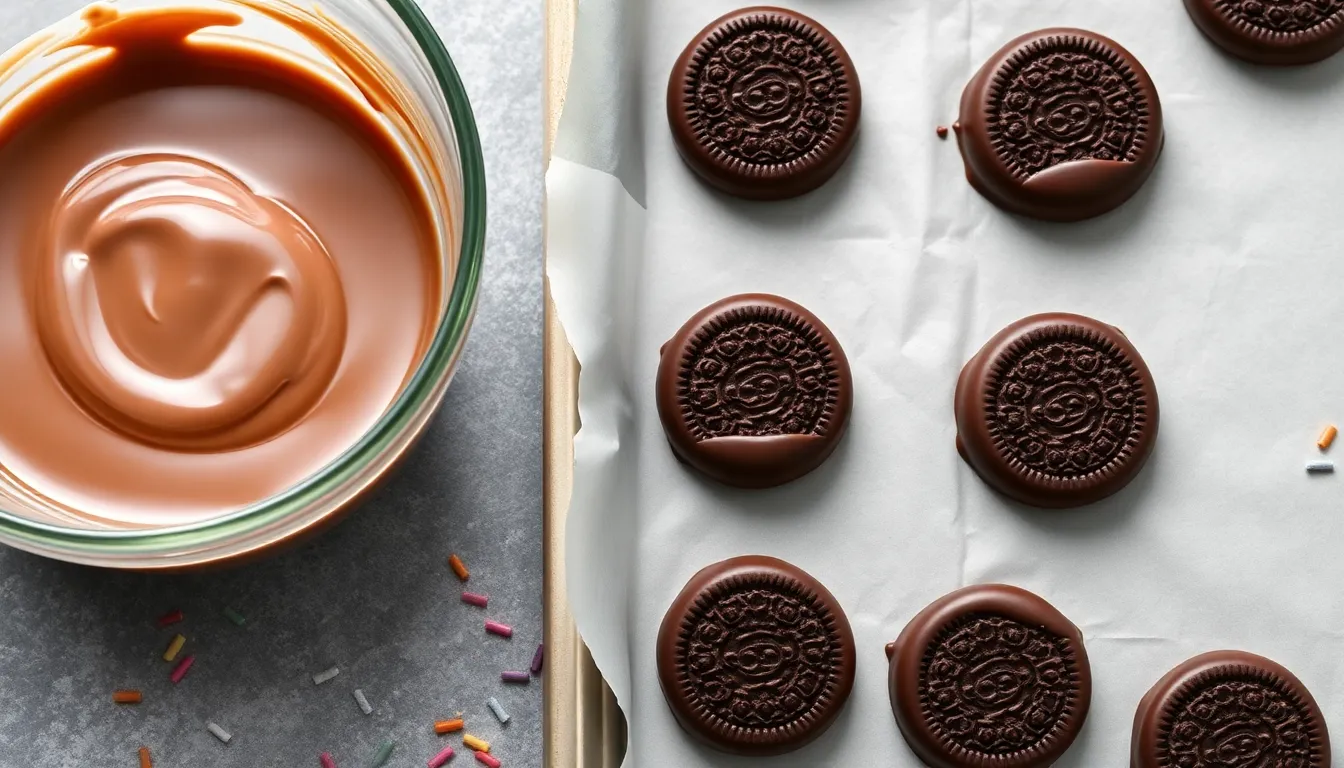
Follow these detailed steps to create perfectly coated chocolate covered Oreos that rival any bakery quality treat. We’ll guide you through each stage to ensure consistent results every time.
Prep the Oreos
We start by gathering our 24 Oreo cookies and arranging them within easy reach of our workspace. Line a large baking sheet with wax paper or parchment paper to create a non-stick surface for cooling. This preparation step prevents the finished cookies from sticking and makes cleanup effortless. Position the prepared baking sheet near your melting station for efficient workflow.
Melt the Chocolate
Place 12 ounces of milk chocolate candy melting wafers in a microwave-safe bowl for controlled melting. Heat the chocolate at 50% power for 1 minute to prevent overheating. Continue heating in 30-second intervals while stirring thoroughly between each heating session until the chocolate reaches a smooth consistency. For visual variety we can prepare two separate bowls with different chocolate types such as white and dark chocolate.
Dip the Oreos
Position an Oreo cookie on a fork and lower it into the melted chocolate bath. Turn the cookie gently to ensure complete coverage on all surfaces. Tap the fork against the bowl’s edge to remove excess chocolate and prevent thick coating buildup. This technique creates an even chocolate layer that sets properly without dripping.
Add Decorations
Apply sprinkles or chosen toppings immediately before the chocolate coating sets to ensure proper adhesion. Working quickly allows decorations to embed naturally into the soft chocolate surface. For layered visual appeal we can wait until the initial chocolate coating firms completely then drizzle additional melted chocolate in contrasting colors over the surface.
Set the Chocolate
Transfer each dipped Oreo to the prepared baking sheet using gentle placement to avoid disturbing the coating. Allow the chocolate to set at room temperature for natural firming or place the baking sheet in the refrigerator for faster results. The chocolate reaches proper firmness when it no longer feels tacky to light touch and maintains its shape when handled.
Tips for Perfect Chocolate Covered Oreos
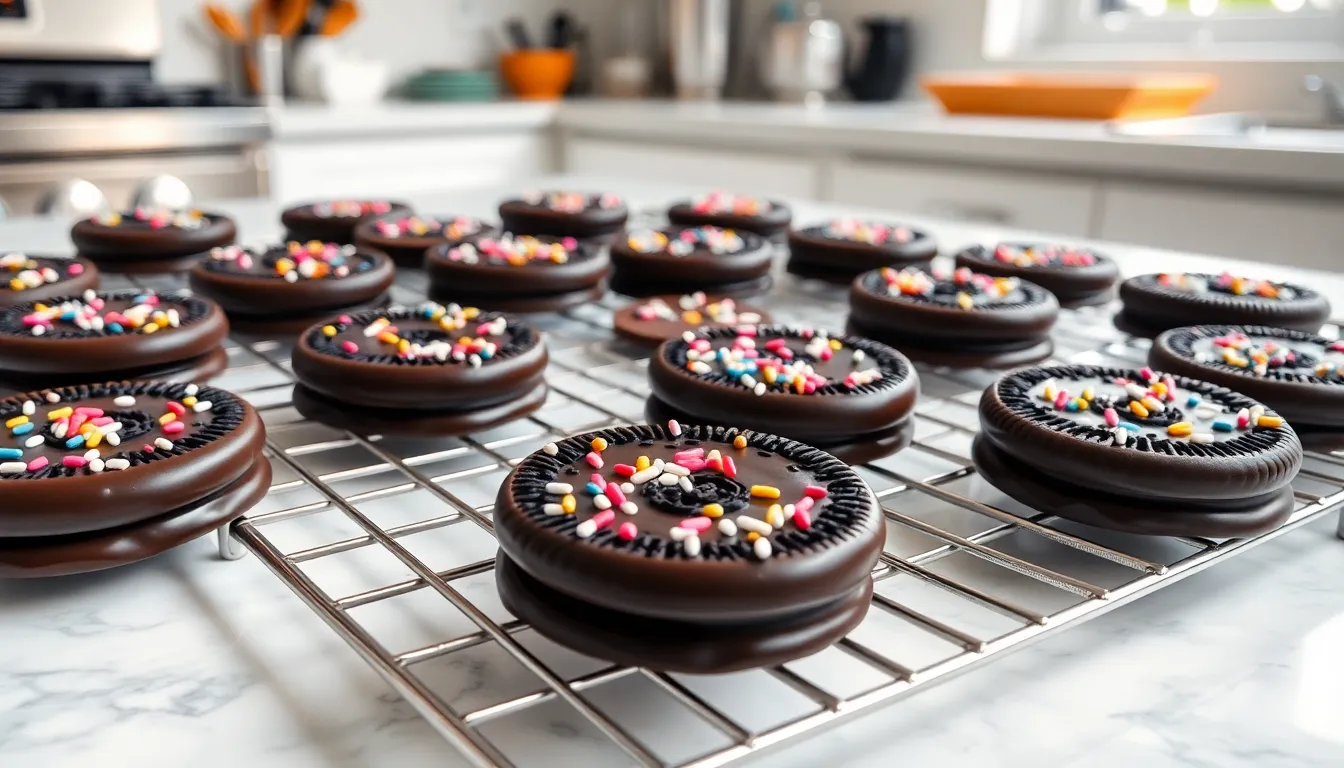
Mastering the art of chocolate covered Oreos requires attention to detail and the right techniques. These professional tips will help you create treats that rival those from your favorite bakery.
Choosing the Right Chocolate
High quality chocolate makes all the difference in achieving that perfect coating and rich flavor. Dark chocolate offers a sophisticated taste that balances beautifully with the sweet cream filling, while milk chocolate provides a classic, family friendly option. White chocolate creates an elegant appearance that’s perfect for special occasions or when you want to add colorful decorations.
Candy melts present an excellent alternative for beginners who want consistent results. These specially formulated coating chocolates melt smoothly and are designed specifically for dipping and coating treats. We recommend candy melts when you’re planning to add colors or when working with children, as they’re more forgiving than traditional chocolate.
Temperature Control
Proper melting technique prevents chocolate from seizing or burning, which can ruin your entire batch. Use a double boiler for the most controlled melting process, or choose the microwave method with 15 to 30 second intervals. Stir thoroughly between each heating session to ensure even melting and prevent hot spots that could scorch the chocolate.
| Method | Heating Time | Temperature Range |
|---|---|---|
| Double Boiler | Continuous | 110-115°F |
| Microwave | 15-30 second intervals | Medium power |
Room temperature stability plays a crucial role in your coating success. Maintain a consistent workspace temperature between 68 and 72°F to prevent the chocolate from setting too quickly during dipping or becoming too soft to work with effectively.
Storage Tips
Cool and dry storage conditions preserve the quality and appearance of your chocolate covered Oreos. Keep them away from direct sunlight and heat sources that could cause the chocolate to melt or develop white bloom. Avoid refrigerator storage unless absolutely necessary, as condensation can affect the chocolate’s texture.
Air tight containers maintain freshness and prevent the cookies from absorbing moisture or odors from other foods. Glass containers with tight fitting lids work exceptionally well, as do plastic storage containers with secure seals. Layer the treats between sheets of parchment paper if you need to stack them, which prevents sticking and maintains their beautiful appearance.
Variations and Flavor Ideas
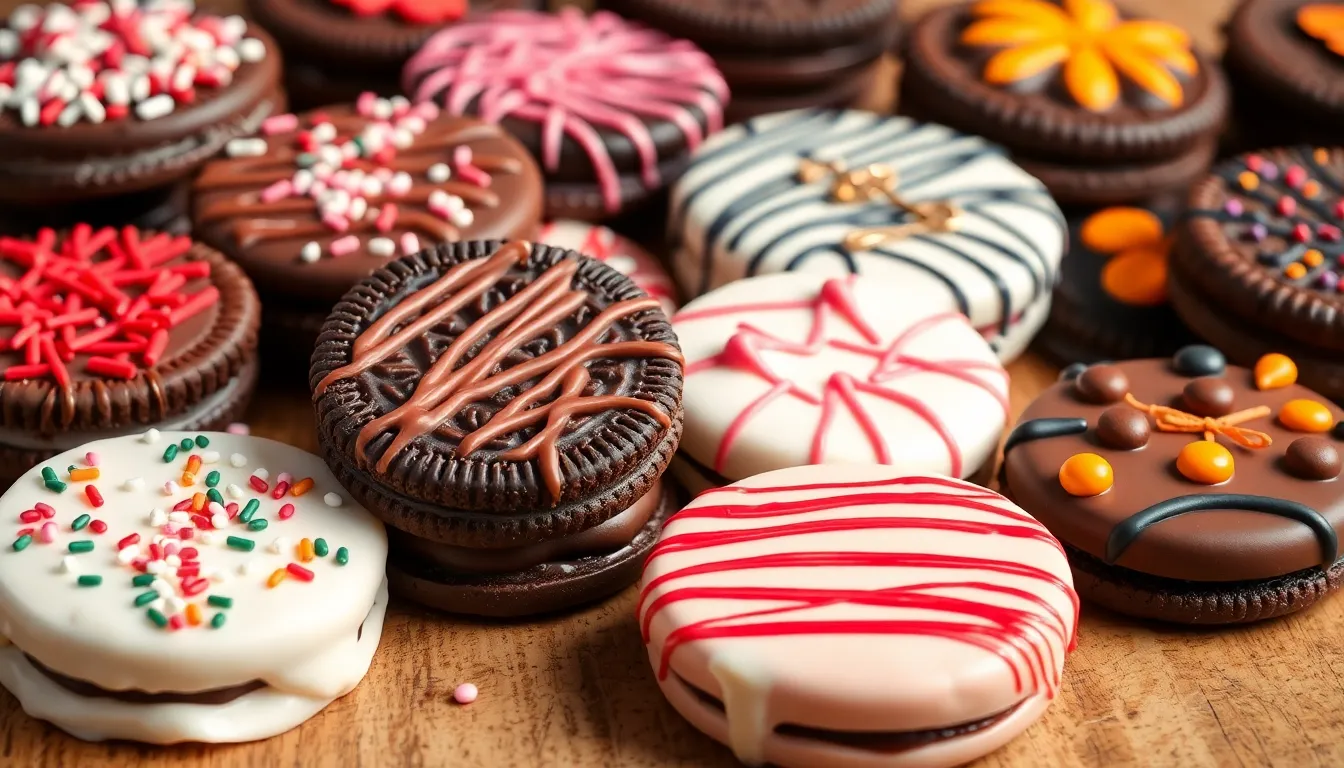
We can transform our basic chocolate covered Oreos into countless exciting variations. These creative approaches allow us to customize our treats for any occasion or personal preference.
White Chocolate Covered Oreos
We achieve a sweeter and creamier flavor profile by using melted white chocolate or white candy melts for dipping our Oreos. This variation offers an elegant appearance that pairs beautifully with colorful sprinkles or decorative drizzle designs. White chocolate provides the perfect canvas for vibrant decorations since its neutral color makes any topping pop visually.
The melting process remains identical to regular chocolate but we should monitor white chocolate more carefully as it can scorch easily. We recommend starting with 30-second intervals in the microwave and stirring thoroughly between each heating session. Once melted and smooth we can proceed with our standard dipping technique for consistent results.
Double Chocolate Coating
We create an intensely rich chocolate experience by applying two layers of different chocolate types to our Oreos. This technique involves dipping our cookies in dark or milk chocolate first then adding a drizzle of contrasting chocolate such as white chocolate or a different shade of dark chocolate after the initial coat sets completely.
The key to success lies in timing between layers. We must allow the first chocolate coating to harden completely before applying the second layer to prevent the colors from blending together. We can create beautiful patterns by drizzling the second chocolate in zigzag lines or spiral designs using a fork or piping bag.
Holiday-Themed Decorations
We transform our chocolate covered Oreos into festive treats by selecting sprinkles and decorative elements that match exact holidays throughout the year. Orange and black combinations work perfectly for Halloween while red or pink decorations create romantic Valentine’s Day treats.
| Holiday | Color Scheme | Decoration Ideas |
|---|---|---|
| Halloween | Orange and Black | Orange sprinkles, black chocolate drizzle |
| Valentine’s Day | Red and Pink | Heart-shaped candies, pink sprinkles |
| Easter | Pastels | Colorful sprinkles, mini eggs |
| Christmas | Red and Green | Crushed candy canes, festive sprinkles |
We can incorporate themed candies such as crushed candy canes for Christmas or mini chocolate eggs for Easter to add extra festive flair. The key is adding these decorations immediately after dipping while the chocolate remains wet so they adhere properly to the surface.
Make-Ahead Instructions
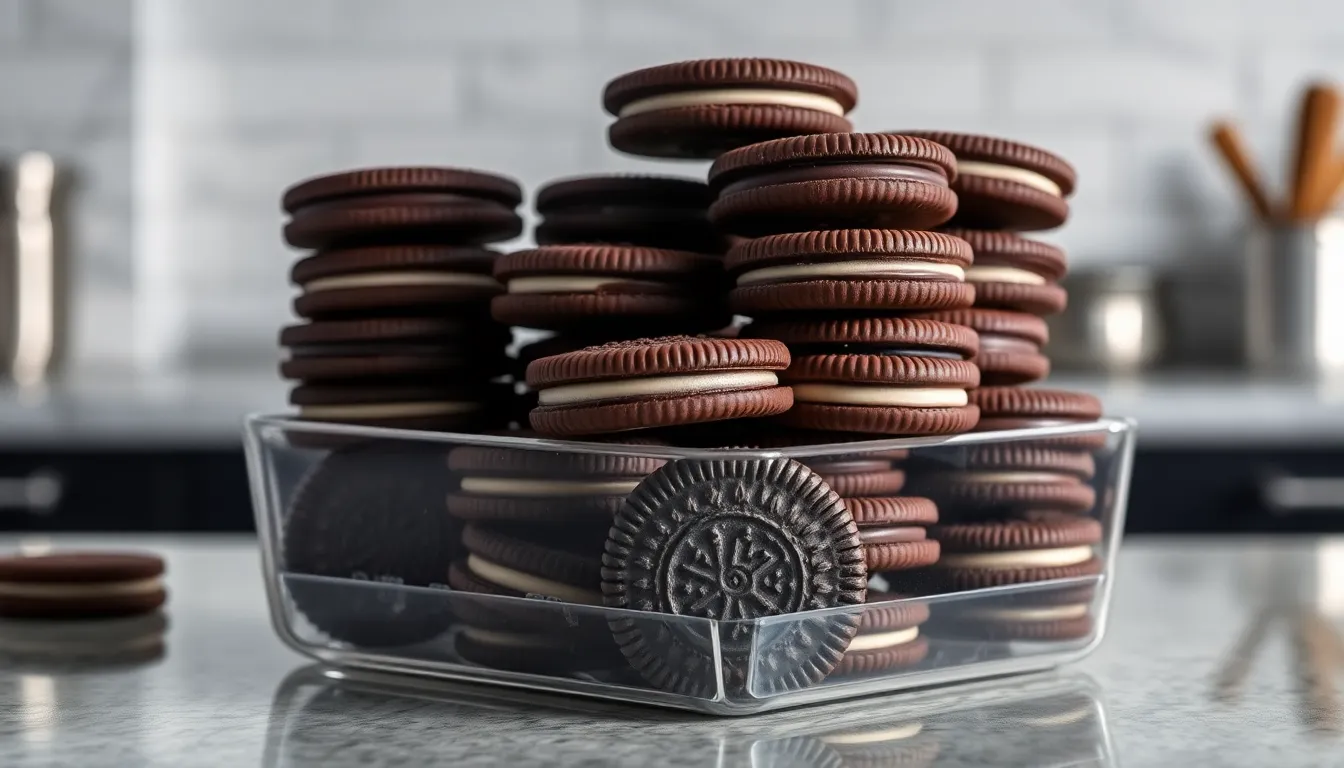
We can prepare chocolate covered Oreos well in advance to save time during busy periods or special events. These treats maintain their quality for extended periods when stored properly.
Timeline for Preparation
| Storage Method | Duration | Best Quality Period |
|---|---|---|
| Room Temperature (Airtight Container) | Up to 4 weeks | 2-4 weeks |
| Refrigerated (Airtight Container) | About 2 weeks | 1-2 weeks |
| Cool, Dry Place | Several months possible | 2-4 weeks recommended |
Storage Guidelines
We recommend storing our finished chocolate covered Oreos in airtight containers at room temperature for optimal results. This method preserves their texture and prevents moisture absorption that can cause the chocolate coating to become sticky or develop white spots.
Room temperature storage works best because refrigeration can cause condensation when the treats are removed from cold storage. The chocolate coating may develop a cloudy appearance or lose its glossy finish if exposed to temperature fluctuations.
Advance Planning Tips
We suggest making chocolate covered Oreos 2 to 4 weeks before your event for the best balance of convenience and quality. This timeframe allows us to complete the task without rushing while ensuring the treats taste fresh and look their best.
For maximum freshness we should place the cooled and set chocolate covered Oreos in containers with tight fitting lids. Separate layers with parchment paper to prevent the treats from sticking together during storage.
The storage location should remain cool and dry with consistent temperature. Avoid areas near heat sources or locations with high humidity such as above the stove or near dishwashers.
Serving Suggestions
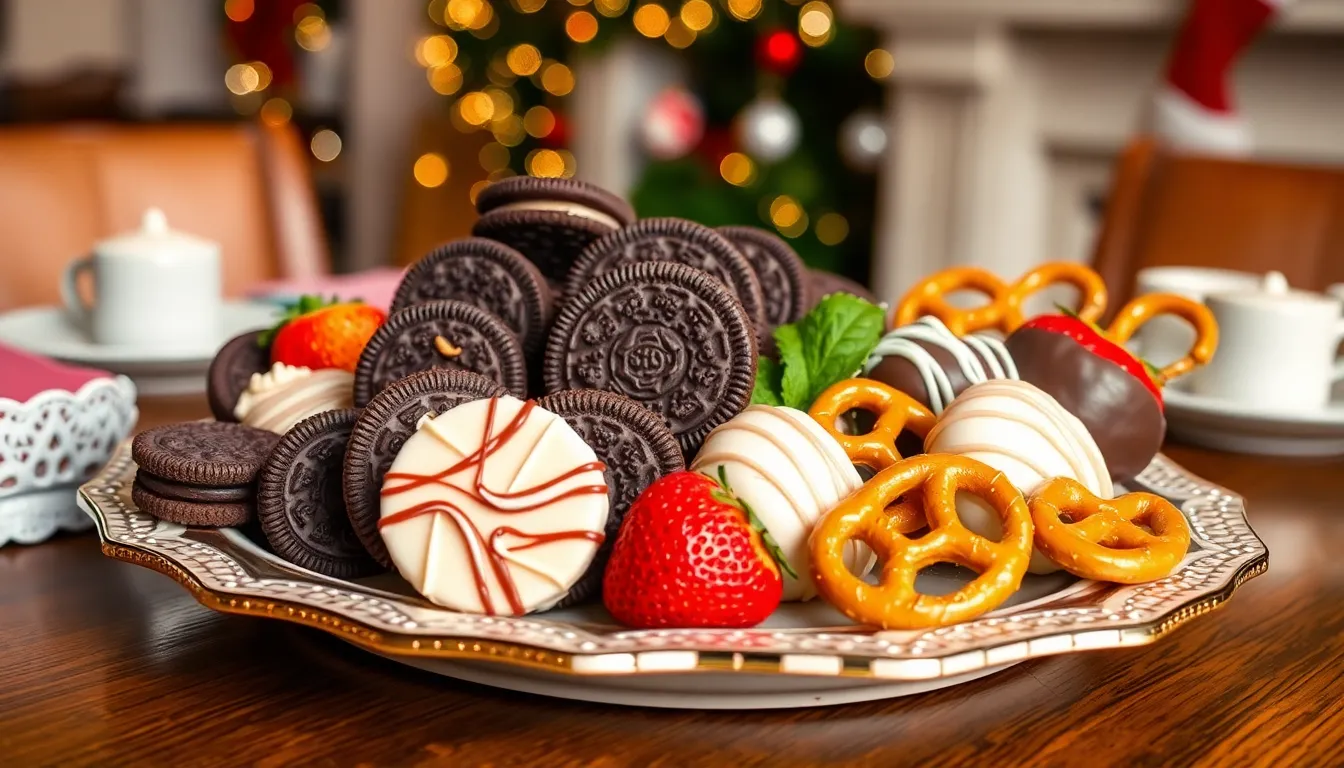
We love how versatile chocolate covered Oreos become once they’re ready to serve. These elegant treats work beautifully as the centerpiece of a dessert platter where we arrange them on decorative plates alongside other chocolate-dipped favorites like strawberries or pretzels. The variety in textures and flavors creates an impressive presentation that guests always appreciate.
Our favorite way to elevate cakes and cheesecakes involves using these treats as stunning toppers. We can place whole chocolate covered Oreos strategically around the edges or crumble them over the surface for added texture and visual appeal. The combination enhances both the flavor profile and the overall appearance of layered desserts.
We transform ordinary ice cream into something special by breaking our chocolate covered Oreos into chunks and mixing them directly into bowls. This creates an instant cookies and cream experience that rivals any premium store-bought variety. The contrast between cold ice cream and the chocolate coating provides a delightful textural element.
Puddings and mousses benefit tremendously when we sprinkle whole or chopped chocolate covered Oreos over the top as garnish. We find that parfaits particularly shine with this addition since the treats add both visual interest and a satisfying crunch to complement the smooth textures below.
Party hosting becomes effortless when we serve these treats as standalone snacks. We often insert lollipop sticks before dipping to create fun Oreo pops that work perfectly for festive occasions. These individual portions make serving and eating more convenient while adding a playful element to the presentation.
Best Serving Practices:
| Timing | Action | Result |
|---|---|---|
| Immediately after dipping | Add toppings while chocolate is wet | Decorations adhere properly |
| Before serving | Allow chocolate to set at room temperature | Optimal texture and appearance |
| Alternative setting method | Refrigerate for faster setting | Quicker preparation timeline |
We always ensure any decorative elements get added right after dipping while the chocolate remains wet for proper adhesion. The treats must set completely either at room temperature or in the refrigerator before we serve them to achieve the perfect texture and clean appearance our guests expect.
Storage and Shelf Life
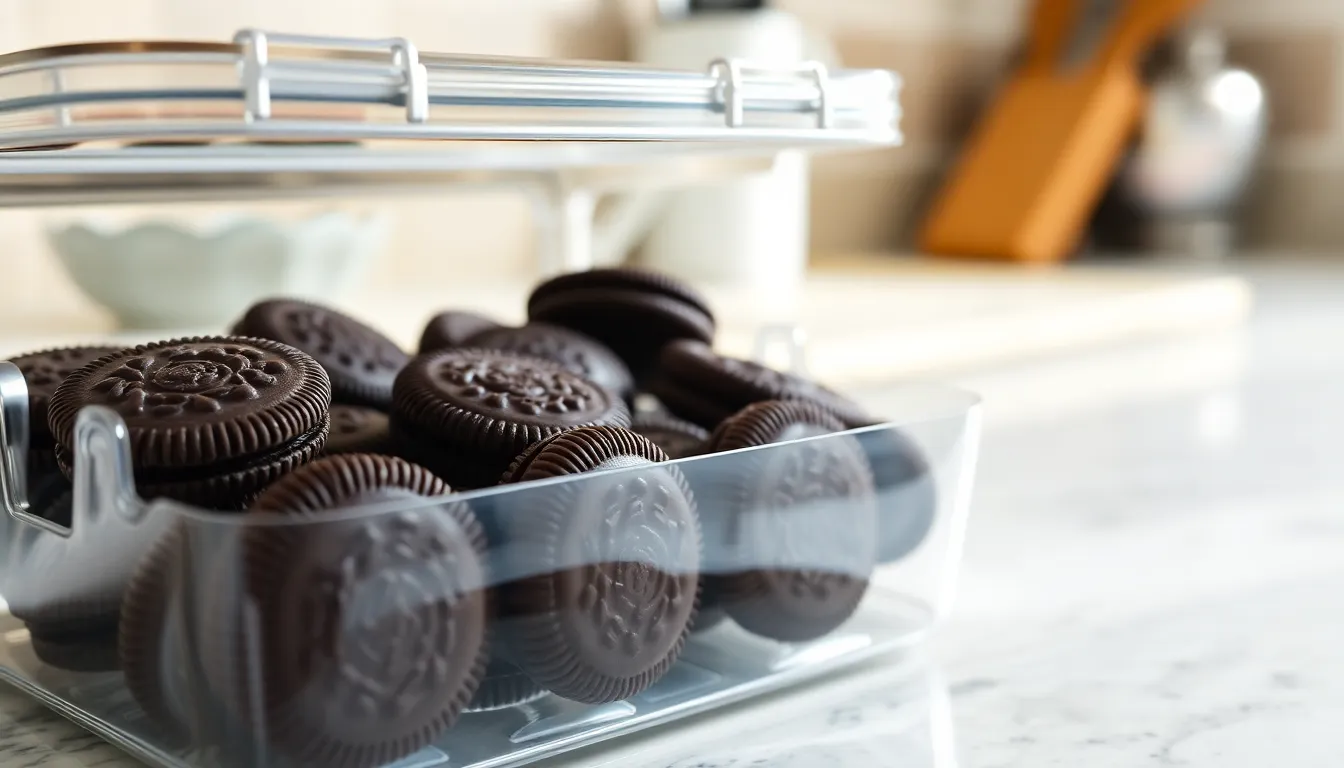
Proper storage ensures our chocolate covered Oreos maintain their quality and delicious taste for weeks to come. We’ve found that following exact storage guidelines significantly extends the shelf life of these delectable treats.
Room Temperature Storage
We recommend storing chocolate covered Oreos in an airtight container at room temperature for optimal freshness. This method keeps them fresh for approximately 4 weeks when stored properly. Room temperature storage works best when we keep the container away from direct sunlight and heat sources that could cause the chocolate to melt or lose its glossy finish.
Refrigeration Method
Refrigerator storage extends the freshness of our chocolate covered Oreos by several additional weeks beyond room temperature storage. We place them in airtight containers before refrigerating to prevent moisture absorption and maintain their crisp texture. Cold storage helps prevent melting during warmer months and preserves the chocolate coating’s integrity.
Freezer Storage Option
Long-term storage becomes possible when we freeze chocolate covered Oreos in airtight containers or freezer bags. This method preserves them for up to 3 months while maintaining quality. We thaw frozen treats overnight in the refrigerator or at room temperature before serving to restore their original texture and flavor.
Expected Shelf Life
| Storage Method | Duration | Notes |
|---|---|---|
| Room Temperature | 4 weeks | Airtight container required |
| Refrigeration | 4+ weeks | Prevents melting |
| Freezer | 3 months | Thaw before serving |
| General Shelf Life | 4 months | When stored properly |
Our chocolate covered Oreos typically maintain their quality for about 4 months when we follow proper storage techniques. Some chocolate covered treats can last up to 6 months under ideal conditions.
Factors That Affect Freshness
Light exposure significantly impacts the quality of our chocolate covered Oreos. We store them in dark places or opaque containers to prevent chocolate from developing off-flavors or losing its appealing appearance.
Heat sources accelerate chocolate deterioration and can cause unwanted melting. We keep our treats away from ovens, sunny windowsills, and other warm areas in the kitchen.
Humidity creates problems for chocolate coatings by making them sticky or causing flavor changes. We ensure storage areas remain dry and use airtight packaging to create a moisture barrier around our treats.
Proper packaging serves as the foundation for extended freshness. We always use airtight containers that prevent air exposure and moisture infiltration, which are the primary causes of quality degradation in chocolate covered cookies.
Conclusion
We’ve shown you how simple it is to transform ordinary Oreos into extraordinary gourmet treats that’ll wow your family and friends. With just a few basic ingredients and the right techniques you can create bakery-quality chocolate covered Oreos right in your own kitchen.
The beauty of this recipe lies in its versatility – whether you’re preparing for a special celebration or just want to elevate your everyday snacking experience these treats deliver every time. Remember that proper storage will keep your creations fresh for weeks allowing you to enjoy them long after you’ve made them.
Now it’s time to grab your apron gather your ingredients and start dipping. Your taste buds will thank you for this delicious upgrade to the classic cookie we all know and love.
Frequently Asked Questions
What makes chocolate covered Oreos a special treat?
Chocolate covered Oreos transform the classic cookie into a gourmet indulgence with bakery-quality appearance. They’re incredibly versatile and can be customized with various chocolate types and decorations for any occasion. These treats are surprisingly easy to make at home while delivering impressive results that elevate any dessert table or celebration.
What ingredients do I need to make chocolate covered Oreos?
The basic ingredients are simple: chocolate chips, coconut oil, and Oreo cookies. For decorations, you can use mini chocolate chips, chopped nuts, sprinkles, crushed Oreos, shredded coconut, melted white chocolate, or sea salt flakes. High-quality chocolate is recommended for the best flavor and smooth coating consistency.
What equipment is essential for making chocolate covered Oreos?
You’ll need a microwave or double boiler for melting chocolate, a microwave-safe bowl, a baking sheet, and parchment or wax paper. A fork or slotted spoon helps with even coating, while a tipless piping bag adds decorative finishes. Optional tools include an Oreo silicone mold and thermometer for temperature control.
How do I properly melt chocolate for coating Oreos?
Use controlled heating in 30-second intervals in the microwave, stirring between each interval to prevent burning. Alternatively, use a double boiler for gentle, even heating. Maintain proper temperature to achieve smooth consistency and prevent the chocolate from seizing. Add a small amount of coconut oil for smoother coating if needed.
How should I store chocolate covered Oreos?
Store at room temperature in airtight containers for up to 4 weeks. Refrigeration can extend freshness but may cause condensation issues. For long-term storage, freeze for up to 3 months. Keep away from light, heat sources, and humidity to maintain quality and prevent chocolate from developing a white bloom.
Can I make chocolate covered Oreos ahead of time?
Yes, chocolate covered Oreos are perfect make-ahead treats. They can be prepared 2-4 weeks before an event when stored properly in airtight containers at room temperature. This makes them ideal for busy periods, special occasions, or when you want to have gourmet treats ready for unexpected guests.
What are some creative ways to serve chocolate covered Oreos?
Use them as elegant additions to dessert platters, cake and cheesecake toppers, or ice cream mix-ins. They make excellent garnishes for puddings and mousses. Transform them into Oreo pops for parties by inserting sticks before the chocolate sets. Add decorative toppings while the chocolate is still wet for best adherence.
Why is temperature control important when making chocolate covered Oreos?
Proper temperature control prevents chocolate from seizing, burning, or developing an uneven texture. Overheated chocolate becomes thick and difficult to work with, while underheated chocolate won’t coat properly. Maintaining optimal temperature ensures smooth, glossy coatings and professional-looking results that set properly without streaking or blooming.




![100% Compostable Paper Plates, Heavy Duty Disposable Plates [125-Pack] 9](https://m.media-amazon.com/images/I/41i7r-FompL._SL500_.jpg)


