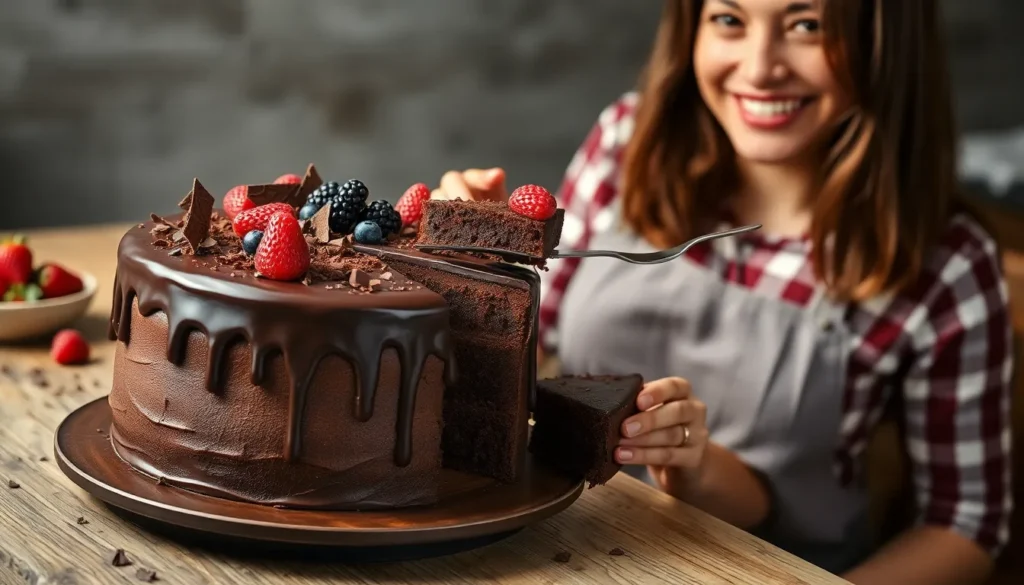
We’ve all experienced that moment when a chocolate craving hits and nothing else will satisfy it. That’s exactly when this chocolate ganache cake becomes your ultimate salvation. This decadent dessert combines the rich intensity of dark chocolate with the silky smoothness of ganache that literally melts in your mouth.
What makes this cake extraordinary isn’t just its deep chocolate flavor – it’s the luxurious ganache that transforms an ordinary cake into something spectacular. We’re talking about a glossy chocolate coating that’s so perfectly balanced between sweet and bitter that it’ll make you forget every other chocolate cake you’ve ever tasted.
The best part? This chocolate ganache cake looks incredibly sophisticated but it’s surprisingly achievable in your own kitchen. Whether you’re celebrating a special occasion or simply treating yourself to something amazing we guarantee this recipe will become your go-to chocolate masterpiece.
Equipment Needed
Creating this luxurious chocolate ganache cake requires exact tools that ensure professional results every time. We recommend gathering all equipment before starting to streamline your baking process.
Essential Baking Equipment:
- Two 9-inch round cake pans
- Electric stand mixer or hand mixer
- Large mixing bowls (at least 3)
- Medium saucepan for ganache
- Fine-mesh wire cooling racks
- Rubber spatulas for folding and scraping
- Measuring cups and spoons
- Kitchen scale for precise measurements
Preparation Tools:
- Parchment paper for lining pans
- Cooking spray or butter for greasing
- Wire whisk for smooth mixing
- Offset spatula for frosting application
- Bench scraper for clean cake sides
Ganache-Exact Items:
- Heavy-bottomed saucepan prevents scorching
- Wooden spoon for gentle stirring
- Fine-mesh strainer removes any lumps
- Clean kitchen towel for wiping bowl edges
The stand mixer proves invaluable for achieving the proper cake batter consistency. Our ganache requires careful temperature control that a heavy-bottomed saucepan provides. Quality mixing bowls prevent ingredient waste and ensure thorough combining.
Optional But Helpful:
- Cake turntable for easier decorating
- Digital thermometer for ganache temperature
- Piping bags for decorative touches
- Cake leveler for even layers
Having the right equipment transforms this chocolate ganache cake from challenging to achievable. We find that investing in quality tools makes every step more enjoyable and produces consistently excellent results.
Ingredients
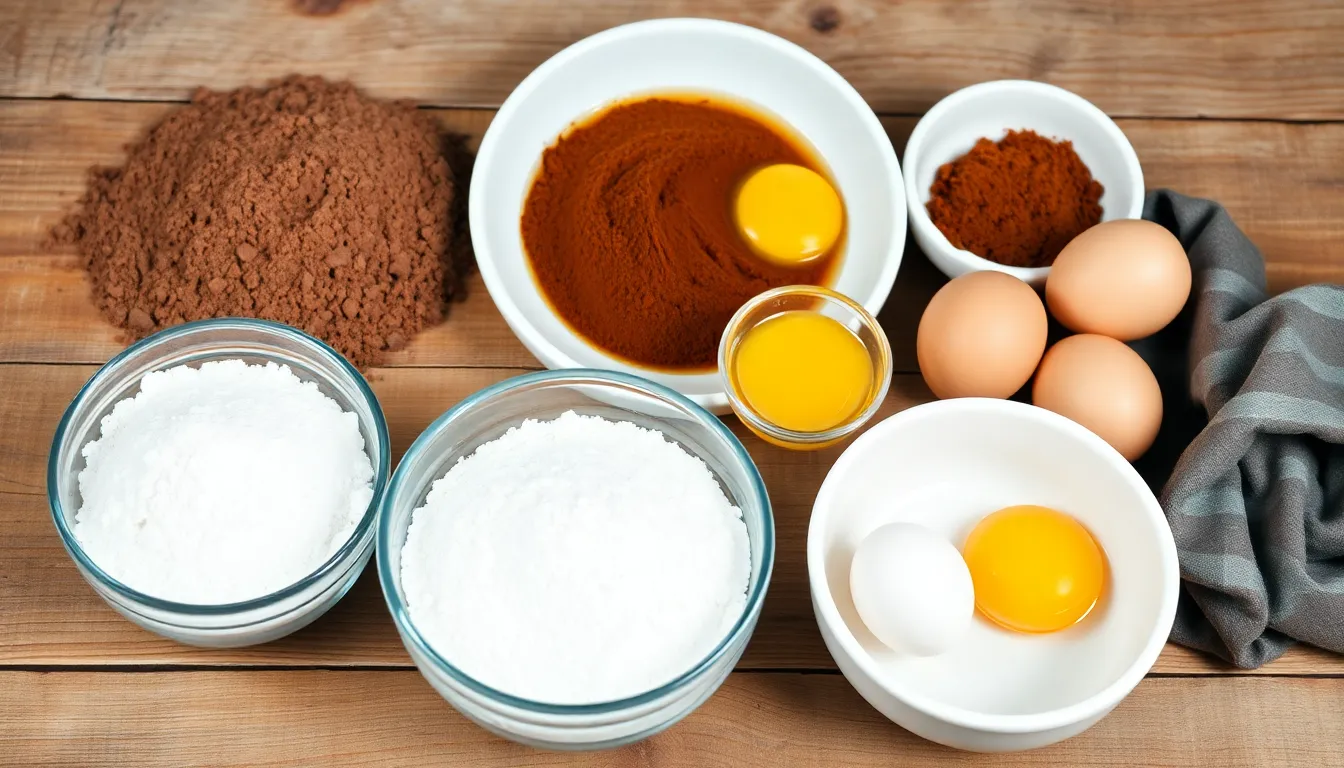
Creating this decadent chocolate ganache cake requires three distinct sets of ingredients. Each component plays a crucial role in delivering the rich flavors and stunning presentation that make this dessert truly exceptional.
For the Chocolate Cake
- 2 to 2 1/4 cups all-purpose flour
- 1 3/4 to 2 cups granulated sugar
- 1/2 to 3/4 cup unsweetened or Dutch-processed cocoa powder
- 1 to 2 teaspoons baking powder
- 1/2 teaspoon baking soda
- 1/4 to 1/2 teaspoon salt
- 3/4 to 1 cup buttermilk or whole milk
- 1/2 to 1 cup sour cream
- 1/2 cup vegetable oil
- 3 to 4 large eggs
- 1 to 2 teaspoons vanilla extract
- 3/4 cup hot coffee
For the Chocolate Ganache
- 500 to 18 ounces dark chocolate, finely chopped
- 500 to 18 ounces heavy cream (35% fat content minimum)
For Assembly and Decoration
- Additional dark chocolate for drizzle or drip effect
- Whipped ganache for exterior frosting
- Optional garnishes such as chocolate shavings or fresh berries
Instructions
We’ll guide you through each step to create this decadent chocolate ganache cake. Follow our detailed instructions to achieve professional results in your own kitchen.
Prep Work
Preheat your oven to 350°F (175°C) and position the rack in the center. Grease two 9-inch round cake pans with butter or cooking spray, then dust with cocoa powder to prevent sticking. Line the bottom of each pan with parchment paper for easy removal.
Gather all ingredients and bring them to room temperature about 30 minutes before baking. Room temperature ingredients blend more easily and create a smoother batter. Set up your workspace with measuring cups, mixing bowls, and your electric mixer ready for use.
Make the Chocolate Cake
Combine the dry ingredients in a large mixing bowl. Whisk together 1¾ cups all-purpose flour, 2 cups granulated sugar, ¾ cup unsweetened cocoa powder, 2 teaspoons baking soda, 1 teaspoon baking powder, and 1 teaspoon salt until evenly distributed.
Mix the wet ingredients in a separate bowl. Beat together 2 large eggs, 1 cup buttermilk, ½ cup sour cream, ½ cup vegetable oil, and 2 teaspoons vanilla extract until smooth and well combined.
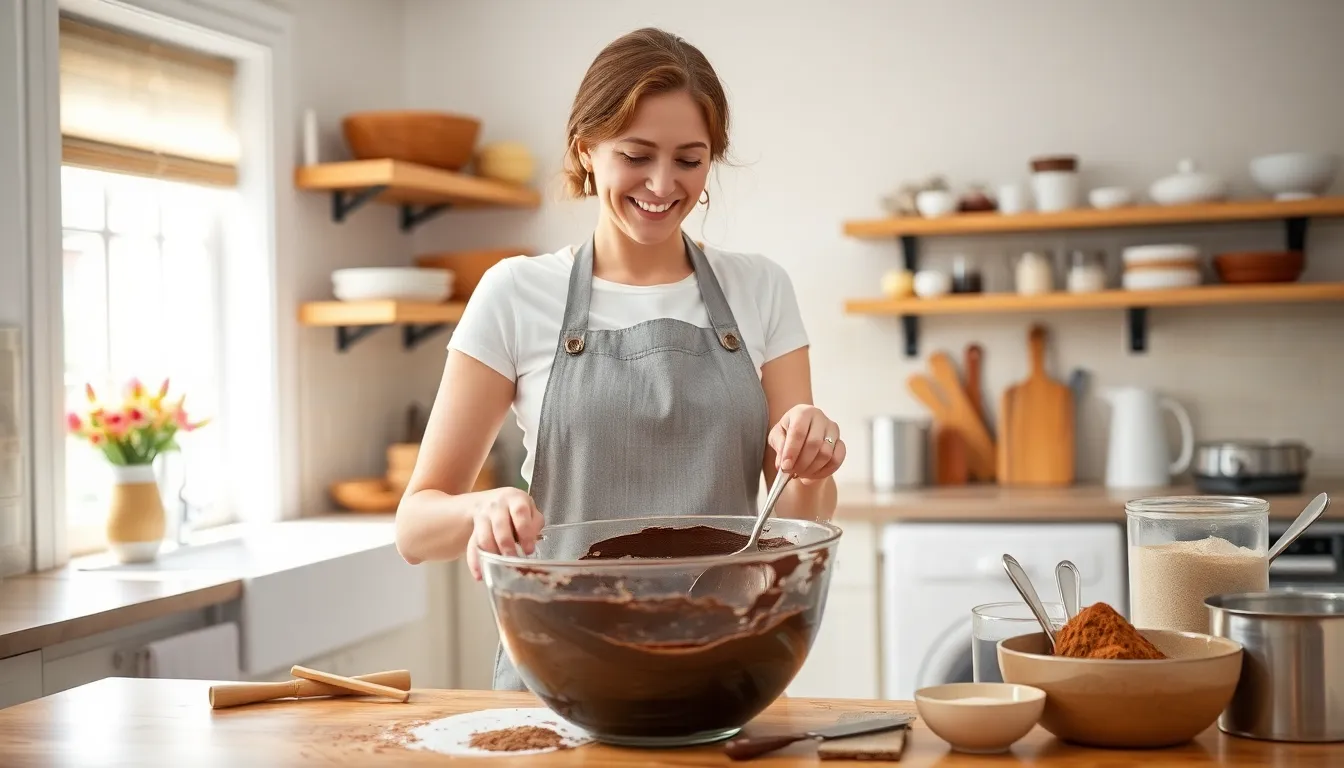
Combine wet and dry mixtures using your electric mixer on medium speed. Gradually add the wet ingredients to the dry ingredients, mixing until just combined. The batter will look thick at this stage.
Add the hot coffee slowly while mixing on low speed. Pour in 1 cup of hot brewed coffee and mix until the batter becomes smooth and thin. This liquid consistency is exactly what we want for a moist cake.
Divide the batter evenly between the prepared cake pans, using a kitchen scale for accuracy if available. Tap the pans gently on the counter to release any air bubbles.
Bake for 30-35 minutes or until a toothpick inserted in the center comes out with just a few moist crumbs. The tops should spring back when lightly touched.
Prepare the Chocolate Ganache
Chop 12 ounces of dark chocolate into small, uniform pieces and place in a large heatproof bowl. Smaller pieces melt more evenly and create a smoother ganache.
Heat 1 cup of heavy cream in a heavy-bottomed saucepan over medium heat. Watch carefully and remove from heat just as bubbles begin to form around the edges. Do not let it boil vigorously.
Pour the hot cream over the chopped chocolate immediately. Let the mixture sit undisturbed for 2-3 minutes to allow the heat to melt the chocolate naturally.
Stir gently from the center outward using a whisk or wooden spoon until the ganache becomes smooth and glossy. If any chocolate pieces remain unmelted, return the bowl to low heat for 30-second intervals, stirring between each interval.
Cool the ganache to room temperature, stirring occasionally to prevent a skin from forming. For faster cooling, refrigerate for 15-20 minutes, stirring every 5 minutes to maintain the proper consistency.
Cool and Assemble
Cool the cake layers completely in their pans for 10 minutes, then turn out onto wire racks. Complete cooling takes about 1 hour and prevents the ganache from melting when applied.
Level the cake layers if needed using a serrated knife to create flat, even surfaces. This ensures professional-looking results and prevents sliding during assembly.
Place the first layer on your serving plate or cake stand. Spread approximately ⅓ of the ganache evenly over the top, leaving a small border around the edges.
Add the second layer and gently press down to secure. Apply the remaining ganache to the top and sides, using an offset spatula for smooth, even coverage.
Create the chocolate drip effect by warming a small portion of reserved ganache until it flows easily. Drip it around the edges of the cake, allowing it to naturally flow down the sides for an elegant finish.
Directions for Assembly
With our chocolate cake layers cooled and ganache prepared to perfection, we’re ready to transform these components into a stunning dessert. The assembly process requires patience and attention to detail for professional results.
Layer the Cake
We begin by leveling our cake layers with a serrated knife if necessary to ensure each layer sits perfectly even. Place the bottom layer on a cake board or serving plate for stability. We carefully check the alignment of each layer as we stack them, making sure none protrude beyond the others. This precise stacking helps us achieve an even final shape and prevents the ganache from bulging during application.
Apply the Ganache
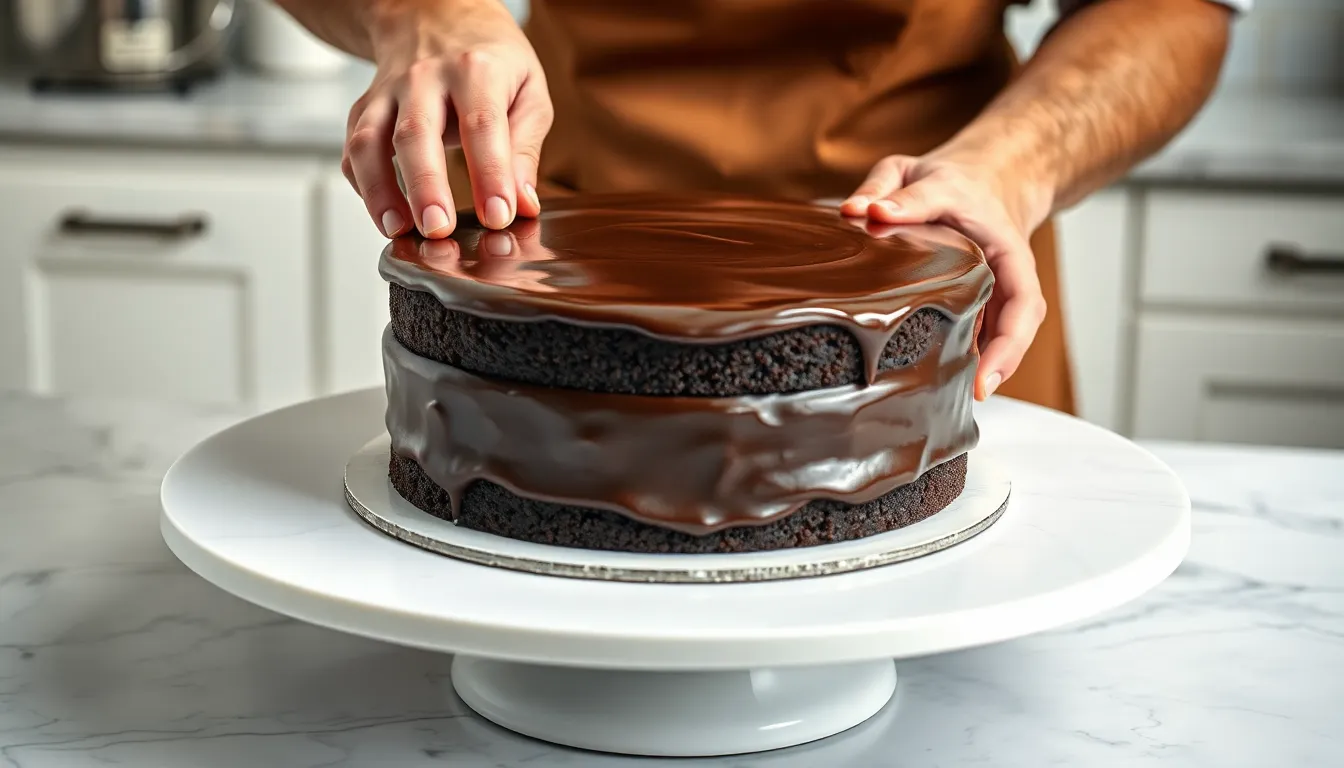
We start by spreading a thin layer of room temperature ganache between our cake layers as filling. For the smoothest finish, we apply what’s called a crumb coat: a thin layer of ganache spread over the entire cake surface. After chilling this initial coat to set, we apply our final thicker layer of ganache over the chilled cake. Using an offset spatula, we smooth the ganache across the top and down the sides with confident strokes. A cake turntable makes this process significantly easier, allowing us to rotate the cake while maintaining steady pressure with our spatula.
Final Touches
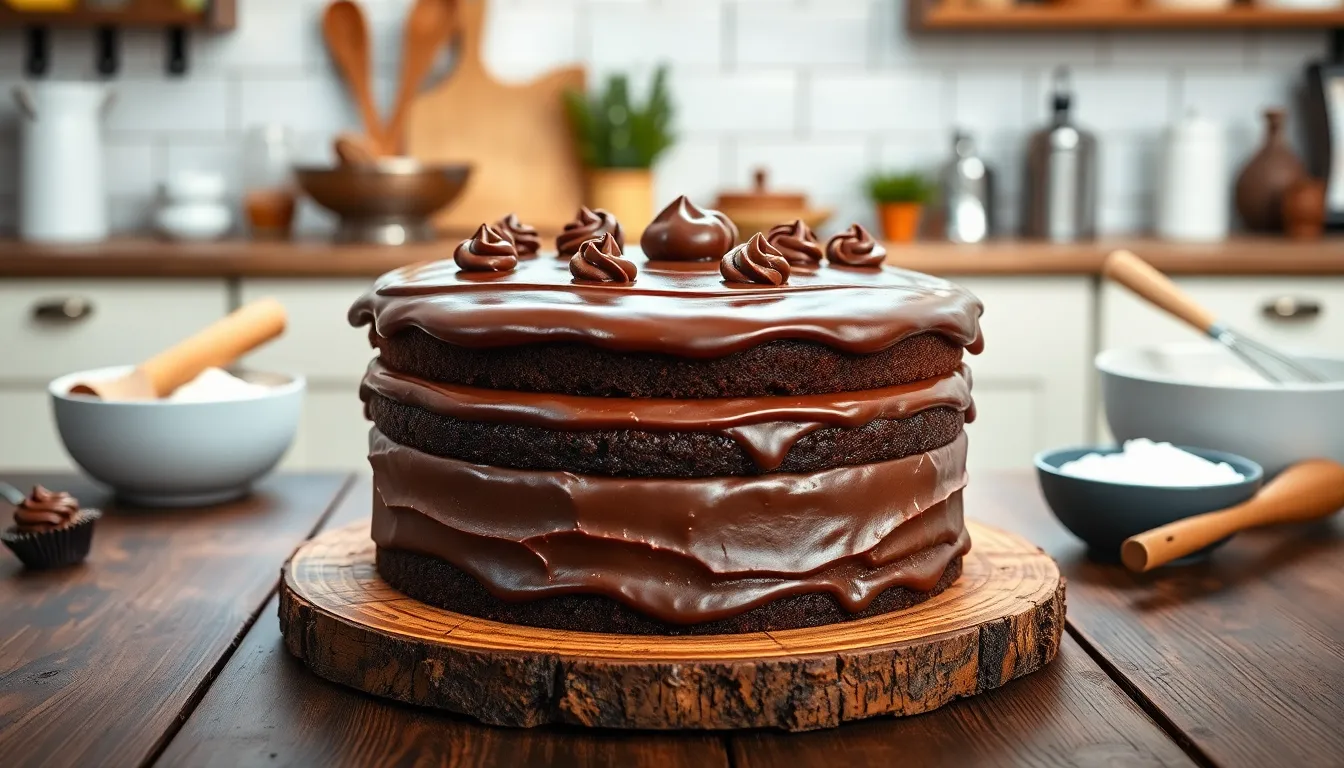
We refrigerate our assembled cake until the ganache becomes firm to the touch. For an elegant drip effect, we prepare a slightly thinner ganache by letting it cool until thickened but still pourable. Drizzling this mixture over the top edges creates beautiful drips that cascade down the sides. We chill the cake one final time to set these decorative drips before serving. Throughout the assembly process, we ensure our work surface stays clean and brush off any loose crumbs before applying each ganache layer for the most professional appearance.
Make-Ahead Instructions
Planning ahead transforms this chocolate ganache cake from a day-long project into manageable steps that fit your schedule. We recommend breaking down the preparation process to reduce stress and ensure better results.
Preparing Cake Layers in Advance
The chocolate cake layers freeze beautifully for up to one month without losing their moist texture or rich flavor. After the layers cool completely, wrap each one individually with plastic wrap, ensuring no air pockets remain. Follow this with a layer of aluminum foil for extra protection against freezer burn.
| Storage Method | Duration | Temperature |
|---|---|---|
| Wrapped cake layers | Up to 1 month | Freezer (0°F) |
| Refrigerated layers | 2-3 days | 35-40°F |
When you’re ready to assemble, remove the wrapped layers from the freezer and let them thaw at room temperature for 2-3 hours. The layers will be perfectly moist and ready for ganache application.
Making Ganache Ahead of Time
Chocolate ganache stores exceptionally well and actually improves in flavor when made in advance. Prepare the ganache following our recipe instructions, then transfer it to an airtight container once it reaches room temperature. Store it in the refrigerator for up to one week.
Before using refrigerated ganache, bring it back to working consistency by reheating gently. Place the container in a bowl of warm water, stirring every few minutes until the ganache becomes smooth and spreadable. Alternatively, microwave it in 15-second intervals, stirring between each burst.
Assembly Timeline Strategy
We suggest completing the cake assembly over two days for optimal results. On day one, bake and cool the cake layers, then freeze or refrigerate them. Prepare the ganache and store it properly. On day two, assemble the cake layers with ganache filling, apply the crumb coat, and chill for 30 minutes before adding the final ganache layer.
This approach allows the flavors to meld while giving you more control over timing, especially when preparing for special occasions or events.
Storage Tips
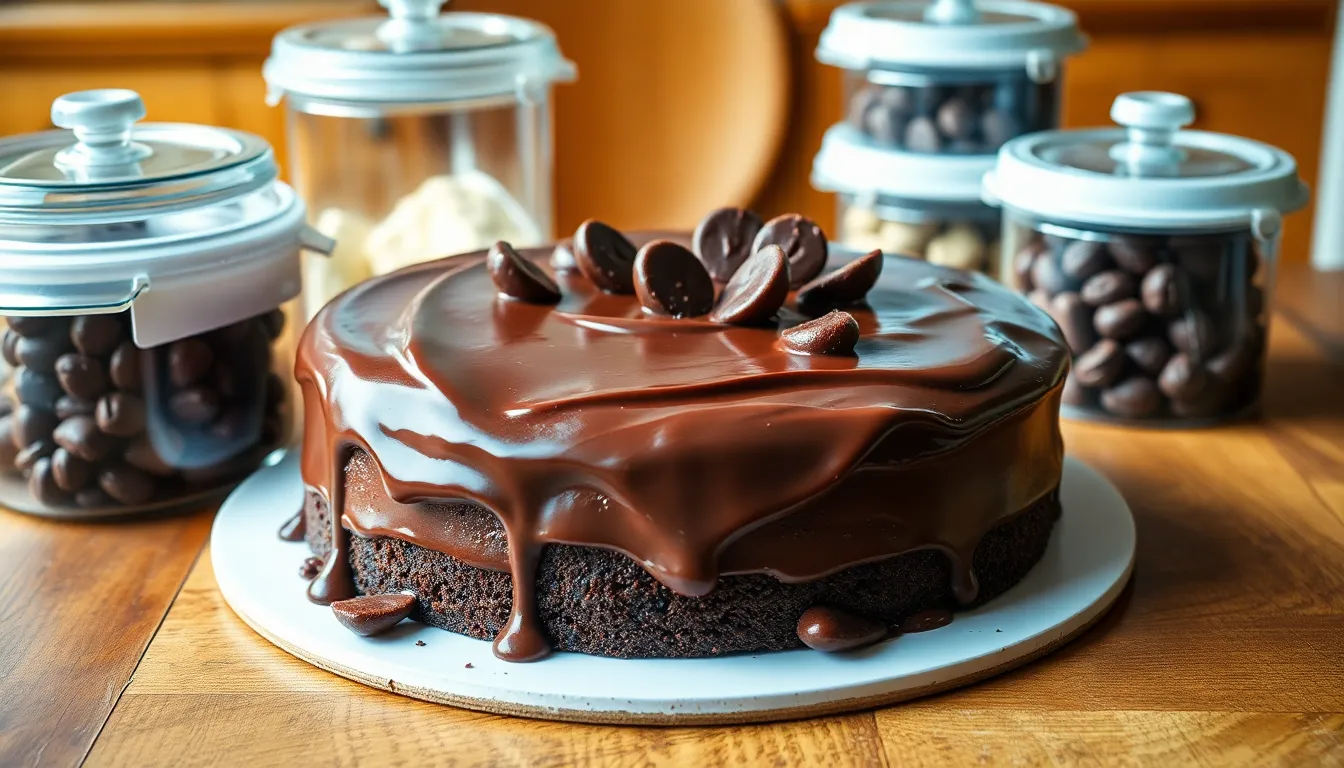
Proper storage ensures our chocolate ganache cake maintains its rich flavor and luxurious texture for days after preparation. We recommend storing the finished cake in a cool location away from direct sunlight and kitchen heat sources to preserve the ganache’s glossy finish.
Room Temperature Storage
Our ganache-covered cake stores beautifully at room temperature when kept at 60°F or below. We wrap the entire cake in clingfilm and place it inside an airtight cake tin or cardboard cake box. This method keeps the cake fresh for up to 2 weeks while maintaining the ganache’s smooth consistency.
Refrigerated Storage
Refrigeration extends our cake’s shelf life significantly when stored at temperatures between 39-46°F. We cover the cake tightly with plastic wrap before refrigerating to prevent the ganache from absorbing other flavors. This storage method keeps the cake fresh for up to one month.
Temperature Guidelines
| Storage Method | Temperature Range | Duration |
|---|---|---|
| Room Temperature | 60°F or below | Up to 2 weeks |
| Refrigerated | 39-46°F (4-8°C) | Up to 1 month |
| Frozen | 0°F (-18°C) | Up to 3 months |
Freezing Considerations
We can freeze our chocolate ganache cake for up to 3 months in airtight containers. But, freezing may alter the ganache’s texture and taste, making this our least preferred storage option. When freezing becomes necessary, we ensure the cake is completely cooled and wrapped in multiple layers of plastic wrap before placing it in freezer-safe containers.
Improving Shelf Life
Adding preservatives like invert sugar, corn syrup, or alcohol with at least 40% proof extends our ganache’s shelf life naturally. We also ensure our cake layers are completely cold before applying ganache to prevent the coating from losing its lustrous appearance.
Serving Suggestions
We believe the presentation of our chocolate ganache cake is just as important as its incredible taste. The rich chocolate flavors and luxurious ganache coating deserve serving methods that showcase their elegance and enhance the overall dining experience.
Temperature Considerations
Serving our chocolate ganache cake at room temperature delivers the optimal taste experience. The ganache frosting maintains its smooth texture and spreads easily at this temperature while the cake layers remain moist and tender. We recommend removing the cake from refrigeration 30 minutes before serving to allow it to reach the perfect temperature.
For those who prefer a warm dessert experience we can serve slices slightly warmed with a generous slather of ganache and fresh toppings. This method intensifies the chocolate flavors and creates an indulgent treat that melts beautifully on the palate.
Complementary Toppings
Fresh whipped cream transforms each slice into an elegant dessert worthy of special occasions. We prepare lightly sweetened whipped cream and enhance it with orange or peppermint extract for added sophistication. The light cream provides a perfect contrast to the rich chocolate layers.
Tart raspberry filling offers another exceptional accompaniment that cuts through the sweetness of our chocolate ganache. The bright acidity balances the richness while adding a burst of fresh fruit flavor that elevates the entire dessert experience.
Decorative Finishing Touches
A chocolate ganache glaze poured over the completed cake and spread with a spatula creates a smooth glossy finish that catches light beautifully. This technique adds an extra layer of chocolate intensity while providing a professional bakery appearance.
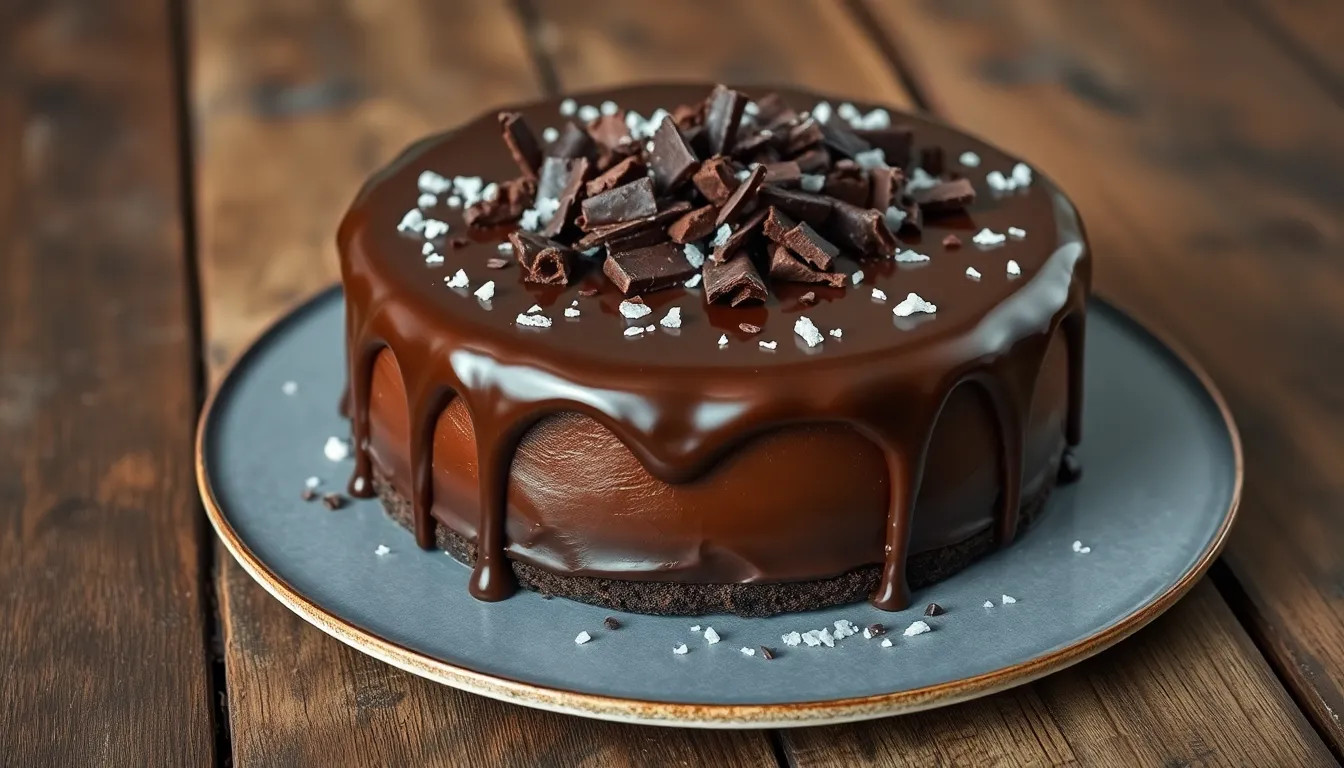
We enhance the visual appeal by adding chocolate shavings and flaky sea salt to the top edge of our cake. These finishing touches provide textural contrast and a subtle flavor enhancement that surprises and delights guests.
Professional Presentation Tips
| Presentation Element | Method | Result |
|---|---|---|
| Ganache Crumb Coat | Apply thin layer to fill gaps | Smooth base for final glaze |
| Decorative Drips | Use slightly warmed ganache | Elegant cascading effect |
| Storage Temperature | Room temperature up to 2 days | Optimal texture and flavor |
| Reheating Ganache | Gentle double boiler method | Perfect consistency restoration |
For layer cakes we apply a ganache crumb coat to fill any gaps between layers before adding the final glossy glaze. This technique ensures a flawless finish that rivals professional bakery presentations.
When storing leftover ganache we keep it at room temperature for up to 2 days or refrigerate for up to a week. Reheating gently over a double boiler restores the desired consistency for future use or touch ups.
Conclusion
We’ve shared everything you need to create a show-stopping chocolate ganache cake that’ll impress any crowd. This recipe proves that restaurant-quality desserts are absolutely achievable in your home kitchen.
The beauty of this cake lies in its versatility – whether you’re planning ahead for a special celebration or treating yourself to an indulgent weekend project you’ll find success with our detailed approach.
Remember that patience is your best friend when working with chocolate ganache. Take your time with each step and don’t rush the cooling process – your efforts will be rewarded with that perfect glossy finish.
Now it’s time to gather your ingredients and start baking. We’re confident this chocolate ganache cake will become your go-to recipe for impressing guests and satisfying those serious chocolate cravings.
Frequently Asked Questions
What makes this chocolate ganache cake special?
This chocolate ganache cake features rich dark chocolate flavor with a luxurious ganache coating that creates the perfect balance of sweetness and bitterness. The glossy ganache elevates it beyond ordinary desserts, while the recipe remains accessible for home bakers despite its sophisticated appearance.
What equipment do I need to make this cake?
Essential equipment includes two 9-inch round cake pans, an electric mixer, mixing bowls, parchment paper, cooking spray, a heavy-bottomed saucepan, and a fine-mesh strainer for the ganache. Optional tools like a cake turntable and digital thermometer can enhance your baking experience.
What are the main ingredients for this recipe?
The cake requires flour, sugar, cocoa powder, baking powder, baking soda, salt, buttermilk, sour cream, vegetable oil, eggs, vanilla extract, and hot coffee. The ganache needs dark chocolate and heavy cream. Optional garnishes include chocolate shavings or fresh berries.
Can I make this cake ahead of time?
Yes! Cake layers can be frozen for up to one month without losing moisture or flavor. The chocolate ganache can be made in advance and stored in the refrigerator, actually improving in flavor. A two-day assembly timeline is recommended for optimal results.
How should I store the finished cake?
Store at room temperature for up to two weeks when wrapped in clingfilm and kept in an airtight container at 60°F or below. Refrigerated storage extends shelf life to one month (39-46°F). Freezing is possible for three months, though it may alter ganache texture.
What’s the best way to serve this cake?
Serve at room temperature for optimal taste and smooth ganache texture. For a warm dessert, slightly warm individual slices. Consider complementary toppings like lightly sweetened whipped cream or tart raspberry filling to balance the cake’s richness.
How do I achieve the perfect ganache consistency?
Heat cream and pour over chopped dark chocolate, allowing it to sit before stirring to create a smooth consistency. Cool the ganache properly before assembly. For drips, use slightly thinner ganache and chill the cake to set the decorative effect.
Why is hot coffee added to the cake batter?
Hot coffee enhances the chocolate flavor and adds moisture to the cake without making it taste like coffee. It helps create a rich, moist texture that’s essential for this luxurious dessert.

