We’ve discovered the ultimate dessert that combines two of life’s greatest pleasures: rich coffee and creamy cheesecake. This coffee cheesecake transforms your favorite morning brew into an indulgent dessert that’ll have everyone asking for seconds.
Coffee lovers know there’s something magical about that first sip of perfectly brewed coffee. Now imagine capturing that bold flavor and silky texture in a luxurious cheesecake that melts on your tongue. Our recipe balances the robust taste of coffee with the smooth richness of cream cheese creating a dessert that’s sophisticated yet surprisingly simple to make.
Whether you’re hosting a dinner party or treating yourself to something special this coffee cheesecake delivers restaurant-quality results right from your kitchen. We’ll show you how to create this show-stopping dessert that perfectly captures the essence of your favorite coffeehouse treat in every decadent bite.
Ingredients
We’ve carefully selected premium ingredients that work together to create layers of rich coffee flavor and velvety texture. Our recipe calls for common pantry staples alongside a few special additions that elevate this dessert to bakery quality.
For the Crust
- 1½ cups graham cracker crumbs
- ¼ cup granulated sugar
- 6 tablespoons unsalted butter, melted
- 1 tablespoon instant coffee granules
- Pinch of salt
For the Coffee Cheesecake Filling
- 24 ounces cream cheese, softened to room temperature
- ¾ cup granulated sugar
- 3 large eggs, room temperature
- ½ cup sour cream
- ¼ cup heavy cream
- 3 tablespoons instant coffee granules
- 2 tablespoons hot water
- 1 teaspoon vanilla extract
- 2 tablespoons all-purpose flour
- ¼ teaspoon salt
For the Topping (Optional)
- 1 cup heavy cream
- 2 tablespoons powdered sugar
- 1 teaspoon instant coffee granules
- Chocolate shavings or cocoa powder for dusting
- Whole coffee beans for garnish
Equipment Needed
Creating our coffee cheesecake requires exact tools that ensure professional results from your home kitchen. We’ve carefully selected equipment that makes the baking process smooth and guarantees the perfect texture and presentation.
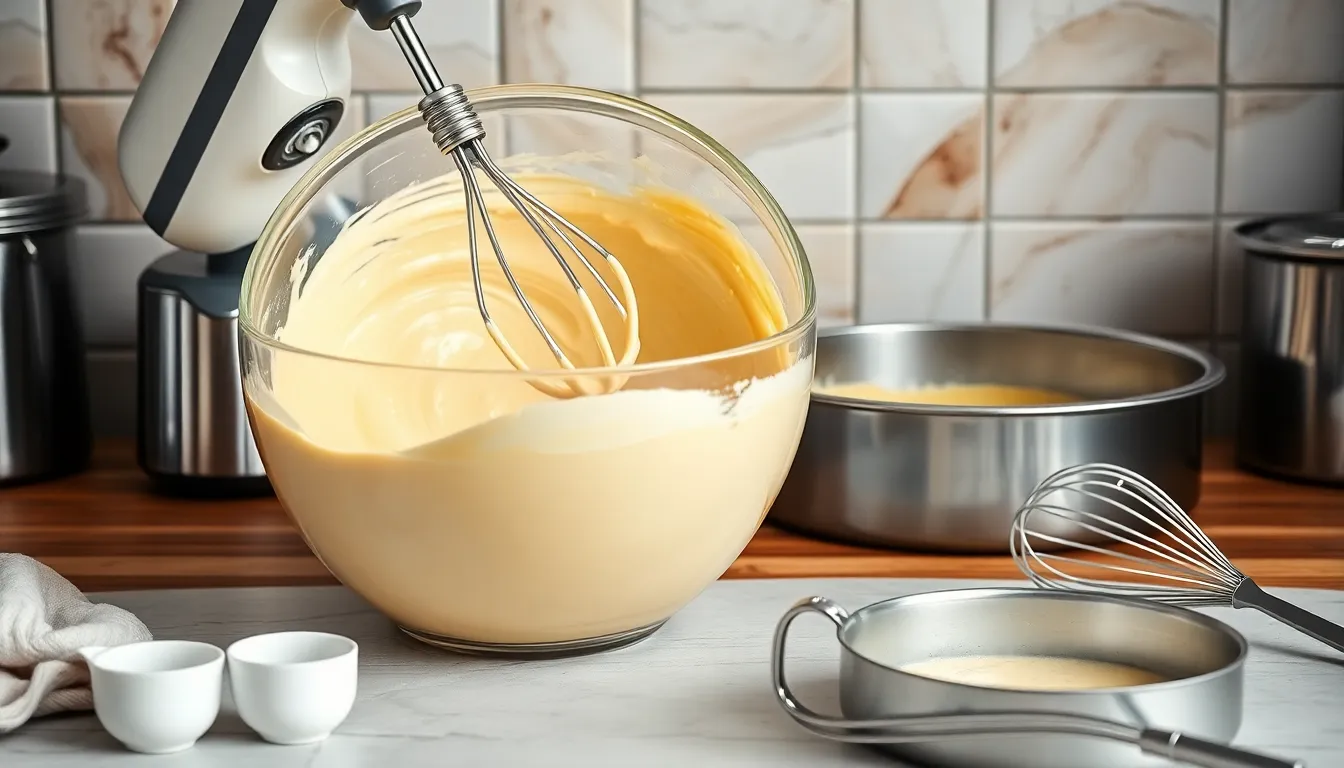
Large Mixing Bowl serves as our primary workspace for combining ingredients. The bowl should be spacious enough to accommodate all filling ingredients without spillage during mixing.
Hand or Stand Mixer becomes essential for achieving the silky smooth texture that defines exceptional cheesecake. Stand mixers offer more consistent results, while hand mixers work perfectly for smaller batches.
Springform Pan in 8 or 9 inch size allows easy removal of our finished cheesecake without damaging the delicate texture. The removable bottom and adjustable sides make unmolding effortless.
Standard Oven with accurate temperature control ensures even baking throughout the cheesecake. We recommend using an oven thermometer to verify proper temperature settings.
Measuring Cups and Spoons provide precise ingredient ratios that guarantee consistent results every time. Accuracy in measurements directly impacts the final texture and flavor balance.
Wire Whisk helps dissolve instant coffee granules completely and incorporates air into certain mixtures. This tool prevents lumps and creates uniform distribution of coffee flavor.
Rubber Spatula allows thorough scraping of bowl sides and gentle folding of ingredients. The flexible design reaches every corner while maintaining the smooth consistency we desire.
| Equipment Type | Size/Specification | Primary Function |
|---|---|---|
| Mixing Bowl | Large capacity | Ingredient combination |
| Mixer | Hand or stand | Texture development |
| Springform Pan | 8-9 inches | Baking and removal |
| Measuring Tools | Complete set | Ingredient accuracy |
These essential tools work together to transform our premium ingredients into a bakery quality coffee cheesecake that rivals professional desserts.
Instructions
We’ll walk through creating this luxurious coffee cheesecake step by step, ensuring each component builds upon the last for perfect results. Our detailed process guarantees a silky smooth texture with bold coffee flavor throughout.
Prep the Crust
We start by preheating our oven to 350°F to ensure even baking. For our coffee-infused graham cracker crust, we combine 1½ cups graham cracker crumbs with ¼ cup granulated sugar and 1 tablespoon instant coffee granules in a medium bowl.
Pour ⅓ cup melted unsalted butter over the mixture and stir until the crumbs hold together when pressed. Press this mixture firmly into the bottom of our 9-inch springform pan, creating an even layer that extends slightly up the sides.
Bake the crust for 10 minutes until it sets and becomes lightly golden. Remove from oven and set aside to cool while we prepare the filling.
Make the Coffee Cheesecake Filling
We begin by dissolving 3 tablespoons instant coffee granules in 2 tablespoons hot water, stirring until completely smooth. Set this coffee mixture aside to cool slightly.
Beat 24 ounces softened cream cheese in our large mixing bowl using an electric mixer on medium speed until completely smooth and free of lumps. Gradually add 1¼ cups granulated sugar, beating until well combined and fluffy.
Add 3 large eggs one at a time, beating well after each addition to ensure proper incorporation. Mix in 1 cup sour cream and ¼ cup heavy cream until the mixture becomes silky smooth.
Stir in our prepared coffee mixture along with 2 teaspoons vanilla extract, 2 tablespoons all-purpose flour, and ½ teaspoon salt. Beat on low speed just until combined, avoiding overmixing which can create cracks.
Assemble and Bake
We pour the coffee cheesecake filling over our prepared crust, smoothing the top with a rubber spatula. Gently tap the pan on the counter to release any air bubbles that might affect the final texture.
Place the springform pan on a baking sheet to catch any potential drips during baking. Bake at 350°F for 55 to 65 minutes, until the center is almost set but still slightly jiggly when gently shaken.
The edges should appear firm and lightly golden while the center remains soft. Avoid overbaking as this can cause cracks and a grainy texture.
Cool and Chill
We turn off the oven and crack the door open slightly, allowing the cheesecake to cool gradually in the oven for 1 hour. This prevents sudden temperature changes that often cause cracking.
Remove the cheesecake from the oven and run a thin knife around the edges to loosen it from the pan sides. Allow it to cool completely at room temperature for another hour.
Cover the cooled cheesecake with plastic wrap and refrigerate for at least 4 hours or overnight. This chilling time allows the flavors to meld and the texture to achieve that perfect creamy consistency we desire.
Directions for Serving
After our coffee cheesecake has set properly in the refrigerator we can prepare it for the perfect presentation. We start by removing the springform pan’s outer ring carefully to preserve the smooth edges of our dessert. Our hands should run warm water over a sharp knife before each cut to ensure clean slices without dragging the filling.
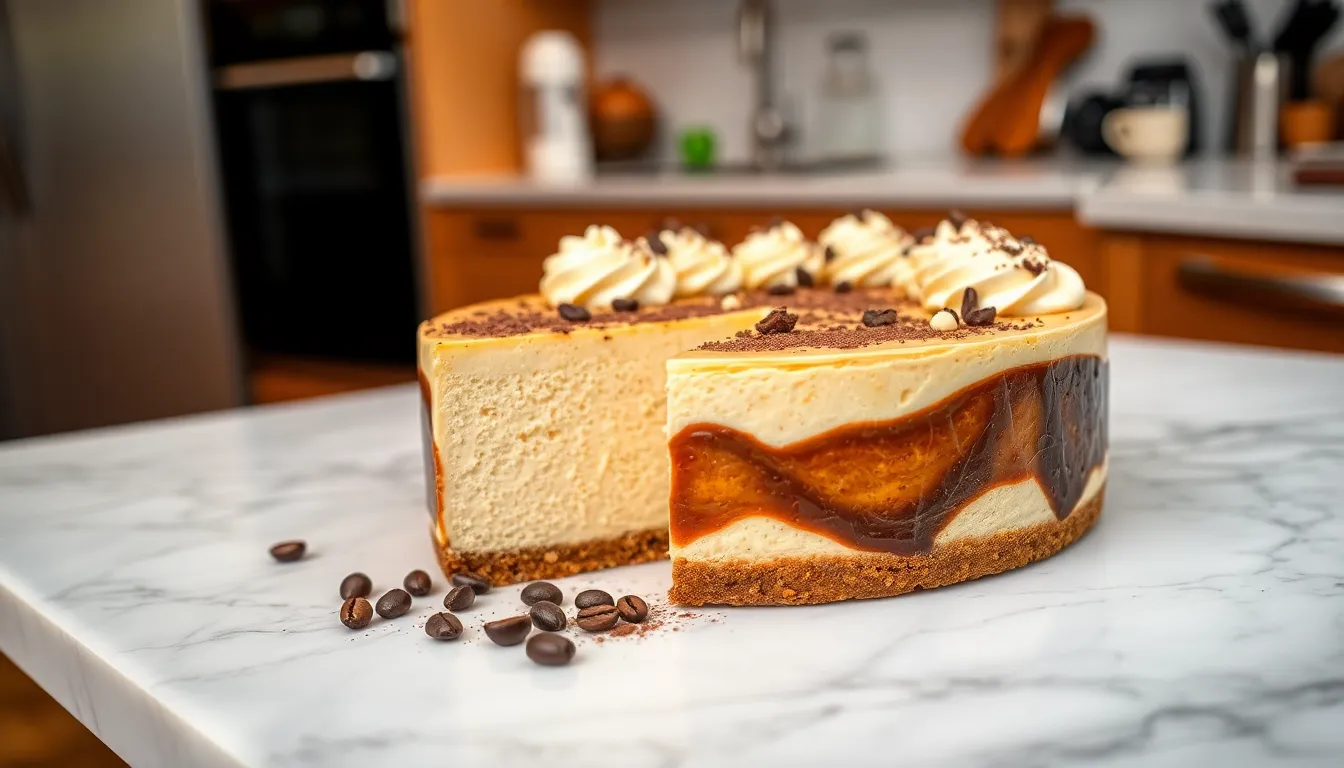
We divide the cheesecake into portions using gentle sawing motions rather than pressing down forcefully. Each slice reveals the beautiful layers we’ve created with our coffee-infused crust and rich filling. The knife requires cleaning between cuts to maintain those professional-looking edges.
| Serving Timeline | Temperature | Storage Duration |
|---|---|---|
| Minimum chill time | Cold (refrigerated) | 6-8 hours |
| Optimal serving | Cold (refrigerated) | Overnight |
| Leftover storage | Cold (refrigerated) | Up to 3 days |
For an elevated presentation we can prepare a simple coffee whipped cream topping just before serving. We whip heavy cream with a touch of instant coffee and powdered sugar until soft peaks form. This addition complements our coffee cheesecake without overwhelming its delicate flavors.
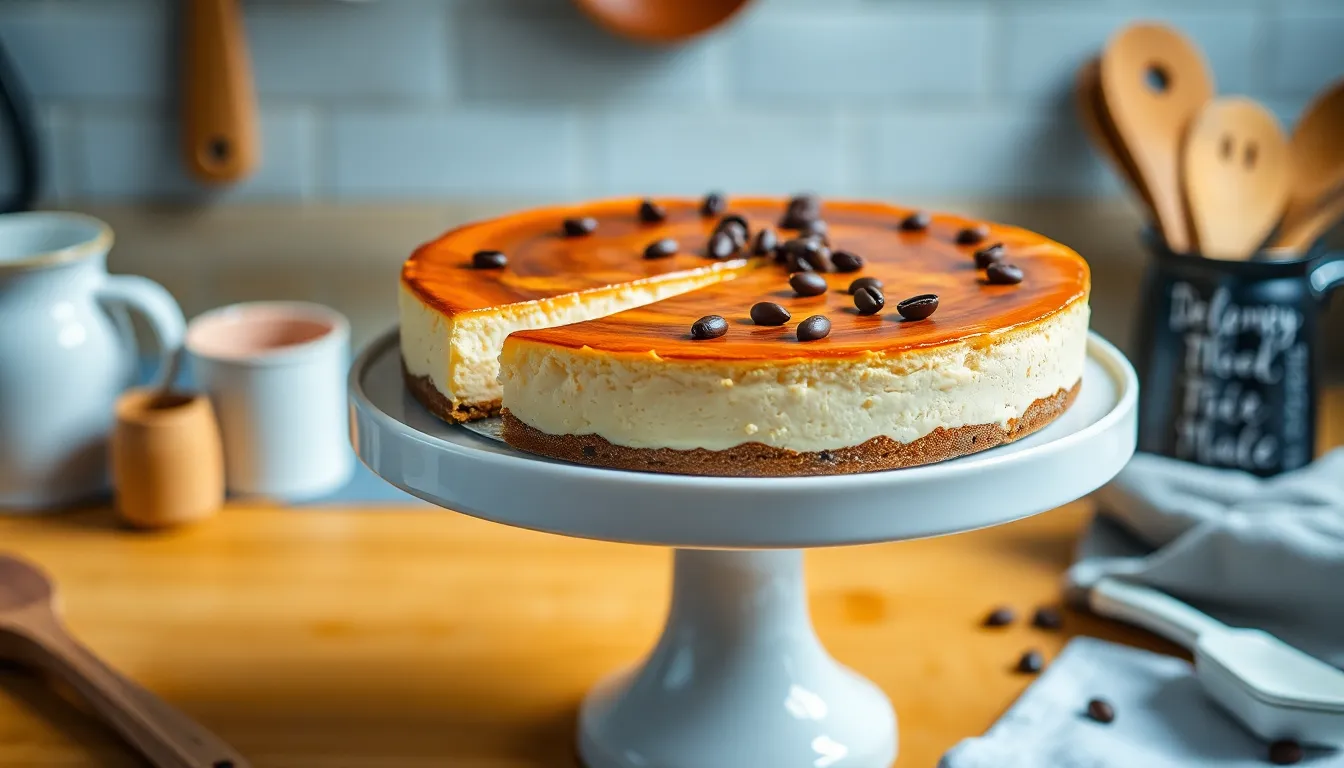
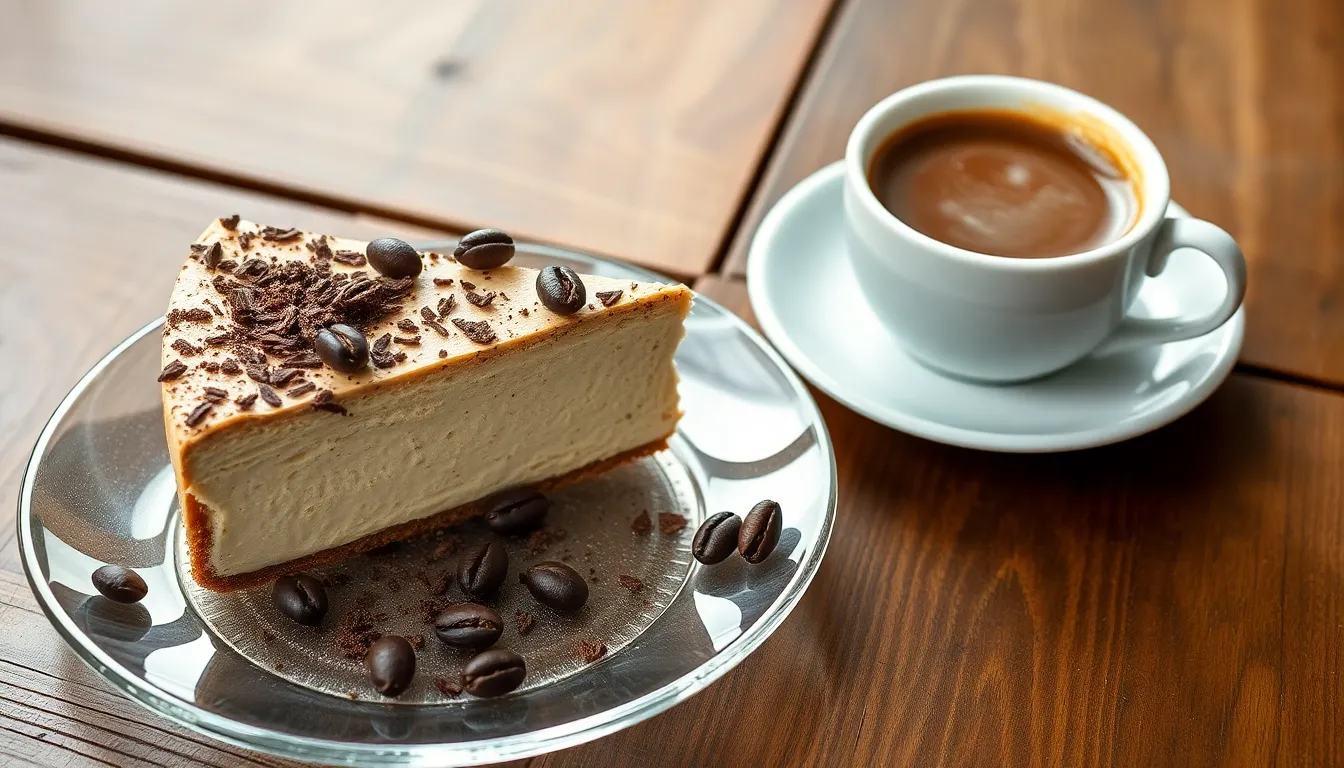
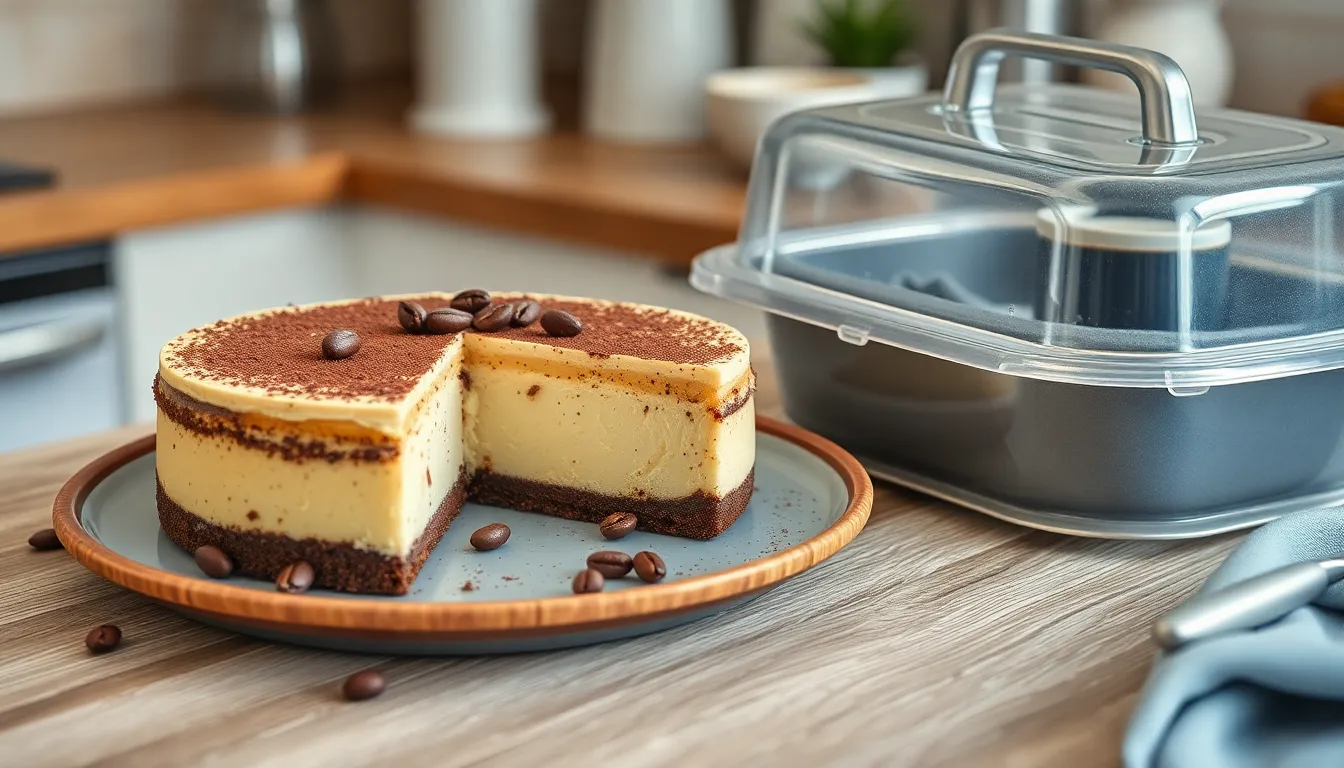
Garnishing options enhance both visual appeal and taste complexity. We scatter chocolate shavings across the surface or arrange whole coffee beans around the perimeter for an elegant finish. Some prefer a light dusting of cocoa powder which adds subtle chocolate notes to each bite.
Our coffee cheesecake serves best at refrigerator temperature where the flavors remain bright and the texture stays perfectly creamy. We place individual slices on chilled dessert plates to maintain that ideal serving temperature. Room temperature causes the filling to soften too much and diminishes the clean presentation we’ve worked to achieve.
Each serving pairs beautifully with a cup of freshly brewed coffee or espresso creating a complete coffee lover’s experience. The contrasting temperatures and complementary flavors make this combination particularly satisfying for dinner parties or special occasions.
Make-Ahead Instructions
We love that this coffee cheesecake recipe allows for excellent advance preparation, making it perfect for entertaining and special occasions. Planning ahead actually improves the dessert’s flavor and texture, as the coffee notes deepen and the cream cheese filling achieves its ideal consistency.
Chilling Timeline
We recommend refrigerating the completed cheesecake for a minimum of 4 to 6 hours before serving. Overnight chilling produces the best results, allowing the flavors to meld completely and the texture to reach its optimal creaminess. The longer chilling time also makes slicing much easier and cleaner.
Freezing Instructions
Our coffee cheesecake freezes beautifully for up to three months when properly stored. We suggest wrapping the entire springform pan tightly in plastic wrap, followed by aluminum foil for extra protection. For easier storage, you can remove the cheesecake from the pan first by placing it on a parchment round before wrapping and freezing.
Storage Guidelines
| Storage Method | Duration | Temperature | Notes |
|---|---|---|---|
| Refrigerator | 4-6 hours minimum | 35-40°F | Overnight chilling preferred |
| Freezer | Up to 3 months | 0°F or below | Wrap well to prevent freezer burn |
Thawing Process
When ready to serve a frozen cheesecake, we transfer it to the refrigerator 24 hours before serving. This gradual thawing prevents condensation and maintains the smooth texture we worked so hard to achieve. Never thaw at room temperature, as this can compromise both texture and food safety.
Advance Preparation Tips
We often prepare the coffee cheesecake two days before serving for optimal results. The extended chilling time allows the instant coffee granules to fully dissolve and distribute throughout the filling, creating deeper flavor integration. This timing also reduces day-of preparation stress, leaving more time to focus on presentation and garnishing.
Storage Tips
Proper storage ensures our coffee cheesecake maintains its rich flavor and creamy texture for days after we create this delicious dessert. We can keep our finished cheesecake fresh through refrigeration or extend its life significantly through freezing.
Refrigeration Storage
Our coffee cheesecake stays fresh in the refrigerator for up to 5 to 7 days when stored correctly. We should cover the cheesecake completely with plastic wrap or place it inside an airtight container to prevent it from absorbing other flavors. When using plastic wrap, we recommend placing toothpicks around the cheesecake’s surface to prevent the wrap from touching any toppings or delicate decorative elements.
| Storage Method | Duration | Best Practices |
|---|---|---|
| Refrigerated | 5-7 days | Cover with plastic wrap or airtight container |
| Frozen | Up to 3 months | Double wrap and add toppings after thawing |
A cake carrier provides excellent protection from dust and other contaminants while allowing easy transport of our coffee cheesecake.
Freezing for Extended Storage
We can freeze our coffee cheesecake for up to 3 months while maintaining its quality and taste. Before freezing, we must allow the cheesecake to cool completely in the refrigerator first. This cooling process prevents ice crystals from forming and damaging the texture.
For optimal freezing results, we wrap the cheesecake in plastic wrap and then cover it with aluminum foil for additional protection. Alternatively, we can place the wrapped cheesecake in a ziplock bag or airtight container for extra security against freezer burn.
Thawing and Serving Frozen Cheesecake
Thawing requires patience to preserve our coffee cheesecake’s perfect texture. We transfer the frozen cheesecake to the refrigerator and allow it to thaw slowly overnight. Adding any toppings or garnishes should wait until just before serving to maintain their fresh appearance and prevent them from becoming soggy.
We should store cheesecakes without toppings when freezing to maintain maximum freshness and prevent damage to decorative elements during the freezing and thawing process.
Conclusion
We’ve created something truly special with this coffee cheesecake recipe – a dessert that transforms ordinary ingredients into an extraordinary experience. The combination of rich coffee flavors and velvety cream cheese delivers the perfect balance that’ll impress any crowd.
Whether you’re planning ahead for a special occasion or treating yourself to something indulgent this coffee cheesecake fits seamlessly into any timeline. The make-ahead friendly nature means less stress and more time to enjoy the compliments.
This recipe proves that bakery-quality desserts are absolutely achievable in your own kitchen. With proper storage techniques you’ll have days to savor every creamy coffee-infused bite making it a worthwhile addition to your dessert repertoire.
Frequently Asked Questions
How long does coffee cheesecake need to chill before serving?
Coffee cheesecake requires a minimum of 4-6 hours of chilling time in the refrigerator. For best results, chill overnight (6-8 hours) to allow the flavors to fully develop and achieve the perfect creamy texture. This extended chilling time ensures clean slicing and optimal taste.
Can I make coffee cheesecake ahead of time?
Yes, coffee cheesecake is perfect for advance preparation. You can make it 2-3 days ahead of serving, which actually improves the flavor as ingredients have more time to meld together. This makes it ideal for dinner parties and special occasions with less day-of stress.
How should I store leftover coffee cheesecake?
Store leftover coffee cheesecake in the refrigerator for 5-7 days, covered with plastic wrap or in an airtight container. For longer storage, freeze for up to 3 months by wrapping tightly and thawing slowly in the refrigerator before serving.
What equipment do I need to make coffee cheesecake?
Essential equipment includes a springform pan for easy removal, a large mixing bowl, hand or stand mixer for smooth texture, measuring cups and spoons for accuracy, wire whisk for dissolving coffee, and rubber spatula for thorough mixing. These tools ensure professional-quality results.
How do I prevent my coffee cheesecake from cracking?
To prevent cracking, gradually cool the cheesecake in the oven after baking, then transfer to room temperature before refrigerating. Use room temperature ingredients, avoid overmixing, and don’t overbake. The gradual cooling process is key to maintaining a smooth, crack-free surface.
What’s the best way to cut and serve coffee cheesecake?
Use a warm, clean knife for each cut to ensure clean slices. Dip the knife in warm water and wipe clean between cuts. Serve chilled, garnished with coffee whipped cream, chocolate shavings, or cocoa powder. Pair with freshly brewed coffee or espresso for the complete experience.
Can I freeze coffee cheesecake?
Yes, coffee cheesecake freezes well for up to 3 months. Cool completely, wrap tightly in plastic wrap and aluminum foil, then freeze. Thaw slowly in the refrigerator overnight. Avoid adding toppings before freezing to maintain their freshness and appearance.


