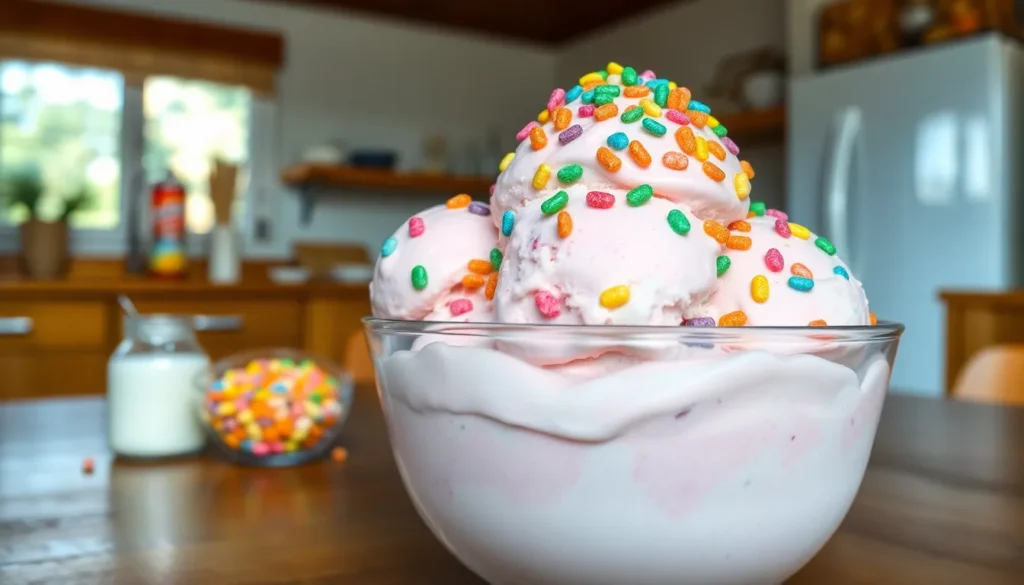
We’ve all dreamed of turning our favorite childhood cereal into something even more magical, and this Fruity Pebbles ice cream makes that dream a delicious reality. This vibrant frozen treat captures all the nostalgic flavors of those colorful rice cereal pieces we loved as kids, transforming them into a creamy dessert that’s pure joy in every spoonful.
What makes this homemade ice cream truly special is how it perfectly balances that signature fruity sweetness with rich, smooth texture. The crushed Fruity Pebbles add delightful crunch while infusing the base with those beloved tropical flavors we can’t resist.
Ingredients
Creating this vibrant Fruity Pebbles ice cream requires just a handful of quality ingredients that work together to deliver maximum flavor and texture. We’ve organized the ingredients into two simple categories to streamline your preparation process.
For the Ice Cream Base
- 2 cups heavy whipping cream
- 1 cup whole milk
- 3/4 cup granulated sugar
- 6 large egg yolks
- 1 teaspoon vanilla extract
- 1/4 teaspoon salt
- 1/2 cup Fruity Pebbles cereal (for steeping)
For the Fruity Pebbles Mix-In
- 1 1/2 cups Fruity Pebbles cereal (crushed into bite-sized pieces)
- 2 tablespoons powdered sugar
- 1/4 cup rainbow sprinkles (optional)
- 2 tablespoons freeze-dried strawberries (crushed, optional)
Equipment Needed
 2")
Creating our homemade Fruity Pebbles ice cream requires exact tools to achieve that perfect creamy texture and vibrant cereal flavor. We’ve organized the essential equipment you’ll need to transform your ingredients into this delightful frozen treat.
Ice cream maker stands as the most crucial piece of equipment for this recipe. This appliance churns our cereal-infused base while freezing it simultaneously, creating the smooth and creamy texture that makes homemade ice cream superior to store-bought versions. Without proper churning, our ice cream would freeze into a solid block rather than the scoopable dessert we’re aiming for.
Liquid measuring cup ensures we measure our milk and cream accurately for the perfect consistency. Precision matters when creating the ideal balance between our dairy components, and this tool helps us achieve consistent results every time.
Fine mesh sieve becomes essential when we strain the Fruity Pebbles from our infused milk. This step removes the soggy cereal pieces while preserving all those incredible fruity flavors we’ve extracted during the steeping process.
Whisk helps us blend our egg yolks with sugar until they reach the proper consistency. We’ll also use this tool to combine our various liquid ingredients smoothly without creating lumps or uneven textures.
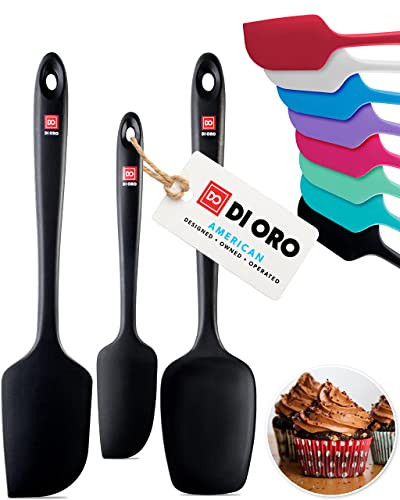
Rubber or silicone spatula proves invaluable for scraping down bowl sides and folding in our crushed Fruity Pebbles mix-in. These flexible tools ensure we don’t waste any of our precious ice cream base while mixing.
Dry measuring cups and spoons provide the accuracy needed for our sugar, cereal, and other dry ingredients. Proper measurements guarantee our ice cream achieves the right sweetness level and texture balance.
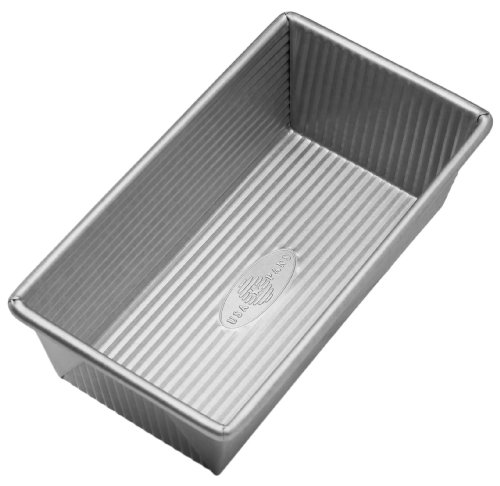
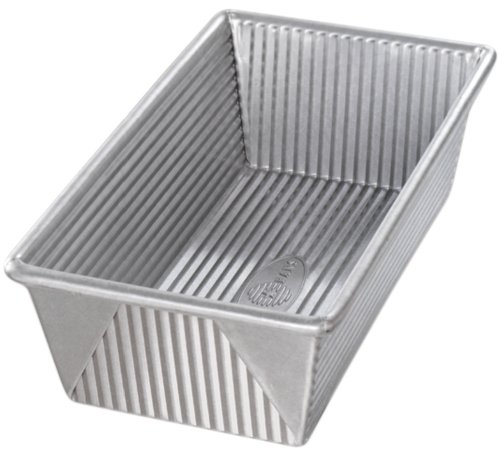
Loaf pan or airtight container stores our finished ice cream during the final freezing stage. We recommend using a container that holds at least 1.5 quarts to accommodate our ice cream’s volume while allowing room for easy scooping.


Instructions
 4")
Follow these step-by-step instructions to create your homemade Fruity Pebbles ice cream. Each stage builds upon the previous one to ensure optimal flavor infusion and texture.
Prep the Fruity Pebbles
We begin by infusing the cereal’s vibrant flavor into our dairy base. Pour 1.5 to 2 cups of Fruity Pebbles into a bowl with the whole milk and let the mixture steep for 10 to 30 minutes. The cereal will soften during this time while the milk absorbs the fruity colors and flavors. Strain the mixture through a fine mesh sieve to remove the soggy cereal pieces, leaving behind beautifully flavored cereal milk that forms the foundation of our ice cream.
Make the Ice Cream Base
Combine the cereal-infused milk with heavy cream, granulated sugar, and salt in a large mixing bowl. Whisk the egg yolks separately, then slowly temper them into the milk mixture to prevent curdling. Add vanilla extract and mix thoroughly until the sugar completely dissolves. The base should have a smooth consistency and vibrant color from the cereal infusion. Chill the mixture in the refrigerator for at least 2 hours before churning.
Churn the Ice Cream
Pour the chilled base into your ice cream maker and churn according to the manufacturer’s instructions. This process typically takes 20 to 25 minutes, during which the mixture will aerate and transform into a creamy, smooth texture. The churning action incorporates air while simultaneously freezing the base, creating the perfect ice cream consistency.
Add the Fruity Pebbles
Remove the churned ice cream from the machine and fold in the crushed Fruity Pebbles mix-in using a rubber spatula. Gently incorporate the crushed cereal, powdered sugar, and any optional ingredients like rainbow sprinkles or freeze-dried strawberries. This step adds delightful crunch and visual appeal to the finished product while maintaining the smooth base texture.
Final Freeze
Transfer the ice cream to a loaf pan or airtight container for the final freezing stage. Serve immediately for a soft-serve consistency, or freeze for 2 to 3 hours until the ice cream reaches your desired firmness. The additional freezing time allows the flavors to meld together while achieving the perfect scoopable texture.


Storage Tips
 6")
Proper storage ensures our homemade Fruity Pebbles ice cream maintains its creamy texture and vibrant flavor for weeks. We recommend transferring the churned ice cream to an airtight, freezer-proof container immediately after the final mix-in step. A 9×5″ loaf pan covered tightly with plastic wrap works perfectly, though dedicated freezer-safe containers provide even better protection against freezer burn.
Container Selection and Preparation
Airtight sealing prevents ice crystals from forming on the surface of our ice cream. We always ensure our chosen container has a tight-fitting lid or secure plastic wrap coverage. Adding an extra layer of parchment paper directly on the ice cream surface creates additional protection before sealing the container.
Optimal Freezer Conditions
Consistent freezer temperature maintains the smooth, scoopable texture we worked hard to achieve. We place our ice cream in the coldest part of the freezer, typically toward the back where temperature fluctuations are minimal. Avoid storing near the freezer door where frequent opening causes temperature changes.
Shelf Life Guidelines
| Storage Duration | Quality Level |
|---|---|
| Up to 3 weeks | Optimal taste and texture |
| Up to 2 months | Acceptable quality |
Our homemade Fruity Pebbles ice cream reaches peak quality within the first 3 weeks of storage. The cereal pieces maintain their crunch and the ice cream retains its smooth consistency during this timeframe. Beyond 3 weeks, the ice cream remains safe to eat for up to 2 months, though texture and flavor may gradually diminish.
Serving Preparation
Scooping becomes effortless when we allow the ice cream to soften slightly at room temperature for 5-10 minutes before serving. We use a quality ice cream scoop warmed under hot water for clean, rounded portions. Sprinkling additional Fruity Pebbles on top adds extra crunch and reinforces the cereal flavor profile.
Preventing Freezer Burn
Air exposure causes the crystalline formations that create freezer burn. We press plastic wrap directly onto the ice cream surface before adding the container lid. This double-layer protection system significantly extends storage life while preserving the original taste and texture.


Serving Suggestions
 8")
Our Fruity Pebbles ice cream transforms into countless delightful presentations that will impress guests and satisfy cravings. We recommend exploring these creative serving methods to maximize your dessert experience.
Classic Scoop Presentations
Serve generous scoops in chilled bowls topped with additional crushed Fruity Pebbles for extra crunch. We suggest warming your ice cream scoop under hot water between servings to create perfectly rounded portions. Drizzle with colorful cereal milk or vanilla syrup to enhance the nostalgic flavors.
Ice Cream Sandwiches
Transform your frozen treat into handheld delights by creating Fruity Pebbles cookies as the sandwich base. We melt marshmallows with butter and mix them with Fruity Pebbles before pressing the mixture into a pan. Once the cereal mixture sets and we cut it into shapes, these colorful “buns” create the perfect vessel for scoops of our homemade ice cream.
Rolled Ice Cream Bites
Create party-perfect portions by rolling individual scoops of slightly softened ice cream in additional Fruity Pebbles cereal. We place these colorful spheres on a parchment-lined tray and freeze them until firm. These bite-sized treats offer maximum cereal coating in every mouthful.
Protein-Friendly Options
Health-conscious dessert lovers can coat smaller portions of our ice cream with Fruity Pebbles to create satisfying low-calorie snacks. We portion the ice cream into mini servings and roll them in the colorful cereal for portion control without sacrificing flavor.
Sundae Bar Creations
Set up an interactive dessert station featuring our Fruity Pebbles ice cream alongside complementary toppings. We recommend offering whipped cream, rainbow sprinkles, freeze-dried fruits, and extra cereal varieties. This approach allows guests to customize their portions while celebrating the playful nature of this childhood-inspired treat.
Temperature Considerations
Allow the ice cream to soften at room temperature for 5-10 minutes before serving for optimal scooping consistency. We find this brief tempering period creates the perfect balance between firmness and creaminess that showcases both the smooth base and crunchy cereal elements.
Make-Ahead Instructions
 10")
Planning ahead transforms this fruity ice cream recipe into a stress-free dessert preparation. We recommend starting the cereal infusion process up to 24 hours before you plan to churn the ice cream.
Cereal Milk Preparation
Begin by steeping the Fruity Pebbles in whole milk the day before serving. This extended infusion time allows the cereal’s vibrant tropical flavors to fully penetrate the milk base. Store the strained cereal milk in your refrigerator overnight for optimal flavor development.
Ice Cream Base Assembly
Prepare the complete ice cream base mixture up to 8 hours ahead of churning. Combine your cereal-infused milk with heavy cream, sugar, and tempered egg yolks as directed in the recipe. Cover the mixture tightly and refrigerate until you’re ready to churn.
Churning Timeline
Plan to churn your ice cream at least 4 hours before serving. The churning process takes approximately 20 to 25 minutes, followed by the crucial folding in of crushed Fruity Pebbles and any optional mix-ins.
Final Freezing Requirements
Transfer your churned ice cream to an airtight container immediately after adding the cereal pieces. Allow a minimum of 2 hours of freezing time for the ice cream to reach proper scooping consistency. For firmer texture preferred by many, we suggest freezing for 4 to 6 hours.
Optimal Serving Preparation
Remove the ice cream from your freezer 5 to 10 minutes before serving. This brief softening period ensures smooth scooping and prevents the ice cream from being too hard to serve. Warm your ice cream scoop under hot water between servings for clean, professional-looking portions.
Recipe Variations
 12")
Our Fruity Pebbles ice cream adapts beautifully to different preparation methods and dietary preferences. We offer both a no-churn version for those without special equipment and a vegan alternative for plant-based dessert lovers.
No-Churn Version
We simplify the process by using sweetened condensed milk and whipped heavy cream as our base ingredients. This combination provides the necessary creaminess and structure without requiring an ice cream maker.
Start by whipping 2 cups of heavy cream to soft peaks in a large bowl. Gently fold in one 14-ounce can of sweetened condensed milk until well combined. Add 1 teaspoon of vanilla extract and a pinch of salt for enhanced flavor depth.
Crush 1½ cups of Fruity Pebbles cereal and fold them into the mixture along with any additional Fruity Pebbles with marshmallows for extra sweetness. Pour the mixture into a 9×5-inch loaf pan or airtight container.
Cover tightly with plastic wrap and freeze for at least 6 hours or until firm. This version requires no churning and delivers the same vibrant flavor profile as our traditional recipe.
Vegan Alternative
We create a plant-based version by substituting dairy ingredients with carefully selected alternatives. Replace heavy cream with 2 cups of full-fat coconut milk or vegan whipping cream for optimal texture.
Use 1 cup of almond milk or oat milk in place of whole milk for the cereal steeping process. Create your own vegan condensed milk by combining 1 cup of coconut milk with ½ cup of sugar and simmering until thickened.
Follow the same steeping method with the Fruity Pebbles cereal in your chosen plant milk. Strain the mixture and combine with the vegan cream base and homemade condensed milk alternative.
Add vanilla extract and salt as desired while ensuring all ingredients remain dairy-free. Mix thoroughly and freeze using the same container method as the no-churn version.
| Version | Base Ingredients | Freezing Time | Special Equipment |
|---|---|---|---|
| No-Churn | Sweetened condensed milk, heavy cream | 6+ hours | None required |
| Vegan | Plant milk, vegan cream, coconut condensed milk | 6+ hours | None required |
Both variations maintain the signature colorful appearance and fruity flavor that makes this dessert so appealing to cereal lovers of all ages.


Troubleshooting Tips
 14")
Making perfect Fruity Pebbles ice cream requires attention to detail, and we’ve identified the most common issues that can affect your final results. These troubleshooting answers will help you achieve the creamy, flavorful dessert you’re aiming for.
Texture Problems
Sandy or Gritty Texture
When your ice cream develops an unpleasant sandy texture, lactose crystallization is typically the culprit. This issue often stems from excessive skimmed milk powder in your mixture. We recommend reducing any powdered milk additions and checking your milk solids non-fat (MSNF) levels using an ice cream calculator to maintain proper balance.
Greasy or Coarse Consistency
Too much butterfat or over-churning creates an undesirably greasy or coarse texture. Replace some of your heavy cream with whole milk to reduce the fat content, and monitor your churning time closely to prevent excessive processing.
Icy or Crystalline Formation
Over-churning causes separation and creates an icy texture that ruins the smooth consistency we want. Watch your ice cream maker carefully during the churning process and stop when the mixture reaches a soft-serve consistency.
Flavor Enhancement Issues
Weak Fruity Pebbles Taste
Allow the Fruity Pebbles to steep in your cream base for several minutes before straining to maximize flavor extraction. The cereal needs adequate contact time with the dairy to release its vibrant fruity essence into your ice cream base.
Soggy Cereal Problems
Discard any soggy cereal pieces after steeping, as they won’t contribute to texture and can create an unpleasant mouthfeel. Adjust your cream volume accordingly to maintain the proper consistency after removing the softened cereal.
Mixing and Incorporation Challenges
Condensed Milk Integration
When working with our no-churn variation, fold condensed milk into your base using a gentle spatula motion. Aggressive mixing breaks down the cream structure and compromises the final texture we’re working to achieve.
Cereal Cluster Distribution
Create uniform cereal clusters throughout your ice cream by folding crushed Fruity Pebbles into the base during the final mixing stage. This technique ensures even distribution and prevents all the cereal from sinking to the bottom.
Freezing and Storage Answers
Insufficient Setting Time
Allow your ice cream to freeze for at least 30 minutes after churning or mixing to achieve proper firmness. Inadequate freezing time results in a soft consistency that won’t hold its shape when scooped.
Freezer Burn Prevention
Press plastic wrap directly onto the ice cream surface before sealing your container to prevent ice crystals from forming. This direct contact method creates an effective barrier against freezer burn and maintains the creamy texture we want to preserve.


Conclusion
We’ve shown you how to transform your favorite childhood cereal into an incredible homemade dessert that’ll bring back all those Saturday morning memories. This Fruity Pebbles ice cream recipe delivers the perfect combination of creamy texture and vibrant fruity flavor that both kids and adults absolutely love.
Whether you’re using a traditional ice cream maker or trying our no-churn version you’ll end up with a dessert that’s far superior to anything you can buy in stores. The key is getting that cereal-infused base just right and timing your mix-ins perfectly for the best texture.
We’re confident this recipe will become a regular in your dessert rotation especially during those hot summer months when you’re craving something cool and nostalgic. Give it a try and watch as this colorful treat becomes everyone’s new favorite frozen dessert!
Frequently Asked Questions
What ingredients do I need to make Fruity Pebbles ice cream?
You’ll need two categories of ingredients: the ice cream base (heavy whipping cream, whole milk, granulated sugar, egg yolks, vanilla extract, salt, and Fruity Pebbles for steeping) and the mix-in components (crushed Fruity Pebbles, powdered sugar, optional rainbow sprinkles, and optional freeze-dried strawberries).
What equipment is essential for making this ice cream?
The key equipment includes an ice cream maker, liquid measuring cup, fine mesh sieve, whisk, rubber or silicone spatula, dry measuring cups and spoons, and a loaf pan or airtight container for storage. Each tool plays a crucial role in achieving the perfect creamy texture and vibrant flavor.
How long does homemade Fruity Pebbles ice cream last in the freezer?
The ice cream is best within the first three weeks for optimal texture and flavor. However, it remains safe to eat for up to two months, though you may notice some texture and flavor loss after the initial three-week period.
Can I make Fruity Pebbles ice cream without an ice cream maker?
Yes! You can make a no-churn version using sweetened condensed milk and whipped heavy cream. This simplified method eliminates the need for an ice cream maker while maintaining the signature colorful appearance and fruity flavor.
How do I prevent my ice cream from becoming icy or grainy?
To prevent ice crystals, ensure airtight storage by pressing plastic wrap directly onto the ice cream surface before sealing the container. Monitor churning time carefully and store in the coldest part of your freezer for optimal texture.
Can I make this ice cream ahead of time?
Yes, you can prepare components in advance. Steep the Fruity Pebbles in milk up to 24 hours ahead, and prepare the complete ice cream base mixture up to 8 hours before churning to streamline your dessert preparation process.
Is there a vegan version of this recipe?
Absolutely! You can create a vegan alternative by substituting dairy ingredients with plant-based options like coconut milk and almond milk. This version maintains the colorful appearance and fruity flavor while accommodating dietary restrictions.
How should I serve Fruity Pebbles ice cream?
Allow the ice cream to soften slightly at room temperature before serving. Use a warmed scoop for clean portions and consider topping with extra crushed Fruity Pebbles for added crunch. You can also create ice cream sandwiches or set up a sundae bar.


