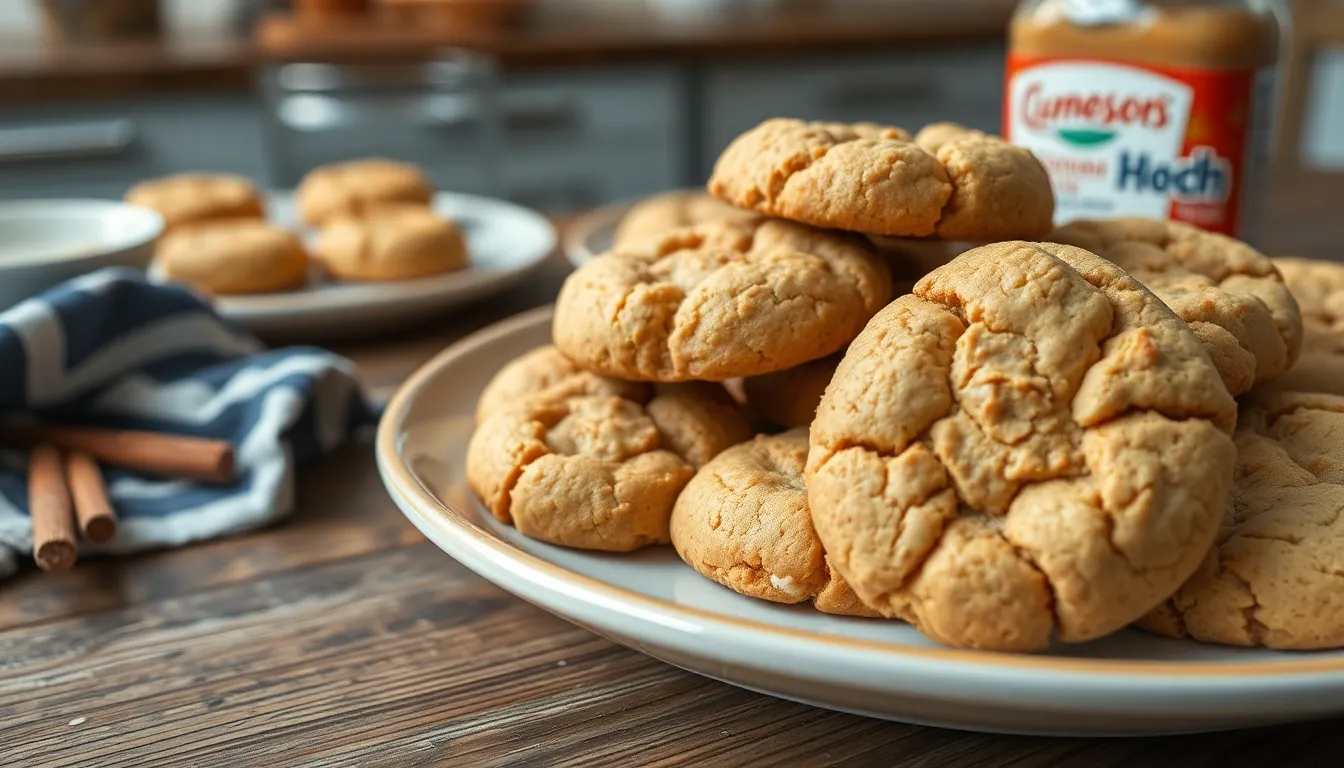
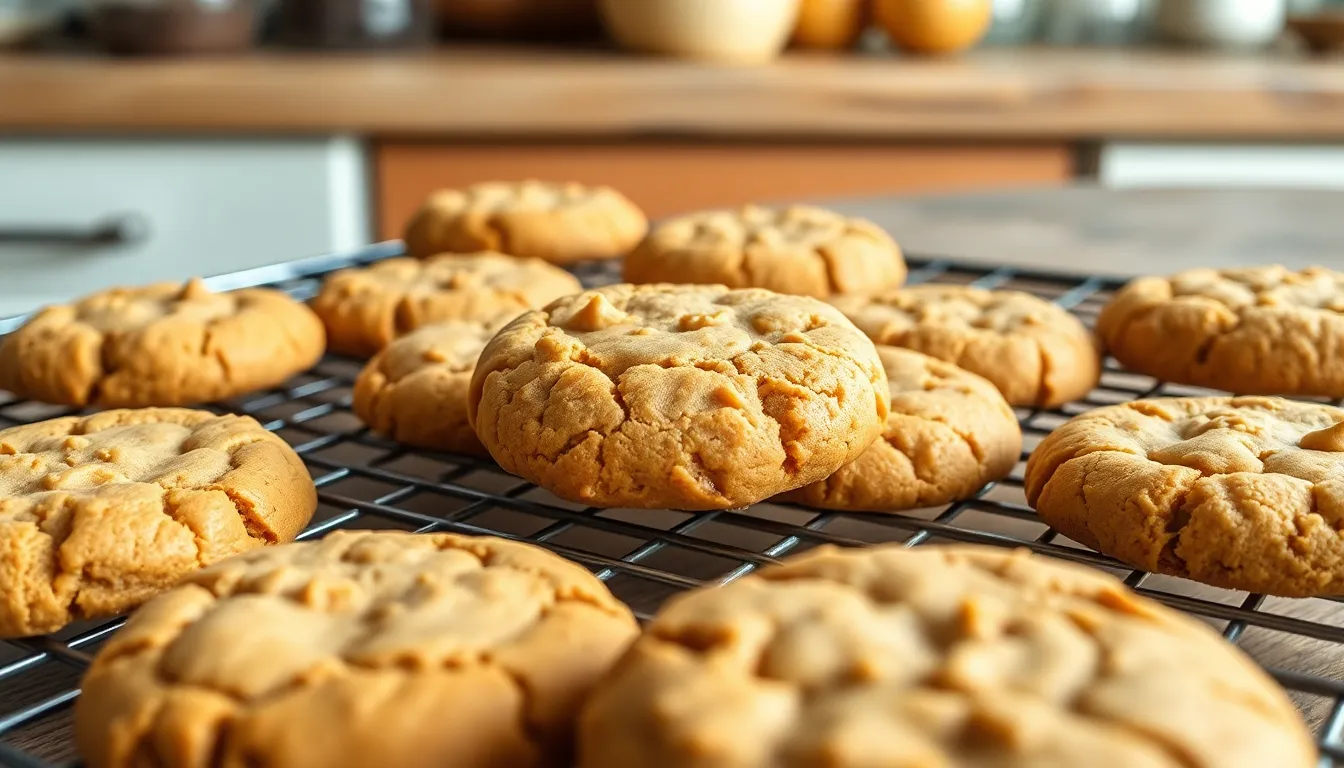
We’ve all been there – craving those classic peanut butter cookies but needing to avoid gluten. The good news? You don’t have to sacrifice that perfect chewy texture and rich peanut butter flavor we all love. These gluten-free peanut butter cookies deliver everything you want in a cookie without the wheat flour.
What makes these cookies special isn’t just what we’ve left out – it’s what we’ve perfected. We’ve discovered the ideal combination of gluten-free flours and binding agents that creates cookies with that satisfying chew and those beautiful crackled tops. Each bite melts in your mouth with pure peanut butter bliss.
Whether you’re managing celiac disease following a gluten-free lifestyle or simply looking for a healthier cookie option these treats will become your new go-to recipe. They’re so delicious that even gluten-eating friends won’t notice the difference – they’ll just keep reaching for more.
Ingredients
These carefully selected ingredients work together to create the perfect gluten-free peanut butter cookie that rivals any traditional version. We’ve organized everything you need into three simple categories for easy preparation.
Dry Ingredients
- 1½ cups gluten-free flour blend (containing xanthan gum)
- ½ teaspoon baking soda
- ½ teaspoon salt
- ¼ teaspoon xanthan gum (if your flour blend doesn’t contain it)
Wet Ingredients
- 1 cup creamy peanut butter (natural or regular)
- ¾ cup packed light brown sugar
- ½ cup granulated sugar
- 1 large egg
- 2 tablespoons vanilla extract
- 2 tablespoons melted butter or coconut oil
Optional Add-ins
- ½ cup mini chocolate chips
- ½ cup chopped peanuts
- ¼ cup shredded coconut
- 2 tablespoons honey (for extra sweetness)
- 1 teaspoon cinnamon (for warm spice notes)
Equipment Needed
We rely on basic kitchen tools to create these delicious gluten-free peanut butter cookies. Our equipment list stays simple while ensuring professional results every time.
Large mixing bowl serves as our primary workspace for combining ingredients. We prefer a bowl with high sides to prevent flour from scattering during mixing.
Stand or hand mixer makes quick work of creaming butter and sugars together. Both options work equally well, though we find a stand mixer frees up our hands for adding ingredients gradually.
Measuring cups and spoons ensure accurate ingredient ratios for consistent results. We recommend using separate sets for dry and wet ingredients to avoid cross-contamination.
Cookie scoop creates uniform cookie sizes that bake evenly. We prefer a medium-sized scoop that holds about 1.5 tablespoons of dough for perfectly portioned cookies.
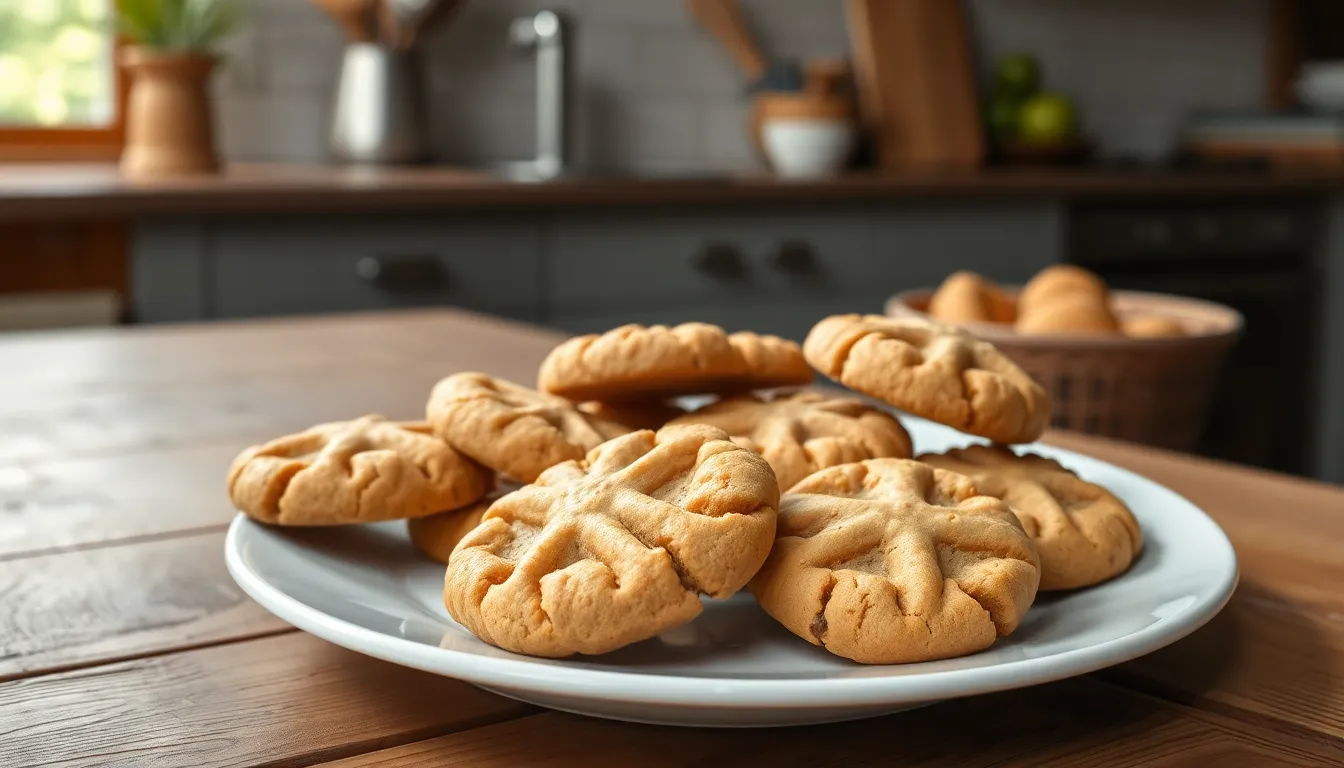
Fork creates the classic crisscross pattern that defines traditional peanut butter cookies. Any dinner fork works perfectly for pressing those signature grooves into each cookie.
Parchment-lined baking sheets prevent sticking and make cleanup effortless. We always line our sheets with parchment paper rather than greasing them for the best release.
Cooling rack allows proper air circulation around baked cookies. This essential tool prevents soggy bottoms and helps cookies maintain their perfect texture as they cool completely.
Instructions
We’ll walk you through the simple process of creating these delectable gluten-free peanut butter cookies from start to finish. Follow these detailed steps to achieve bakery-quality results every time.
Prep the Dough
Option 1: With Flour
Start by combining 1½ cups gluten-free flour blend, ½ teaspoon baking soda, and ¼ teaspoon salt in a medium bowl. Set this dry mixture aside while you prepare the wet ingredients.
In a large bowl, cream together ½ cup softened unsalted butter, ½ cup brown sugar, and ½ cup granulated sugar until light and fluffy. Add 1½ cups smooth peanut butter and mix until fully combined. Beat in the eggs one at a time, followed by the vanilla extract.
Gradually incorporate the dry ingredients into the wet mixture, mixing until just combined. Avoid overmixing to maintain the cookies’ tender texture.
Option 2: Flourless
Whisk together the sugar, eggs, and vanilla extract in a medium bowl until well blended. Fold in 1 cup peanut butter until the mixture is smooth and uniform.
Chill the dough in the refrigerator for at least 30 minutes. This step helps firm up the dough and makes it easier to handle during shaping.
Shape the Cookies
Scoop the chilled dough into balls using a medium cookie scoop, creating portions that are 1.5 to 2 inches in diameter. Place these dough balls onto baking sheets lined with parchment paper, spacing them about 2 inches apart.
Gently flatten the tops of each cookie ball using your fingertips. This slight compression helps ensure even baking and creates the perfect cookie thickness.
Bake the Cookies
With Flour Method
Preheat your oven to 350°F (175°C). Bake the cookies for 10 to 12 minutes, watching carefully until they become lightly golden around the edges. The centers should still appear slightly soft when you remove them from the oven.
Flourless Method
Set your oven temperature to 325°F (165°C). Bake for 11 to 15 minutes until the cookie tops develop a crackly appearance and the bottoms turn lightly golden. The lower temperature helps prevent the flourless cookies from spreading too much.
Cool and Store
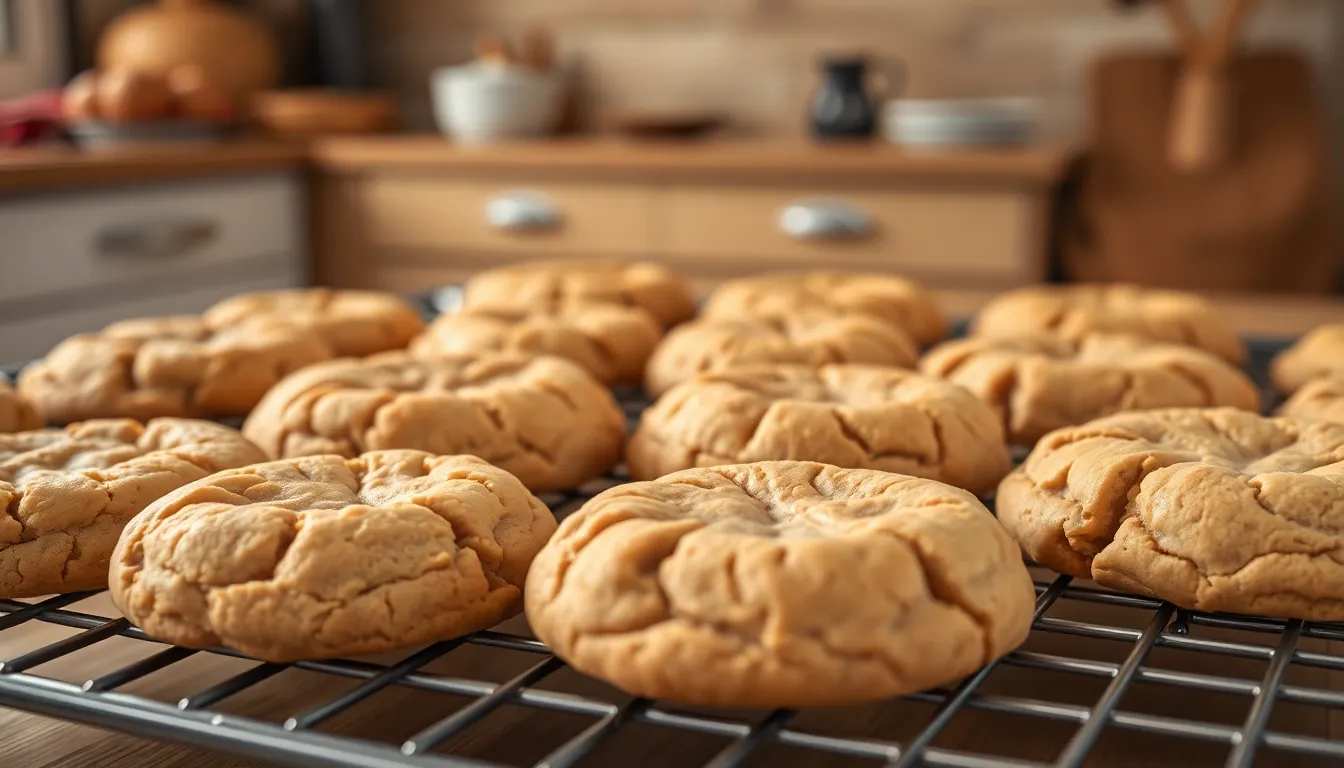
Allow the cookies to cool completely on the baking sheet before transferring them to a wire rack. This cooling period lets the cookies set properly and prevents them from breaking apart.
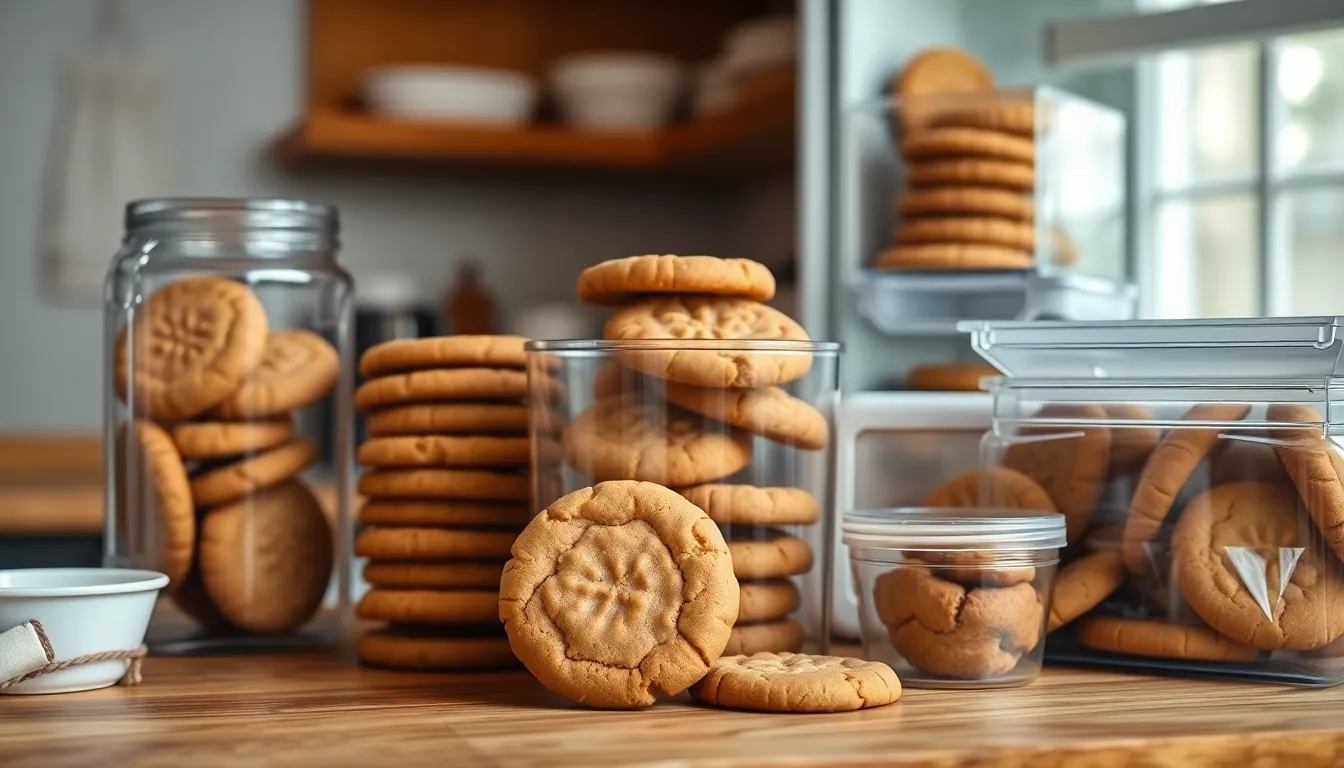
Store your finished cookies in an airtight container at room temperature for up to 5 days. Layer parchment paper between stacked cookies to prevent them from sticking together and maintain their perfect texture.
Tips for Perfect Gluten Free Peanut Butter Cookies
Mastering gluten free peanut butter cookies requires attention to exact techniques that ensure optimal texture and flavor. We’ve compiled essential tips based on proven methods that deliver consistently excellent results.
Choose the Right Mixing Method
Creaming butter and sugars together creates the foundation for cookies with ideal texture. We recommend beating this mixture until light and fluffy before incorporating peanut butter, eggs, and vanilla extract. Whisking dry ingredients separately prevents clumping and ensures even distribution throughout the dough.
Control Dough Temperature
Chilling dough transforms the final cookie texture significantly. For flourless varieties, we suggest refrigerating the mixture for 30 to 60 minutes before baking. This step prevents excessive spreading during baking and creates cookies with better structural integrity.
Monitor Baking Temperature and Timing
Baking at 350°F provides the optimal environment for gluten free peanut butter cookies. We find that removing cookies slightly before they appear fully done produces the softest, chewiest results. Cookies continue firming as they cool on the baking sheet.
Apply Traditional Shaping Techniques
Pressing cookie dough with fork tines creates the classic crisscross pattern while helping cookies bake evenly. Some bakers achieve enhanced texture by gently tapping the baking tray against the counter midway through baking. This technique encourages spreading and develops attractive crackled surfaces.
Handle Cooling Properly
Allowing cookies to rest on the baking sheet prevents breaking during transfer. We recommend waiting until cookies firm completely before moving them to cooling racks. Hot gluten free cookies remain delicate but develop proper structure as temperature decreases.
Optimize Storage Methods
Airtight containers preserve cookie freshness and maintain desired texture. We store our finished cookies at room temperature where they retain optimal chewiness and flavor intensity.
Storage Instructions
After creating these delicious gluten-free peanut butter cookies we need to store them properly to maintain their perfect texture and flavor.
Room Temperature Storage works best for short-term keeping. We store our cookies in an airtight container at room temperature for optimal freshness. The cookies stay at their peak quality for up to 2 days using this method. While some sources suggest longer storage periods we recommend shorter durations for the best gluten-free cookie experience.
| Storage Method | Container Type | Duration | Best For |
|---|---|---|---|
| Room Temperature | Airtight container | Up to 2 days | Immediate consumption |
| Refrigerated | Airtight container | Up to 5 days | Extended freshness |
| Freezer | Freezer-safe container or bag | Up to 3 months | Long-term storage |
Refrigerated Storage extends the life of our cookies when we need them to last longer. We place the completely cooled cookies in an airtight container and refrigerate them for up to 5 days. This method helps preserve both texture and taste beyond the room temperature window.
Freezer Storage provides the longest storage option for our gluten-free peanut butter cookies. We use airtight freezer-safe containers or large freezer bags for this method. Placing parchment paper between cookie layers prevents them from sticking together during frozen storage. Our cookies maintain their quality for up to 3 months in the freezer. We thaw them at room temperature before serving to restore their original texture.
Unbaked Dough Storage offers flexibility in our baking schedule. We cover the prepared dough and refrigerate it for up to 3 days. For longer storage we freeze the dough for up to 3 months before baking.
Essential Storage Tips ensure maximum freshness for our cookies. We always cool cookies completely before placing them in storage containers. Sealed containers or bags prevent moisture loss and keep our cookies from becoming stale. These proper storage techniques help us enjoy our gluten-free peanut butter cookies at their absolute best.
Variations and Substitutions
Our gluten-free peanut butter cookie recipe offers incredible flexibility to accommodate various dietary needs and preferences. These adaptations maintain the beloved taste and texture while ensuring everyone can enjoy these delicious treats.
Dairy-Free Option
We can easily transform our cookies into a dairy-free version by replacing butter with plant-based alternatives. Coconut oil works exceptionally well as a direct substitute, providing similar fat content and creating cookies with comparable texture to traditional butter versions. Vegan butter and margarine also deliver excellent results without compromising the cookie’s structure or flavor profile.
| Butter Substitute | Measurement | Texture Result |
|---|---|---|
| Coconut oil | Equal amount | Similar to butter |
| Vegan butter | Equal amount | Closest to original |
| Margarine | Equal amount | Slightly softer |
When using coconut oil, we recommend using it in its solid state at room temperature for optimal mixing results. Most gluten-free peanut butter cookie recipes accommodate these substitutions seamlessly, provided we maintain the same fat content as the original butter measurement.
Sugar-Free Alternative
Natural sugar-free sweeteners offer an excellent way to reduce the sugar content while preserving sweetness and texture. Erythritol stands out as our top choice because it measures cup-for-cup like regular sugar and provides similar baking properties. Monk fruit sweetener delivers intense sweetness, so we typically use about half the amount compared to granulated sugar.
Stevia works well but requires careful measurement since it concentrates sweetness significantly more than traditional sugars. Sugar alcohols or specialty baking blends designed for cookies yield the best texture results in our experience. We recommend starting with slightly less sweetener than the original sugar amount and adjusting to taste, as sugar-free alternatives can be more potent than expected.
Crunchy vs Smooth Peanut Butter
Both peanut butter varieties work beautifully in our recipe, each offering distinct advantages. Smooth peanut butter creates a uniform, tender texture throughout the cookie with consistent flavor distribution. The result is a classic, melt-in-your-mouth experience that appeals to traditional cookie lovers.
Crunchy peanut butter introduces delightful textural contrast with small peanut pieces that add bursts of nutty flavor and satisfying crunch. We use the same quantity regardless of which type we choose, unless the exact recipe indicates otherwise. The peanut pieces in crunchy varieties naturally enhance the overall peanut flavor profile while creating a more rustic, homemade appearance.
For those seeking maximum peanut intensity, we sometimes combine both types, using three-quarters smooth peanut butter with one-quarter crunchy for optimal balance of texture and flavor.
Troubleshooting Common Issues
Even the most experienced bakers encounter challenges when making gluten-free peanut butter cookies. We’ve identified the most common problems and their answers to help you achieve perfect results every time.
Spreading Cookies
When cookies spread too much during baking, several factors could be at play. Too little gluten-free flour in the recipe creates insufficient structure to hold the cookies’ shape. Excess butter or sugar can also cause excessive spreading as the moisture and fat ratios become unbalanced.
We recommend using a gluten-free flour blend with high starch content for better structure. European butter contains more fat than American butter, so add an extra tablespoon of flour when using it. Reducing sugar by 2-3 tablespoons can help maintain cookie shape. Most importantly, chill your dough for 30-45 minutes before baking to firm up the fats and prevent spreading.
Dry and Crumbly Cookies
Nothing disappoints more than cookies that fall apart in your hands. Overbaking is the primary culprit, but using natural peanut butter can also create dry results due to its lower oil content. Overmixing the dough develops too much gluten structure in the flour blend, while excessive gluten-free flour absorbs moisture and creates a crumbly texture.
Switch to creamy peanut butter for consistent moisture throughout your cookies. Check your baking time and reduce it by 1-2 minutes if cookies appear dry. Mix ingredients just until combined to avoid overworking the dough. Use less gluten-free flour if your dough seems too thick or dry.
Uneven Baking
Inconsistent cookie results frustrate bakers who expect uniform treats. Incorrect oven temperature or uneven distribution on the baking sheet creates hot spots that bake some cookies faster than others.
Space cookies evenly with at least 2 inches between each one for consistent air circulation. Use an oven thermometer to verify your oven’s actual temperature matches the setting. Rotate your baking sheet halfway through the baking time for even browning.
Texture Troubles
Achieving the perfect chewy texture requires careful attention to ingredient ratios. Using the wrong type of peanut butter or incorrect sugar proportions can result in cookies that are either too soft or too firm.
Balance your sugar ratio with equal parts brown and granulated sugar for optimal texture. Choose creamy peanut butter for smooth cookies or chunky for added texture, but avoid mixing types within the same batch for consistent results.
Dairy-Free Adaptations
Converting traditional recipes to dairy-free versions requires thoughtful substitutions. Regular butter provides exact fat content and moisture that affects cookie texture.
Replace butter with high-quality dairy-free alternatives like Miyoko’s or ForA Vegan Butter for best results. These products maintain similar fat content to dairy butter and won’t compromise your cookies’ texture or flavor.
Dough Management
Proper dough handling significantly impacts your final results. Gluten-free dough behaves differently than traditional cookie dough and requires exact techniques.
Chill your dough for at least 2 hours before baking for easier handling and better shape retention. The dough can be frozen for later use, making it convenient for fresh cookies anytime. Thaw frozen dough in the refrigerator overnight before shaping and baking.
Conclusion
These gluten-free peanut butter cookies prove that dietary restrictions don’t mean sacrificing flavor or texture. We’ve shown you how simple ingredients and proper techniques create cookies that rival any traditional recipe.
Whether you’re baking for celiac needs or simply exploring healthier options these cookies deliver every time. The versatility we’ve outlined means you can customize them to match your exact preferences and dietary requirements.
Now it’s time to roll up your sleeves and start baking. With our detailed guide and troubleshooting tips you’re equipped to create bakery-quality cookies that everyone will love. Your kitchen is about to smell absolutely amazing!
Frequently Asked Questions
What makes these gluten-free peanut butter cookies different from regular ones?
These cookies use a specialized gluten-free flour blend and binding agents like xanthan gum to replicate the chewy texture of traditional wheat-based cookies. The recipe maintains the rich peanut butter flavor while being safe for those with celiac disease or gluten sensitivity, and they’re so delicious that gluten-eaters won’t notice the difference.
Can I make these cookies dairy-free as well?
Yes! Simply replace the butter with plant-based alternatives like coconut oil, vegan butter, or margarine. Use the same measurements as called for in the original recipe. This substitution maintains the cookies’ texture and flavor while making them suitable for those avoiding dairy products.
How long do these gluten-free peanut butter cookies stay fresh?
Store cookies at room temperature in an airtight container for up to 2 days for best texture. For longer storage, refrigerate for up to 5 days or freeze for up to 3 months. Always cool cookies completely before storing to prevent moisture buildup and maintain their perfect texture.
Can I use crunchy peanut butter instead of smooth?
Absolutely! You can use either smooth or crunchy peanut butter, or even combine both for enhanced flavor and texture. Crunchy peanut butter adds delightful texture bits and intensifies the peanut flavor, while smooth creates a more uniform consistency throughout the cookie.
Why do my gluten-free cookies spread too much during baking?
Excessive spreading usually occurs when the dough is too warm or the oven temperature is incorrect. Chill your dough for at least 30 minutes before baking, ensure your oven is properly preheated to the correct temperature, and avoid overmixing the dough to prevent this issue.
Can I make the dough ahead of time?
Yes! Unbaked cookie dough can be refrigerated for up to 3 days or frozen for up to 3 months. When ready to bake, let frozen dough thaw slightly before shaping, or bake directly from the refrigerator, adding an extra minute or two to the baking time.
What’s the best gluten-free flour blend to use?
Look for a high-quality gluten-free flour blend that contains a mix of rice flour, potato starch, and tapioca flour. Brands like Bob’s Red Mill or King Arthur work well. Avoid single-ingredient flours and ensure your blend contains xanthan gum or add it separately for proper binding.
How do I know when the cookies are done baking?
Remove cookies from the oven when the edges are lightly golden but the centers still look slightly underbaked. They’ll continue cooking on the hot pan and finish perfectly as they cool. This prevents overbaking and ensures the ideal chewy texture.

