We can’t think of anything more delightful than biting into a soft mini egg cookie that perfectly captures the magic of Easter in every mouthful. These colorful treats combine the nostalgic crunch of chocolate mini eggs with tender, buttery cookie dough that melts on your tongue.
What makes these cookies truly special is how they transform ordinary sugar cookies into something extraordinary. The vibrant pastel colors from the mini eggs create an Instagram-worthy treat that’s perfect for spring gatherings, Easter celebrations, or any time you’re craving something sweet and whimsical.
We’ve perfected this recipe to ensure your cookies stay soft and chewy while the mini eggs maintain their satisfying crunch. Whether you’re baking with kids or surprising guests at your next party, these mini egg cookies deliver that perfect balance of texture and flavor that’ll have everyone asking for seconds.
Ingredients
We’ve carefully selected each ingredient to create the perfect balance of soft cookie texture and colorful mini egg crunch. These simple pantry staples come together to deliver that irresistible Easter cookie experience.
For the Cookie Dough
- 2 1/4 cups all-purpose flour
- 1 teaspoon baking soda
- 1 teaspoon salt
- 1 cup unsalted butter, softened to room temperature
- 3/4 cup granulated sugar
- 3/4 cup packed light brown sugar
- 2 large eggs, room temperature
- 2 teaspoons vanilla extract
For the Mini Egg Topping
- 1 1/2 cups chocolate mini eggs, roughly chopped
- 2 tablespoons mini eggs, left whole for decoration
- 1 tablespoon coarse sea salt for sprinkling (optional)
Equipment Needed
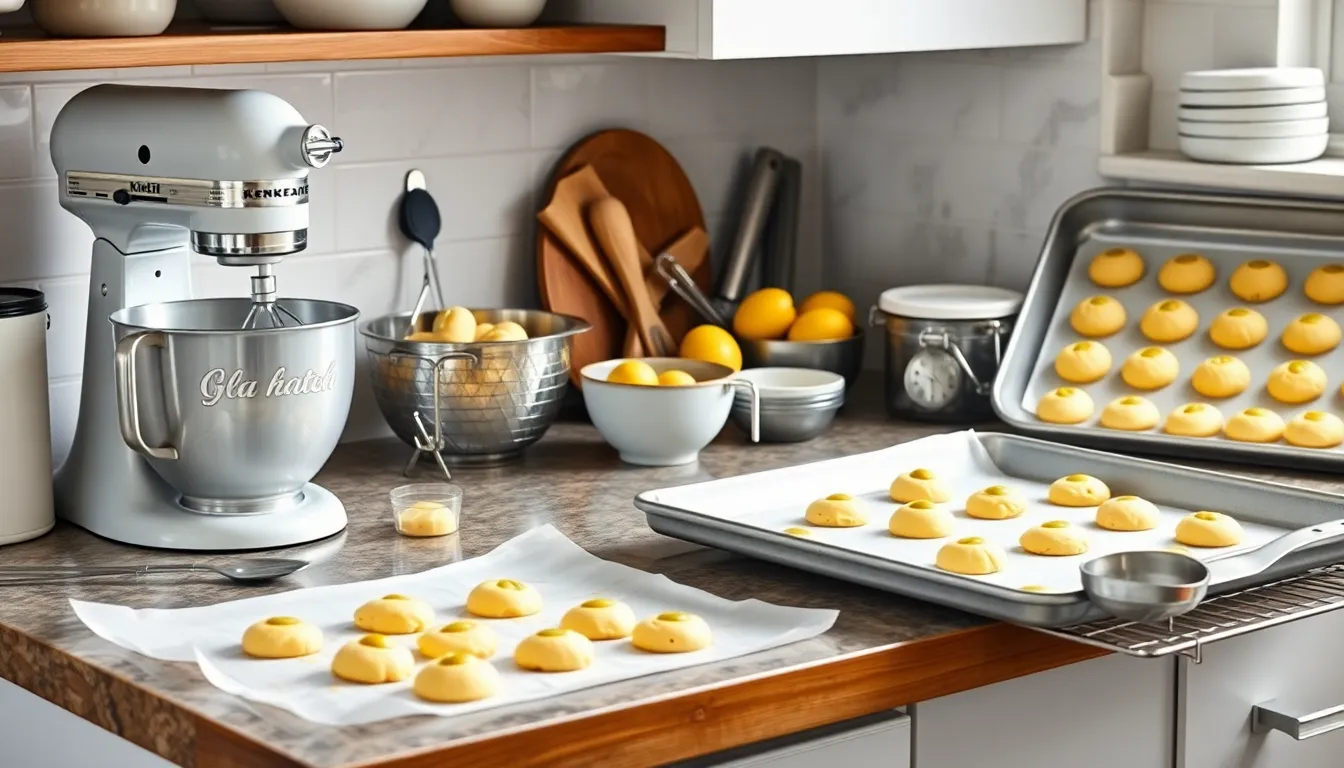
Before we jump into making these delightful mini egg cookies, let’s gather the essential tools that will ensure our baking success. Having the right equipment makes all the difference in achieving that perfect texture balance between soft cookie dough and crunchy mini eggs.
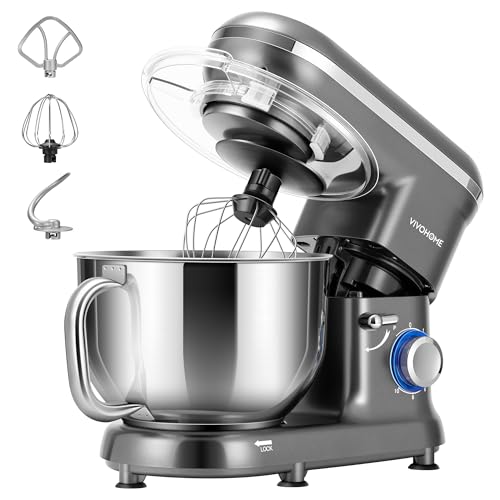
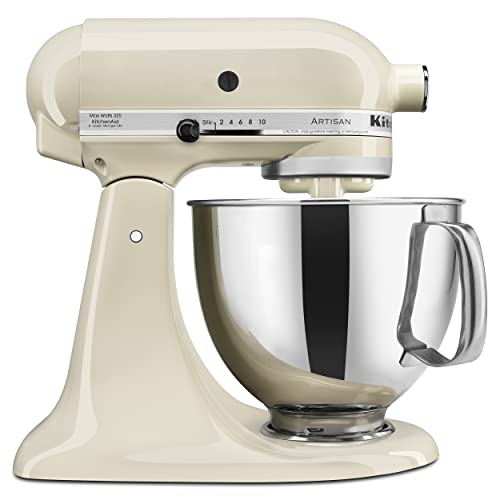
Electric Hand Mixer or Stand Mixer is absolutely crucial for this recipe. We need to cream the butter and sugars to the right consistency, which creates the foundation for our cookies’ soft and chewy texture. This tool ensures proper incorporation of air into our dough.
Mixing Bowls serve multiple purposes throughout our baking process. We’ll use separate bowls for combining dry ingredients and wet ingredients before bringing everything together.
Measuring Cups and Spoons guarantee accuracy in our ingredient proportions. Precise measurements are essential for achieving consistent results every time we make these cookies.
Spatula becomes invaluable when we need to scrape down the sides of our mixing bowls and gently fold in those colorful mini eggs without crushing them.
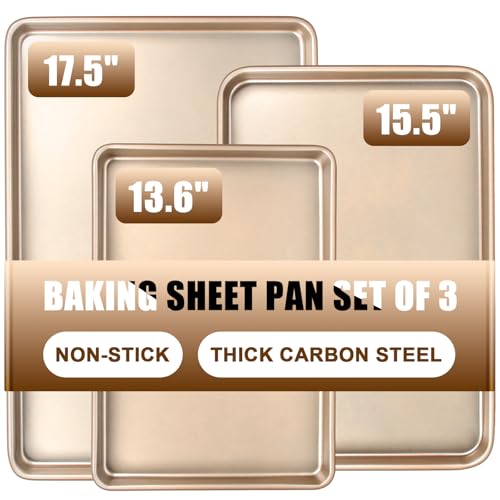
Baking Sheets provide the surface where our cookies will transform in the oven. We recommend having at least two sheets to streamline our baking process.
Parchment Paper or Silicone Baking Mats prevent our cookies from sticking and make cleanup effortless. These tools also help ensure even browning across the bottom of each cookie.
Cookie Scoop offers an optional but helpful way to create uniform dough balls. This tool ensures our cookies bake evenly and present beautifully.
Wire Rack allows proper cooling after baking, preventing our cookies from becoming soggy on the bottom while maintaining their perfect texture.
Instructions

Let’s walk through the step-by-step process to create these delightful mini egg cookies that perfectly balance soft, chewy texture with colorful chocolate crunch. We’ll guide you through each stage to ensure your cookies turn out perfectly every time.
Prep the Dough
We start by whisking together our dry ingredients in a medium bowl. Combine 1 ½ cups all-purpose flour with ½ teaspoon baking soda, ¼ teaspoon baking powder, and ½ teaspoon fine sea salt until evenly distributed.
In a large bowl, cream ½ cup softened butter with ½ cup granulated sugar and ½ cup light brown sugar using an electric mixer until the mixture becomes light and fluffy. This typically takes 3-4 minutes of beating on medium speed. Add 1 egg and 1 teaspoon vanilla extract, beating until everything combines smoothly.
Gradually incorporate the flour mixture into the butter mixture, mixing on low speed until the dough just comes together. We recommend stopping as soon as the flour disappears to avoid overmixing, which can lead to tough cookies.
Chill the Dough
Chilling the dough for about 30 minutes helps with easier handling and better shape retention during baking. While this step remains optional, we find it particularly helpful when working in warm kitchens or when you want perfectly round cookies.
Cover the bowl with plastic wrap and refrigerate for 30 minutes. The dough will firm up slightly, making it easier to scoop and shape into uniform balls.
Shape and Bake
Preheat your oven to 350°F (180°C) to 375°F (190°C) while the dough chills. Line your baking sheets with parchment paper or silicone baking mats for easy cleanup.
Use a cookie scoop to form uniform dough balls, placing them on the prepared baking sheets with adequate space between each cookie for spreading. We recommend leaving about 2 inches between cookies to prevent them from merging during baking.
Bake for 8-12 minutes depending on your texture preference. For chewier cookies, bake for 8-9 minutes until the edges are just set. For slightly firmer cookies, extend the baking time to 10-12 minutes until they’re lightly golden around the edges.
Add Mini Eggs
Fold 1 cup of coarsely chopped mini eggs into the prepared dough after combining the wet and dry ingredients but before chilling. Gently incorporate them using a spatula to distribute the colorful pieces evenly throughout the dough.
Reserve some whole mini eggs for pressing into the tops of the cookies before baking. This creates an attractive presentation and ensures each cookie has visible chocolate pieces that won’t get lost during the baking process.
Baking Tips for Perfect Mini Egg Cookies
Essential Ingredients
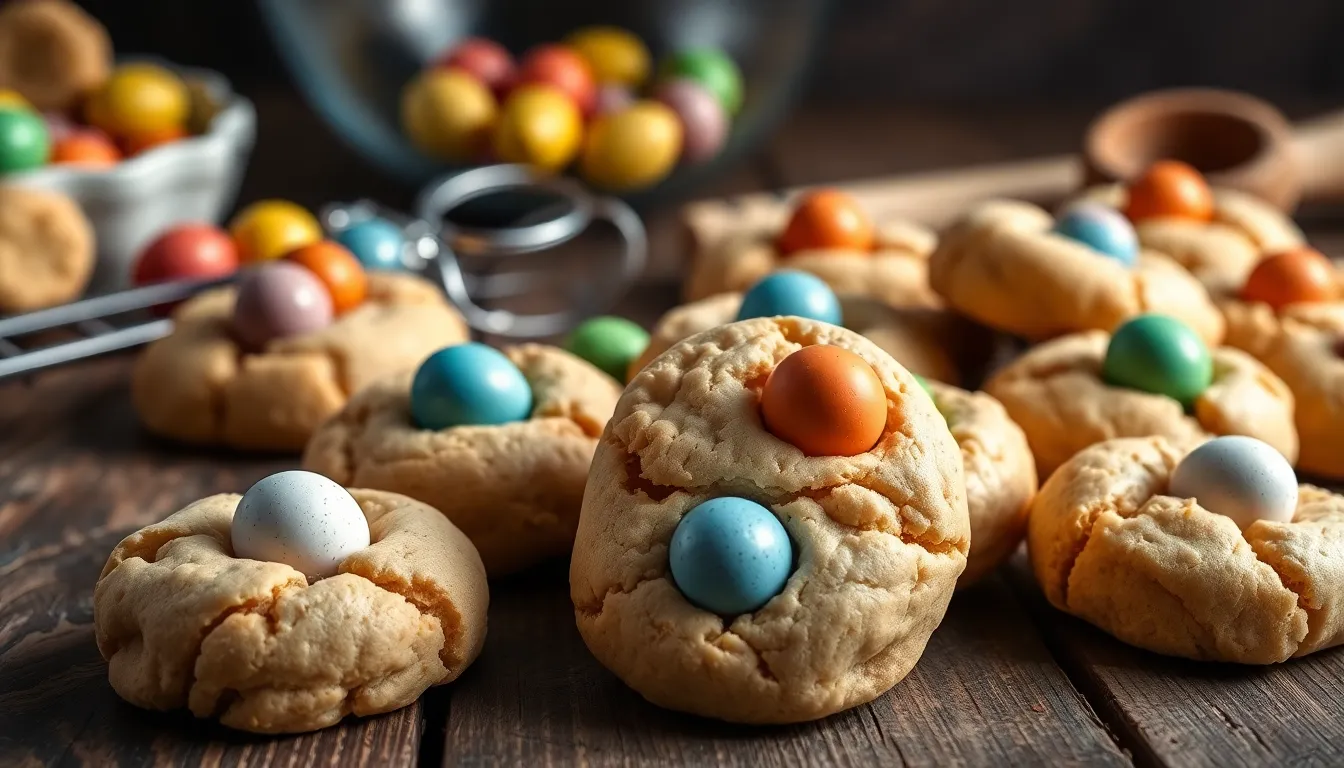
Creating exceptional mini egg cookies starts with selecting the right ingredients that work in harmony. Unsalted butter forms the foundation of our cookies and should be slightly softened to room temperature for optimal creaming with sugars. Room temperature butter prevents excessive spreading during baking and ensures our cookies maintain their desired shape.
Sugar selection plays a crucial role in achieving the perfect texture. We recommend using light brown sugar combined with white granulated sugar for the ideal balance. Dark brown sugar can be substituted when we want a deeper molasses flavor profile.
Egg components contribute richness to our cookie dough. Using an egg yolk specifically adds luxurious richness that elevates the overall texture and flavor.
Mini eggs are the star ingredient that transforms ordinary cookies into festive treats. Cadbury mini eggs remain the most popular choice among bakers. We should avoid crushing them excessively to maintain both their delightful texture and vibrant visual appeal.
Baking Instructions
Oven preparation requires preheating to 325°F or 180°C (160°C for fan ovens). This moderate temperature ensures even baking without burning the delicate mini egg coating.
Wet ingredient mixing begins with creaming butter and sugars until light and fluffy. We then incorporate the egg and vanilla extract thoroughly to create a smooth base.
Dry ingredient incorporation involves sifting flour with baking powder, baking soda, and salt. We mix these ingredients until just combined to prevent overworking the dough.
Mini egg addition requires gentle folding to distribute the crushed mini eggs evenly throughout the dough. Additional mix-ins like walnuts can be incorporated at this stage for extra texture.
Dough shaping works best with a cookie scoop to create uniform balls. We leave adequate space between cookies to accommodate spreading during baking.
Baking duration typically ranges from 11-16 minutes until edges are set while centers remain soft for the perfect chewy texture.
| Baking Parameter | Specification |
|---|---|
| Oven Temperature | 325°F (180°C/160°C fan) |
| Baking Time | 11-16 minutes |
| Cookie Spacing | Allow for spreading |
| Doneness Test | Set edges, soft centers |
Additional Expert Tips
Mixing technique significantly impacts our final cookie texture. We stop mixing immediately once ingredients are combined to prevent developing tough, dense cookies.
Dough chilling offers an optional step that helps maintain cookie shape and improves texture. Chilling the dough for 30 minutes can prevent excessive spreading and create more defined edges.
Decoration enhancement involves pressing additional whole mini eggs into the tops of warm cookies fresh from the oven. This technique creates a visually stunning finish that showcases the colorful mini eggs beautifully.
Storage Instructions
Proper storage ensures our mini egg cookies maintain their delightful texture and vibrant appearance for days after baking. We recommend following exact guidelines based on how long you plan to keep these colorful treats.
Room Temperature Storage
Store your freshly baked mini egg cookies in an airtight container at room temperature for optimal freshness. These cookies will maintain their soft centers and crunchy mini egg pieces for 3 to 5 days when stored properly. Environmental conditions like humidity and temperature can affect this timeframe.
| Storage Method | Duration | Container Type |
|---|---|---|
| Room Temperature | 3-5 days | Airtight container |
| Refrigerator | Up to 1 week | Sealed container |
| Freezer (baked) | 2-3 months | Freezer-safe container |
| Freezer (dough) | Up to 3 months | Freezer bag |
Refrigerator Storage
For extended freshness we suggest refrigerating your mini egg cookies in a sealed container. This method keeps the cookies fresh for up to one week while preserving the texture of both the cookie dough and the chocolate mini eggs.
Freezing Baked Cookies
Allow your mini egg cookies to cool completely before placing them in the freezer. Transfer the cooled cookies to a freezer-safe container or heavy-duty freezer bag for storage up to 2 to 3 months. This method preserves both flavor and texture remarkably well.
Freezing Cookie Dough
We can prepare cookie dough in advance by scooping and rolling it into balls before freezing. Place the dough balls on a parchment-lined baking sheet and freeze for about 1 hour until they become firm. Once hardened transfer the dough balls to a freezer bag where they’ll keep for up to 3 months.
To bake frozen dough balls thaw them in the refrigerator overnight or at room temperature before following the original baking instructions. This advance preparation method allows us to enjoy fresh mini egg cookies whenever the craving strikes.
Variations and Substitutions

We can easily customize these mini egg cookies to suit different tastes and dietary needs. These adaptations allow us to create unique versions while maintaining the delicious texture and festive appeal that makes these cookies so special.
Different Mini Egg Flavors
Traditional Cadbury Mini Eggs remain our top choice for their classic milk chocolate flavor and vibrant pastel colors. We can experiment with different mini egg varieties to create unique flavor profiles and visual presentations. Special edition flavors or seasonal colors add an exciting twist to our cookies throughout the year.
Pastel colored mini eggs work beautifully for Easter celebrations while maintaining the familiar taste. We recommend testing different brands to find the perfect balance of sweetness and crunch that complements our cookie dough. Some bakers prefer using a mix of milk and white chocolate mini eggs to create visual contrast and varied flavor notes in each bite.
Gluten-Free Option
Creating gluten-free mini egg cookies requires substituting our plain flour with a quality gluten-free flour blend. We need to ensure all ingredients including the mini eggs are certified gluten-free to avoid cross contamination. Most commercial gluten-free flour blends work well as a 1:1 replacement for regular all-purpose flour.
Adding xanthan gum improves the texture if our chosen flour blend doesn’t already contain it. We typically use about 1/4 teaspoon of xanthan gum per cup of gluten-free flour to achieve the proper binding and chewiness. The cookies may require an additional 1-2 minutes of baking time due to different moisture absorption rates in gluten-free flours.
We should expect a slightly different texture compared to traditional cookies but the flavor and visual appeal remain just as delightful. Testing small batches helps us adjust the flour blend and baking time to achieve our desired results.
Make-Ahead Instructions
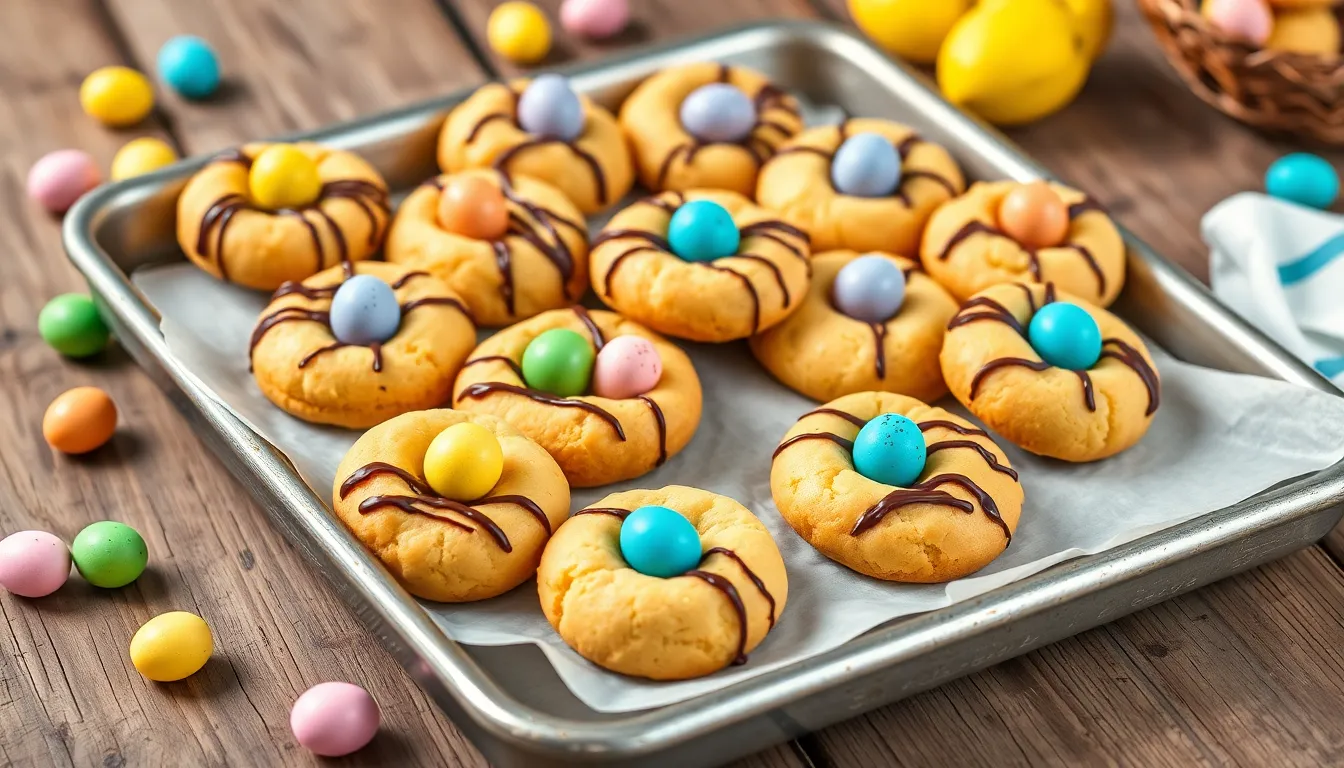
Planning ahead transforms mini egg cookie baking from stressful to seamless. We can prepare these delightful treats using several strategic approaches that maintain their signature texture and vibrant appearance.
Preparing Cookie Dough in Advance
Cookie dough stores beautifully in the refrigerator for up to 3 days when covered tightly. We recommend wrapping the dough in plastic wrap or storing it in an airtight container to prevent absorption of refrigerator odors. The dough becomes firmer during chilling, which actually improves our ability to shape uniform cookies.
For longer storage, we can freeze cookie dough balls for up to 2 months. Shape the dough into individual portions using an ice cream or cookie scoop before freezing. This method ensures consistent cookie sizes and eliminates guesswork during baking day.
Freezing and Storage Methods
| Storage Method | Duration | Container Type |
|---|---|---|
| Refrigerated dough | 3 days | Covered bowl or wrapped |
| Frozen dough balls | 2 months | Airtight container or freezer bag |
| Room temperature cookies | 3-5 days | Airtight container |
Dough balls freeze individually on a baking sheet before transferring to freezer bags. This prevents clumping and allows us to bake exact quantities as needed. We layer parchment paper between dough balls to maintain their shape and prevent sticking.
Baking from Frozen
Frozen dough requires no thawing for immediate baking. We can place frozen dough balls directly onto prepared baking sheets and bake as directed. Monitor cookies closely during the final minutes, as frozen dough may need an additional 1-2 minutes of baking time.
Room temperature thawing takes approximately 30 minutes, while refrigerator thawing requires overnight storage. Both methods produce identical results to fresh dough.
Strategic Decoration Planning
We crush mini eggs and mix them into dough before storage, but reserve whole mini eggs for final decoration. Fresh mini eggs pressed into warm, just-baked cookies create the most attractive presentation. Store whole mini eggs separately in their original packaging to maintain color vibrancy.
Melted chocolate drizzles and frostings perform best when applied on serving day. We prepare these components separately and apply them to cookies within hours of serving for optimal texture and appearance.
Batch Control Benefits
Making ahead provides excellent portion control for families and gatherings. We can bake small quantities from our frozen dough supply, reducing waste and ensuring fresh cookies for every occasion. This approach particularly benefits busy schedules during holiday seasons when multiple treats compete for oven time.
Fresh cookies straight from frozen dough taste identical to cookies made from fresh dough, making this preparation method both practical and delicious.
Conclusion
These mini egg cookies offer the perfect way to celebrate spring with their delightful combination of soft texture and vibrant colors. We’ve shown you how simple ingredients and proper techniques create bakery-quality results that’ll impress everyone at your next gathering.
The make-ahead flexibility means you can enjoy fresh cookies whenever the craving strikes. Whether you’re baking with kids or preparing for a special occasion these treats deliver both visual appeal and incredible taste.
With proper storage techniques your cookies will maintain their softness while those colorful mini eggs keep their satisfying crunch. We’re confident these will become your go-to recipe for Easter celebrations and beyond.
Frequently Asked Questions
What are mini egg cookies?
Mini egg cookies are delightful Easter-themed treats that combine soft, buttery cookie dough with crunchy chocolate mini eggs. These cookies feature vibrant pastel colors from the mini eggs, making them perfect for spring celebrations and gatherings. They offer the perfect balance of chewy texture and nostalgic crunch.
What ingredients do I need for mini egg cookies?
You’ll need all-purpose flour, baking soda, salt, unsalted butter, granulated sugar, brown sugar, eggs, vanilla extract, and chocolate mini eggs. The recipe uses both chopped and whole mini eggs for texture and decoration. Optional ingredients include coarse sea salt for enhanced flavor.
How long should I bake mini egg cookies?
Bake mini egg cookies at 325°F (180°C) for 11-16 minutes. The cookies are done when the edges are set but the centers remain soft. Avoid overbaking to maintain their chewy texture. Let them cool on the baking sheet for a few minutes before transferring.
Can I make mini egg cookie dough ahead of time?
Yes, cookie dough can be prepared in advance and stored in the refrigerator for up to 3 days or frozen for up to 2 months. Chilling the dough for 30 minutes also helps with handling and shape retention during baking.
How should I store mini egg cookies?
Store mini egg cookies in an airtight container at room temperature for 3-5 days, refrigerate for up to a week, or freeze for 2-3 months. Proper storage maintains their soft texture and vibrant appearance from the colorful mini eggs.
What equipment do I need to make mini egg cookies?
Essential equipment includes an electric mixer, mixing bowls, measuring tools, spatula, baking sheets, parchment paper, cookie scoop, and wire rack. These tools ensure proper mixing, uniform cookie sizes, and ideal texture for the finished cookies.
Should I crush the mini eggs completely?
No, avoid crushing mini eggs completely. Coarsely chop some for mixing into the dough while reserving whole ones for decoration. This maintains texture contrast and visual appeal. Press whole mini eggs into warm cookies for the best presentation.
Why do my mini egg cookies spread too much?
Excessive spreading often occurs from warm butter or warm dough. Use slightly softened butter and chill the dough for 30 minutes before baking. Also, avoid overmixing the dough, which can lead to tough cookies and poor shape retention.


