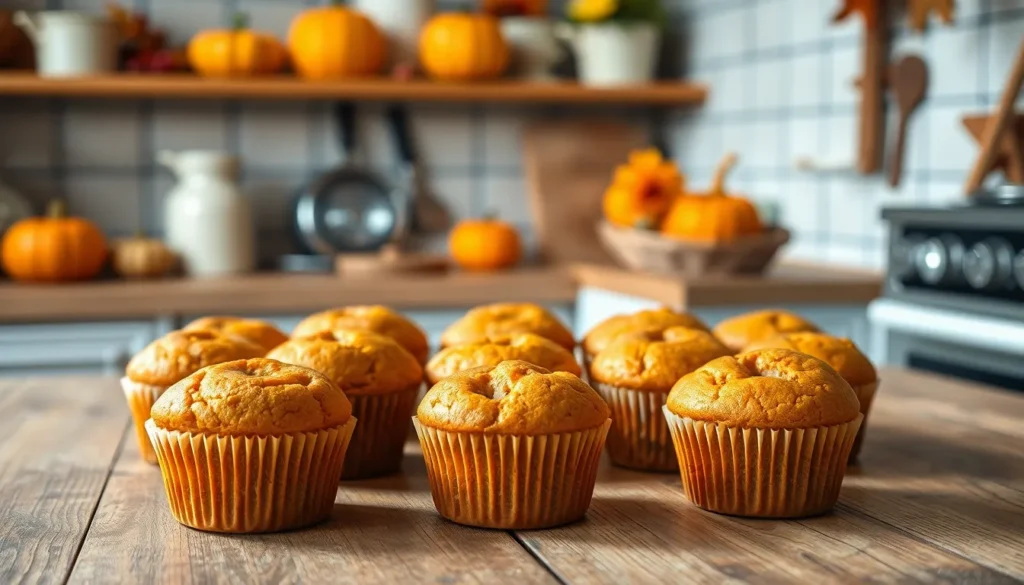
When autumn arrives we can’t help but crave those warm spiced flavors that make the season so special. These mini pumpkin muffins capture everything we love about fall in one perfect bite-sized treat. They’re incredibly moist tender and packed with real pumpkin flavor that’ll make your kitchen smell absolutely divine.
What makes these mini muffins so irresistible is their perfect balance of pumpkin spice and sweetness. We’ve crafted this recipe to deliver that cozy bakery-fresh taste without any fuss. The smaller size means they bake faster and are perfect for portion control – though we warn you it’s nearly impossible to stop at just one!
Whether you’re planning a fall gathering need a quick breakfast on-the-go or want to surprise your family with a seasonal treat these mini pumpkin muffins deliver every time. They freeze beautifully too so you can enjoy that autumn comfort whenever you need it most.
Ingredients
Our mini pumpkin muffin recipe features simple pantry staples that combine to create the perfect autumn treat. We’ve organized these ingredients into three categories to streamline your baking process.
Dry Ingredients
- 1½ cups all-purpose flour
- ¾ cup granulated sugar
- 2 teaspoons baking powder
- ½ teaspoon salt
- ⅓ cup mini chocolate chips (optional)
Wet Ingredients
- 1 cup pumpkin puree
- ⅓ cup vegetable oil
- 2 large eggs
- ¼ cup milk
- 1 teaspoon vanilla extract
Spices and Flavorings
- 1 teaspoon ground cinnamon
- ½ teaspoon ground nutmeg
- ¼ teaspoon ground ginger
- ⅛ teaspoon ground cloves
- ⅛ teaspoon ground allspice
Equipment Needed

Essential Equipment
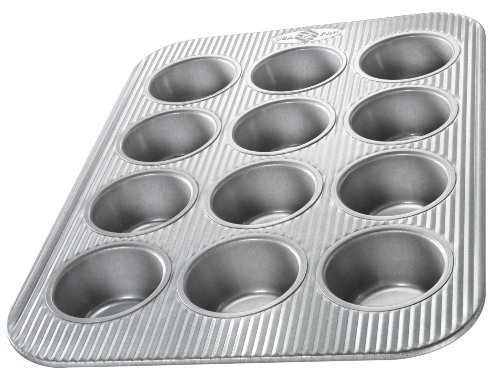
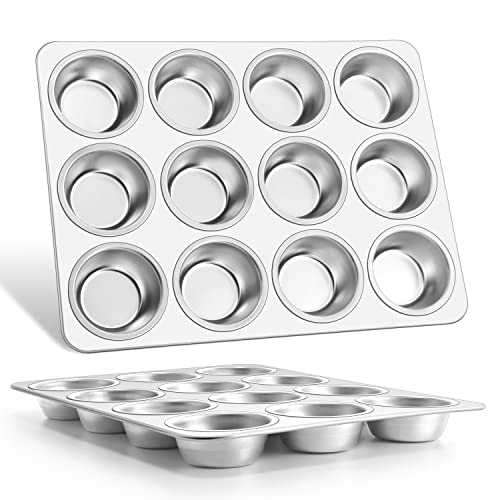
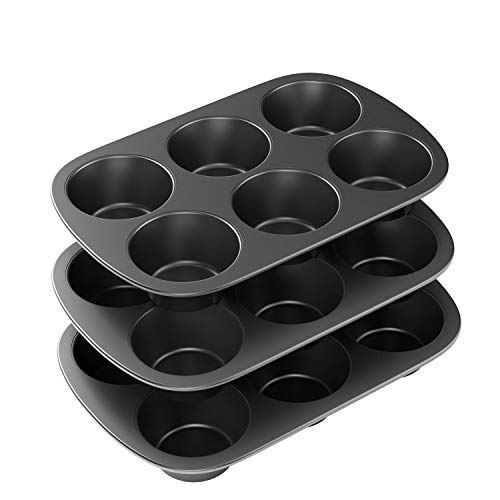
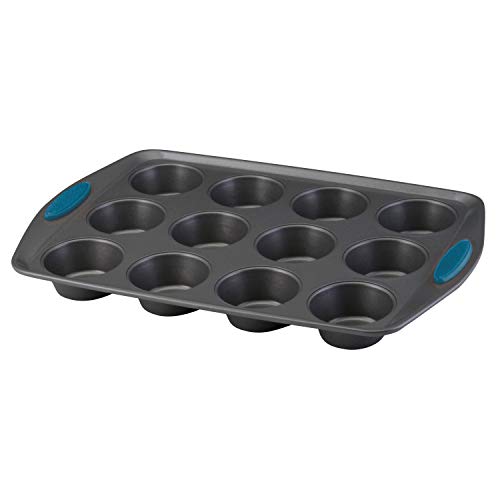
We need a few key pieces of equipment to create perfect mini pumpkin muffins. Our most important tool is a mini muffin pan, and we recommend choosing a silicone version for easy muffin release. The silicone material prevents sticking and makes removing our delicate mini muffins effortless.
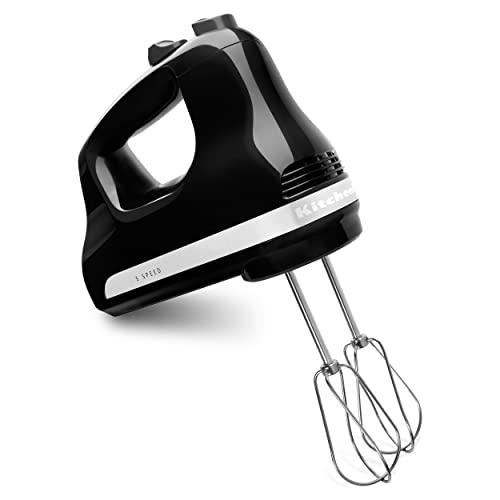
Large mixing bowl becomes essential for combining our ingredients properly. We suggest having at least one spacious bowl to accommodate all our wet and dry ingredients without spillage. A hand mixer offers optional assistance for mixing wet ingredients, though we can certainly complete this recipe without one.
Our rubber spatula serves dual purposes throughout the baking process. We use it for scraping the sides of the bowl and folding ingredients together gently. Measuring cups and spoons ensure accurate ingredient measurements, which is crucial for achieving consistent results with our mini muffins.
Optional Equipment
Food chopper proves helpful if we decide to grind nuts for additional texture and flavor. This equipment allows us to control the size of our nut pieces perfectly. A scooper makes portioning batter evenly into muffin tins much easier and more consistent.
| Equipment Type | Purpose | Recommendation |
|---|---|---|
| Mini muffin pan | Primary baking vessel | Silicone for easy release |
| Mixing bowl | Ingredient combination | Large size preferred |
| Hand mixer | Wet ingredient mixing | Optional but helpful |
| Rubber spatula | Scraping and folding | Essential for technique |
| Measuring tools | Accurate portions | Cups and spoons needed |
| Food chopper | Nut preparation | Optional enhancement |
| Scooper | Batter portioning | Optional for consistency |
Having the right equipment ready before we begin ensures our mini pumpkin muffin baking process flows smoothly from start to finish.


Instructions

Follow these step-by-step instructions to create perfectly spiced mini pumpkin muffins with tender crumbs and rich autumn flavor. We’ll guide you through each stage to ensure bakery-quality results every time.
Prep the Muffin Tin and Oven
Set your oven to preheat at 425°F for the initial high-heat method or 375°F for consistent baking temperature. Coat each cup of your mini muffin tin thoroughly with nonstick cooking spray to prevent sticking. Allow the oven to fully preheat while you prepare the batter for optimal rising and golden tops.
Mix the Dry Ingredients
Combine all-purpose flour, granulated sugar, baking powder, salt, and pumpkin pie spice in a large mixing bowl. Add cinnamon for extra warmth if desired. Whisk the mixture until all ingredients blend evenly and no lumps remain. Create a well in the center of the dry ingredients to make combining easier in the next step.
Combine the Wet Ingredients
Whisk pumpkin puree, melted butter, eggs, milk, and vanilla extract in a separate medium bowl until smooth. Beat the mixture until all ingredients incorporate completely and the texture becomes uniform. Room temperature ingredients blend more easily and create better texture in the finished muffins.
Combine Wet and Dry Mixtures
Pour the wet ingredient mixture into the well of dry ingredients. Stir gently with a rubber spatula until just combined, being careful not to overmix the batter. Stop mixing as soon as no dry flour streaks remain visible. Fold in mini chocolate chips at this stage if using them as an optional add-in.
Fill the Mini Muffin Cups
Scoop batter into each prepared mini muffin cup, filling them about ⅔ full for proper rising room. Use a small cookie scoop or spoon for even distribution across all cups. Sprinkle the tops with cinnamon sugar if you want extra sweetness and texture on the finished muffins.
Bake the Mini Pumpkin Muffins
| Baking Method | Initial Temperature | Adjusted Temperature | Total Baking Time |
|---|---|---|---|
| High-Heat Start | 425°F | Reduce to 350°F after 3 minutes | 14-16 minutes |
| Consistent Heat | 375°F | Maintain temperature | 12-16 minutes |
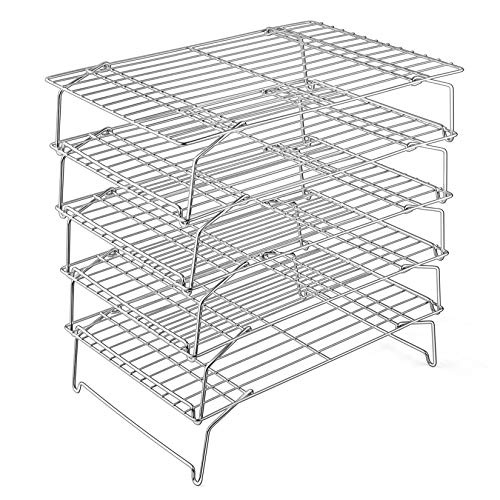
Place the filled muffin tin in the preheated oven and bake according to your chosen method from the table above. Test for doneness by inserting a toothpick into the center of one muffin; it should come out clean or with just a few moist crumbs. Remove the muffins from the oven and let them cool in the pan for 5 minutes before transferring to a wire rack.


Cooling and Storage

Proper cooling and storage techniques ensure our mini pumpkin muffins maintain their delicious texture and flavor for days to come. These simple steps will help us preserve the bakery-fresh quality we worked hard to achieve.
Cooling Instructions
We need to let our freshly baked mini pumpkin muffins cool for 2-3 minutes in the pan before transferring them to a wire cooling rack. This brief resting period allows the muffins to set properly while preventing them from breaking apart during removal. Once we transfer them to the cooling rack, we should allow them to cool completely before storing or serving.
Preventing moisture accumulation is crucial during this cooling phase. We avoid covering the muffins while they’re still warm, as trapped steam can make them soggy and affect their delightful texture.
Storage Tips
Room Temperature Storage
We can store our completely cooled muffins in an airtight container at room temperature for 1-3 days. During this time, the muffins actually become sweeter and more moist as the flavors continue to develop and meld together.
Refrigeration Method
For extended freshness, we place our muffins in an airtight container and refrigerate them for up to 4-5 days. This method works particularly well when we want to maintain the muffins’ texture over a longer period.
Freezing for Long-Term Storage
We can preserve our mini pumpkin muffins for up to 2-3 months by individually wrapping each cooled muffin in plastic wrap or aluminum foil. After wrapping, we place them in a freezer-safe bag or container to prevent freezer burn.
| Storage Method | Duration | Container Type |
|---|---|---|
| Room Temperature | 1-3 days | Airtight container |
| Refrigeration | 4-5 days | Airtight container |
| Freezing | 2-3 months | Wrapped + freezer-safe bag |
Essential Storage Tips
We always ensure our muffins are completely cooled before storing to prevent condensation from forming inside the container. When stacking multiple muffins, we place parchment paper between layers to prevent them from sticking together.
To thaw frozen muffins, we let them sit at room temperature for a few hours or use the microwave on a low setting for just a few seconds. This gentle thawing process helps restore their original texture and warmth.


Variations and Customizations

We can easily adapt our mini pumpkin muffin recipe to suit different dietary needs and taste preferences. These customizations allow us to create unique versions while maintaining the delicious autumn flavors we love.
Add-In Options
Mini chocolate chips stand out as the most popular add-in option for our pumpkin muffins. We fold these sweet morsels directly into the batter before baking to create bursts of chocolate throughout each bite.
Dried fruits offer another excellent way to enhance our muffins’ flavor profile. Craisins work particularly well as they complement the pumpkin’s natural sweetness while adding chewy texture contrasts.
Chopped nuts bring richness and satisfying crunch to our mini muffins. Walnuts and pecans pair beautifully with pumpkin spice flavors and provide healthy fats and protein.
Shredded coconut creates tropical notes that surprisingly complement the autumn spices. We can also experiment with diced crystallized ginger for those who enjoy a spicy kick in their baked goods.
Glaze and Topping Ideas
Cinnamon sugar remains the classic topping choice for our mini pumpkin muffins. We can sprinkle this mixture directly onto the raw batter before baking or roll the finished muffins in it while they’re still warm.
Melted butter creates a donut-inspired finish when we brush or dip our warm muffins before coating them in cinnamon sugar. This technique produces an irresistible outer layer that mimics our favorite fall treats.
Cream cheese icing elevates our muffins to bakery-style quality with its sweet and tangy flavor profile. We can pipe this frosting decoratively on top or simply drizzle it over the cooled muffins for an elegant presentation.
Chocolate glaze provides rich indulgence for chocolate lovers while a simple dusting of powdered sugar offers understated elegance. Both options work well for special occasions or when we want to dress up our everyday muffins.
Tips for Perfect Mini Pumpkin Muffins

Achieving bakery-quality mini pumpkin muffins requires attention to several key techniques that elevate our results from good to exceptional.
Master the Temperature Control
We recommend preheating our oven to exactly 350°F (175°C) before beginning any mixing. Consistent temperature ensures even baking throughout each tiny muffin. Oven thermometers help verify accuracy since many home ovens run hot or cold.
Perfect the Pan Preparation
Greasing our mini muffin pans thoroughly prevents sticking and ensures clean release. We prefer using silicone mini muffin pans for their natural non-stick properties and easy removal. Paper liners work well too but may reduce the muffins’ crispy exterior texture.
Fill with Precision
Each mini muffin cup should receive exactly 2/3 of batter for optimal rising and shape. Overfilling creates mushroom tops that bake unevenly. Using a small cookie scoop or teaspoon ensures consistent portion sizes across all cups.
Monitor Baking Time Closely
Mini pumpkin muffins bake quickly in just 15-18 minutes due to their small size. We insert a toothpick into the center of several muffins to test doneness. The toothpick should emerge clean or with just a few moist crumbs attached.
Avoid Overmixing the Batter
Gentle folding motions preserve the tender crumb texture we desire. Overmixed batter develops tough, dense muffins instead of the light, fluffy results we want. We stop mixing immediately once flour disappears into the wet ingredients.
Use Room Temperature Ingredients
Eggs and milk at room temperature blend more easily with other ingredients. Cold ingredients can cause the batter to seize or mix unevenly. We set these items out 30 minutes before baking begins.
Test for Freshness
Fresh pumpkin puree creates the best flavor and moisture. We check expiration dates and smell our pumpkin puree before using. Stale puree produces flat tasting muffins that lack the vibrant autumn flavor we expect.


Make-Ahead Instructions

Mini pumpkin muffins offer excellent make-ahead flexibility that works perfectly for busy schedules and event planning. We can prepare these delightful treats in advance using two effective methods that maintain their quality and flavor.
Preparing the Batter in Advance
The batter preparation method allows us to streamline our baking process when time is limited. We can mix all ingredients according to our recipe instructions and store the completed batter in the refrigerator for up to one day ahead. Cover the mixing bowl tightly with plastic wrap to prevent the batter from absorbing refrigerator odors and maintain proper moisture levels.
When we’re ready to bake, simply remove the chilled batter from the refrigerator and let it sit at room temperature for 5-10 minutes before portioning into the mini muffin cups. The slightly chilled batter actually helps create more uniform muffins with better rise and texture.
Baking and Storing Finished Muffins
Baking the muffins completely ahead of time provides even greater convenience for our meal planning needs. After baking, we should cool the muffins in the pan for 2-3 minutes before transferring them to a wire rack for complete cooling. This prevents condensation buildup that could make the muffin bottoms soggy.
Once our muffins have cooled completely, we can store them using our preferred method. For freezer storage that maintains peak quality, place the cooled muffins in a single layer on a baking sheet and flash freeze until solid. Transfer the frozen muffins to a large ziplock bag or airtight container where they’ll maintain their freshness for up to three months.
Thawing and Serving
Frozen mini pumpkin muffins thaw quickly due to their small size. We can thaw them at room temperature for 15-20 minutes or refrigerate them overnight for gradual thawing. For immediate serving, microwave individual frozen muffins for 15-20 seconds to restore their fresh-baked warmth and texture.
| Storage Method | Duration | Temperature | Container Type |
|---|---|---|---|
| Batter (Refrigerated) | Up to 1 day | 35-40°F | Covered bowl with plastic wrap |
| Baked Muffins (Frozen) | Up to 3 months | 0°F | Ziplock bag or airtight container |
| Thawing Time (Room Temperature) | 15-20 minutes | 68-72°F | Open air |
| Thawing Time (Refrigerated) | Overnight | 35-40°F | Original container |


Conclusion
These mini pumpkin muffins prove that good things really do come in small packages. We’ve shown you how simple it is to create bakery-quality treats that capture all the warm flavors of fall in every bite.
The beauty of this recipe lies in its flexibility – whether you’re meal prepping for busy mornings or hosting a cozy autumn gathering these little gems deliver every time. With proper storage techniques and make-ahead options you’ll always have a delicious treat ready when cravings strike.
We’re confident that once you try these mini pumpkin muffins they’ll become your go-to recipe for celebrating the season. The combination of convenience flavor and endless customization possibilities makes them a winner in our book.
Frequently Asked Questions
What makes these mini pumpkin muffins different from regular-sized muffins?
Mini pumpkin muffins bake faster (typically 12-15 minutes), provide better portion control, and offer a higher crust-to-crumb ratio for enhanced texture. Their bite-sized format makes them perfect for parties, quick snacks, and portion-conscious enjoyment while maintaining the same rich pumpkin flavor and moist texture as full-sized muffins.
Can I make the batter ahead of time?
Yes, you can prepare the batter up to one day in advance. Store it covered in the refrigerator, then let it sit at room temperature for 5-10 minutes before baking. This make-ahead option is perfect for busy schedules while ensuring fresh, warm muffins when you want them.
How should I store leftover mini pumpkin muffins?
Store completely cooled muffins in an airtight container at room temperature for 1-3 days, or refrigerate for 4-5 days. For longer storage, individually wrap muffins and freeze for 2-3 months. Thaw frozen muffins at room temperature or warm briefly in the microwave.
What equipment do I need to make mini pumpkin muffins?
Essential equipment includes a mini muffin pan (preferably silicone), large mixing bowl, measuring cups and spoons, and a rubber spatula. Optional tools like a hand mixer for wet ingredients and a small scoop for even batter portioning can enhance your baking experience and results.
Can I customize the recipe with different add-ins?
Absolutely! Popular add-ins include mini chocolate chips, chopped walnuts or pecans, dried cranberries, shredded coconut, or crystallized ginger. You can also experiment with toppings like cinnamon sugar, cream cheese icing, chocolate glaze, or powdered sugar to create your perfect autumn treat.
What’s the best baking temperature and time for mini pumpkin muffins?
Bake at 350°F (175°C) for 12-15 minutes, or until a toothpick inserted in the center comes out clean. Mini muffins bake much faster than regular muffins, so start checking for doneness at the 12-minute mark to prevent overbaking and ensure optimal texture.
How do I prevent my mini muffins from sticking to the pan?
Thoroughly grease your mini muffin pan with butter or cooking spray, paying special attention to the corners. Silicone pans naturally provide easier release. After baking, let muffins cool for 2-3 minutes before removing them from the pan to prevent breaking while ensuring easy release.
Can I freeze baked mini pumpkin muffins?
Yes, these muffins freeze exceptionally well. Wrap each cooled muffin individually in plastic wrap or foil, then store in a freezer-safe bag for up to 2-3 months. Thaw at room temperature for 30 minutes or microwave for 15-20 seconds for quick serving.


