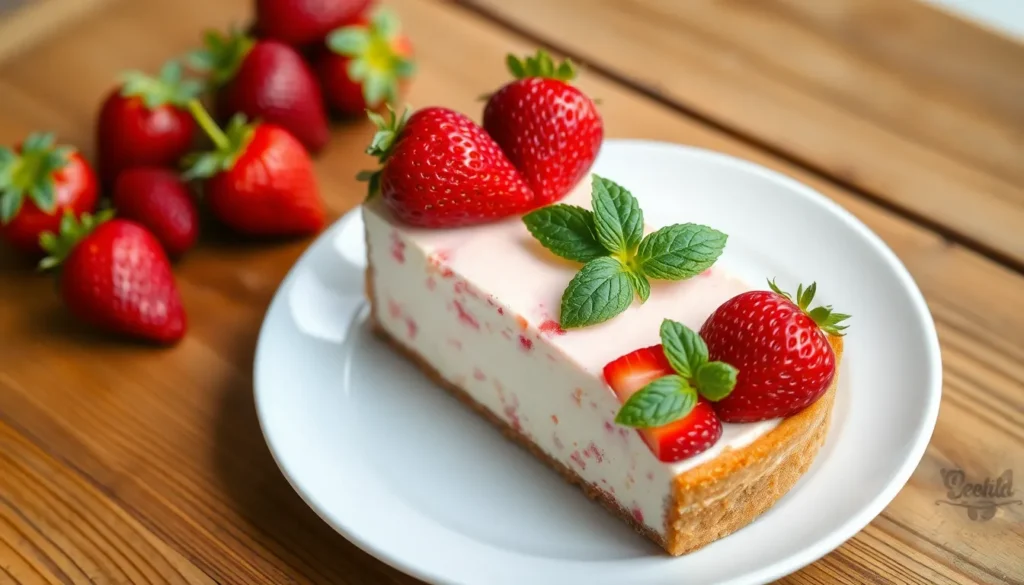
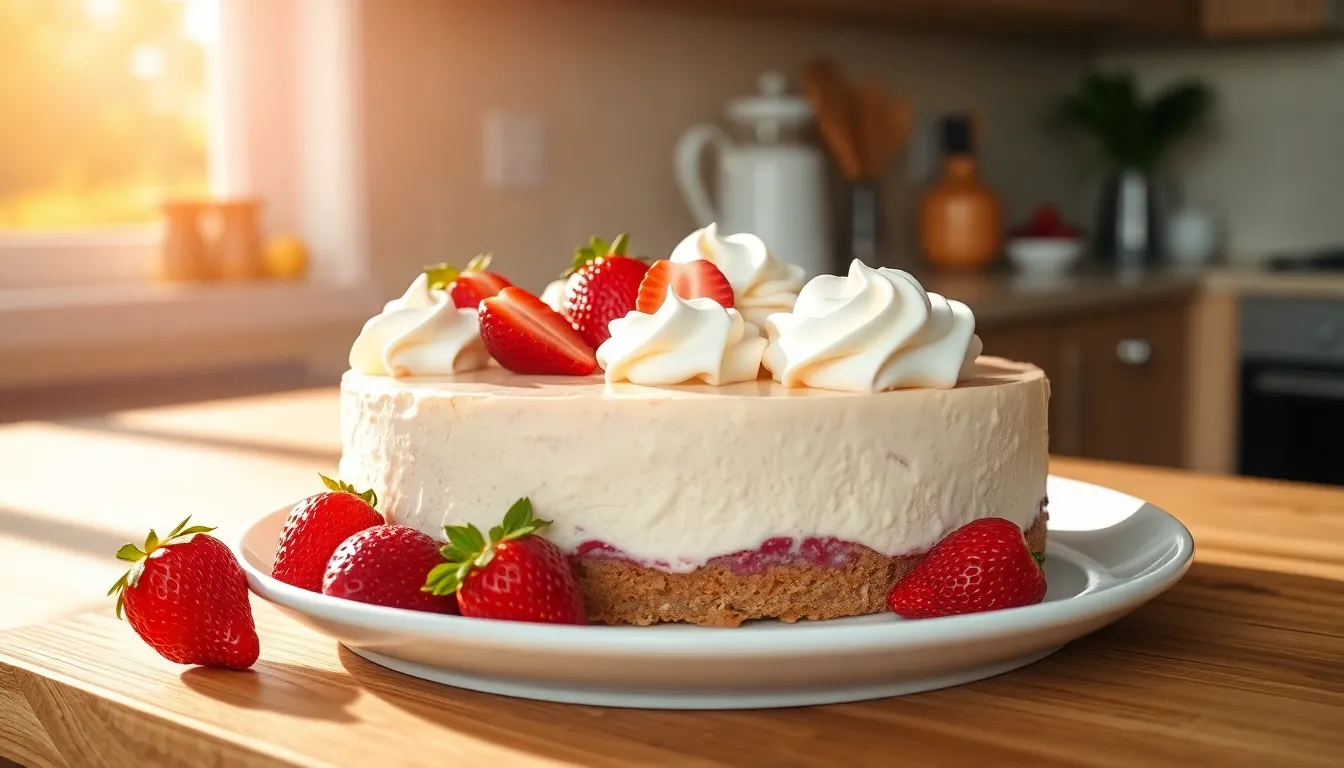
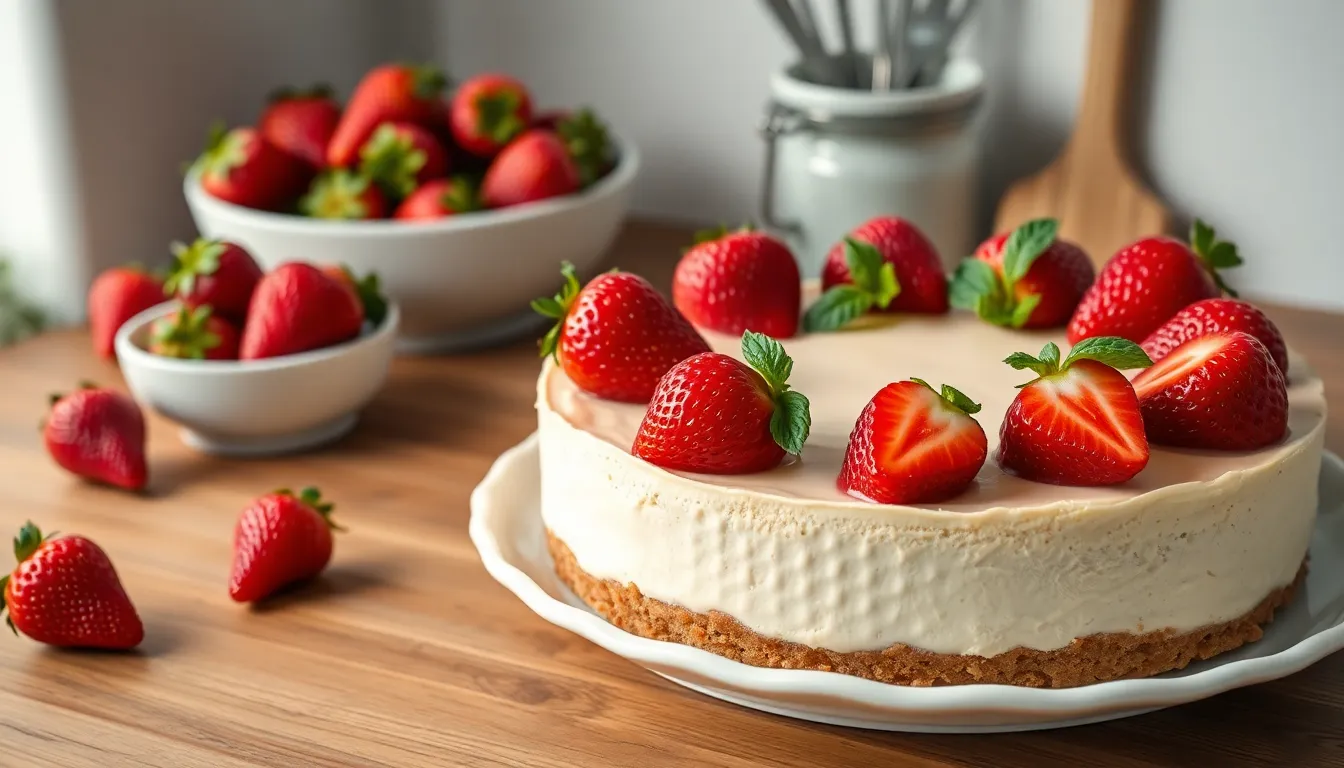
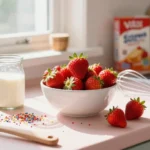
When summer’s heat makes turning on the oven unbearable, we’ve got the perfect dessert solution that’ll satisfy your cheesecake cravings without breaking a sweat. This no bake strawberry cheesecake delivers all the creamy, tangy goodness you love in traditional cheesecake, but with zero baking time and maximum flavor.
We’re talking about a luscious dessert that comes together in just minutes, featuring a buttery graham cracker crust topped with silky cream cheese filling and crowned with fresh, juicy strawberries. The best part? You can make this stunning dessert ahead of time, making it perfect for summer gatherings, potluck dinners, or whenever you need an impressive treat that won’t heat up your kitchen.
Trust us – once you discover how incredibly simple and delicious this no bake version is, you’ll wonder why you ever bothered with the oven in the first place. Let’s jump into this foolproof recipe that’s about to become your new favorite dessert.
Ingredients
We’ve organized these ingredients by component to make assembly seamless and efficient. Each layer builds upon the next to create our perfect no bake strawberry cheesecake.
For the Crust
- 1½ cups graham cracker crumbs (about 12 full crackers)
- ⅓ cup granulated sugar
- 6 tablespoons unsalted butter, melted
- ¼ teaspoon salt
For the Cheesecake Filling
- 24 ounces cream cheese, softened to room temperature
- 1 cup powdered sugar
- 1 teaspoon vanilla extract
- ¼ teaspoon salt
- 1½ cups heavy whipping cream, cold
- 2 tablespoons fresh lemon juice
For the Strawberry Topping
- 1 pound fresh strawberries, hulled and sliced
- 3 tablespoons granulated sugar
- 1 tablespoon cornstarch
- 2 tablespoons water
- 1 teaspoon fresh lemon juice
- Additional whole strawberries for garnish (optional)
Equipment Needed
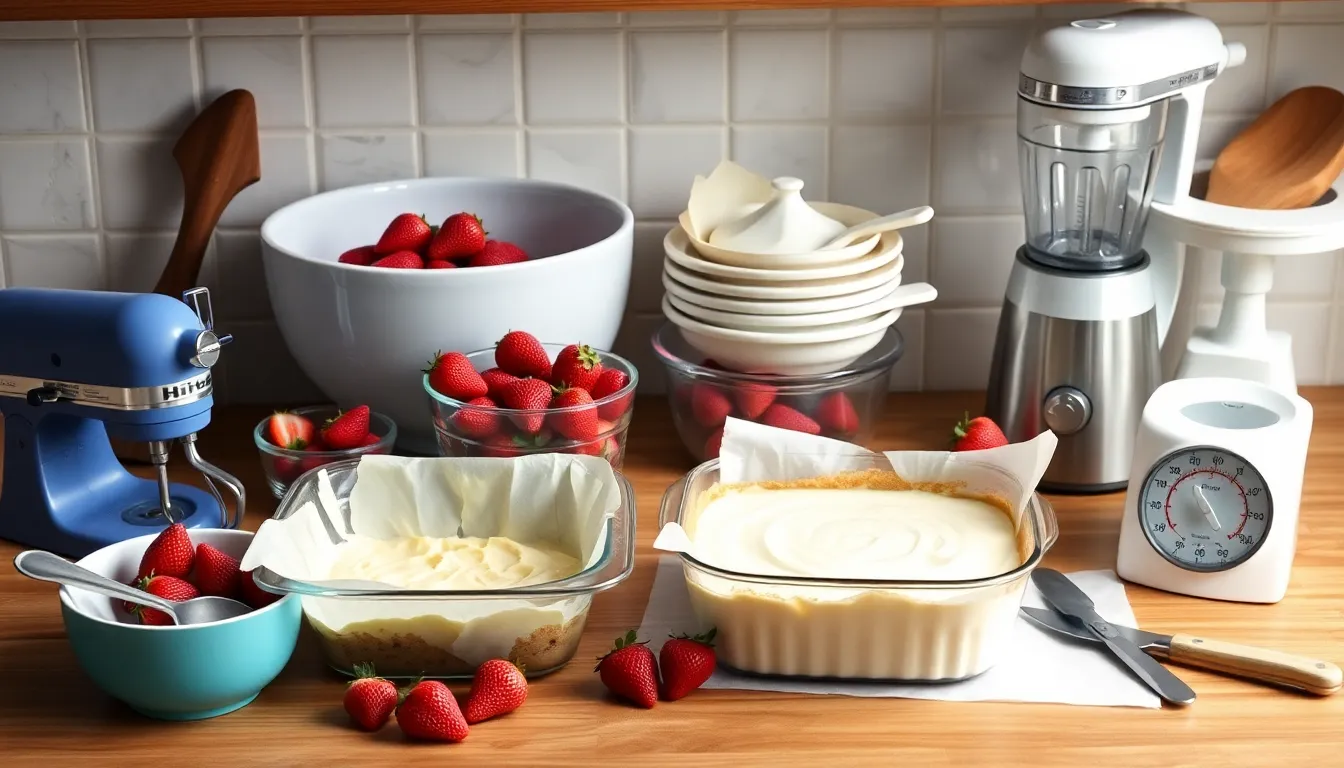
Making this delightful no bake strawberry cheesecake requires exact tools that ensure smooth preparation and professional results. We’ve organized the essential equipment to help you gather everything before starting your dessert masterpiece.
Mixing Bowls form the foundation of our preparation setup. You’ll need small, medium, and large bowls for combining crust ingredients and preparing the creamy filling components separately. Different sized bowls prevent overcrowding and allow proper mixing of each layer.
An 8-inch square baking dish serves as the perfect vessel for setting and chilling your cheesecake. This size provides ideal portion control while ensuring the layers set properly during the freezing process.
A blender or food processor becomes essential for achieving that signature smooth filling texture. We use this powerful tool to blend cream cheese, sugar, and fresh strawberries into a perfectly uniform mixture without any lumps.
Hand mixer or stand mixer handles the crucial task of whipping heavy cream to soft peaks. This equipment ensures our filling achieves the light, airy texture that makes each bite melt in your mouth.
A rubber or silicone spatula allows gentle folding of ingredients together and helps spread the filling evenly across the crust. The flexible nature of these tools prevents deflating the whipped cream while ensuring thorough incorporation.
Parchment paper or wax paper lines your pan for effortless removal after the chilling process. This simple step prevents sticking and creates clean, professional looking slices when serving.
A sharp knife cuts through the chilled cheesecake cleanly without dragging or tearing the delicate layers. Clean cuts between each slice maintain the dessert’s beautiful presentation.
Kitchen scale offers optional precision for ingredient measurement, particularly helpful when working with cream cheese and butter ratios. Accurate measurements contribute to consistent results every time you make this recipe.
Instructions
Now that we have our ingredients organized, let’s create this delicious no-bake strawberry cheesecake step by step. Each component builds upon the previous one to create the perfect dessert.
Prepare the Crust
We start by combining the graham cracker crumbs, granulated sugar, and salt in a large mixing bowl. Mix these dry ingredients thoroughly to ensure even distribution. Pour the melted butter over the crumb mixture and stir until all ingredients are well combined and the mixture holds together when pressed.
Press the mixture firmly into the bottom of our prepared 8-inch square baking dish. We want to create an even layer that extends slightly up the sides for a professional appearance. Use the bottom of a measuring cup or your hands to compress the crust evenly. Place the crust in the refrigerator while we prepare the filling.
Make the Cheesecake Filling
Beat the cream cheese in a large mixing bowl using our electric mixer until completely smooth and free of lumps. This step is crucial for achieving the silky texture we want in our finished cheesecake. Add the powdered sugar, vanilla extract, salt, and fresh lemon juice to the cream cheese and continue beating until the mixture is light and fluffy.
In a separate bowl, whip the heavy cream until stiff peaks form. We need to be careful not to overbeat the cream as it can quickly turn to butter. Gently fold the whipped cream into the cream cheese mixture using a rubber spatula. Use a folding motion rather than stirring to maintain the light and airy texture of our filling.
Assemble the Cheesecake
Remove our prepared crust from the refrigerator and pour the cheesecake filling over it. Spread the filling evenly using an offset spatula, making sure to reach all corners of our dish. Smooth the top surface for a professional finish.
Cover the cheesecake with plastic wrap, ensuring the wrap doesn’t touch the surface of the filling. Refrigerate for at least 6 to 8 hours or overnight to allow the cheesecake to set completely. The longer chilling time ensures our dessert will hold its shape when cut.
Prepare the Strawberry Topping
Hull and slice the fresh strawberries into small pieces, reserving some whole berries for garnish if desired. In a medium saucepan, combine the sliced strawberries with granulated sugar and let them sit for 5 minutes to release their natural juices.
Whisk the cornstarch with water and lemon juice in a small bowl until smooth. Add this mixture to the strawberries and cook over medium heat, stirring constantly until the mixture thickens and becomes glossy. This process takes about 5 to 7 minutes. Remove from heat and allow the topping to cool completely before using.
Final Assembly and Chilling
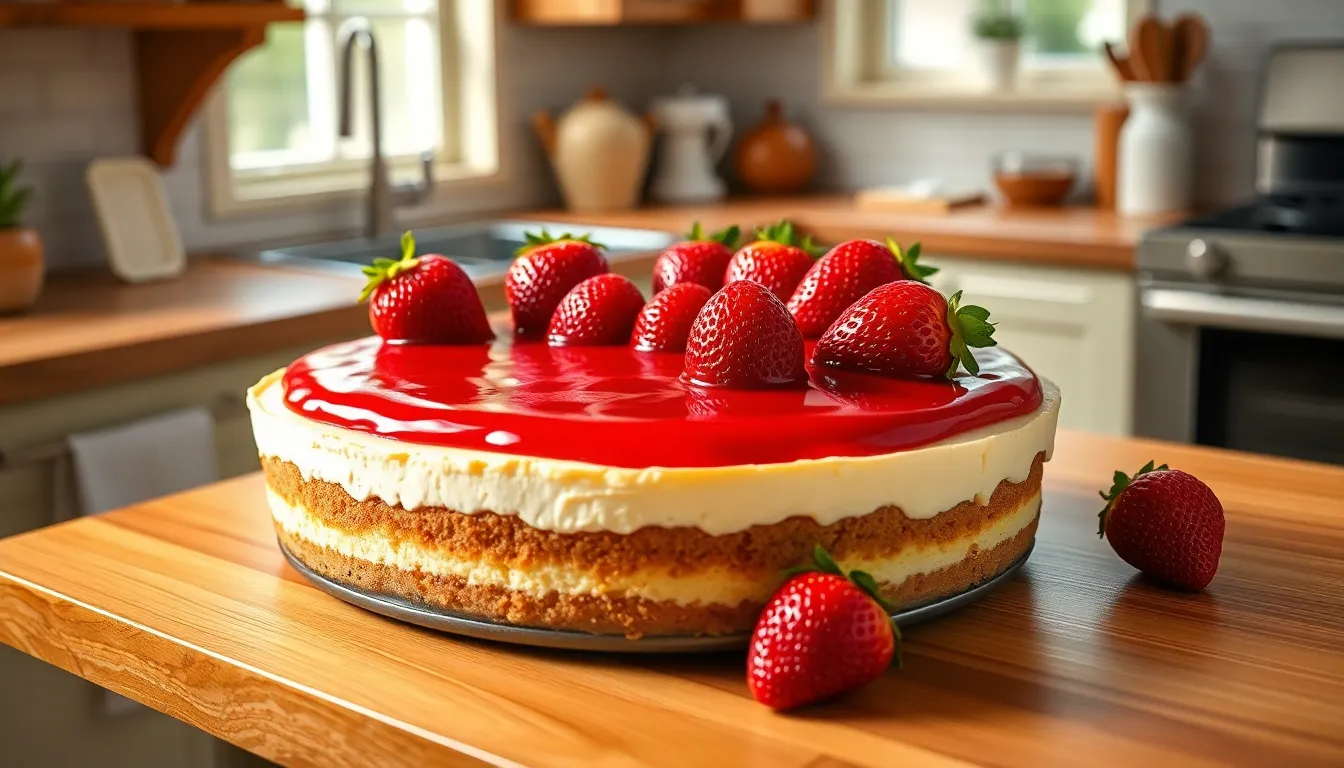
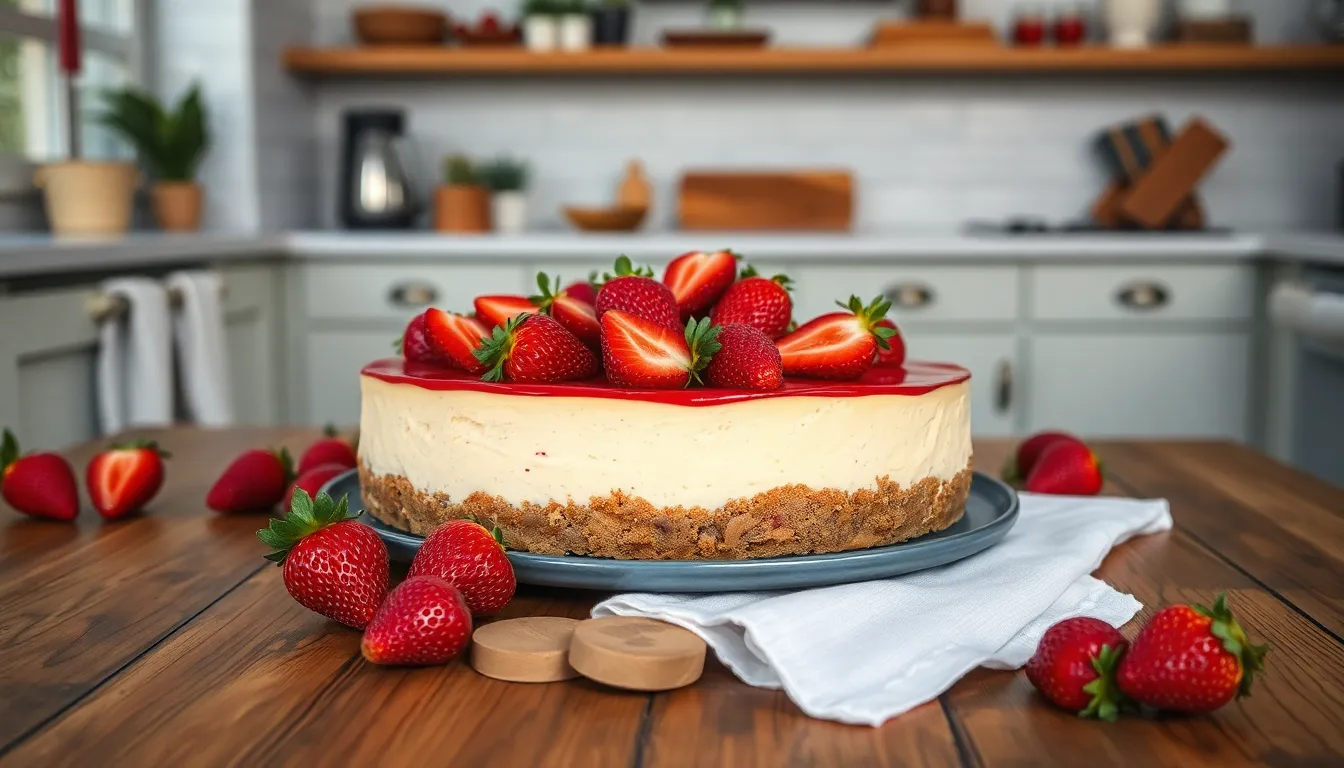
Once our cheesecake has set and our strawberry topping has cooled, we can complete our dessert. Spread the strawberry topping evenly over the surface of the chilled cheesecake, leaving a small border around the edges if desired.
Return the finished cheesecake to the refrigerator for an additional 30 minutes to allow the topping to set. Cut into squares using a sharp knife, wiping the blade clean between cuts for neat presentation. Garnish individual servings with reserved whole strawberries if using.
Make-Ahead Instructions
Our no-bake strawberry cheesecake becomes even more convenient when we prepare it ahead of time. This dessert actually benefits from advance preparation since the flavors meld beautifully and the texture improves with proper chilling time.
Storage Timeline:
| Storage Method | Duration | Notes |
|---|---|---|
| Refrigerator | 2-3 days | Optimal freshness period |
| Freezer | Several weeks | Long-term storage option |
| Room temperature | 10-15 minutes | Before serving only |
We recommend making this cheesecake at least 4 hours before serving, though overnight chilling produces the best results. The extended chilling time allows our cheesecake to achieve the perfect firm yet creamy consistency that makes each slice hold its shape beautifully.
Refrigerator Storage:
For short-term storage, we keep our assembled cheesecake covered in the refrigerator for up to 3 days. The cream cheese filling maintains its smooth texture while the graham cracker crust stays perfectly crisp during this timeframe.
Freezing Instructions:
When we need to prepare our cheesecake weeks in advance, freezing becomes our best option. After the cheesecake has fully set in the refrigerator, we wrap it tightly with plastic wrap or aluminum foil. Alternatively, we place the entire dish in an airtight container to prevent freezer burn and maintain optimal flavor.
Thawing Process:
We always thaw our frozen cheesecake in the refrigerator rather than at room temperature. This gradual thawing process preserves the creamy texture and prevents condensation from making our crust soggy.
Serving Preparation:
Before serving our chilled cheesecake, we let it sit at room temperature for 10 to 15 minutes. This brief warming period makes slicing much easier and brings out the full flavor profile of our strawberry cheesecake.
Fresh Strawberry Timing:
We avoid adding fresh strawberry pieces to our filling too early in the preparation process. Instead, we reserve chopped strawberries as a topping and add them just before serving to prevent excess moisture from affecting our cheesecake’s texture and appearance.
Storage Tips
Proper storage ensures our no-bake strawberry cheesecake maintains its perfect texture and delicious flavor for days to come. We recommend following these exact guidelines to maximize freshness and quality.
Refrigeration Storage
Our cheesecake stays fresh in the refrigerator for 3-5 days when stored properly. We suggest wrapping the cheesecake in a double layer of plastic wrap or placing it in an airtight container immediately after it has fully set. Toothpicks inserted into the surface help prevent plastic wrap from touching whipped cream toppings and damaging the smooth finish.
| Storage Method | Duration | Best For |
|---|---|---|
| Refrigerator (wrapped) | 3-5 days | Daily consumption |
| Freezer (properly wrapped) | Up to 3 months | Long-term storage |
Freezing for Extended Storage
Freezing extends our cheesecake’s life to 3 months without compromising quality. We remove the cheesecake from its springform pan first and wrap it tightly in plastic wrap. A layer of aluminum foil over the plastic wrap prevents freezer burn and maintains optimal texture.
We recommend freezing the cheesecake before adding final toppings like whipped cream and fresh strawberries. This approach preserves the decorative elements’ freshness and prevents them from becoming soggy during the freezing process.
Thawing Process
Thawing requires patience for the best results. We place frozen cheesecake in the refrigerator and allow it to defrost slowly overnight. Never use the freezer to speed up initial chilling as this affects the cheesecake’s creamy texture negatively.
Make Ahead Preparation
Planning ahead saves time during busy periods. We can prepare the crust up to 2 days in advance and store it covered in the refrigerator. The assembled cheesecake needs at least 6 hours of chilling time before serving or freezing. Overnight chilling produces the most stable texture and allows flavors to develop fully.
Room temperature sitting for 10-15 minutes before serving makes slicing easier and enhances the creamy mouthfeel we want to achieve.
Serving Suggestions
Our no bake strawberry cheesecake offers incredible versatility when it comes to presentation and serving options. We recommend chilling the dessert for 6-12 hours before serving to ensure the filling sets thoroughly and achieves the perfect creamy texture.
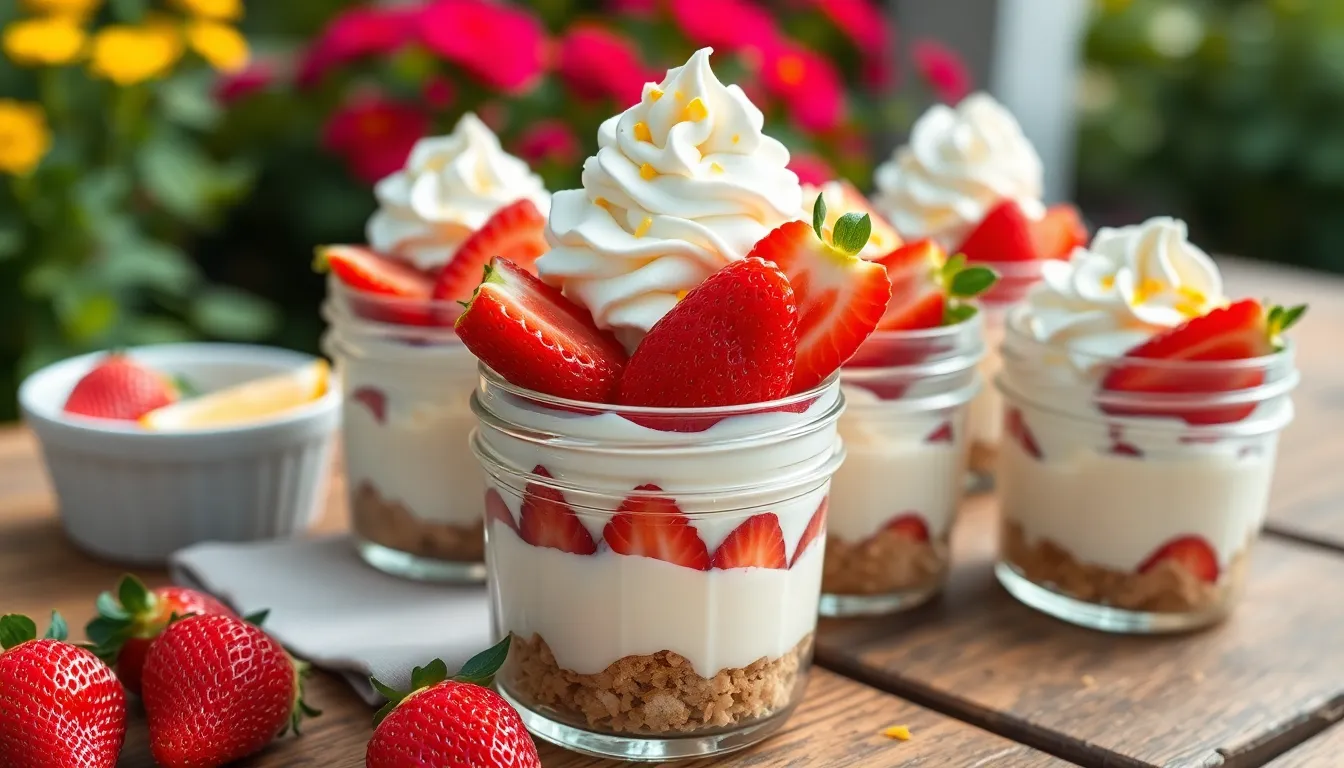
Individual portions create an elegant presentation that guests will love. We suggest serving the cheesecake in mason jars or parfait glasses for a charming rustic look that works beautifully for summer gatherings. Small ramekins or dessert cups also make excellent choices for portion control and sophisticated plating.
| Presentation Style | Ideal Occasions | Chilling Time |
|---|---|---|
| Whole pie | Family dinners, potlucks | 8-12 hours |
| Individual jars | BBQs, picnics | 6-8 hours |
| Cut bars | Casual gatherings | 6-10 hours |
| Parfait glasses | Dinner parties, Valentine’s Day | 6-8 hours |
Fresh strawberry slices make the most natural garnish for our cheesecake. We arrange them in overlapping patterns on top of each serving or fan them out decoratively along the edges. A dollop of additional whipped cream adds height and visual appeal to each plate.
Lemon zest provides a bright finishing touch that complements the sweet and tart flavors perfectly. We sprinkle it lightly over the surface just before serving to maintain its vibrant color and fresh aroma. Fresh mint leaves offer another attractive garnish option that adds a pop of green color.
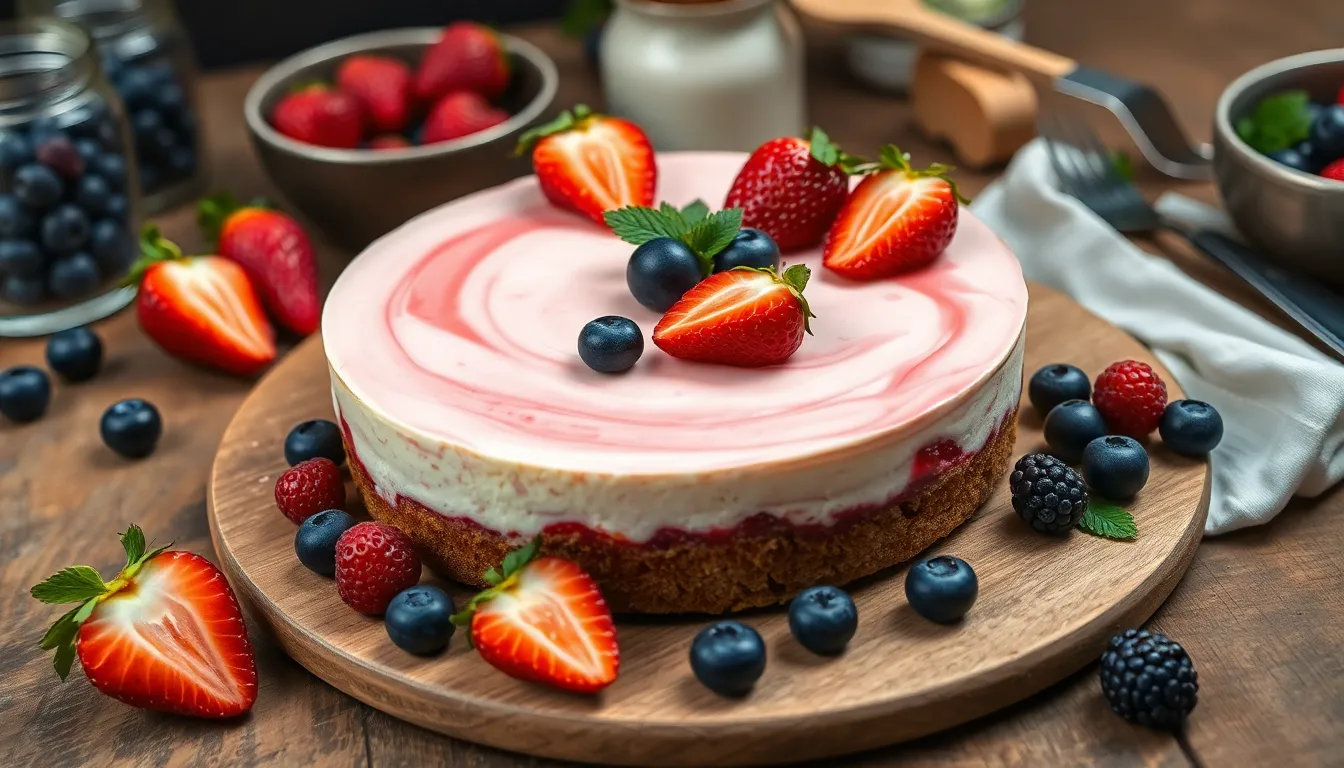
This dessert pairs exceptionally well with summer menus and outdoor entertaining. We find it works perfectly for BBQs where the no bake preparation keeps the kitchen cool. The bright pink color and refreshing flavor make it an ideal choice for Valentine’s Day celebrations and spring gatherings.
Temperature plays a crucial role in serving our cheesecake optimally. We recommend removing it from the refrigerator 10-15 minutes before serving to achieve the perfect creamy consistency. Store any leftovers in the refrigerator and avoid freezing as this can alter the texture significantly.
Recipe Variations
We love how adaptable this no-bake strawberry cheesecake recipe can be to suit different tastes and preferences. Our recipe serves as a foundation that welcomes creative modifications and seasonal adjustments.
Different Berry Toppings
Blueberries create a gorgeous purple-hued topping that pairs beautifully with the creamy base. Mix fresh blueberries with sugar and lemon juice using the same proportions as our strawberry version. Raspberries offer a tart complexity that balances the sweet cream cheese filling perfectly. Blackberries provide an elegant deep color and rich flavor profile that transforms the dessert into something truly special.
Frozen berries work exceptionally well when fresh options aren’t available or when you want to save money. Thaw frozen berries completely and drain excess liquid before mixing with sugar and cornstarch. We recommend frozen berries as an economical choice that maintains excellent flavor year-round. Mixed berry combinations create beautiful color contrasts and complex flavor layers that guests will remember.
Crust Alternatives
Golden Oreo crusts add a vanilla sweetness that complements berry toppings magnificently. Crush Golden Oreos with melted butter using the same method as our graham cracker version. Chocolate cookie crusts using regular Oreos create a rich foundation that pairs especially well with strawberry toppings. The chocolate flavor adds depth without overwhelming the delicate cheesecake filling.
Pecan crusts offer a nutty sophistication that elevates the entire dessert experience. Grind pecans with sugar and a touch of cinnamon for warmth. Press this mixture into your pan with melted butter for binding. Shortbread cookie crusts provide buttery richness that melts beautifully with each bite. Vanilla wafer crusts create a lighter base that allows berry flavors to shine through prominently.
Troubleshooting Tips
Even the most careful preparation can sometimes lead to unexpected results with no bake strawberry cheesecake. We’ve compiled the most common issues and their answers to help you achieve perfect results every time.
Cheesecake Won’t Set Properly
The most frustrating problem occurs when your cheesecake remains too soft or refuses to firm up after hours of chilling. Cold ingredients serve as the foundation for proper setting. Cream cheese and heavy cream must be thoroughly chilled before mixing since warm ingredients prevent the filling from achieving the necessary structure.
We recommend chilling all ingredients for at least 2 hours before starting your recipe. The assembled cheesecake requires 6-8 hours of refrigeration time, though overnight chilling produces the best results. Rushing this process almost always leads to disappointment.
Incorrect ratios between cream cheese and whipped cream create another common setting issue. Full-fat, high-quality cream cheese provides the structural foundation your dessert needs. Double-check your recipe measurements and ensure you whip the heavy cream to stiff peaks before folding it into the cream cheese mixture.
Filling Turns Out Soupy or Runny
Room temperature ingredients often create a soupy consistency that never properly firms up. Sugar dissolves too quickly when mixed with warm ingredients, preventing the filling from stabilizing correctly.
Our foolproof method involves chilling your mixing bowl and beaters in the freezer for 15 minutes before whipping cream. Work quickly when combining ingredients and avoid overmixing once you add the whipped cream to maintain the air structure that helps the filling set.
Weak Strawberry Flavor
Insufficient strawberries or excessive liquid content dilutes the vibrant strawberry taste you’re seeking. Fresh, ripe strawberries provide the most intense flavor when pureed before mixing into your filling or topping.
We suggest using at least 1 pound of fresh strawberries for a standard 9-inch cheesecake. Reduce any added water or juice in your strawberry mixture to concentrate the flavor rather than diluting it.
Crumbling Crust Issues
An inadequate butter-to-crumb ratio causes crust problems that affect your entire dessert. The crust needs sufficient binding agent to hold together under the weight of the filling.
| Crust Component | Recommended Ratio | Purpose |
|---|---|---|
| Graham cracker crumbs | 1.5 cups | Base structure |
| Melted butter | 6 tablespoons | Binding agent |
| Sugar | 2-3 tablespoons | Sweetness and binding |
Press your crust mixture firmly into the pan using the bottom of a measuring cup. Chill the crust for at least 30 minutes before adding your filling to ensure it sets properly.
Quick Fixes for Common Problems
Temperature control remains the most critical factor in successful no bake cheesecake preparation. Keep ingredients cold throughout the process and allow adequate chilling time for the finished dessert.
Storage techniques also impact your final results. Wrap your cheesecake tightly in plastic wrap for refrigerator storage or add aluminum foil for freezer storage up to 3 months. Use a sharp, warm knife dipped in water between cuts to achieve clean slices without dragging the filling.
These troubleshooting answers address the most frequent challenges we encounter when making no bake strawberry cheesecake. Following these guidelines ensures your dessert sets properly and delivers the creamy, flavorful results you expect.
Conclusion
We’ve shown you how simple it can be to create a stunning no-bake strawberry cheesecake that rivals any bakery version. This recipe proves that you don’t need complicated techniques or special equipment to make an impressive dessert that’ll have everyone asking for seconds.
The beauty of this cheesecake lies in its flexibility and convenience. Whether you’re hosting a last-minute gathering or planning ahead for a special occasion this dessert adapts to your schedule perfectly. The combination of creamy filling tangy strawberries and buttery crust creates a harmony of flavors that captures the essence of summer.
With our troubleshooting tips and storage guidelines you’re equipped to handle any challenges that might arise. Remember that practice makes perfect and each time you make this cheesecake you’ll discover new ways to customize it to your taste preferences.
Frequently Asked Questions
How long does no-bake strawberry cheesecake need to chill?
The cheesecake should chill for at least 4 hours, but overnight chilling (6-12 hours) yields the best results. This allows the filling to set properly and the flavors to meld together. For optimal texture and easier slicing, let it sit at room temperature for 10-15 minutes before serving.
Can I make no-bake strawberry cheesecake ahead of time?
Yes, this cheesecake is perfect for advance preparation. You can make it 3-5 days ahead and store it in the refrigerator, or freeze it for up to 3 months. The flavors actually improve over time. Add fresh strawberry garnishes just before serving to prevent excess moisture.
Why is my no-bake cheesecake filling soupy?
A soupy filling usually results from warm ingredients or incorrect ratios. Ensure your cream cheese is at room temperature but not warm, and your whipped cream is properly chilled. Use the correct ratio of cream cheese to whipped cream, and fold ingredients gently to maintain the structure.
What can I substitute for graham crackers in the crust?
You can use Golden Oreos, chocolate cookies, pecans, or shortbread cookies as crust alternatives. Simply crush them to fine crumbs and follow the same mixing process with butter and sugar. Each option creates a unique flavor profile while maintaining the same texture.
How do I prevent my cheesecake crust from crumbling?
Press the crust mixture firmly and evenly into the pan using the bottom of a measuring cup or your hands. Ensure the butter is properly melted and mixed throughout the crumbs. Chilling the crust for 30 minutes before adding the filling also helps it hold together better.
Can I use frozen strawberries for the topping?
Yes, frozen strawberries work well for the cooked topping. Thaw them completely and drain excess liquid before cooking with sugar and cornstarch. However, use fresh strawberries for garnishing to maintain the best texture and appearance.
How long can I store leftover no-bake strawberry cheesecake?
Store covered in the refrigerator for 3-5 days for optimal freshness. For longer storage, wrap tightly in plastic wrap and aluminum foil, then freeze for up to 3 months. Avoid refreezing previously frozen cheesecake to maintain quality and texture.
What’s the best way to cut clean slices of cheesecake?
Use a sharp knife dipped in warm water and wiped clean between each cut. Let the cheesecake sit at room temperature for 10-15 minutes before slicing. This softens the filling slightly, making it easier to cut without cracking or sticking to the knife.

