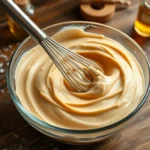
We’ve all experienced that moment when we’re craving something sweet and can’t decide between ice cream or Nutella. Well, we’re here to tell you that you don’t have to choose anymore! This homemade Nutella ice cream combines the best of both worlds into one irresistible frozen treat that’ll have your taste buds dancing.
Making ice cream at home might seem intimidating, but we’ve perfected a foolproof recipe that requires just a few simple ingredients and delivers restaurant-quality results. The rich chocolate-hazelnut flavor of Nutella transforms ordinary ice cream into something extraordinary – creamy, indulgent, and absolutely addictive.
Whether you’re planning a summer barbecue, looking for the perfect dessert to impress guests, or simply want to treat yourself to something special, this Nutella ice cream recipe is your answer. We guarantee it’ll become your new go-to frozen dessert that’s so much better than anything you can buy at the store.
Ingredients
We’ve carefully selected premium ingredients that create the perfect balance of creamy texture and rich Nutella flavor. These simple pantry staples transform into an extraordinary frozen dessert that rivals any premium ice cream shop.
For the Ice Cream Base
- 2 cups heavy cream
- 1 cup whole milk
- 3/4 cup granulated sugar
- 6 large egg yolks
- 1 teaspoon vanilla extract
- 1/4 teaspoon salt
- 1/2 cup Nutella spread
For the Nutella Swirl
- 1/2 cup Nutella spread
- 2 tablespoons heavy cream
- 1 tablespoon corn syrup
- 1/4 cup toasted hazelnuts, roughly chopped (optional)
Equipment Needed
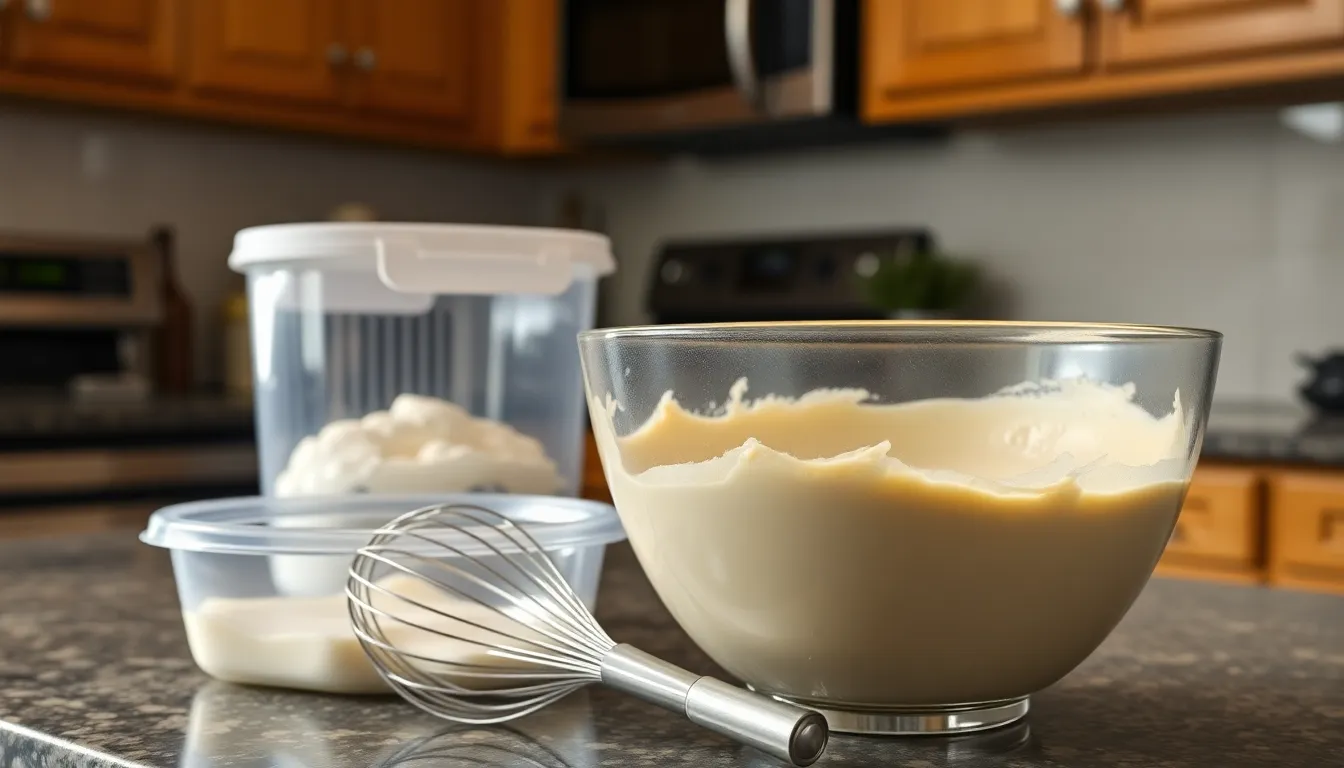
Creating our homemade Nutella ice cream requires different equipment depending on your preferred method. We’ll outline the essential tools for each approach to help you choose the best option for your kitchen setup.
No Machine Version
The simplest method requires minimal equipment that most home cooks already have on hand. We need a large mixing bowl for combining ingredients and a whisk for achieving smooth consistency. A freezer-safe container with a tight-fitting lid stores our finished ice cream during the freezing process.
Electric Mixer Version
This method elevates our preparation with better texture control using standard kitchen appliances. We require an electric mixer (either hand-held or stand mixer) to whip the cream to perfect peaks. A large mixing bowl accommodates the whipping process while a freezer-safe container holds our completed dessert.
Ice Cream Maker Version
Professional results come from using dedicated ice cream equipment that churns while freezing. Popular models like Cuisinart or KitchenAid ice cream makers deliver superior texture through continuous mixing. We must pre-freeze the canister according to manufacturer instructions (typically 24 hours) before churning begins. A freezer-safe container stores the churned ice cream for final firming.
| Method | Primary Equipment | Additional Tools | Prep Time |
|---|---|---|---|
| No Machine | Mixing bowl, whisk | Freezer container | 5 minutes |
| Electric Mixer | Electric mixer | Large bowl, container | 10 minutes |
| Ice Cream Maker | Ice cream maker | Freezer container | 15 minutes active |
Each method produces delicious results with varying levels of convenience and texture refinement. Choose the approach that best fits your available equipment and desired outcome.
Instructions
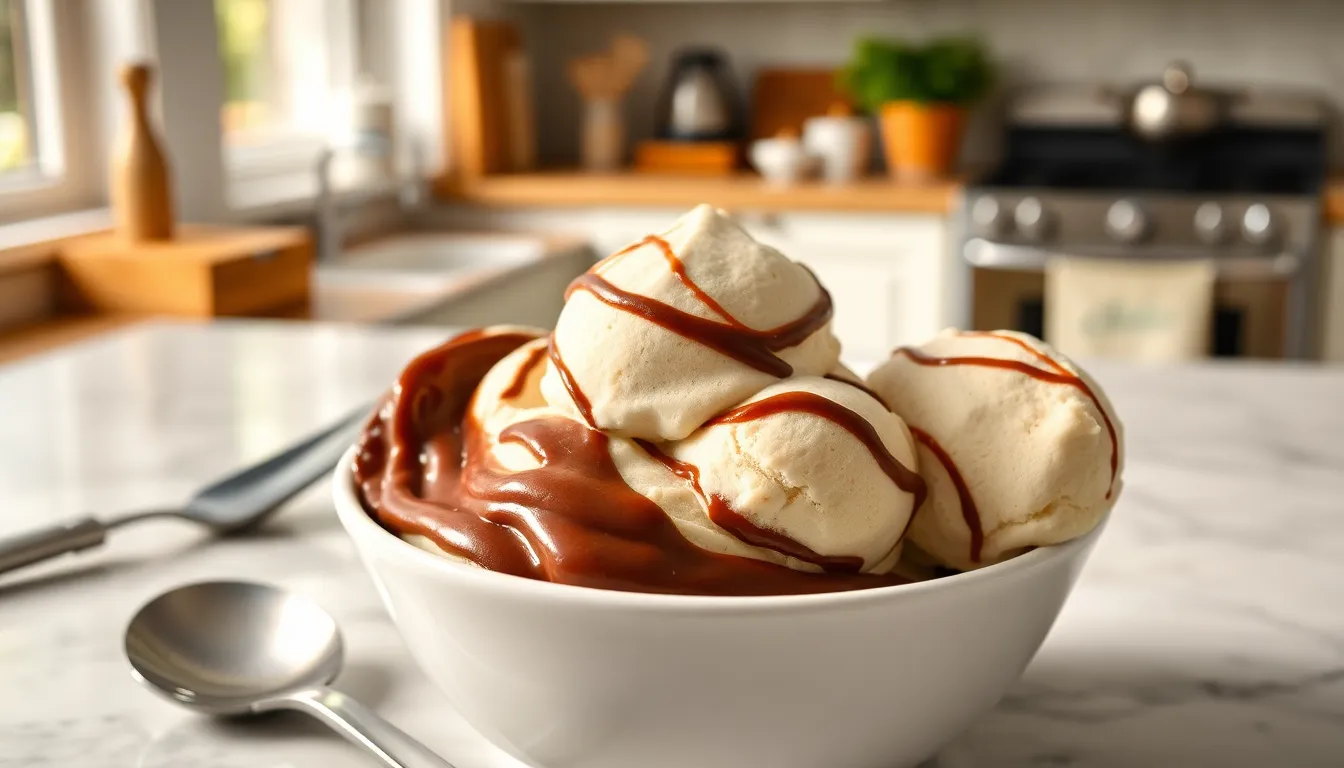
We’ll guide you through each step to create this decadent frozen treat using simple techniques that deliver professional results. Our method works whether you’re using an ice cream maker or making it by hand.
Prep the Ice Cream Base
We start by combining 2 cups heavy cream, 1 cup whole milk, ¾ cup granulated sugar, 4 large egg yolks, 1 teaspoon vanilla extract, and ¼ teaspoon salt in a large mixing bowl. Whisk these ingredients vigorously until the mixture becomes smooth and the sugar completely dissolves. Add ½ cup Nutella spread to the bowl and blend everything together using an immersion blender or regular blender until the mixture appears completely uniform without any streaks. The base should have a rich chocolate color and creamy consistency at this stage.
Chill the Mixture
We transfer our prepared ice cream base to a clean bowl and cover it tightly with plastic wrap. Place the mixture in the refrigerator for at least 1 hour to ensure it reaches the proper temperature for churning. For best results we recommend chilling the mixture overnight as this extended cooling time allows the flavors to meld together beautifully. The thoroughly chilled base will create a smoother texture and more consistent final product.
Churn the Ice Cream
We pour our chilled mixture into the ice cream maker and churn according to the manufacturer’s instructions for approximately 20 minutes. The ice cream is ready when it reaches a thick and creamy consistency similar to soft serve. For those without an ice cream maker we whip 2 cups heavy cream to stiff peaks in a separate bowl then gently fold in our prepared Nutella mixture until just combined. This no-churn method requires more careful folding to maintain the airy texture.
Add the Nutella Swirl
We create an extra layer of indulgence by warming 3 tablespoons of additional Nutella in the microwave for 15-20 seconds until it becomes easily spreadable. Using a spoon we gently swirl this warmed Nutella through our churned ice cream creating beautiful marbled patterns. Alternatively we can layer the warmed Nutella between scoops of ice cream in our storage container for distinct ribbons of chocolate hazelnut goodness throughout each serving.
Freeze Until Set
We transfer our swirled ice cream to a freezer-safe container and smooth the top surface with a spatula for even freezing. Cover the container tightly with a lid or plastic wrap pressed directly onto the surface to prevent ice crystals from forming. Our homemade Nutella ice cream needs at least 4 hours in the freezer to reach the perfect scoopable consistency though overnight freezing produces the ideal firm texture. The ice cream will keep fresh in the freezer for up to 2 weeks when properly stored.
Storage Tips
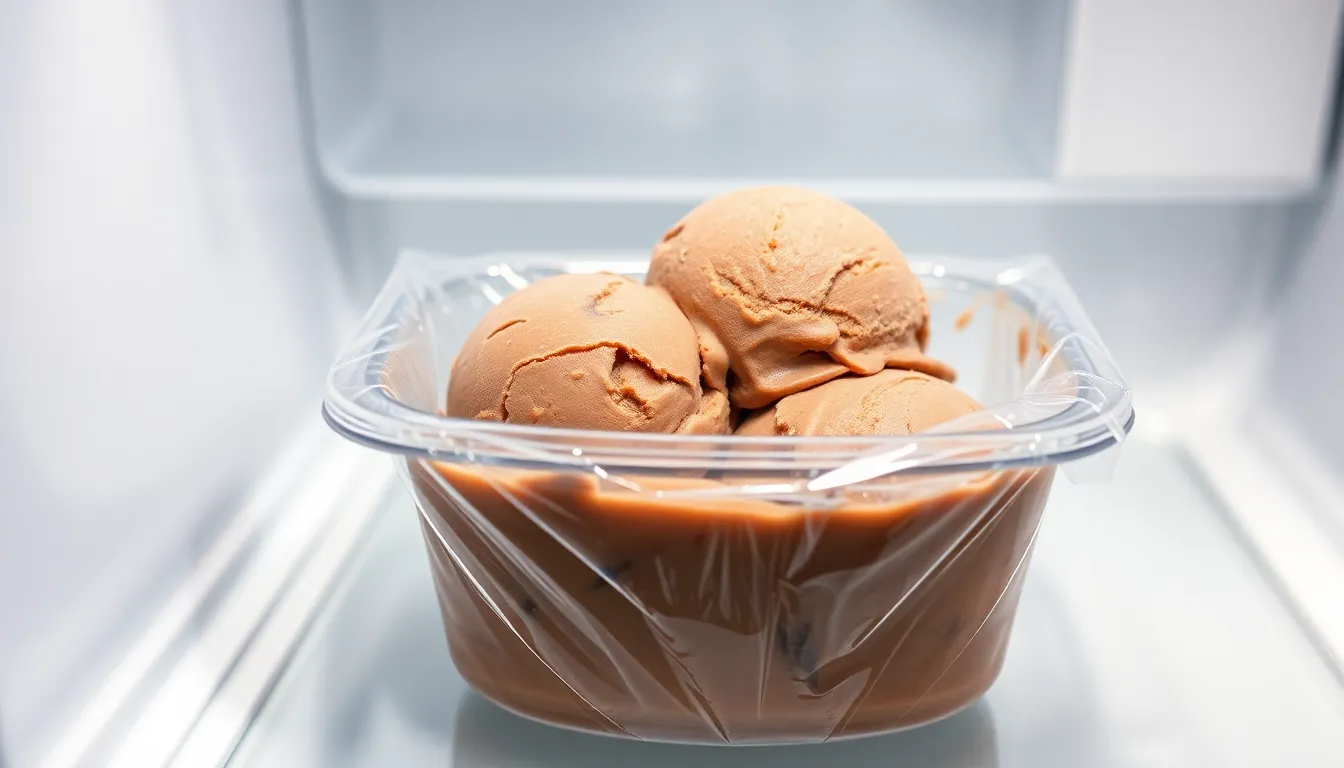
We recommend transferring your freshly made Nutella ice cream to an airtight, freezer-safe container immediately after churning or mixing. This crucial step minimizes air exposure and prevents ice crystals from forming while protecting against freezer burn.
Create a Protective Barrier
Place a piece of plastic wrap or wax paper directly on the surface of your ice cream before sealing the container. We find this extra barrier helps maintain the creamy texture and rich Nutella flavor we worked so hard to create.
Freeze Quickly for Best Results
Move your sealed container to the coldest part of your freezer as quickly as possible. Rapid freezing ensures smooth consistency and reduces large ice crystal formation that can affect the final texture.
Maintain Consistent Temperature
Keep your Nutella ice cream consistently frozen throughout its storage period. We strongly advise against repeated thawing and freezing cycles as these temperature fluctuations can degrade both quality and texture significantly.
Add Extra Protection
Consider placing your pint container inside a resealable plastic freezer bag for added insulation. This double-layer protection helps keep the ice cream soft even after extended freezing periods and makes scooping much easier.
Storage Duration Guidelines
| Storage Method | Maximum Duration |
|---|---|
| Properly sealed homemade Nutella ice cream | Up to 3 weeks |
| With plastic wrap barrier | Optimal freshness maintained |
| Double-bagged protection | Extended softness for scooping |
Quality Monitoring
We recommend checking your stored ice cream regularly for signs of spoilage such as off-flavors or excessive ice crystal formation. Should you notice any decline in quality, discard the ice cream to ensure food safety.
Following these storage techniques ensures your homemade Nutella ice cream remains as delicious as the day you made it, ready to serve whenever cravings strike.
Serving Suggestions
Our homemade Nutella ice cream transforms into countless delightful presentations that elevate any dining experience. We love creating ice cream sandwiches by scooping generous portions between freshly baked peanut butter cookies or rich brown butter chocolate chip cookies for an irresistible handheld treat.
Brioche buns offer an unexpectedly elegant serving method that we frequently recommend to guests. The buttery softness of the brioche creates a perfect contrast to the cold creamy ice cream while adding a sophisticated touch to casual gatherings.
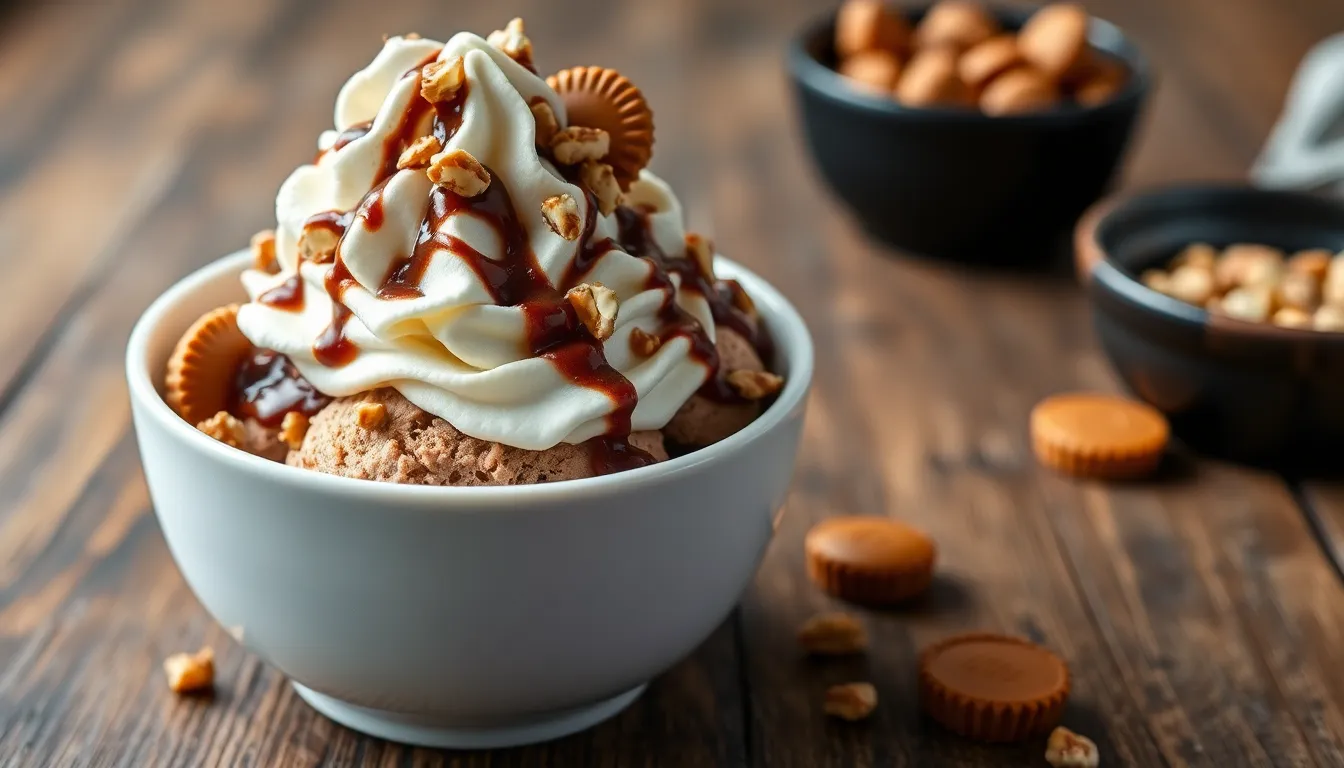
Sundae style presentations showcase the ice cream’s versatility beautifully. We top scoops with fluffy whipped cream and drizzle warm chocolate sauce generously over the surface. Chopped nuts add delightful texture while mini peanut butter cups provide bursts of complementary flavor that enhance the Nutella base.
| Serving Style | Prep Time | Best For |
|---|---|---|
| Ice Cream Sandwiches | 5 minutes | Casual gatherings |
| Brioche Buns | 3 minutes | Elegant presentation |
| Sundae Style | 10 minutes | Special occasions |
Mix ins transform our basic recipe into customized creations that suit different preferences. We fold in chopped pecans or macadamia nuts during the final churning minutes for added crunch and richness. Caramel sauce swirls create beautiful marbled patterns while adding sweet complexity to each bite.
Temperature matters significantly when serving this frozen dessert. We recommend removing the ice cream from the freezer 5 to 10 minutes before scooping to achieve the perfect consistency. This brief softening period ensures smooth serving while maintaining the creamy texture we worked hard to create.
Make-Ahead Instructions
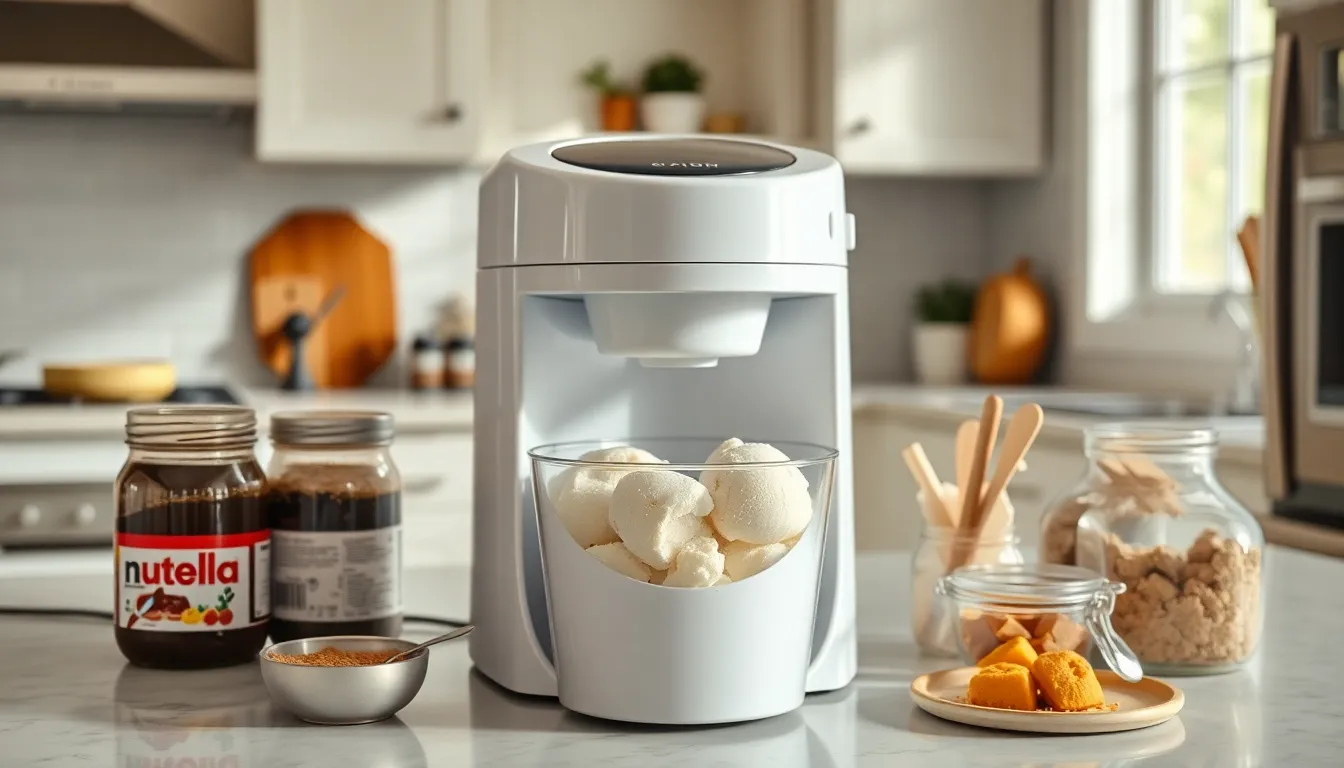
Planning ahead transforms our Nutella ice cream preparation into a seamless experience. We recommend starting the make-ahead process at least 24 hours before we plan to serve this delicious dessert.
Freezer Bowl Preparation
Our ice cream machine’s freezer bowl requires proper preparation for optimal results. We must place the bowl in our freezer for a minimum of 18 to 24 hours before churning begins. This extended freezing time ensures the bowl reaches the necessary temperature to properly freeze our ice cream mixture during the churning process.
Base Chilling Requirements
The ice cream base benefits significantly from advance preparation and proper chilling. We should prepare our Nutella ice cream base and refrigerate it for at least 1 to 2 hours before churning or freezing. Overnight chilling produces even better results as it allows flavors to meld completely and creates a smoother final texture.
Storage Timeline Planning
| Storage Method | Duration | Container Type |
|---|---|---|
| Freezer storage | Up to 3 weeks | Airtight freezer-safe container |
| Optimal quality | First 2 weeks | Double-wrapped containers |
| Room temperature rest | 5-10 minutes | Before scooping |
Our finished Nutella ice cream stores exceptionally well when we follow proper freezing techniques. We can prepare batches up to 3 weeks in advance and store them in tightly covered freezer-safe containers. This advance preparation prevents ice crystal formation and maintains the creamy texture we desire.
Serving Preparation
Temperature management plays a crucial role in serving our make-ahead ice cream. We allow the frozen ice cream to rest at room temperature for several minutes before scooping to achieve the perfect consistency. This brief tempering period ensures smooth scooping and optimal flavor release when served.
Variations and Substitutions
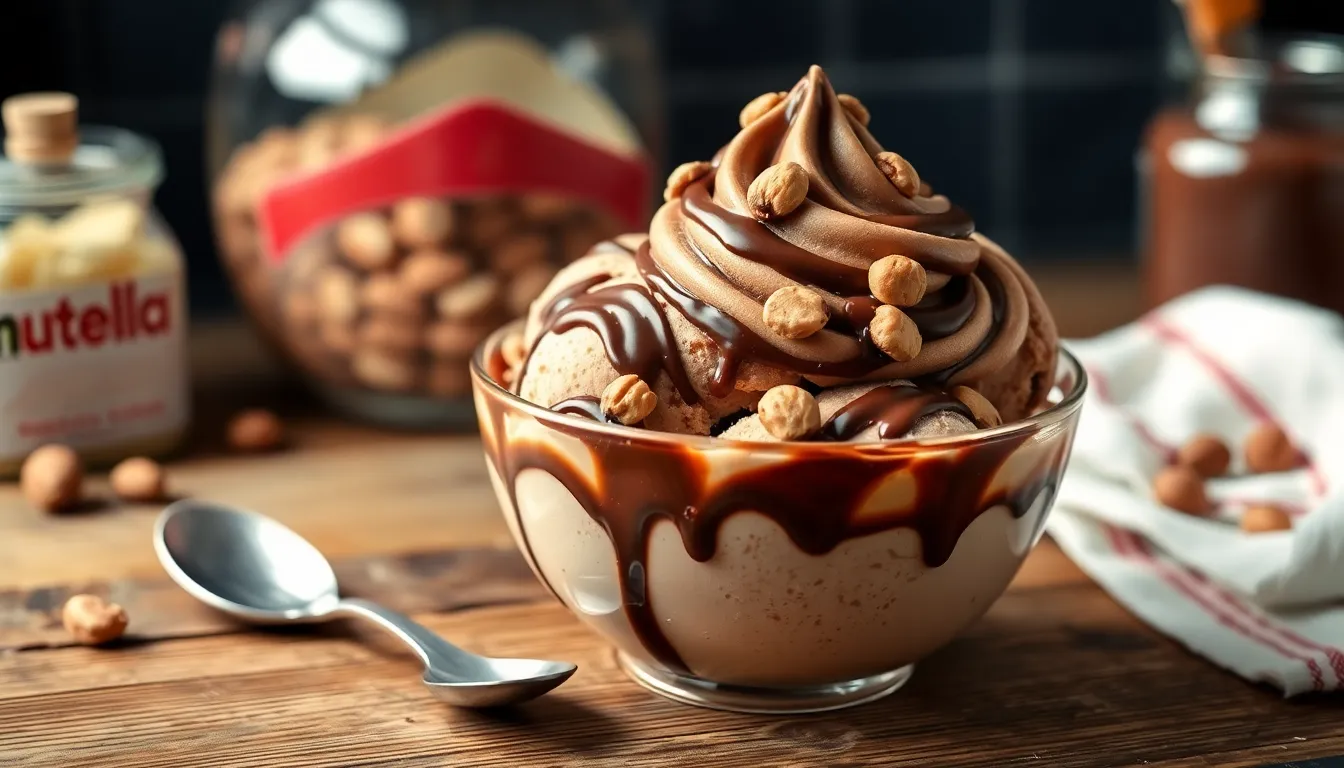
We love experimenting with different versions of our Nutella ice cream to suit various dietary needs and flavor preferences. These variations allow everyone to enjoy this creamy treat while maintaining the same delicious results.
Dairy-Free Version
Creating a dairy-free version requires thoughtful ingredient substitutions that preserve the rich texture and flavor we desire. We replace heavy cream with full-fat coconut cream or a high-quality plant-based alternative that provides similar richness. The sweetened condensed milk transforms into coconut cream condensed milk or a non-dairy sweetened condensed milk version available at most grocery stores.
For the Nutella component, we substitute with dairy-free chocolate hazelnut spread or create our own using cocoa powder, hazelnut butter, and our preferred sweetener. We combine these ingredients following the same no-churn or mixer methods outlined in our standard recipe. The resulting ice cream maintains the creamy consistency and indulgent flavor that makes this dessert so appealing.
Extra Chocolatey Version
Chocolate lovers can amplify the cocoa intensity by increasing the Nutella quantity to 1 cup or more according to taste preferences. We enhance the chocolate depth further by incorporating 1/4 cup unsweetened cocoa powder directly into the base mixture. This addition creates layers of chocolate flavor that complement the hazelnut notes beautifully.
During the freezing process, we layer in melted dark chocolate for extra richness and visual appeal. The melted chocolate creates beautiful swirls throughout the ice cream while adding bursts of intense chocolate flavor. This variation delivers a more decadent experience that satisfies the most serious chocolate cravings.
Hazelnut Crunch Addition
We fold chopped toasted hazelnuts into the mixture just before transferring it to the freezer for optimal texture distribution. Toasting the hazelnuts beforehand enhances their nutty flavor and provides a delightful contrast to the smooth ice cream base. The nuts should be cooled completely before folding them in to prevent melting the ice cream mixture.
For additional hazelnut intensity, we swirl in hazelnut butter or drizzle melted chocolate on top before serving. These additions create textural variety and reinforce the hazelnut theme throughout each serving. The combination of smooth ice cream and crunchy nuts delivers a sophisticated dessert experience that rivals premium ice cream shops.
| Variation Type | Key Ingredient Adjustments |
|---|---|
| Dairy-Free | Coconut cream, plant-based condensed milk, dairy-free Nutella |
| Extra Chocolatey | Increased Nutella (1 cup), cocoa powder (1/4 cup), melted chocolate |
| Hazelnut Crunch | Toasted hazelnuts, hazelnut butter swirl |
Troubleshooting Tips
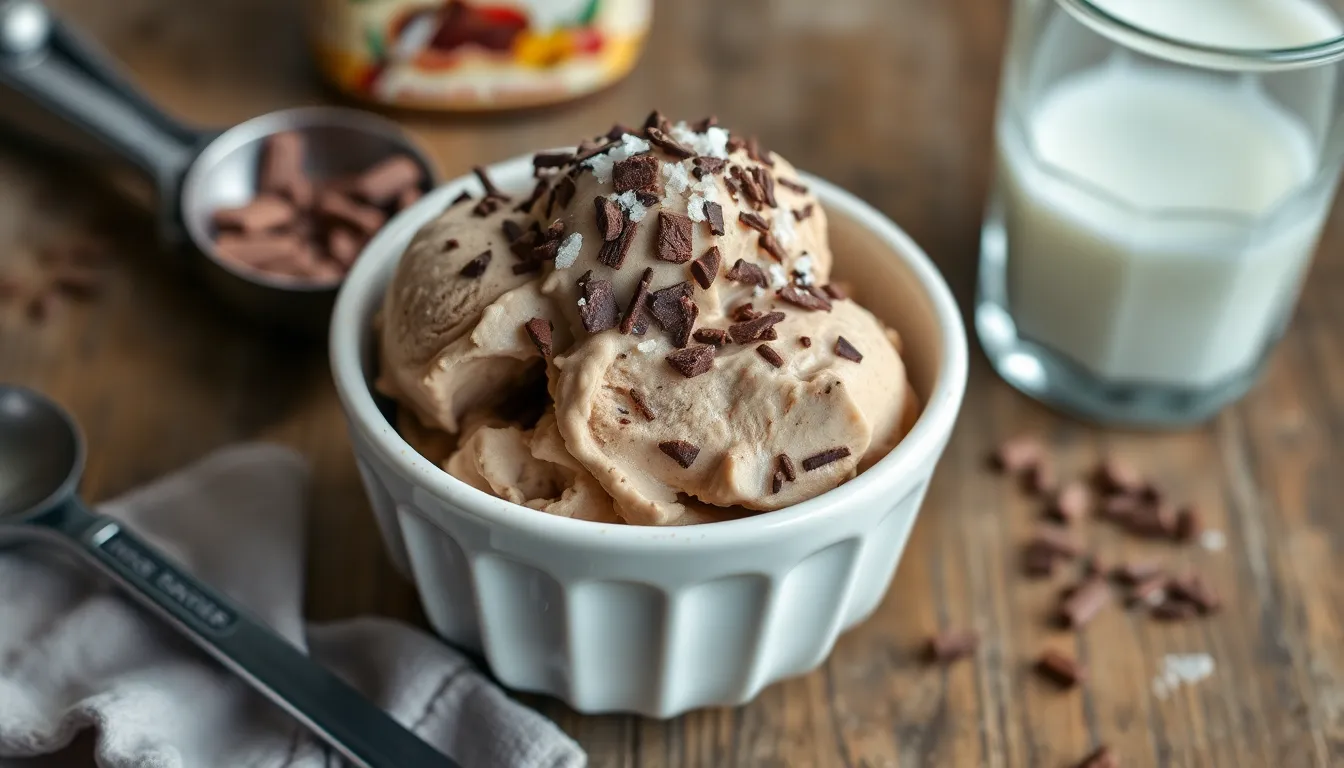
Even experienced home cooks can encounter challenges when making Nutella ice cream. We’ve compiled answers to the most common issues that may arise during your ice cream making journey.
Texture Problems
Dense and Hard Ice Cream
Our Nutella ice cream can become surprisingly dense and difficult to scoop straight from the freezer. We recommend whipping your heavy cream before mixing it into the base to incorporate more air and create a lighter texture. Adding a tablespoon of vodka or another neutral alcohol helps lower the freezing point and keeps the ice cream softer.
Crumbly Consistency
When your ice cream crumbles instead of scooping smoothly, overchurning is usually the culprit. We suggest reducing your churning time by 5 to 10 minutes and ensuring your sugar content is adequate. The sugar acts as an antifreeze agent that maintains proper texture.
| Issue | Cause | Solution |
|---|---|---|
| Dense texture | Insufficient aeration | Whip cream before mixing |
| Hard scooping | High freezing point | Add 1 tbsp vodka |
| Crumbly texture | Overchurning | Reduce churn time by 5-10 minutes |
| Sandy texture | Lactose crystallization | Reduce milk powder content |
Sandy or Gritty Texture
A sandy texture typically results from lactose crystallization when using too much skimmed milk powder. We advise reducing or eliminating milk powder from your recipe if you notice this issue. Focus on using whole milk and heavy cream for the smoothest results.
Flavor Balance Issues
Overly Sweet Ice Cream
Nutella’s natural sweetness can sometimes overwhelm the final product. We suggest reducing the Nutella quantity by one third and adding unsweetened cocoa powder to maintain the chocolate flavor without excessive sweetness. Balancing with a pinch of sea salt also helps cut through the sweetness.
Lack of Nutella Flavor
If your ice cream tastes too mild, we recommend warming your Nutella slightly before incorporating it into the base. This technique helps distribute the flavor more evenly throughout the mixture. Adding an extra quarter cup of Nutella typically intensifies the flavor without compromising texture.
Churning and Preparation Issues
Poor Aeration Without Machine
Creating creamy ice cream without a machine requires extra attention to air incorporation. We suggest whipping your heavy cream to soft peaks before folding it into your chilled base. This manual aeration helps replicate the texture achieved by machine churning.
Inefficient Churning
Your ice cream maker works best when both the bowl and mixture are properly chilled. We recommend freezing your bowl for at least 18 hours and chilling your ice cream base for a minimum of 4 hours before churning. Room temperature ingredients result in poor texture and extended churning times.
Mixture Not Thickening
When your ice cream base fails to thicken during churning, temperature is usually the issue. We suggest checking that your freezer bowl is completely frozen by listening for the liquid sloshing inside. No sound indicates proper freezing. Also, ensure your mixture is thoroughly chilled before beginning the churning process.
Conclusion
We’ve shared everything you need to create this indulgent frozen treat that’ll transform your dessert game. With simple ingredients and our detailed guidance you’re equipped to make restaurant-quality Nutella ice cream right in your kitchen.
Whether you choose the no-churn method or invest in an ice cream maker the results will exceed your expectations. The rich chocolate-hazelnut flavor combined with that perfectly creamy texture makes this recipe a standout winner.
Your family and friends will be amazed by this homemade creation and you’ll find yourself making it again and again. There’s something truly satisfying about crafting this premium dessert from scratch knowing exactly what goes into every delicious scoop.
Frequently Asked Questions
What ingredients do I need to make homemade Nutella ice cream?
You’ll need heavy cream, whole milk, granulated sugar, egg yolks, vanilla extract, salt, and Nutella spread for the base. For an optional Nutella swirl, gather extra Nutella, heavy cream, corn syrup, and toasted hazelnuts. These simple pantry staples create a rich, creamy texture with authentic chocolate-hazelnut flavor that rivals premium ice cream shops.
Do I need an ice cream maker to make this recipe?
No, an ice cream maker isn’t required. The article provides three methods: a no-machine version using just a mixing bowl and whisk, an electric mixer method for better texture control, and an ice cream maker option for professional results. Choose the method that best fits your kitchen setup and desired outcome.
How long does the ice cream base need to chill before churning?
The ice cream base should be chilled for at least 1 hour, but preferably overnight. This extended chilling time enhances both flavor development and texture, resulting in a smoother, more flavorful final product. Proper chilling is essential for achieving restaurant-quality results at home.
How should I store homemade Nutella ice cream?
Transfer the ice cream to an airtight, freezer-safe container immediately after churning. Place plastic wrap or wax paper directly on the surface before sealing to prevent ice crystals. Store in the coldest part of your freezer and maintain consistent temperatures. Properly stored ice cream lasts up to three weeks, with optimal quality in the first two weeks.
How long should I let the ice cream sit before scooping?
Remove the ice cream from the freezer 5 to 10 minutes before serving to achieve the perfect scooping consistency. This brief resting period at room temperature allows the ice cream to soften slightly, making it easier to scoop and ensuring a smooth, creamy texture when served.
Can I make dairy-free or vegan versions of this recipe?
Yes, you can create a dairy-free version by substituting coconut cream for heavy cream and using plant-based sweeteners. The article also suggests variations like adding extra chocolate with cocoa powder or incorporating toasted hazelnuts for crunch, allowing you to customize the recipe for different dietary needs and preferences.
What should I do if my ice cream turns out too hard or crumbly?
Dense, hard ice cream often results from insufficient aeration or over-churning. Crumbly texture indicates improper chilling or incorrect ingredient ratios. Ensure proper chilling times, maintain correct ingredient proportions, and follow churning guidelines carefully. The article provides detailed troubleshooting tips for achieving the perfect creamy consistency every time.
How far in advance can I prepare this ice cream?
Start preparation at least 24 hours in advance. Freeze your ice cream maker bowl for 18-24 hours before churning, and chill the base for 1-2 hours or overnight. The finished ice cream can be made up to three weeks ahead, making it perfect for entertaining or meal prep.


