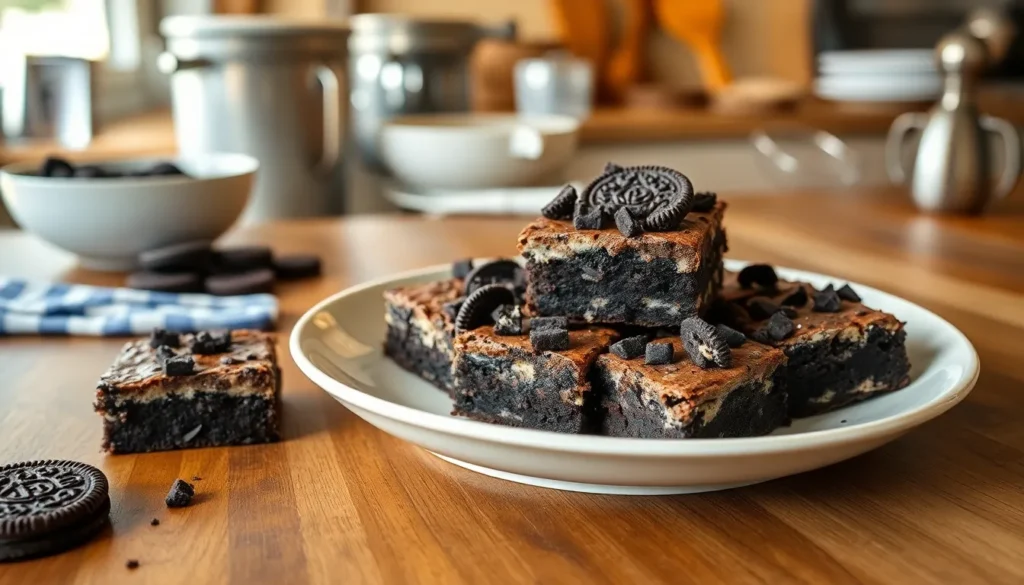
When we combine the rich decadence of fudgy brownies with the iconic crunch of Oreo cookies, magic happens in our kitchens. These Oreo brownies deliver the perfect marriage of two beloved desserts that’ll make your taste buds dance with joy.
We’ve discovered that the secret to these show-stopping treats lies in the contrast of textures – the dense, chocolatey brownie base paired with chunks of cream-filled cookies creates an irresistible bite every time. The cookies add delightful pockets of vanilla cream and chocolate crunch that elevate ordinary brownies into something extraordinary.
Whether you’re planning a birthday party, school bake sale, or simply craving an indulgent weekend treat, these brownies are guaranteed crowd-pleasers. We’ll show you how to create these bakery-quality desserts right in your own kitchen with simple ingredients and foolproof techniques that work every single time.
Ingredients
We’ve carefully selected high-quality ingredients that work together to create the perfect balance of fudgy brownies and crunchy Oreo texture. Our ingredient list ensures you’ll achieve bakery-quality results every time.
For the Brownie Base
- 1 cup (2 sticks) unsalted butter
- 8 oz dark chocolate chips or chopped dark chocolate
- 1¼ cups granulated sugar
- 4 large eggs at room temperature
- 1 teaspoon vanilla extract
- ¾ cup all-purpose flour
- ¼ cup unsweetened cocoa powder
- ½ teaspoon salt
For the Oreo Layer
- 20 Oreo cookies roughly chopped into chunky pieces
- 8 oz cream cheese softened to room temperature
- ⅓ cup powdered sugar
- 1 large egg yolk
- 1 teaspoon vanilla extract
For the Topping (Optional)
- 10 additional Oreo cookies crushed into coarse crumbs
- 2 tablespoons melted butter
- ½ cup mini chocolate chips
- Sea salt flakes for sprinkling
Equipment Needed
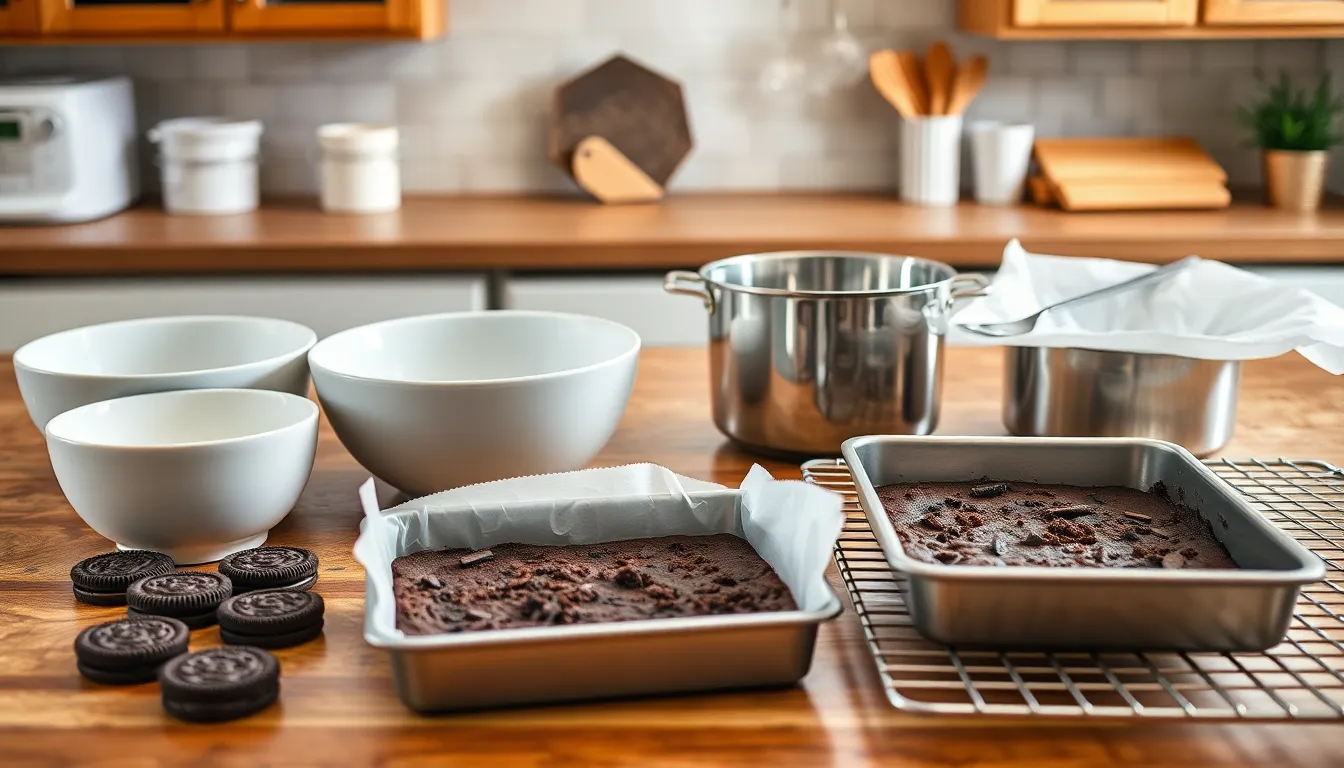
Having the right equipment makes creating these decadent Oreo brownies effortless and ensures professional results every time. We’ve compiled this essential list based on our extensive testing to help you achieve bakery-quality brownies at home.
Mixing and Preparation Tools
Large mixing bowls are fundamental for combining your dry and wet ingredients without spillage. We recommend having at least two medium-sized bowls available since you’ll be preparing both the brownie base and Oreo cream layer separately. A wooden spoon or sturdy spatula becomes your best friend for mixing the thick brownie batter thoroughly.
Melting Equipment
Choose between a microwave-safe bowl or double boiler setup for melting your butter and chocolate combination. Microwave heating offers convenience and speed, while a double boiler provides more controlled temperature management. Both methods work effectively for achieving that smooth, glossy chocolate base.
Baking Essentials
An 8×8 inch or 9×9 inch square baking pan serves as your brownie foundation. Metal pans conduct heat more evenly than glass alternatives, resulting in consistent baking throughout. Parchment paper or aluminum foil lining prevents sticking and allows for clean removal after cooling.
Cooling and Finishing
A wire cooling rack ensures proper air circulation around your finished brownies. This equipment prevents soggy bottoms and maintains that perfect fudgy texture we’re aiming for. Sharp kitchen shears or a large knife helps create clean, professional-looking squares when serving time arrives.
| Equipment Category | Essential Items | Purpose |
|---|---|---|
| Mixing | 2 medium bowls, wooden spoon/spatula | Combining ingredients separately |
| Melting | Microwave-safe bowl or double boiler | Chocolate and butter preparation |
| Baking | 8×8″ or 9×9″ square pan | Brownie foundation |
| Lining | Parchment paper or foil | Easy removal and cleanup |
| Cooling | Wire rack | Proper texture maintenance |
Most home kitchens already contain these standard items, making Oreo brownies an accessible treat for bakers of all experience levels.
Instructions
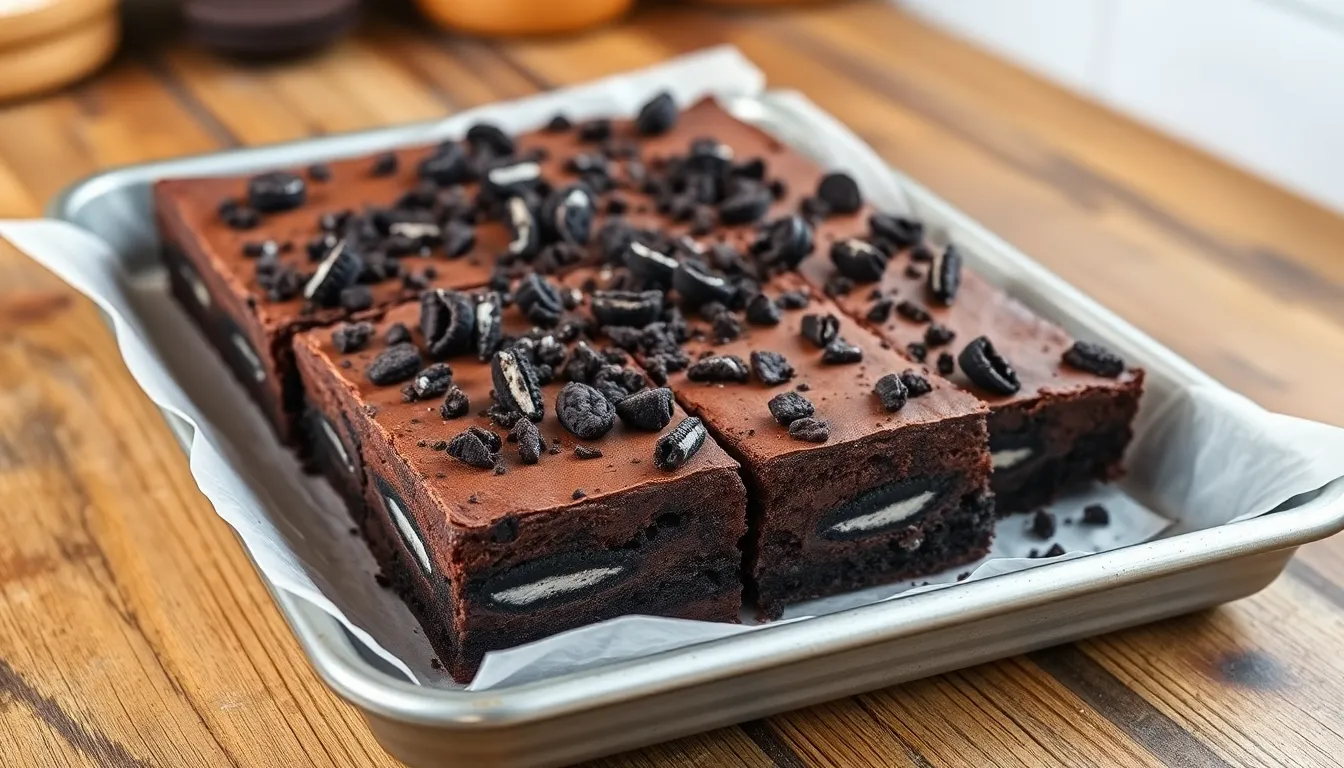
Creating these decadent Oreo brownies requires careful layering and precise timing to achieve the perfect balance of fudgy brownie and crunchy cookie texture. We’ll guide you through each step to ensure bakery-quality results every time.
Prep the Pan and Oven
We start by preheating our oven to 350°F to ensure even baking throughout. Grease a 9×9-inch baking pan thoroughly with butter or cooking spray. Line the pan with parchment paper, leaving an overhang on two sides for easy removal later. This preparation step prevents sticking and makes cleanup effortless.
Make the Brownie Batter
We prepare the brownie batter according to our chosen method in a large mixing bowl. For boxed mix users, follow the package instructions precisely for consistent results. Homemade batter requires melting chocolate and butter together until smooth. Whisk eggs and sugar in a separate bowl until the mixture lightens in color. Blend the melted chocolate mixture and vanilla into the egg mixture thoroughly. Gently fold in flour and salt until just combined, avoiding overmixing. Add white chocolate chips at this stage for extra texture if desired.
Assemble the Oreo Brownies
We spread approximately half of our brownie batter into the prepared pan, creating an even layer. Place 16 to 20 whole Oreo cookies in a single layer on top of the batter, depending on your pan size. Press the cookies gently into the batter to secure them. Spread the remaining brownie batter over the Oreos, covering them completely. Sprinkle crushed Oreo pieces on top for visual appeal and added crunch.
Bake the Brownies
We bake our assembled brownies at 350°F for 30 to 38 minutes, monitoring carefully for doneness. Insert a toothpick into the center to test; it should come out with fudgy crumbs but not wet batter. Slightly underbaking ensures a fudgier final texture. Baking times may vary depending on your oven, so check at the 30-minute mark.
Cool and Cut
We allow the brownies to cool completely in the pan before attempting to cut them. Use the parchment paper overhang to lift the cooled brownies from the pan for easier handling. Transfer to a wire rack if additional cooling is needed. Cut into squares only when fully cooled to prevent crumbling and ensure clean, professional-looking slices. Serve at room temperature for optimal flavor and texture.
Directions for Perfect Results
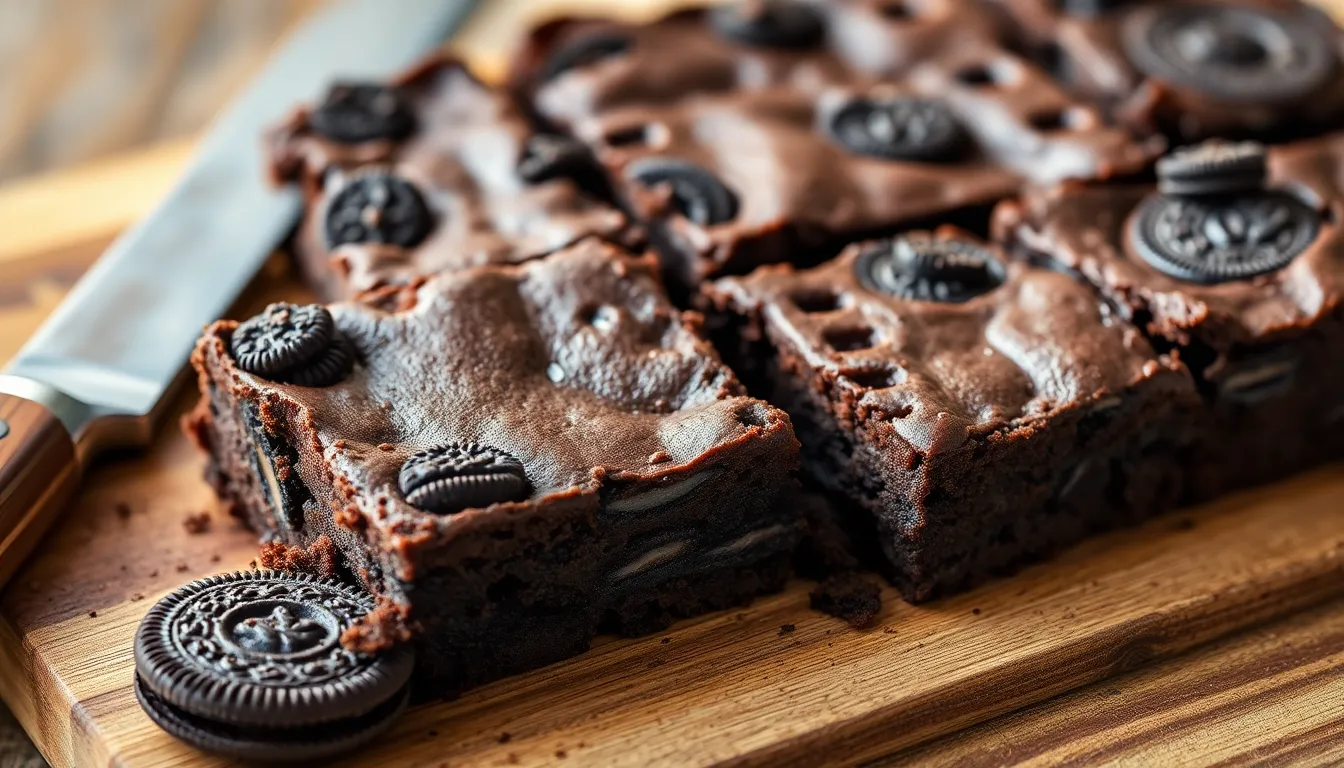
Achieving bakery-quality Oreo brownies requires attention to exact techniques that enhance texture and flavor. We’ll guide you through proven methods to create the perfect balance of fudgy richness and Oreo crunch.
Tips for Fudgy Brownies
Don’t Overmix the batter once dry ingredients are added. We recommend stopping as soon as the flour disappears into the mixture to maintain that coveted dense texture.
Use Dark Chocolate for deeper flavor complexity. The higher cocoa content pairs beautifully with the sweetness of Oreo cookies and creates a more sophisticated taste profile.
Control Your Mixing Technique by folding ingredients gently rather than beating vigorously. This preserves the brownies’ signature fudgy consistency while preventing tough results.
How to Prevent Overbaking
Use a Lower Temperature of 325°F instead of the standard 350°F for a slower more controlled bake. This gentler heat prevents the edges from overcooking while the center reaches perfect doneness.
Check Frequently during the final 10 minutes of baking time. We insert a toothpick into the center and look for a few moist crumbs rather than wet batter.
Don’t Overbake even if the toothpick seems slightly underdone. The brownies continue cooking from residual heat after removal from the oven.
Cutting Clean Squares
Cool Completely before attempting to cut your brownies. Rushing this step results in messy crumbling and uneven pieces that won’t showcase your beautiful Oreo layers.
Use a Sharp Knife wiped clean between cuts. This simple technique prevents dragging brownie crumbs and ensures professional-looking squares.
Cut When Firm to the touch for the cleanest results. The brownies should feel set but still slightly soft when you press gently on the surface.
Storage Instructions
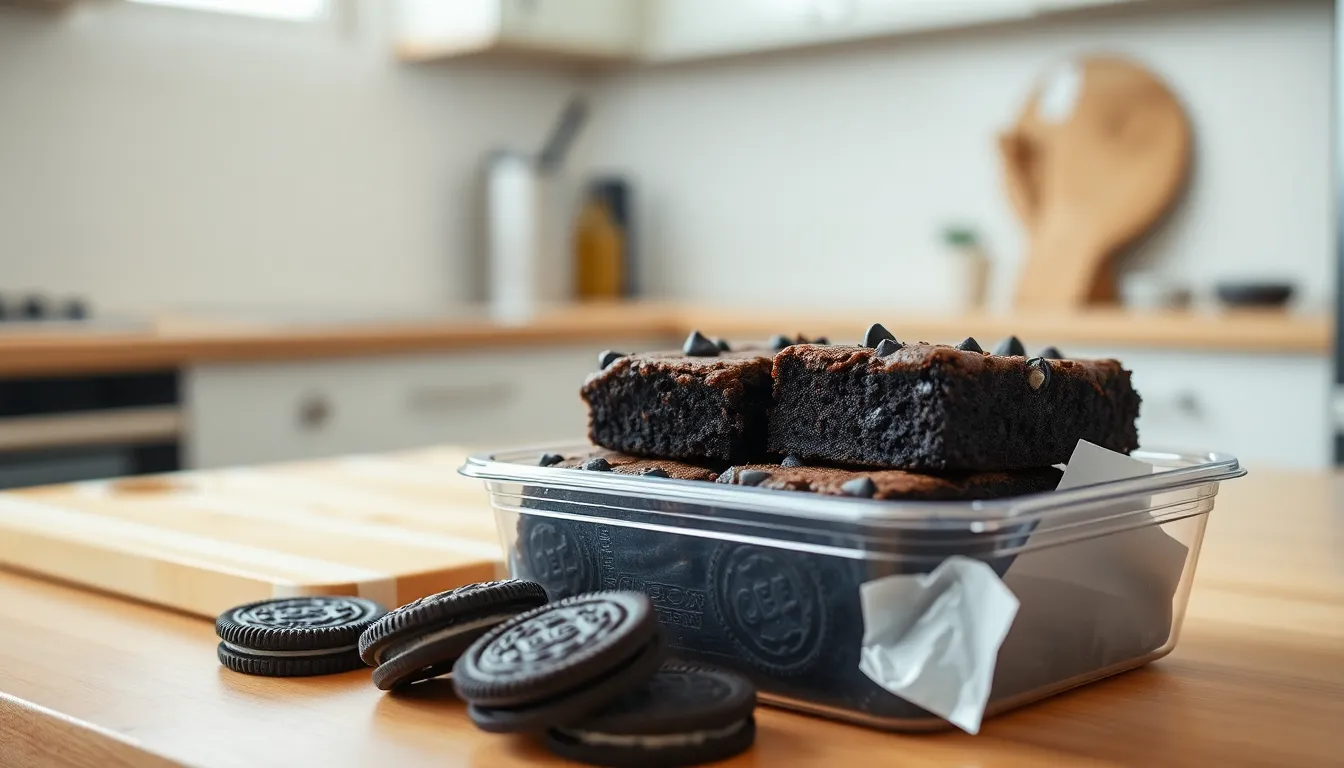
Proper storage ensures our delicious Oreo brownies maintain their rich flavor and fudgy texture for days after baking. We can choose from several storage methods depending on how long we plan to keep them and our personal preferences.
Room Temperature Storage
We recommend storing freshly baked Oreo brownies in an airtight container at room temperature for optimal flavor and texture. This method keeps our brownies fresh for up to 4-5 days while maintaining their signature fudgy consistency. The room temperature environment preserves the perfect balance between the dense brownie base and crunchy Oreo pieces.
Refrigerator Storage
Refrigeration extends the shelf life of our Oreo brownies significantly. We can store them in an airtight container in the refrigerator for up to 6 days to one week. This method works particularly well when our brownies include dairy content like cream cheese frosting or additional icing layers. Cold storage helps maintain structural integrity while preserving freshness.
Freezing for Long-Term Storage
Freezing offers the longest storage option for our Oreo brownies. We should wrap each brownie tightly in plastic wrap or aluminum foil before placing them in airtight containers or ziplock bags. This double protection prevents freezer burn and maintains quality for up to 2 months. When ready to enjoy, we can thaw frozen brownies at room temperature or in the refrigerator.
| Storage Method | Duration | Container Type | Temperature |
|---|---|---|---|
| Room Temperature | 4-5 days | Airtight container | Room temperature |
| Refrigerator | 6 days – 1 week | Airtight container | Cold |
| Freezer | Up to 2 months | Wrapped + airtight container | Frozen |
Essential Storage Tips
Complete cooling before slicing prevents our brownies from falling apart and ensures clean cuts every time. We find that chilling the pan in the refrigerator makes cutting into perfect squares much easier and reduces crumbling. Our brownies taste best when served at room temperature as this enhances both texture and flavor profile regardless of how we initially stored them.
Make-Ahead Tips
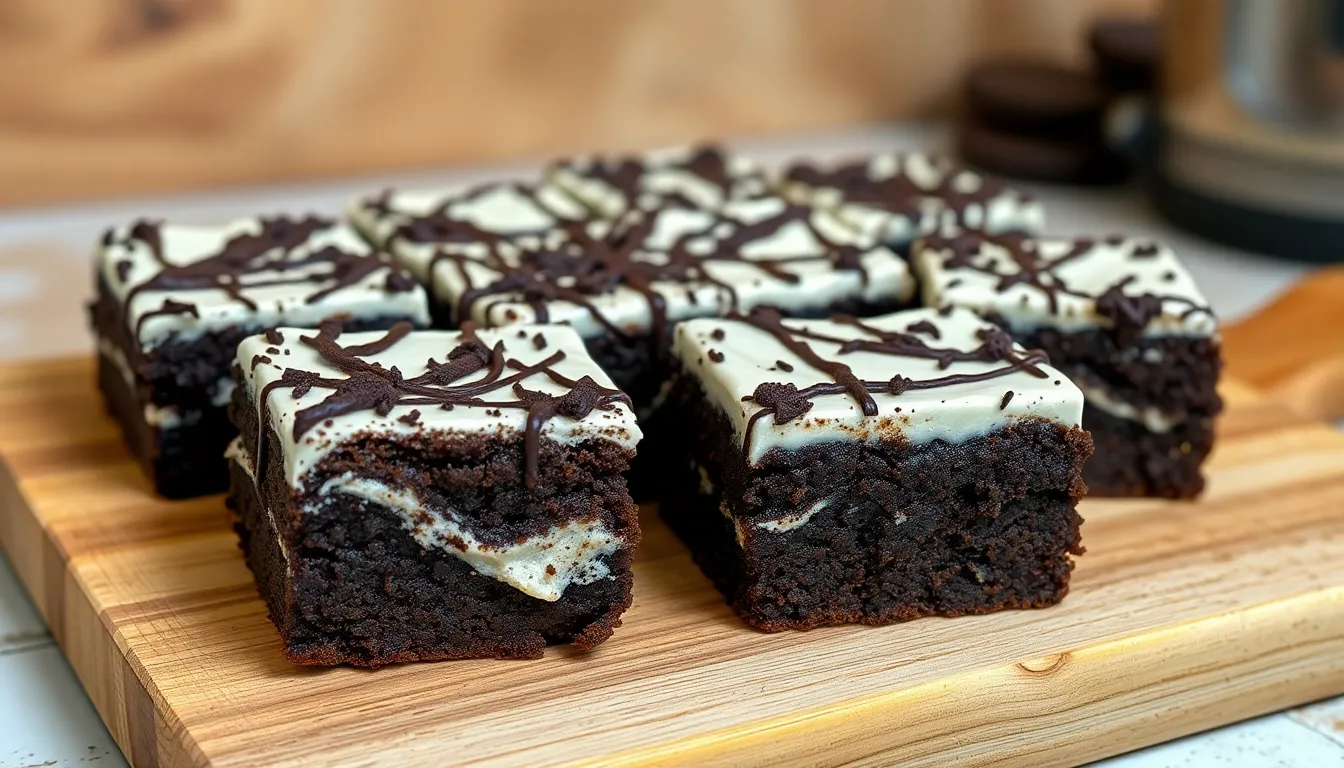
Planning ahead transforms our Oreo brownie preparation from stressful to seamless. We can carry out several strategic approaches to prepare these decadent treats well before serving time.
Bake and Store Strategy
Our brownies maintain their exceptional quality when baked up to three days in advance. After cooling completely, we store them in an airtight container at room temperature. This approach preserves their fudgy texture while allowing flavors to develop further. We recommend waiting to add frosting or additional toppings until serving day to maintain optimal freshness.
Overnight Batter Enhancement
We achieve extra fudgy results by chilling our brownie batter overnight before baking. This technique allows ingredients to meld together while creating a denser, more luxurious texture. The extended resting time also deepens the chocolate flavor profile significantly.
Freezer Storage Method
Individual brownie squares freeze beautifully for extended storage. We wrap each piece tightly in plastic wrap before placing them in freezer safe containers. These frozen treats maintain quality for up to two months. When ready to serve, we thaw them overnight in the refrigerator for best results.
Base Preparation Advance
Our brownie base preparation can happen the night before baking day. We mix and store the completed batter in an airtight container in the refrigerator. This method streamlines our baking process while ensuring consistent results every time.
| Make-Ahead Method | Storage Duration | Storage Location |
|---|---|---|
| Baked brownies | 3 days | Room temperature |
| Chilled batter | Overnight | Refrigerator |
| Frozen squares | 2 months | Freezer |
| Prepared base | 1 day | Refrigerator |
These preparation strategies make our Oreo brownies perfect for entertaining, special events, or whenever we need dessert ready without last minute effort.
Variations and Substitutions
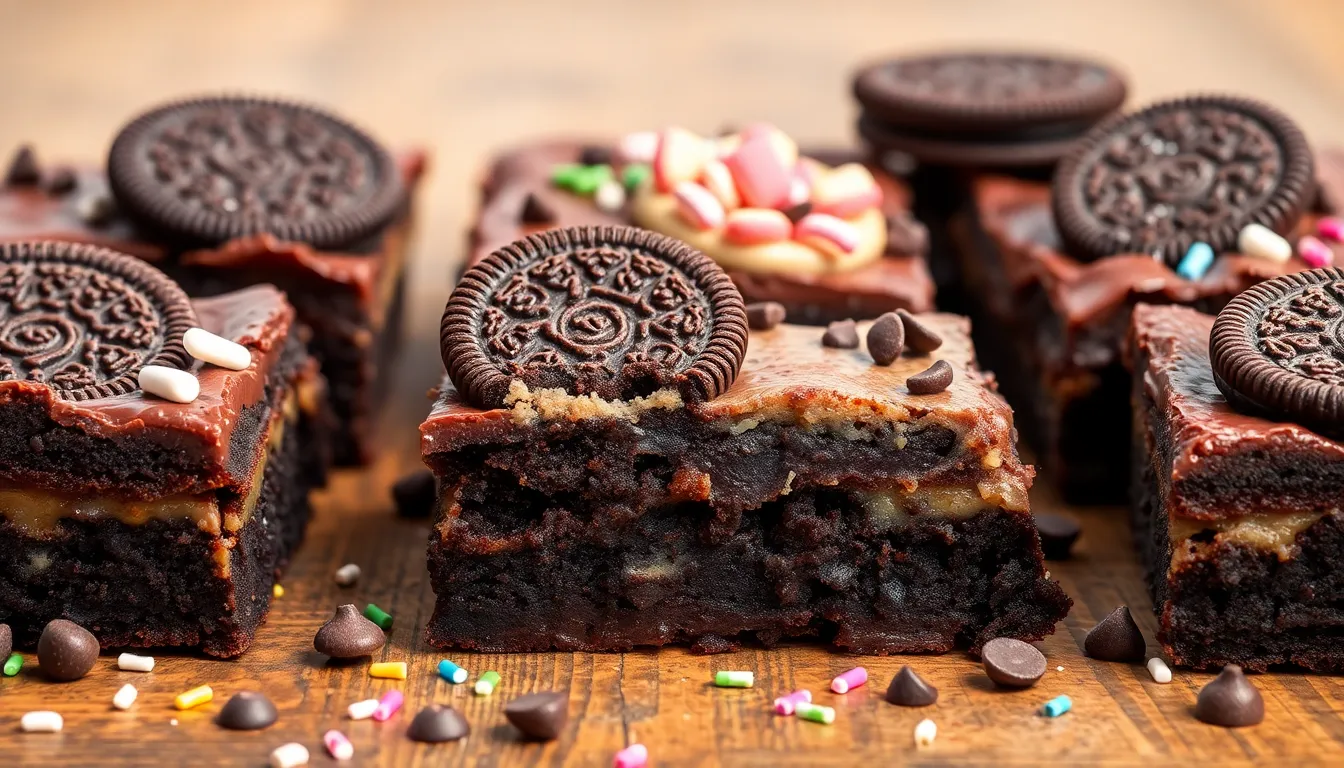
We love how versatile these Oreo brownies can be with simple ingredient swaps and creative flavor combinations. These adaptations allow you to customize the recipe for dietary restrictions or personal preferences without sacrificing the rich chocolate flavor.
Different Oreo Flavors
Classic Oreos work beautifully in brownies, but we encourage experimenting with different cookie varieties for unique flavor profiles. Seasonal and limited edition flavors like mint, peanut butter, or strawberry create exciting taste combinations that surprise and delight. We’ve found that golden Oreos provide a vanilla twist, while birthday cake Oreos add festive sprinkles and cake batter flavor. Double Stuf Oreos increase the cream filling ratio for extra sweetness, and chocolate Oreos intensify the overall chocolate experience.
Gluten-Free Option
We can easily transform these brownies into a gluten-free treat with proper ingredient substitutions. Replace all-purpose flour with almond flour for a nutty flavor or use a gluten-free flour blend for results closest to the original texture. We recommend checking all other ingredients carefully, ensuring your chocolate chips and Oreos are certified gluten-free. Many brands now offer gluten-free Oreo alternatives that work perfectly in this recipe while maintaining the signature cookie and cream taste.
Vegan Alternative
Creating vegan Oreo brownies requires several strategic substitutions that we’ve tested extensively. Replace butter with coconut oil or vegan butter alternatives like Earth Balance for the same rich mouthfeel. We substitute eggs with flaxseed meal mixed with water, chia seeds, or aquafaba for proper binding and moisture. Vegan chocolate chips replace traditional chocolate, and many Oreo varieties are naturally vegan. We’ve discovered that adding white chocolate chips, peanut butter cups, or chopped candy bars creates exciting flavor variations. For an ultra-indulgent version, we recommend adding a cookie dough layer to create Slutty Brownies, and using black cocoa powder gives the brownies a richer, more authentic Oreo-like flavor.
Troubleshooting Common Issues
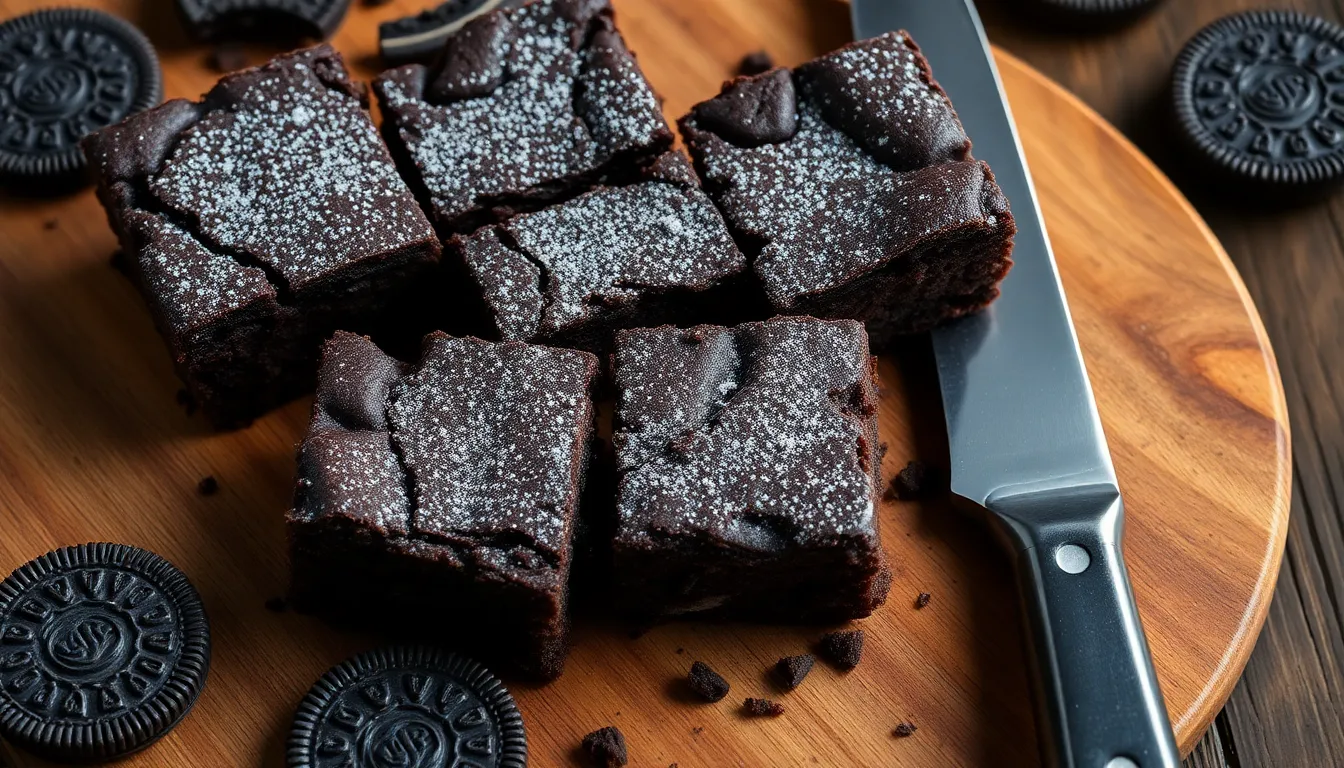
Even experienced bakers encounter challenges when making Oreo brownies. We’ve identified the most common problems and their answers to help you achieve perfect results every time.
Preventing Cakey Texture
Overmixing stands as the primary culprit behind cakey brownies. We recommend stopping the mixing process when traces of dry ingredients remain visible in the batter. The flour should be just incorporated without completely disappearing. Gentle folding motions work better than vigorous stirring to maintain the dense fudgy texture we’re after.
Managing Temperature Issues
Room temperature eggs prevent butter from solidifying when combined with the chocolate mixture. Cold eggs can cause the melted chocolate and butter to seize up creating lumpy batter that affects the final texture. We suggest taking eggs out of the refrigerator 30 minutes before baking to reach the ideal temperature.
Avoiding Overbaking
The toothpick test requires careful interpretation for brownies. We look for moist crumbs clinging to the toothpick rather than completely clean results. Completely clean toothpicks indicate overbaked brownies that will turn dry and crumbly. The brownies continue cooking from residual heat after removal from the oven.
Fixing Uneven Baking
Hot spots in ovens can cause uneven browning or cooking. We rotate the pan halfway through baking time to ensure uniform heat distribution. Placing the baking pan on the center rack prevents the bottom from cooking too quickly while the top remains underdone.
Addressing Soggy Bottoms
Excess moisture from the Oreo cookies can create soggy bottoms in some cases. We recommend patting the cookies dry with paper towels before layering them into the batter. Using a light colored metal pan instead of glass helps promote even browning on the bottom.
Solving Cutting Problems
Brownies that fall apart during cutting usually haven’t cooled completely. We wait at least 2 hours before attempting to cut the brownies. A sharp knife cleaned between cuts produces cleaner edges. Refrigerating the brownies for 30 minutes before cutting creates even firmer results for perfect squares.
Conclusion
We’ve covered everything you need to master the art of making irresistible Oreo brownies at home. From selecting the right ingredients to troubleshooting common baking challenges these treats are now within your reach.
The beauty of this dessert lies in its versatility and simplicity. Whether you’re preparing for a special occasion or satisfying a weeknight craving these brownies deliver every time.
With our storage tips and make-ahead strategies you can enjoy fresh fudgy Oreo brownies whenever the mood strikes. The combination of rich chocolate and crunchy cookies creates a dessert that’s sure to become a household favorite.
Now it’s time to preheat that oven and create your own batch of these decadent treats. Your family and friends will thank you for it.
Frequently Asked Questions
What makes Oreo brownies different from regular brownies?
Oreo brownies combine the fudgy texture of traditional brownies with crunchy, cream-filled Oreo cookie pieces. This creates a delightful contrast in textures and enhances the chocolate flavor with the distinctive taste of Oreo cookies, making them more indulgent than regular brownies.
How long do Oreo brownies stay fresh?
Oreo brownies stay fresh at room temperature for 4-5 days when stored in an airtight container. For longer storage, refrigerate them for up to one week or freeze for up to 2 months. Always allow them to cool completely before storing.
Can I make Oreo brownies ahead of time?
Yes, you can bake Oreo brownies up to three days in advance and store them at room temperature. For extra fudgy texture, chill the brownie batter overnight before baking. Individual squares can also be frozen for up to two months.
What’s the best way to cut clean brownie squares?
Cool the brownies completely before cutting. Use a sharp knife and wipe it clean between cuts. The brownies should feel firm yet slightly soft when ready to cut. This prevents cracking and ensures neat, professional-looking squares.
Can I make gluten-free Oreo brownies?
Yes, substitute all-purpose flour with almond flour or a certified gluten-free flour blend. Ensure all ingredients, including Oreo cookies, are certified gluten-free. The texture may be slightly different but still delicious.
How do I prevent my Oreo brownies from being cakey?
Avoid overmixing the batter, which develops gluten and creates a cakey texture. Mix just until ingredients are combined. Use dark chocolate for richer flavor and maintain proper ingredient temperatures for optimal mixing.
What are some creative variations for Oreo brownies?
Try different Oreo flavors like mint, peanut butter, or seasonal varieties. Add cookie dough layers, white chocolate chips, or experiment with different toppings. You can also create vegan versions using coconut oil and flax eggs.
Why are my brownies overbaked or dry?
Use a lower baking temperature and check for doneness with a toothpick – it should come out with a few moist crumbs, not completely clean. Monitor baking time carefully and remove from oven when edges are set but center is still slightly soft.

