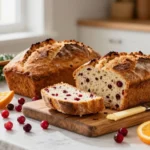
Nothing beats the comforting aroma of fresh peanut butter bread baking in your kitchen. This incredibly moist and flavorful quick bread transforms simple pantry staples into something absolutely irresistible. We’ve perfected this recipe to deliver that perfect balance of rich peanut butter flavor with a tender crumb that’ll have your family asking for seconds.
What makes our peanut butter bread truly special is its versatility. Whether you’re serving it as a sweet breakfast treat with your morning coffee or enjoying it as an afternoon snack, this bread delivers consistent results every time. The recipe comes together in just minutes with no special equipment required.
We love how this bread stays incredibly moist for days and actually improves in flavor as it sits. It’s also freezer-friendly, making it perfect for meal prep or unexpected guests. Once you try this foolproof recipe, it’ll become your go-to comfort food that satisfies every peanut butter craving.
Ingredients
We’ve carefully selected each ingredient to create the perfect balance of peanut butter flavor and tender texture in our bread. These simple pantry staples work together to deliver exceptional results every time.
Dry Ingredients
- 2 cups all-purpose flour
- 3/4 cup granulated sugar
- 1 tablespoon baking powder
- 1 teaspoon salt
Wet Ingredients
- 1 cup creamy peanut butter
- 1 cup whole milk
- 1/4 cup vegetable oil
- 2 large eggs
- 1 teaspoon vanilla extract
Equipment Needed
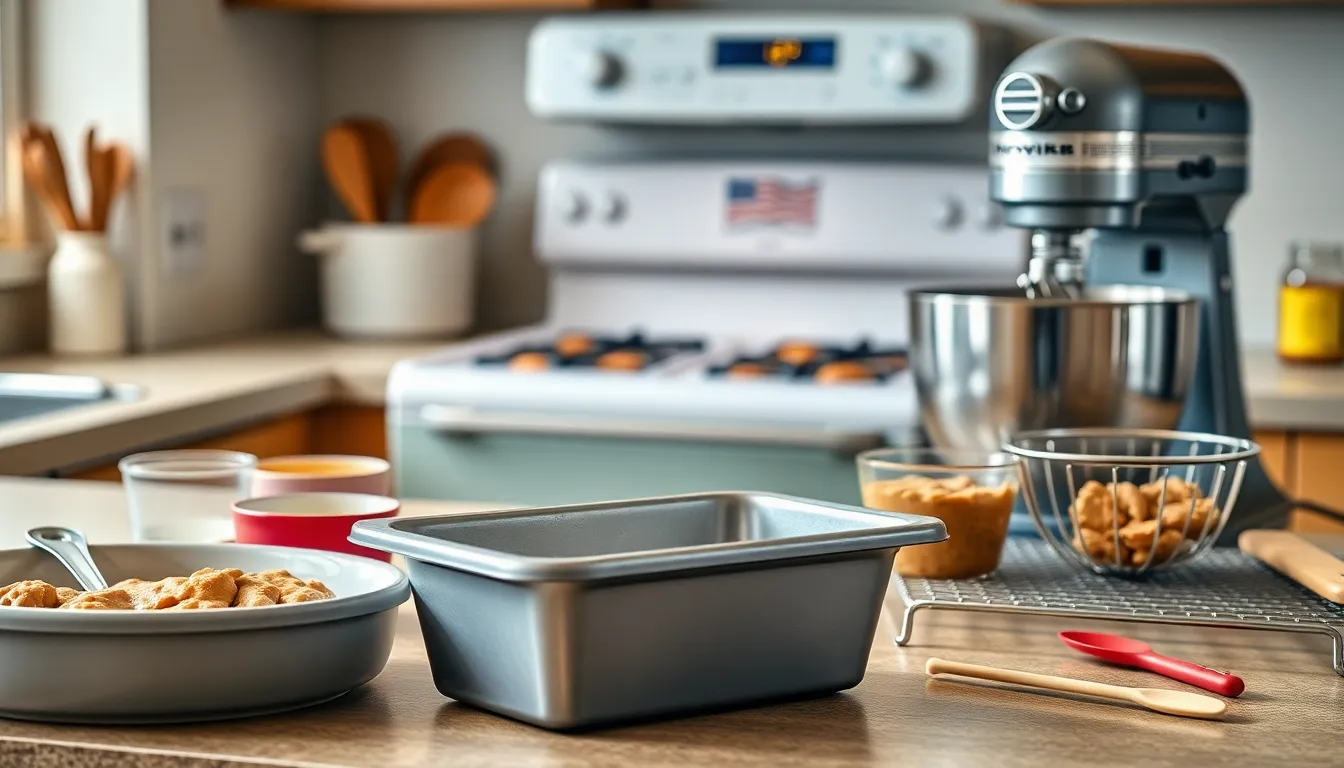
We designed this peanut butter bread recipe to work with basic kitchen equipment that most home bakers already have on hand. The beauty of this recipe lies in its simplicity and accessibility.
Large Mixing Bowl – We recommend using a spacious mixing bowl to comfortably combine all wet and dry ingredients without spillage. A 4-quart capacity bowl works perfectly for this recipe.
9×5-inch Loaf Pan – This standard loaf pan size ensures even baking and proper rise for our peanut butter bread. We suggest greasing it thoroughly or lining with parchment paper for easy removal.
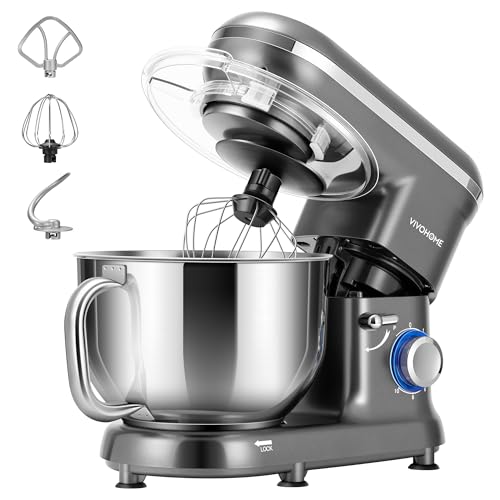
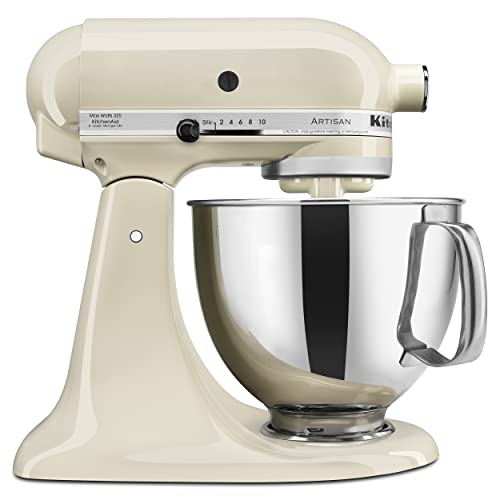
Electric Mixer or Whisk – While hand mixing works fine, an electric mixer speeds up the process and ensures our peanut butter incorporates smoothly with other wet ingredients. A stand mixer or hand mixer both deliver excellent results.
Measuring Cups and Spoons – Accurate measurements are crucial for achieving the perfect texture we described earlier. We use both dry and liquid measuring cups for best results.
Wire Cooling Rack – Proper cooling prevents our bread from becoming soggy on the bottom. A wire rack allows air circulation around the entire loaf.
Rubber Spatula – We find this essential for folding ingredients gently and scraping every bit of batter from our mixing bowl into the loaf pan.
Conventional Oven – Our recipe requires a standard oven preheated to 350°F. Convection ovens work too but may require slight temperature adjustments.
Toothpick or Cake Tester – We use this simple tool to check doneness at the 50-minute mark, ensuring our bread bakes completely without overbaking.
Instructions
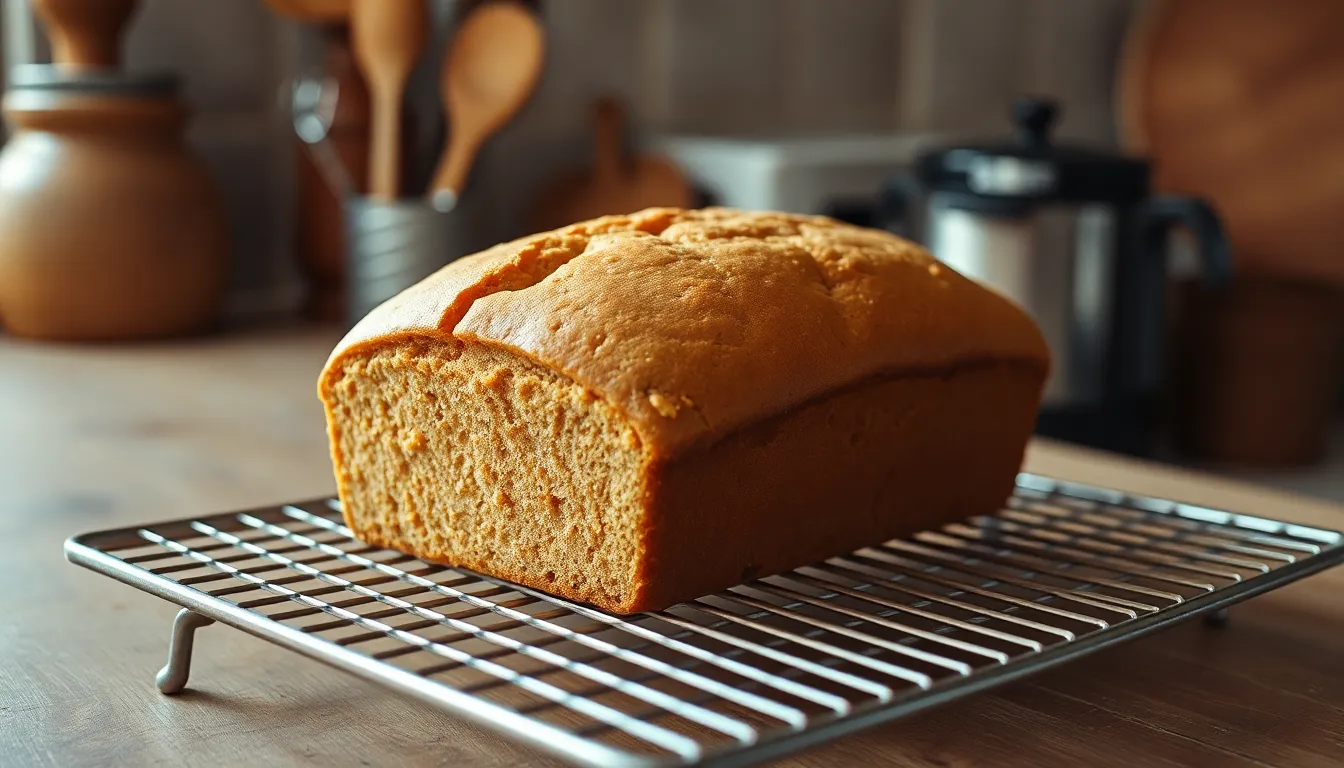
We’ll walk you through each step to create this perfectly moist and flavorful peanut butter bread. Follow these detailed instructions for bakery-quality results every time.
Prep the Pan and Oven
We start by preheating our oven to 350°F for optimal baking temperature. Generously grease our 9×5-inch loaf pan with butter or cooking spray to prevent sticking. For foolproof removal we recommend lining the pan with parchment paper leaving a slight overhang for easy lifting. This preparation ensures our bread releases cleanly from the pan once baked.
Mix the Dry Ingredients
We combine 2 cups of all-purpose flour with 3/4 cup of granulated sugar in our large mixing bowl. Add 1 tablespoon of baking powder and 1 teaspoon of salt to the flour mixture. Using a whisk we blend these dry ingredients thoroughly until no lumps remain and the mixture appears uniform. This step creates the foundation for our bread’s perfect texture.
Combine Wet Ingredients
We measure 1 cup of creamy peanut butter into a separate mixing bowl. Add 1 cup of whole milk gradually while stirring to create a smooth mixture without lumps. Beat in 2 large eggs one at a time until fully incorporated. Pour in 1/4 cup of vegetable oil and 1 teaspoon of vanilla extract. Using our electric mixer or whisk we blend these wet ingredients until completely smooth and well combined.
Create the Batter
We pour the peanut butter mixture into our bowl of dry ingredients. Using a rubber spatula we gently fold the wet and dry ingredients together with careful strokes. Mix just until the flour disappears and we have a thick cohesive batter. Avoid overmixing as this can result in dense bread rather than the tender texture we want.
Bake the Bread
We transfer our batter to the prepared loaf pan spreading it evenly with our spatula. Place the pan in the center of our preheated oven. Bake for 45 to 55 minutes until the top turns golden brown and springs back lightly when touched. We test for doneness by inserting a toothpick into the center which should come out clean or with just a few moist crumbs.
Cool and Store
We allow the bread to cool in the pan for exactly 10 minutes before attempting removal. Using the parchment paper overhang we carefully lift the bread onto a wire cooling rack. Let the bread cool completely for about 1 hour before slicing to prevent crumbling. Once cooled we wrap leftover bread tightly in plastic wrap or store in an airtight container at room temperature for up to 3 days.
Directions for Serving
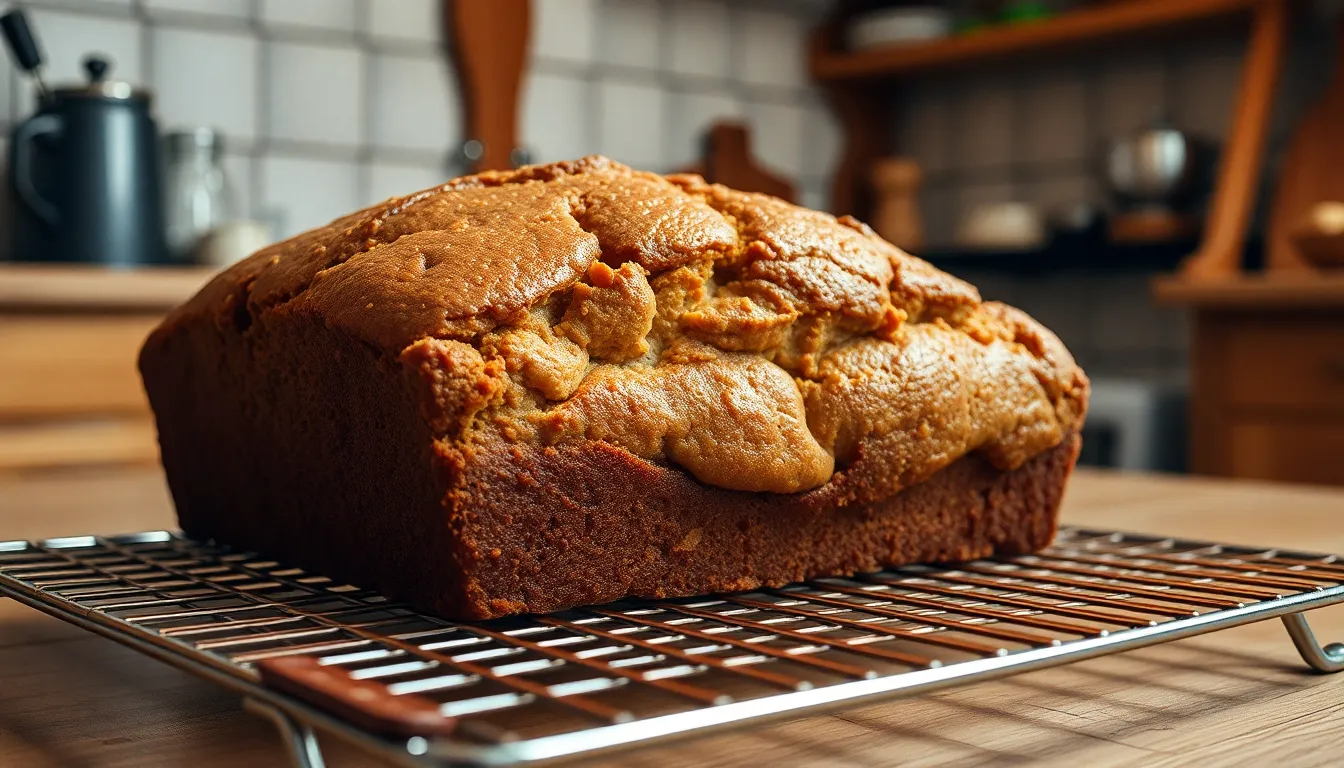
Let the peanut butter bread cool for 10 minutes in the pan before serving to prevent crumbling and ensure clean slices. We recommend transferring the loaf to a wire cooling rack after this initial cooling period for best results.
Slicing Technique
Use a sharp serrated knife to cut the bread into 1/2 to 3/4 inch thick slices. Start at one end of the loaf and use a gentle sawing motion to avoid compressing the tender crumb. Clean slices showcase the bread’s beautiful golden color and moist texture.
Temperature Options
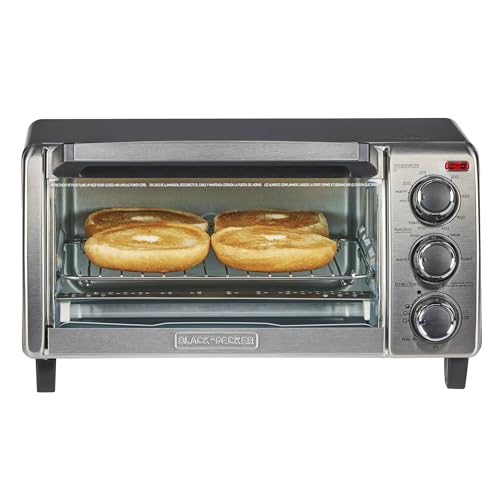
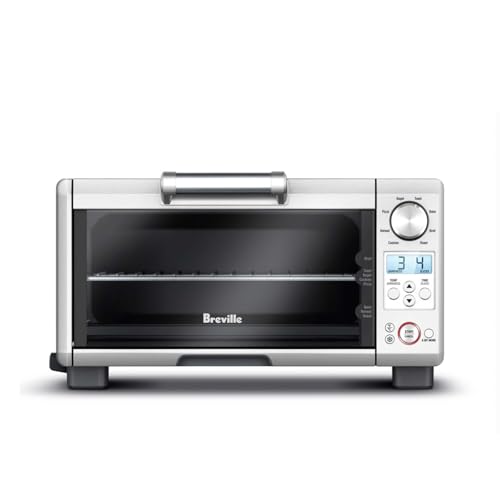
Serve the bread at room temperature for the fullest peanut butter flavor and softest texture. Alternatively warm individual slices in the toaster or toaster oven for 30-60 seconds to enhance the nutty aroma and create a slightly crispy exterior.
Perfect Pairings
Spread butter or cream cheese on warm slices for added richness. Drizzle honey or maple syrup over the bread to complement the peanut butter’s natural sweetness. We find that grape or strawberry jam creates a classic combination that appeals to all ages.
Beverage Suggestions
Cold milk provides the perfect contrast to the bread’s rich flavor and helps cleanse the palate between bites. Hot coffee or tea also pairs beautifully with the nutty sweetness. For children we suggest chocolate milk or hot cocoa as delightful accompaniments.
Portion Planning
Plan for 1-2 slices per person when serving as a snack or light breakfast. The bread’s dense texture and satisfying peanut butter flavor make it quite filling. Store any remaining slices wrapped tightly at room temperature for up to 3 days to maintain optimal freshness.
Make-Ahead Instructions
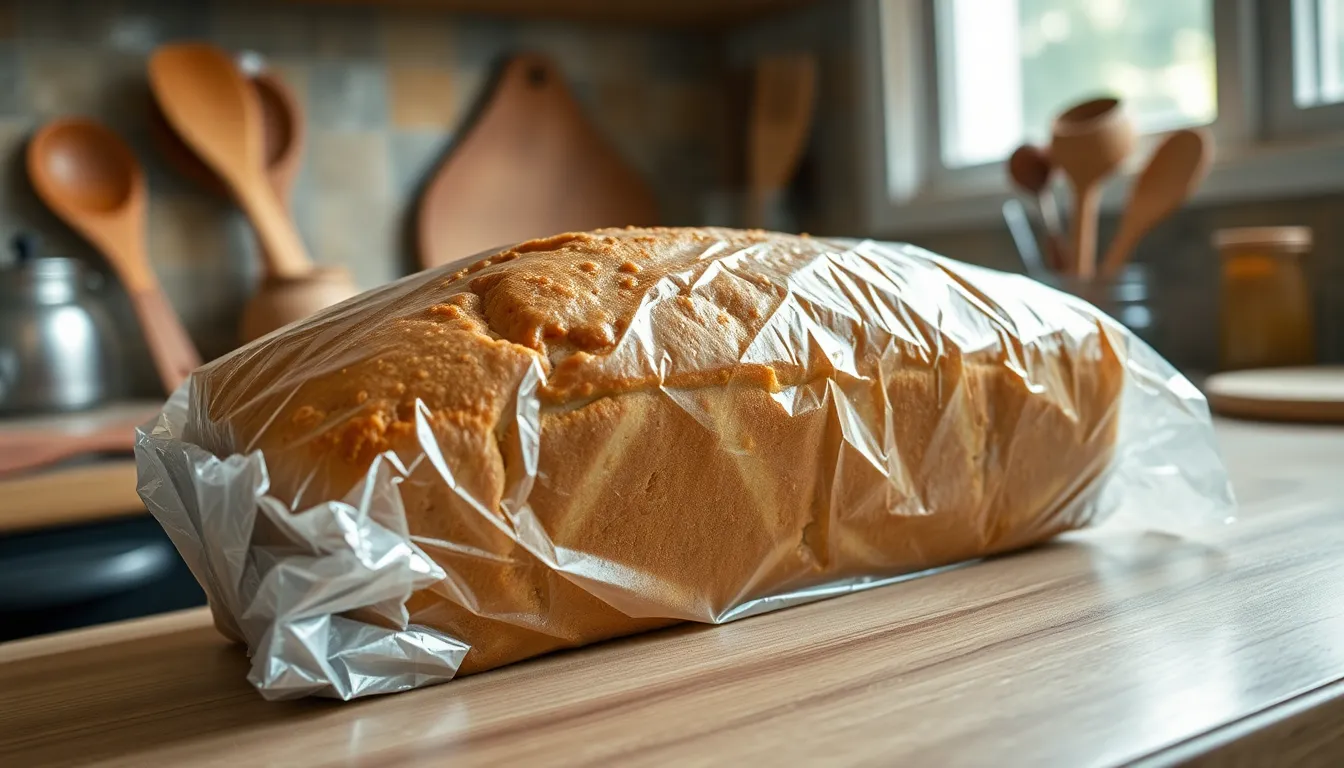
Planning ahead makes our peanut butter bread even more convenient for busy schedules and special occasions. We can prepare this versatile treat using several time-saving methods that maintain the bread’s exceptional flavor and texture.
Freezing the Finished Bread
We recommend baking our peanut butter bread completely and allowing it to cool at room temperature before freezing. Wrap the cooled loaf tightly in plastic wrap, followed by aluminum foil to prevent freezer burn. The bread stays fresh in the freezer for up to two months when properly stored.
Thawing requires patience for the best results. We place the wrapped loaf on our kitchen counter and let it thaw completely at room temperature, which typically takes 2-3 hours. Alternatively, we can thaw the bread overnight in the refrigerator for a more controlled process.
Preparing the Batter in Advance
Our peanut butter bread batter adapts beautifully to overnight preparation. We mix all ingredients according to our recipe instructions, then transfer the batter to our greased 9×5-inch loaf pan. Cover the pan tightly with plastic wrap and refrigerate overnight.
The next morning, we remove the pan from the refrigerator and let it sit at room temperature for 15-20 minutes while our oven preheats to 350°F. This brief warming period ensures even baking throughout the loaf.
Batch Preparation Strategy
We often double or triple our recipe to create multiple loaves at once. This approach maximizes our kitchen time while providing ready-to-serve bread for weeks ahead. Each additional loaf follows the same freezing guidelines, giving us a steady supply of homemade peanut butter bread whenever cravings strike.
Storage Tips
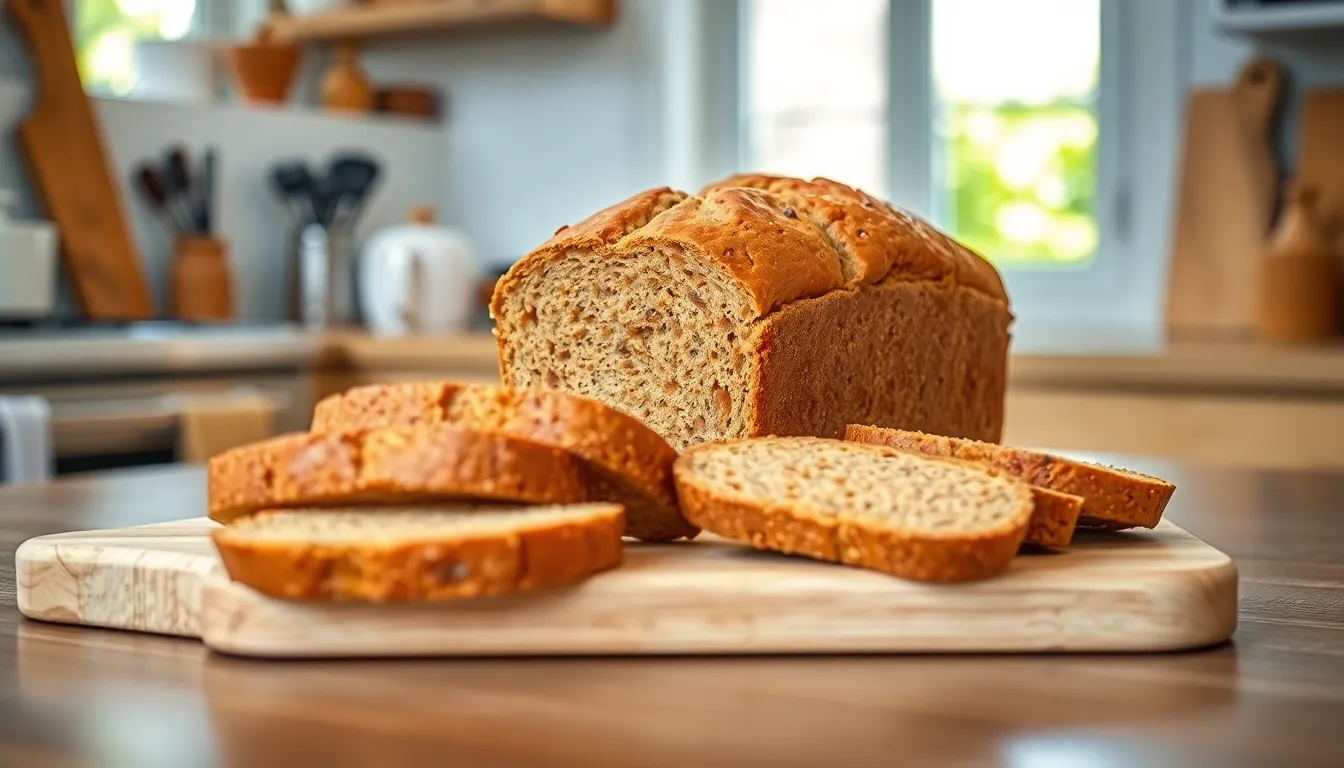
We recommend several effective methods for storing peanut butter bread to maintain its moist texture and rich flavor. Proper storage ensures your freshly baked loaf stays delicious for days or even months.
Room Temperature Storage
Our preferred method for short-term storage involves keeping the bread in an airtight container at room temperature. This approach maintains optimal freshness for 3 to 7 days depending on your kitchen conditions. Most recipes deliver best results when consumed within the first 3 days, though some variations can last up to a week when stored properly.
Refrigerated Storage
For extended freshness beyond the initial week, we suggest refrigerating your peanut butter bread in an airtight container. Refrigeration extends the storage life to approximately one week while preserving the bread’s moisture and preventing spoilage.
Freezing Options
Freezing offers the longest storage solution for peanut butter bread with excellent results.
Individual Slice Method: We recommend slicing the bread first, then laying individual slices on a sheet tray for one hour of initial freezing. Transfer the pre-frozen slices to a ziplock bag for convenient single-serving access.
Whole Loaf Method: Wrap the entire loaf in plastic wrap before placing it inside an airtight container. Properly wrapped frozen loaves maintain their quality for up to three months. Alternatively, wrap individual slices in plastic wrap and store them in freezer-safe bags for portion control.
| Storage Method | Duration | Container Type |
|---|---|---|
| Room Temperature | 3-7 days | Airtight container |
| Refrigerated | 1 week | Airtight container |
| Frozen (whole loaf) | 3 months | Plastic wrap + airtight container |
| Frozen (slices) | 3 months | Ziplock bag or freezer-safe bag |
These storage techniques ensure you can enjoy our peanut butter bread at its peak quality whenever cravings strike.
Variations and Substitutions
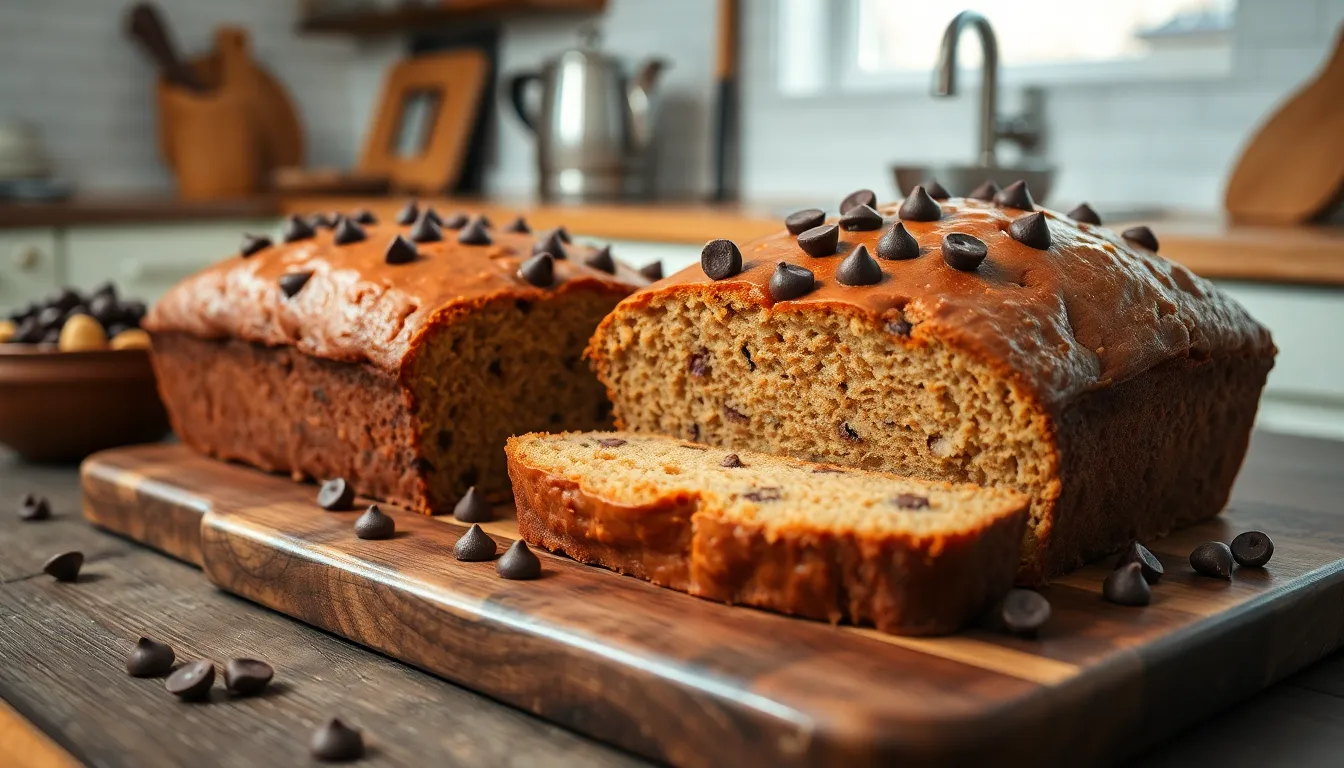
Our classic peanut butter bread recipe serves as the perfect foundation for creative adaptations. These variations transform the basic recipe into new flavor experiences while maintaining the same simple preparation method.
Chocolate Chip Peanut Butter Bread
We love adding chocolate chips to create an irresistible dessert bread that balances nutty richness with sweet chocolate bursts. Fold 3/4 cup of semi-sweet chocolate chips into the batter just before transferring it to the loaf pan. The base recipe remains completely unchanged, requiring only this single addition to transform your bread into a bakery-worthy treat. Mini chocolate chips distribute more evenly throughout the loaf, while regular-sized chips create delightful pockets of melted chocolate in every slice.
Banana Peanut Butter Bread
Mashed bananas bring natural sweetness and incredible moisture to our peanut butter bread recipe. Add 1 to 2 ripe mashed bananas to the wet ingredients alongside the peanut butter and milk. The bananas provide a subtle fruity flavor that complements the nuttiness perfectly while keeping the bread tender for days. Reduce the milk by 2 tablespoons when using 2 bananas to maintain the proper batter consistency. Overripe bananas with brown spots work best, as they mash easily and offer the sweetest flavor.
Gluten-Free Option
We can easily adapt this recipe for gluten-sensitive individuals by substituting the all-purpose flour with a quality gluten-free flour blend. Use the same 2-cup measurement and follow identical mixing steps and baking instructions. Choose a gluten-free blend that contains xanthan gum for the best texture results. The finished bread maintains the same dense, satisfying texture as the original version while remaining completely accessible to those avoiding gluten. Bob’s Red Mill 1-to-1 Baking Flour and King Arthur Gluten-Free Measure for Measure Flour both deliver excellent results in our testing.
Troubleshooting Tips
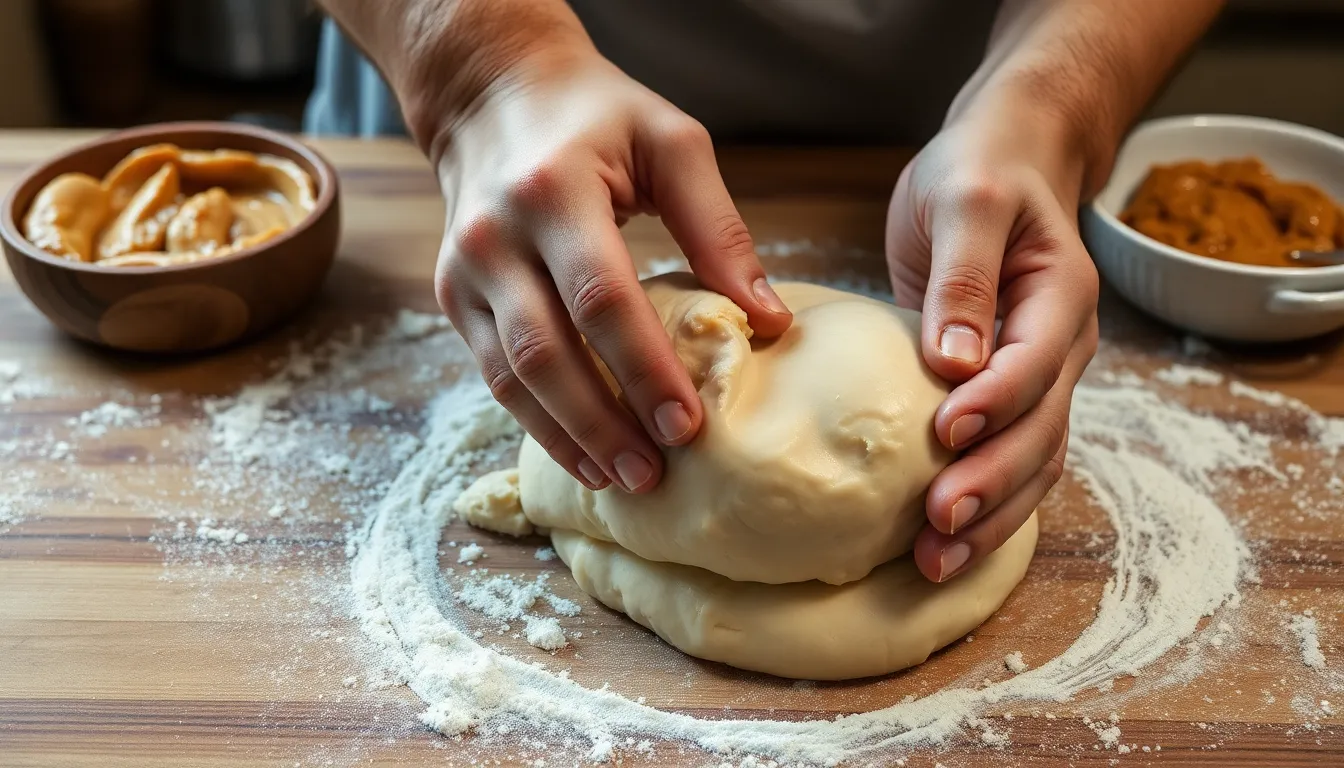
Even the most straightforward peanut butter bread recipe can present challenges. We’ve compiled essential answers to help you achieve perfect results every time.
Dough Texture Problems
Sticky or wet dough creates the most common issue for bakers. When your dough feels too sticky after initial mixing, add flour gradually in teaspoon increments and knead until the mixture comes together properly. This approach prevents overcompensation and maintains the proper texture balance.
Overly stiff dough requires the opposite treatment. Add small amounts of water or milk until you reach the desired consistency. Remember that different flour brands absorb liquids differently, so always check your recipe measurements for accuracy.
Rising and Proofing Issues
Poor rise often stems from expired yeast or improper ingredient ratios. Always proof your yeast before using it to ensure viability. Too much salt or sugar can inhibit yeast activity, while incorrect ingredient temperatures create similar problems. Follow your recipe’s ingredient amounts and proofing times precisely for consistent results.
| Common Rising Problems | Answers |
|---|---|
| Expired yeast | Proof yeast before use |
| Too much salt/sugar | Follow recipe ratios exactly |
| Wrong temperatures | Use ingredients at room temperature |
| Insufficient proofing time | Allow adequate rising periods |
Over-proofing presents its own challenges. Reduce proofing time or move your dough to a cooler environment like the back of your refrigerator for the final rise. Using colder water when mixing the dough helps stabilize rising if timing becomes an issue.
Baking and Crust Concerns
Pale or tough crusts typically indicate low oven temperature or insufficient sugar content. Check your oven’s accuracy with a thermometer and verify your sugar measurements. Cover the dough while rising to prevent premature crust formation, and ensure proper greasing of your pan.
Wrinkled or soggy crusts develop when bread cools improperly. Always remove the loaf from the pan after the initial cooling period and place it on a wire rack. Avoid exposing the cooling bread to drafts, which can cause uneven cooling and texture problems.
Ingredient and Equipment Answers
Ingredient accuracy becomes crucial for consistent results. Measure yeast, salt, and sweeteners precisely since too much sweetener inhibits yeast while too little fails to provide adequate food for activation. Your measuring technique directly impacts the final product quality.
Pan size affects baking outcomes significantly. Use the exact pan size recommended in your recipe to ensure even baking and proper loaf shape. A pan that’s too large creates flat, dense bread while one that’s too small causes overflow and uneven cooking.
Temperature control extends beyond just the oven. Room temperature ingredients blend more easily and create better texture. Cold ingredients can slow yeast activity and create lumpy batters that don’t bake evenly.
Conclusion
We’ve shared everything you need to create an incredible peanut butter bread that’ll become a household favorite. This recipe delivers consistent results with simple ingredients and straightforward techniques that work every time.
The versatility of this bread makes it perfect for any occasion – from quick breakfast answers to satisfying afternoon snacks. With proper storage methods you can enjoy fresh slices for days or freeze portions for future cravings.
Whether you stick to our classic recipe or explore the creative variations we’ve outlined this peanut butter bread will quickly earn its place in your regular baking rotation. The combination of rich flavor moist texture and easy preparation makes it an ideal choice for both novice and experienced bakers.
Start gathering your ingredients and give this recipe a try – we’re confident you’ll love the delicious results as much as we do.
Frequently Asked Questions
What ingredients do I need for peanut butter bread?
You’ll need 2 cups all-purpose flour, 3/4 cup granulated sugar, 1 tablespoon baking powder, 1 teaspoon salt, 1 cup creamy peanut butter, 1 cup whole milk, 1/4 cup vegetable oil, 2 large eggs, and 1 teaspoon vanilla extract. These simple pantry staples create a perfectly balanced bread with rich peanut butter flavor.
What equipment is required to make peanut butter bread?
Essential tools include a large 4-quart mixing bowl, 9×5-inch loaf pan, electric mixer or whisk, measuring cups and spoons, wire cooling rack, rubber spatula, and a toothpick for testing doneness. You’ll also need a conventional oven preheated to 350°F. No special equipment required!
How should I store peanut butter bread?
Store at room temperature in an airtight container for 3-7 days. For longer storage, refrigerate for up to one week or freeze for up to three months. You can freeze individual slices or the whole loaf. Wrap tightly to maintain moisture and prevent freezer burn.
Can I make peanut butter bread ahead of time?
Yes! Freeze the finished bread after cooling for up to two months when properly wrapped. You can also prepare the batter in advance and refrigerate overnight, then bake the next day. Consider batch preparation by doubling or tripling the recipe for multiple loaves.
What are some variations of peanut butter bread?
Popular variations include chocolate chip peanut butter bread (add semi-sweet chocolate chips), banana peanut butter bread (incorporate ripe bananas for sweetness), and gluten-free version (substitute with quality gluten-free flour blend). These adaptations maintain the same delicious base while adding unique flavors.
How do I know when peanut butter bread is done baking?
The bread is done when it’s golden brown on top and a toothpick or cake tester inserted into the center comes out clean or with just a few moist crumbs. Bake at 350°F and check for doneness near the end of the recommended baking time.
What’s the best way to serve peanut butter bread?
Allow the bread to cool in the pan for 10 minutes to prevent crumbling, then transfer to a wire rack. Use a sharp serrated knife for clean slices. Serve at room temperature or slightly warmed. Perfect pairings include butter, cream cheese, honey, jam, cold milk, coffee, or hot cocoa.


