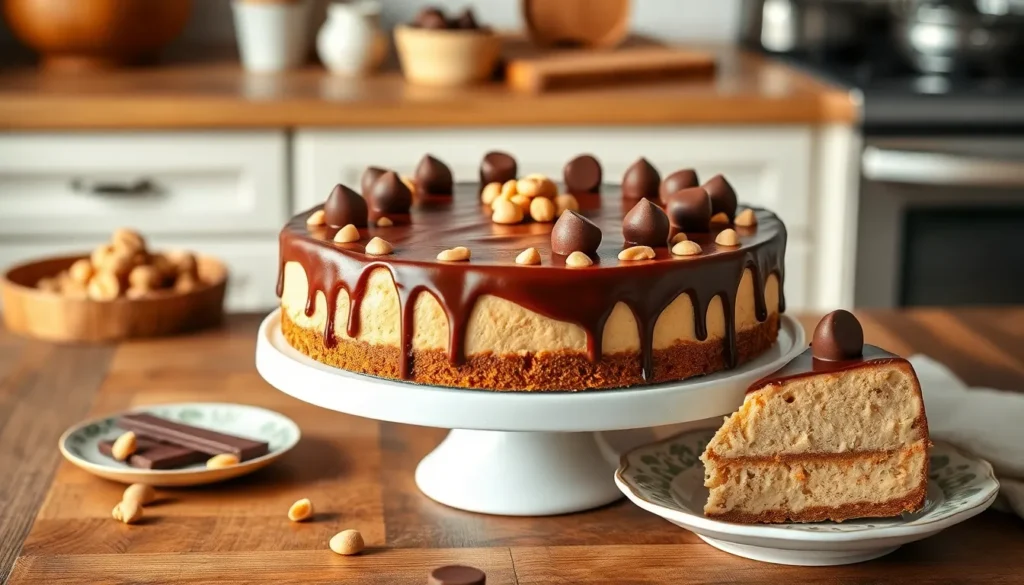
We’re about to share the ultimate dessert that’ll have your taste buds dancing with pure joy. This peanut butter cheesecake combines the rich creaminess of traditional cheesecake with the irresistible nutty sweetness of peanut butter – creating a dessert that’s absolutely impossible to resist.
Picture this: a buttery graham cracker crust topped with velvety smooth peanut butter filling that melts in your mouth. We’ve perfected this recipe to deliver that perfect balance between tangy cream cheese and smooth peanut butter that’ll make your guests beg for seconds.
Whether you’re planning a special celebration or just craving something decadent, this cheesecake delivers restaurant-quality results right from your own kitchen. We’ll walk you through every step to ensure your cheesecake turns out perfectly creamy with zero cracks – because you deserve nothing less than dessert perfection.
Ingredients
We’ve organized all the ingredients by component to make your shopping and prep work seamless. These measurements create the perfect balance of flavors and textures for our restaurant-quality peanut butter cheesecake.
For the Crust
- 1½ cups graham cracker crumbs
- ⅓ cup granulated sugar
- 6 tablespoons unsalted butter, melted
- ¼ teaspoon salt
For the Peanut Butter Cheesecake Filling
- 32 ounces cream cheese, softened to room temperature
- 1 cup creamy peanut butter
- 1 cup granulated sugar
- 3 large eggs, room temperature
- ½ cup sour cream
- 2 teaspoons vanilla extract
- ¼ cup heavy cream
- 2 tablespoons all-purpose flour
For the Topping (Optional)
- 1 cup heavy whipping cream
- 3 tablespoons powdered sugar
- 2 tablespoons creamy peanut butter
- ¼ cup chopped roasted peanuts
- 2 tablespoons chocolate chips or mini peanut butter cups, chopped
Equipment Needed
 2")
Success with this peanut butter cheesecake recipe depends on having the right tools ready before we begin. We’ll walk through each essential piece of equipment to ensure your cheesecake turns out perfectly smooth and professional looking.
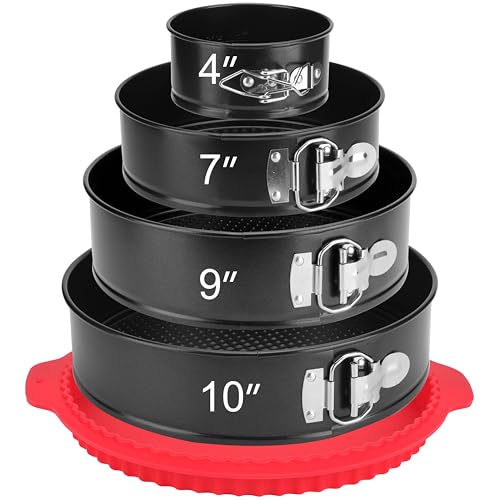
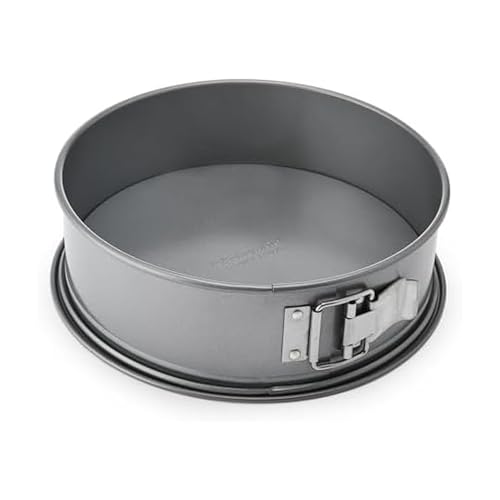
Springform Pan forms the foundation of our equipment list. This specialized 9-inch pan with removable sides allows us to release the delicate cheesecake without damaging its structure. The tight seal prevents batter from leaking during baking while making removal effortless once chilled.
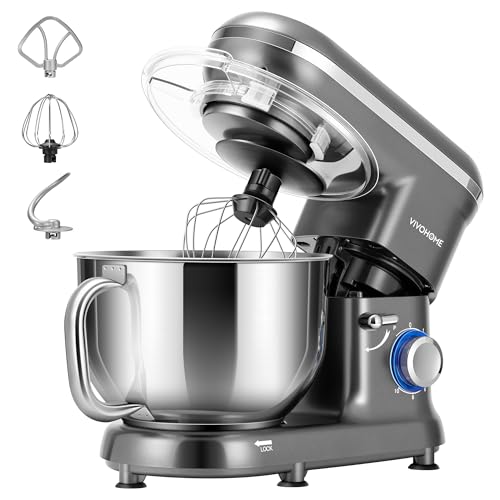
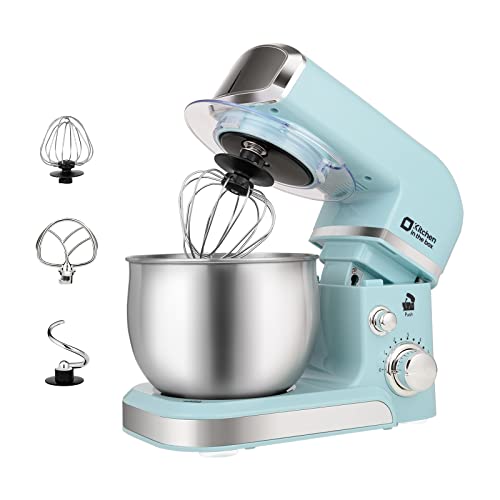
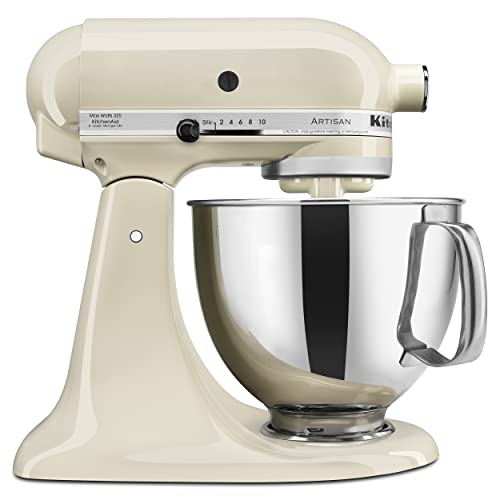
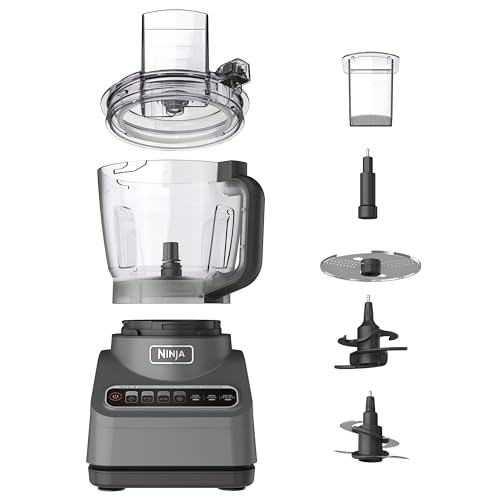
Electric Mixer becomes our best friend for achieving that signature silky texture. We recommend using a stand mixer with a paddle attachment or a hand mixer to thoroughly blend the cream cheese and peanut butter until completely smooth. This tool eliminates lumps that could compromise the final texture.
Large Roasting Pan serves as our water bath vessel for even heat distribution. The pan needs to be large enough to hold the springform pan while allowing hot water to surround the sides. This technique prevents the dreaded cracks that can ruin a cheesecake’s appearance.
Heavy Duty Foil protects our cheesecake from water infiltration during the water bath process. We’ll wrap the bottom and sides of the springform pan to create a watertight seal. Double wrapping ensures complete protection against moisture.
| Equipment | Purpose | Size/Type |
|---|---|---|
| Springform Pan | Easy removal | 9-inch |
| Electric Mixer | Smooth mixing | Stand or hand mixer |
| Roasting Pan | Water bath | Large enough for springform pan |
| Heavy Foil | Water protection | Heavy duty |
Measuring Cups and Spoons ensure accuracy in our ingredient ratios. Precise measurements make the difference between a perfectly balanced cheesecake and one that’s too dense or too loose. We need both dry and liquid measuring tools for optimal results.
Rubber Spatula helps us scrape down bowl sides during mixing and smoothly transfer batter to the pan. This tool prevents overmixing while ensuring all ingredients incorporate evenly throughout the filling.


Instructions
 4")
We’ll guide you through each step to create a perfectly smooth and creamy peanut butter cheesecake. Follow these detailed instructions for professional bakery results at home.
Prep the Crust
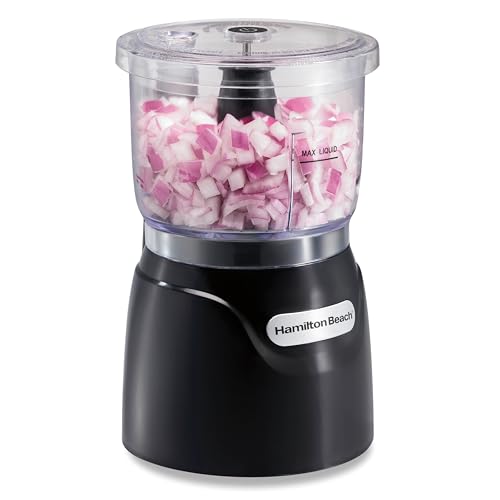
Process the graham cracker crumbs and granulated sugar in a food processor until finely ground. Add the melted butter and salt to the mixture and pulse until the crumbs are evenly moistened and hold together when pressed.
Press the mixture firmly into the bottom and about one inch up the sides of your prepared 9-inch springform pan. Use the bottom of a measuring cup to create an even compact surface. Refrigerate the crust for at least 30 minutes to set completely while you prepare the filling.
Make the Cheesecake Filling
Beat the room temperature cream cheese and sour cream with an electric mixer on medium speed until completely smooth and no lumps remain. Scrape down the bowl sides frequently to ensure even mixing.
Add the creamy peanut butter to the cream cheese mixture and beat until fully incorporated. Gradually add the granulated sugar and continue beating until the mixture is light and fluffy.
Beat in the eggs one at a time on low speed just until combined after each addition. Add the vanilla extract heavy cream and flour and mix on low speed until just combined. Avoid overmixing to prevent cracks during baking.
Bake the Cheesecake
Wrap the bottom and sides of your springform pan tightly with heavy duty foil to prevent water from seeping in. Place the cheesecake in a large roasting pan and pour boiling water into the pan until it reaches halfway up the sides of the springform pan.
Bake at 325°F for approximately 60 minutes or until the top appears slightly dry and the center has a slight wobble when gently shaken. Use an instant read thermometer to check for an internal temperature of 150°F in the center.
Cool and Chill
Turn off the oven and crack the door open slightly. Allow the cheesecake to cool in the oven for 30 minutes to 1 hour to prevent sudden temperature changes that cause cracking.
Remove the cheesecake from the water bath and transfer to a cooling rack. Run a knife around the edges to loosen the cake from the pan sides and prevent cracking as it cools. Refrigerate for at least 6 hours or overnight until completely set and chilled before serving.


Make-Ahead Instructions
 6")
We recommend preparing this peanut butter cheesecake well in advance for the best texture and flavor development. Our experience shows that refrigerating the finished cheesecake overnight allows it to set properly and reach its ideal consistency.
Optimal Timing Schedule
The cheesecake benefits from extended chilling time after baking. We suggest completing the entire baking and cooling process at least 24 hours before serving. This extended refrigeration period ensures the filling achieves its signature creamy texture and prevents any potential cracking from rushed cooling.
Storage Guidelines
| Storage Method | Duration | Temperature |
|---|---|---|
| Refrigerated (covered) | Up to 5 days | 35-38°F |
| Frozen (wrapped) | Up to 3 months | 0°F |
Once completely cooled, we wrap the cheesecake tightly in plastic wrap or cover with aluminum foil. The springform pan can remain attached during storage, making transport easier for special occasions.
Advance Preparation Steps
We can complete several components days ahead to streamline the final assembly. The graham cracker crust holds well when pressed and refrigerated up to 3 days before adding the filling. Also, we prepare any chocolate ganache or peanut butter toppings 2 days in advance and store them separately in airtight containers.
Serving After Storage
Remove the chilled cheesecake from refrigeration 30 minutes before serving for easier slicing. We run a thin knife under warm water and wipe clean between cuts to achieve neat, professional-looking slices. The cheesecake maintains its quality and flavor throughout the recommended storage period, making it perfect for entertaining or meal planning.


Storage Tips
 8")
Proper storage ensures our peanut butter cheesecake maintains its creamy texture and rich flavor for days to come. We recommend storing this decadent dessert in the refrigerator where it will stay fresh and delicious.
Refrigeration Storage
Our cheesecake stays at peak quality when refrigerated for 3 to 5 days. We always cover the cheesecake completely with plastic wrap or place it in an airtight container to prevent it from absorbing other flavors from the refrigerator. Before placing the cheesecake in cold storage we ensure it has cooled completely to room temperature to prevent condensation from forming.
| Storage Method | Duration | Container Type |
|---|---|---|
| Refrigeration | 3-5 days | Plastic wrap or airtight container |
| Freezing | Up to 3 months | Double wrap + freezer bag |
Freezing for Extended Storage
We can extend our cheesecake’s life by freezing it for up to 3 months without sacrificing quality. First we wrap the entire cheesecake tightly in plastic wrap followed by a layer of aluminum foil. We then place the double-wrapped cheesecake in a freezer bag or airtight container to prevent freezer burn.
When we’re ready to enjoy our frozen cheesecake we transfer it to the refrigerator and allow it to thaw overnight. This gradual thawing process preserves the creamy texture we worked so hard to achieve.
Special Considerations for No-Bake Variations
For no-bake versions of our peanut butter cheesecake we freeze the dessert directly in the springform pan for several hours before wrapping. This initial freezing helps the cheesecake maintain its shape during the double-wrapping process.
We recommend storing no-bake cheesecakes without any toppings to prevent moisture issues that can compromise texture. Adding fresh toppings like whipped cream or chopped peanuts after thawing ensures the best presentation and taste.
Serving Suggestions
 10")
We recommend serving our peanut butter cheesecake chilled for the best flavor and texture experience. Remove the cheesecake from the refrigerator 20 to 30 minutes before serving to allow it to reach the optimal temperature that maximizes both creaminess and flavor.
Temperature and Timing
Allow the cheesecake to set for at least 4 to 6 hours before your first slice. Overnight chilling produces the best results and enhances the overall taste profile. The slight warming at room temperature before serving creates the perfect balance between firmness and smooth texture.
Garnish and Toppings
We love adding chocolate ganache as a luxurious finishing touch that complements the peanut butter flavor beautifully. Pour the ganache over the top after the cheesecake has completely set in the refrigerator. Chopped peanuts provide a delightful crunch that contrasts with the creamy filling. Mini peanut butter cups or Reese’s pieces create an extra indulgent presentation that guests absolutely adore.
Presentation Tips
Cut clean slices using a sharp knife dipped in hot water between each cut. This technique prevents the filling from sticking to the blade and ensures professional looking portions. Serve each slice on individual dessert plates for an elegant presentation.
Final Touches
Drizzle additional ganache or sprinkle crushed peanuts directly on each slice for an attractive finish. We also recommend adding mini peanut butter cups as a garnish right before serving to maintain their shape and texture.
Storage After Serving
Cover any leftover portions and store them in the refrigerator for up to 5 days. The flavors continue to develop even after serving, making day two slices just as delicious as the first serving.


Recipe Variations
 12")
Our classic peanut butter cheesecake serves as the perfect foundation for creative variations. These adaptations allow you to customize the dessert to match different occasions and flavor preferences.
Chocolate Peanut Butter Cheesecake
We transform our base recipe into a chocolate lover’s dream by swapping the traditional graham cracker crust for an Oreo cookie crust. The filling combines our signature cream cheese and peanut butter mixture with the same proportions of sugar, sour cream, and vanilla that create the rich foundation.
Our chocolate ganache topping elevates this variation to restaurant quality. We prepare the ganache by heating heavy cream and pouring it over melted chocolate, whisking until smooth and glossy. The combination of the chocolatey crust and decadent ganache creates multiple layers of flavor that complement the peanut butter filling perfectly.
No-Bake Version
This variation eliminates the need for oven baking while maintaining the same creamy texture we achieve in our traditional recipe. We create the crust using crushed Oreo cookies for a crunchy foundation that sets without baking.
Our no-bake filling combines cream cheese, peanut butter, confectioners’ sugar, and heavy cream, mixing until completely smooth. The coconut cream provides the perfect base for our chocolate ganache topping, replacing traditional heavy cream for a lighter finish. Refrigeration becomes crucial for this version as the cheesecake must set properly in the refrigerator for at least 4 to 6 hours.
Mini Cheesecakes
We create individual servings using our same proven recipe scaled down to bite-sized portions. These mini versions work perfectly for parties and gatherings where portion control matters.
Our mini crusts use either Oreo cookies or graham crackers pressed into muffin tins or mini springform pans. The filling recipe remains consistent but requires careful portioning to ensure even distribution across multiple servings. We finish each mini cheesecake with a small dollop of chocolate ganache, whipped cream, or creative toppings like chopped peanuts and mini peanut butter cups for customization that guests will appreciate.


Troubleshooting Tips
 14")
Even experienced bakers encounter challenges when making peanut butter cheesecake. We’ve compiled the most effective answers to help you avoid common pitfalls and achieve perfect results every time.
Preventing Overmixed Batter
Overmixing introduces excess air into our cheesecake batter which causes the dessert to rise dramatically in the oven and then collapse creating a sunken center or raised edges. We recommend mixing ingredients just until smooth and well incorporated rather than beating vigorously. Stop mixing as soon as the ingredients combine to maintain the dense creamy texture that makes cheesecake so appealing.
Perfecting Crust Preparation
Our crust foundation requires special attention to prevent common issues. Remove cream filling from sandwich cookies like Oreos before processing to prevent leakage and soggy textures. Press the crust mixture firmly into the pan bottom and extend it as high up the sides as possible. This technique helps the crust shrink naturally with the cheesecake as it cools and significantly reduces cracking around the edges.
Managing Ingredient Temperature
Room temperature ingredients blend more easily and prevent the need for excessive mixing. We suggest removing cream cheese eggs and sour cream from the refrigerator 2 to 3 hours before baking. Cold ingredients resist incorporation which often leads to overmixing as bakers attempt to achieve smoothness. Properly tempered ingredients create a silky batter with minimal effort.
Water Bath Technique
A water bath maintains even temperature throughout the baking process and prevents surface cracking though minor hairline cracks may still appear. Wrap the springform pan tightly in heavy duty foil before placing it in the roasting pan to prevent water infiltration. The gentle steam environment created by the water bath helps our cheesecake bake evenly without the harsh direct heat that causes cracking.
Optimal Baking Temperature
Temperature control prevents overcooking and maintains the creamy interior texture we desire. Start baking at 350°F for the first 10 minutes to set the structure then reduce to 250°F for the remaining 35 to 40 minutes. This two stage approach allows the cheesecake to cook through without developing the dry crumbly texture that results from high heat exposure.
Covering Surface Imperfections
Strategic garnishing conceals minor surface flaws while improving presentation. Mini Reese’s peanut butter cups crushed peanuts or dollops of whipped cream effectively mask small cracks or uneven browning. These toppings not only solve aesthetic issues but also add complementary flavors and textures that elevate the overall dessert experience.
Conclusion
We’ve walked you through everything needed to create this show-stopping peanut butter cheesecake that’ll have your guests asking for the recipe. From mastering the water bath technique to perfecting that silky-smooth filling this dessert proves that bakery-quality results are absolutely achievable in your own kitchen.
The beauty of this recipe lies in its versatility and make-ahead convenience. Whether you’re planning for a special celebration or simply satisfying a weekend craving you now have all the tools and knowledge to create something truly spectacular.
Don’t be intimidated by the process – we’ve given you troubleshooting tips and storage answers to ensure success every time. Your patience during the chilling process will be rewarded with the creamiest most indulgent cheesecake that perfectly balances tangy richness with that irresistible peanut butter flavor we all love.
Frequently Asked Questions
What makes this peanut butter cheesecake different from regular cheesecake?
This peanut butter cheesecake combines the classic creamy texture of traditional cheesecake with the rich, sweet flavor of peanut butter. It features a buttery graham cracker crust and a smooth filling that perfectly balances tangy cream cheese with creamy peanut butter, creating a restaurant-quality dessert that’s ideal for special occasions.
What equipment do I need to make this cheesecake?
Essential equipment includes a 9-inch springform pan for easy removal, an electric mixer for silky texture, a large roasting pan for the water bath, heavy-duty foil to prevent water infiltration, measuring cups and spoons for accuracy, and a rubber spatula for smooth mixing and transferring.
How long should I chill the cheesecake before serving?
The cheesecake should be chilled for at least 24 hours after baking for optimal texture and flavor development. For best results, allow it to set for 4 to 6 hours minimum, though overnight refrigeration is recommended to achieve the ideal consistency and prevent cracking.
Can I make this cheesecake ahead of time?
Yes, this cheesecake is perfect for advance preparation. You can make it up to 5 days ahead and store it refrigerated, or freeze it for up to 3 months. Making it ahead actually improves the texture and flavor, as the cheesecake benefits from extended chilling time.
How do I prevent cracks in my cheesecake?
To prevent cracks, use a water bath during baking, avoid overmixing the batter, ensure ingredients are at room temperature, and don’t overbake. Bake at 325°F until just set, then cool gradually. The water bath provides gentle, even heat that prevents the surface from cracking.
What are some popular variations of this recipe?
Popular variations include Chocolate Peanut Butter Cheesecake with Oreo crust and chocolate ganache, a No-Bake Version that doesn’t require baking, and Mini Cheesecakes for individual servings. Each variation maintains the essence of the original while offering unique flavors and presentations.
How should I store leftover cheesecake?
Store leftover cheesecake in the refrigerator for 3-5 days, covered with plastic wrap or in an airtight container. For longer storage, wrap tightly in plastic wrap and aluminum foil, then freeze for up to 3 months. Thaw overnight in the refrigerator before serving.
What’s the best way to slice and serve the cheesecake?
Remove the cheesecake from the refrigerator 20-30 minutes before serving. Use a sharp knife dipped in hot water between cuts for clean slices. Serve chilled on individual dessert plates, and consider garnishing with chocolate ganache, chopped peanuts, or mini peanut butter cups.


