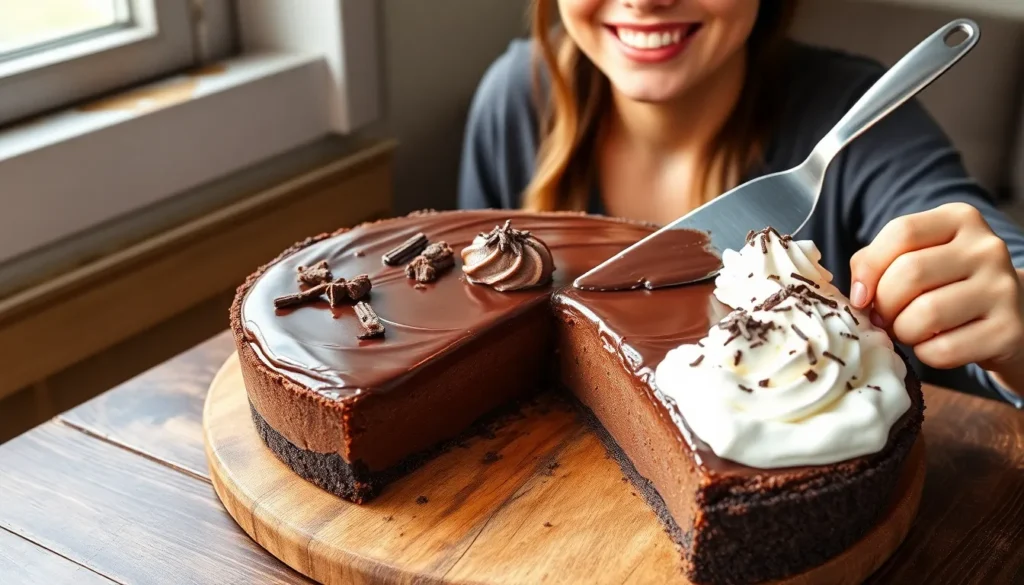
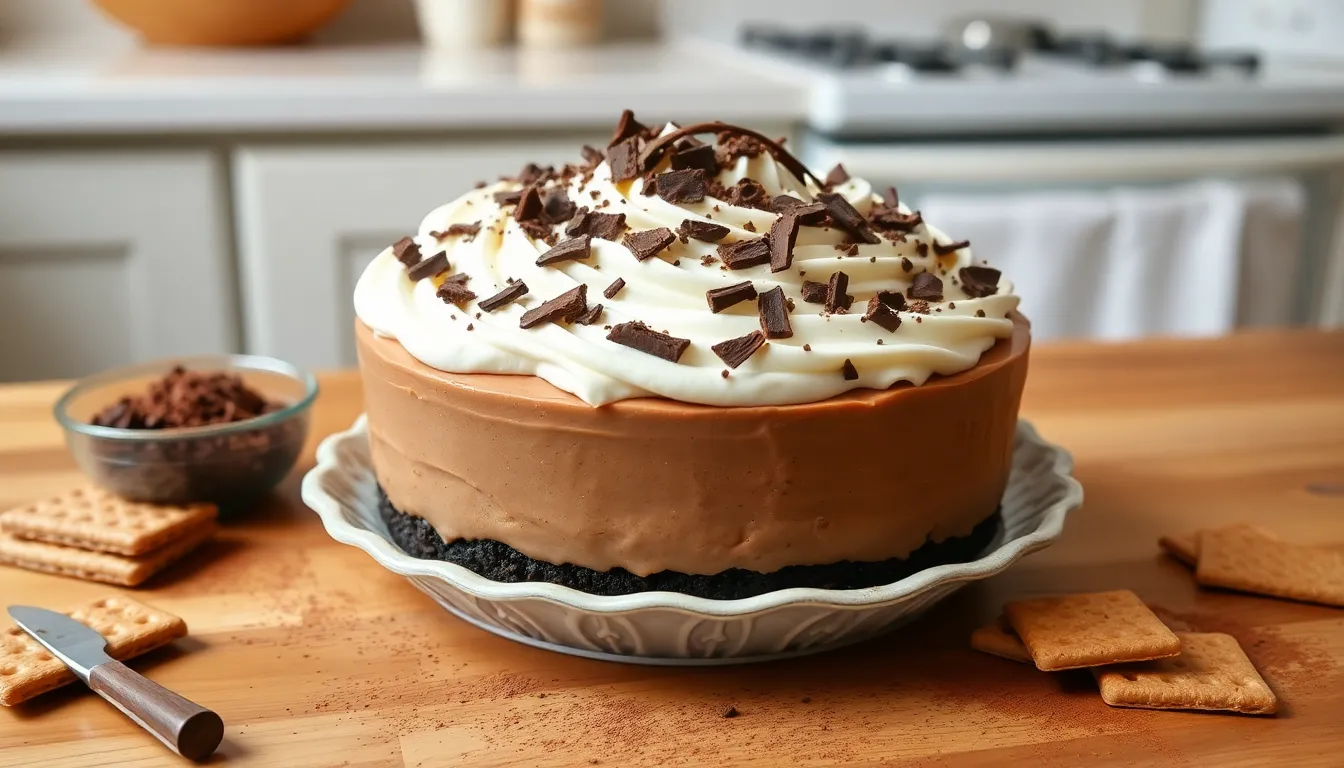
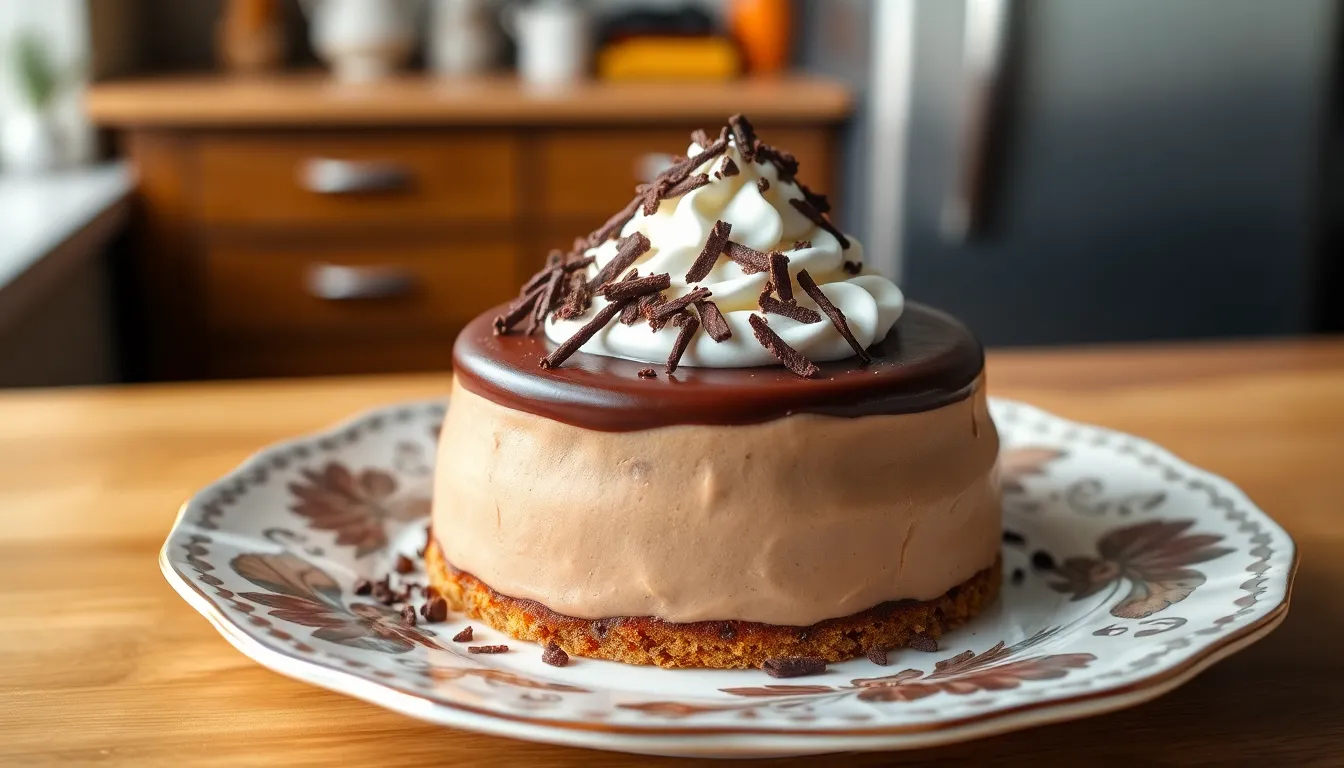
We can’t resist the allure of a perfectly crafted chocolate pudding pie – it’s the ultimate comfort dessert that transforms simple ingredients into pure indulgence. This classic American treat combines a buttery crust with silky smooth chocolate pudding that melts on your tongue with every bite.
What makes this dessert truly special is its versatility and foolproof nature. Whether you’re hosting a dinner party or craving something sweet after a long day, this chocolate pudding pie delivers rich cocoa flavors without the complexity of temperamental chocolate work. The best part? You probably already have most ingredients in your pantry.
We’ve perfected this recipe to give you that restaurant-quality result at home. The secret lies in getting the pudding texture just right – creamy enough to slice cleanly but rich enough to satisfy even the most devoted chocoholics. Let’s jump into creating this crowd-pleasing masterpiece.
Ingredients
We’ve organized our chocolate pudding pie ingredients into three essential components for easy preparation. Each section builds upon the next to create our perfect dessert masterpiece.
For the Crust
- 1 1/4 cups graham cracker crumbs
- 1/3 cup granulated sugar
- 6 tablespoons unsalted butter, melted
- 1/4 teaspoon salt
- 1 large egg white, lightly beaten
For the Chocolate Pudding Filling
- 2/3 cup granulated sugar
- 1/3 cup unsweetened cocoa powder
- 3 tablespoons cornstarch
- 1/4 teaspoon salt
- 2 1/2 cups whole milk
- 3 large egg yolks
- 4 ounces dark chocolate, finely chopped
- 3 tablespoons unsalted butter
- 2 teaspoons vanilla extract
For the Whipped Cream Topping
- 1 cup heavy whipping cream, chilled
- 2 tablespoons powdered sugar
- 1 teaspoon vanilla extract
- Dark chocolate shavings for garnish (optional)
Equipment Needed
Before we jump into creating our perfect chocolate pudding pie, we need to gather the right tools to ensure smooth preparation and professional results. Having the proper equipment on hand makes the difference between a frustrating baking experience and an enjoyable one.
Essential Baking Equipment
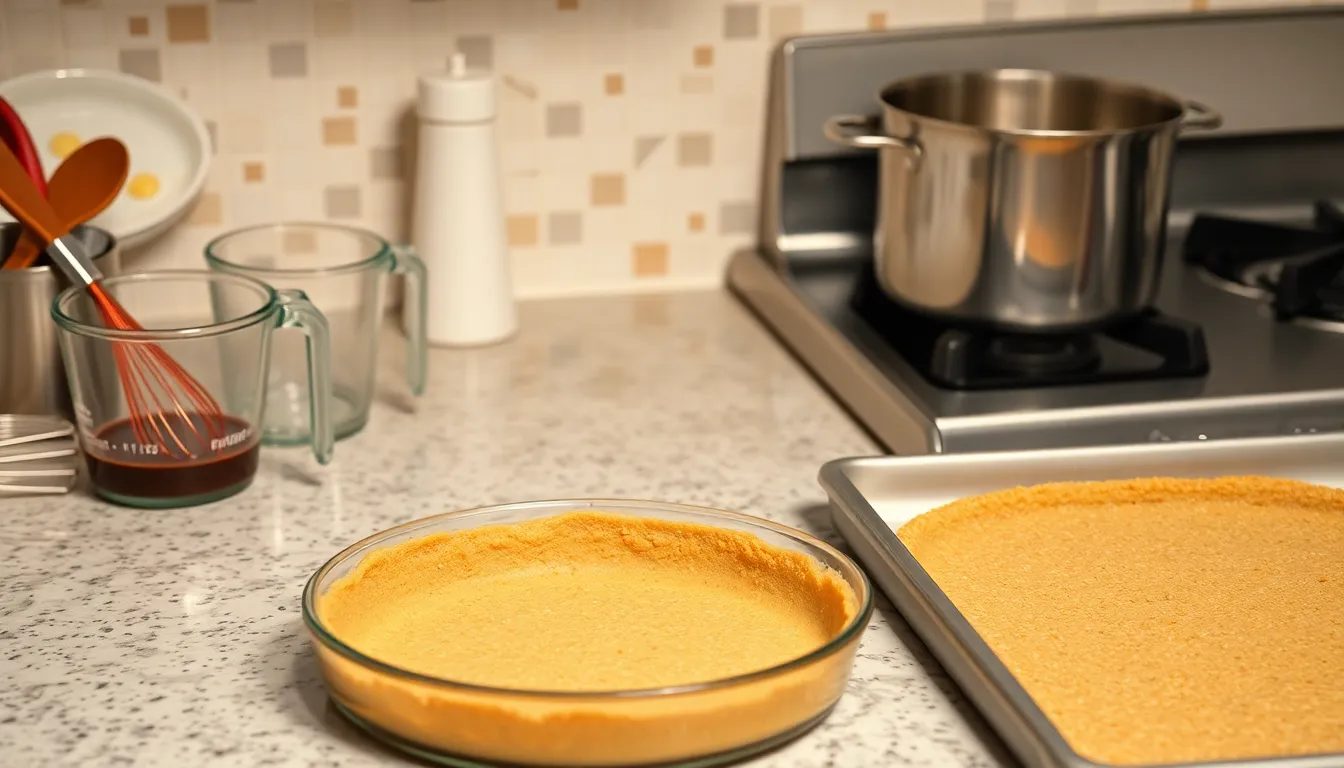
We recommend starting with a 9-inch pie plate, preferably glass or ceramic for even heat distribution. A baking sheet becomes crucial when pre-baking our graham cracker crust to achieve that perfect golden foundation.
Mixing Equipment
Our chocolate pudding requires careful attention to texture, so we need a large mixing bowl for combining dry ingredients. A medium-heavy saucepan works best for cooking the pudding filling, allowing us to control temperature precisely. We also need a whisk for smooth blending and a rubber spatula for scraping down bowl sides and folding ingredients gently.
Measuring and Preparation Tools
Accurate measurements ensure consistent results every time we make this dessert. We need measuring cups for both dry and liquid ingredients, plus measuring spoons for smaller quantities like vanilla extract. A fine-mesh strainer helps us achieve silky smooth pudding by removing any lumps that might form during cooking.
Serving and Storage Equipment
Once our pie is complete, we need proper serving utensils including a sharp knife for clean slices and a pie server for elegant presentation. Plastic wrap or aluminum foil protects our finished dessert during refrigeration, maintaining that perfect texture we worked so hard to achieve.
Instructions
Now we’ll walk through each step to create our perfect chocolate pudding pie. Follow these detailed instructions to achieve that silky smooth texture and rich chocolate flavor.
Prepare the Crust
We start by preheating our oven to 375°F. In a food processor, pulse the graham crackers until they form fine crumbs. Add the sugar and pulse until well combined throughout the mixture.
Stream in the melted butter while pulsing until the mixture resembles wet sand and holds together when pressed. Transfer this mixture to our 9-inch pie plate and press firmly into the bottom and up the sides using our fingers or the bottom of a measuring cup.
Place the crust on a baking sheet and bake for 8-10 minutes until lightly golden brown around the edges. Remove from the oven and allow the crust to cool completely while we prepare the pudding filling.
Make the Chocolate Pudding
In our medium-heavy saucepan, whisk together the sugar, cocoa powder, cornstarch, and salt until no lumps remain. Gradually add the whole milk while whisking constantly to prevent lumps from forming.
Place the saucepan over medium heat and cook while stirring continuously with our whisk. The mixture will gradually thicken as it heats, which typically takes 5-7 minutes of constant stirring.
In a separate bowl, lightly beat the egg yolks. Once our milk mixture begins to thicken, remove it from heat and slowly add about 1/2 cup of the hot mixture to the egg yolks while whisking rapidly. This tempering process prevents the eggs from scrambling.
Pour the tempered egg mixture back into the saucepan and return to medium-low heat. Continue cooking for 2-3 minutes while stirring until the pudding coats the back of a spoon. Remove from heat and immediately add the chopped dark chocolate, butter, and vanilla extract. Stir until completely smooth and glossy.
Assemble the Pie
Pour the warm chocolate pudding through a fine-mesh strainer directly into our cooled graham cracker crust. This step removes any potential lumps and ensures our pudding is perfectly smooth.
Using a rubber spatula, gently spread the pudding evenly across the crust surface. Tap the pie plate lightly on the counter to release any air bubbles that may have formed during pouring.
Press a piece of plastic wrap directly onto the surface of the pudding to prevent a skin from forming. This direct contact method keeps our pudding surface smooth and glossy.
Chill and Set
Transfer our assembled pie to the refrigerator and chill for at least 4 hours or overnight until the pudding is completely set. The longer chilling time allows the flavors to develop and the texture to reach its optimal consistency.
Before serving, prepare our whipped cream topping by beating the heavy cream, powdered sugar, and vanilla extract until soft peaks form. Spread or pipe the whipped cream over the chilled pie surface.
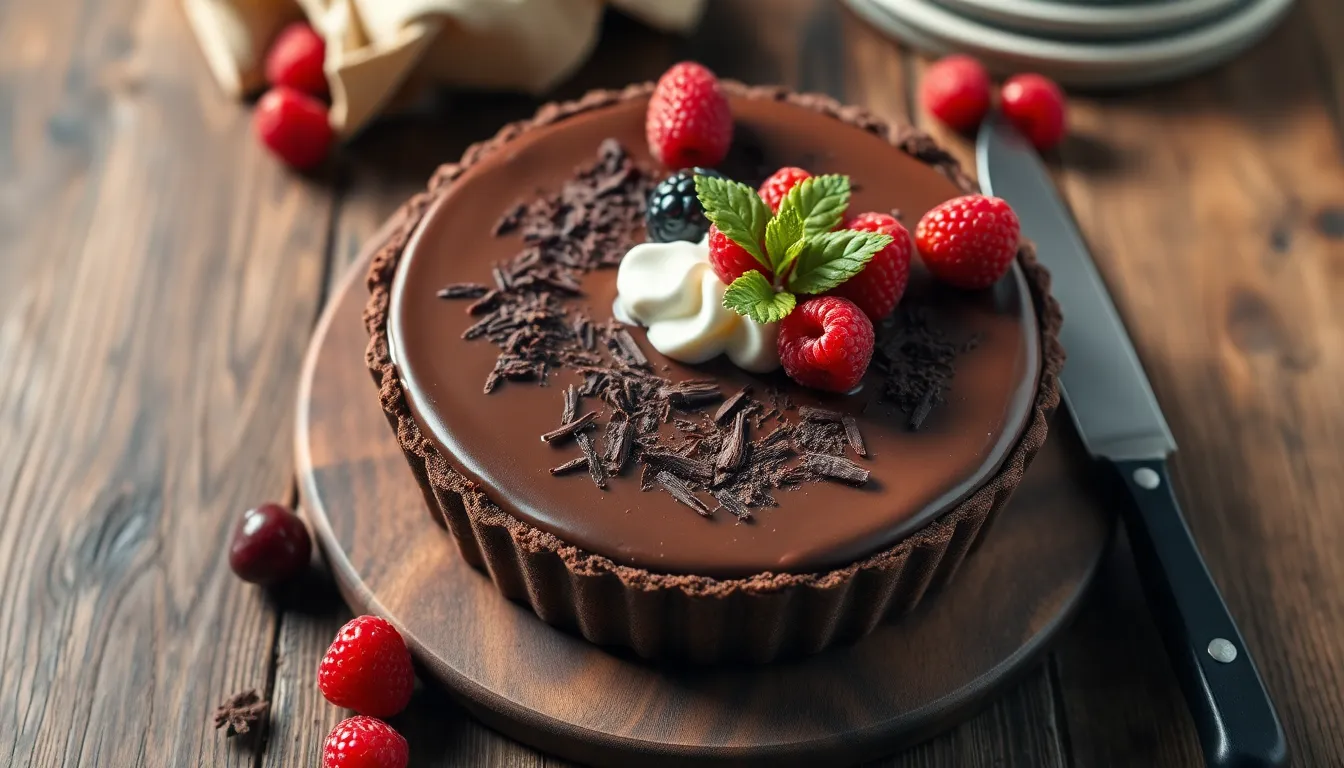
Garnish with dark chocolate shavings if desired and serve immediately using a sharp knife dipped in warm water between cuts for clean slices.
Directions for Serving
Proper presentation elevates our chocolate pudding pie from homemade treat to restaurant-quality dessert. We recommend chilling the completed pie for at least 4 hours before serving to ensure clean slices and optimal texture.
Temperature and Timing
Serve the pie directly from the refrigerator while thoroughly chilled. Cold temperatures maintain the pudding’s smooth consistency and prevent the whipped cream topping from becoming runny. Remove the pie from refrigeration just before slicing to preserve its structure.
Slicing Technique
Use a sharp knife dipped in warm water and wiped clean between each cut. This technique prevents the chocolate pudding from sticking to the blade and creates clean slice edges. We find that scoring the whipped cream topping lightly before cutting through the entire pie helps maintain neat portions.
Garnishing Options
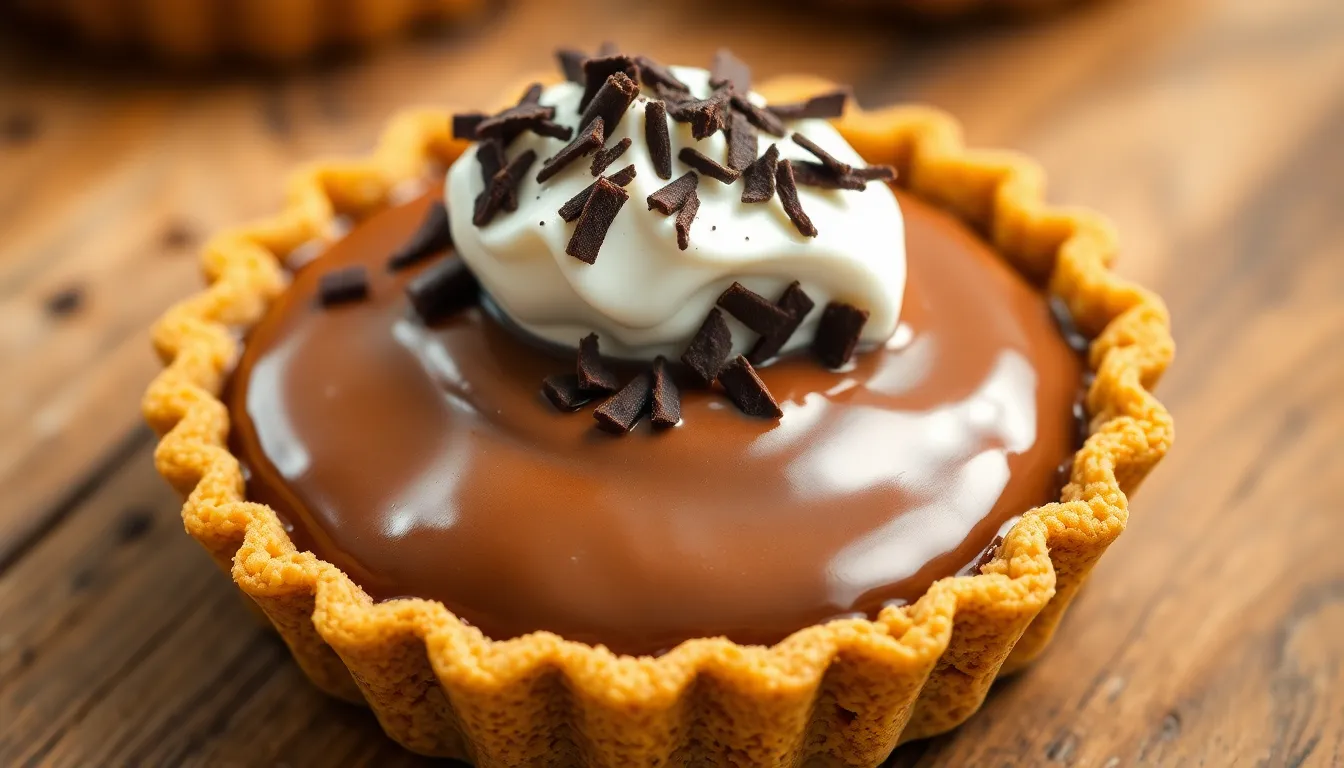
Enhance each slice with optional dark chocolate shavings scattered across the whipped cream surface. Fresh berries like strawberries or raspberries provide a colorful contrast and complement the rich chocolate flavor. A light dusting of cocoa powder adds professional presentation appeal.
Portion Guidelines
Cut the 9-inch pie into 8 generous slices for standard servings or 10 smaller portions for lighter dessert courses. Each slice should showcase distinct layers of crust, pudding, and topping when properly prepared.
Storage After Serving
Cover any remaining pie loosely with plastic wrap or aluminum foil to prevent the whipped cream from absorbing refrigerator odors. Store in the refrigerator where it maintains quality for up to 3 days. Avoid freezing as this compromises the pudding texture and whipped cream consistency.
Make-Ahead Tips
We recommend preparing your chocolate pudding pie well in advance for the best results and stress-free entertaining. The beauty of this dessert lies in its ability to be assembled completely ahead of time without compromising flavor or texture.
Assembly Timeline: Your entire pie can be assembled up to 24 hours before serving. We suggest completing all components the day before your event for optimal convenience. The graham cracker crust benefits from overnight resting as it develops better structural integrity when given extra time to set.
Proper Refrigeration: Store your assembled pie in the refrigerator immediately after preparation. Cover the surface loosely with plastic wrap or aluminum foil to prevent the formation of a skin on the pudding and to maintain freshness. We find that placing the covering directly on the whipped cream topping works best for preventing condensation.
Setting Requirements: Allow your chocolate pudding pie to chill for a minimum of 3 to 4 hours before serving. This critical timeframe ensures the filling achieves the proper consistency and firmness needed for clean slicing. We often prepare our pies the evening before serving to guarantee complete setting.
| Timeline Component | Minimum Time | Optimal Time |
|---|---|---|
| Initial Setting | 3-4 hours | 6-8 hours |
| Maximum Storage | 24 hours | 18 hours |
| Pre-serving Chill | 30 minutes | 1 hour |
Component Preparation: Each element of your pie can be prepared separately if needed. We prepare the crust up to 2 days in advance and store it covered at room temperature. The chocolate pudding filling can be made 1 day ahead and stored with plastic wrap pressed directly onto the surface to prevent skin formation.
Final Assembly Strategy: Add whipped cream topping just before final chilling rather than immediately before serving. This approach allows the cream to set properly while maintaining its volume and texture. We apply any chocolate shavings or garnishes during the final 30 minutes of chilling for the best presentation.
Storage Instructions
Proper storage ensures your chocolate pudding pie maintains its perfect texture and flavor for days to come. We recommend covering the pie with plastic wrap or aluminum foil to prevent the formation of a skin on the pudding surface and maintain optimal freshness.
Refrigeration Guidelines
Store your completed chocolate pudding pie in the refrigerator for up to 2 to 4 days depending on your recipe variation and desired texture quality. Place the pie in an airtight container or cover tightly with plastic wrap to preserve the creamy consistency we worked so hard to achieve.
| Storage Method | Duration | Best For |
|---|---|---|
| Covered with plastic wrap | 2-4 days | Daily servings |
| Airtight container | 2-4 days | Maximum freshness |
| Pre-serving chill | 2+ hours | Optimal firmness |
Before serving, allow the pie to chill in the refrigerator for at least 2 hours to ensure it reaches the proper firmness for clean slicing. This chilling period allows the pudding to set completely and prevents messy cuts when serving.
Freezing for Extended Storage
For longer storage periods, we can freeze the chocolate pudding pie for up to 1 to 2 months without important quality loss. Wrap the entire pie tightly in plastic wrap, then add a layer of aluminum foil to prevent freezer burn and maintain the dessert’s integrity.
When ready to serve a frozen pie, transfer it to the refrigerator and allow it to thaw overnight. This gradual thawing process preserves the smooth texture of the pudding and prevents condensation from affecting the crust.
Maintaining Quality During Storage
Refrigeration prevents the crust from becoming soggy while keeping the chocolate pudding at its ideal consistency. Store the pie on a flat surface in your refrigerator to maintain its shape and prevent the filling from shifting.
Never leave the pie at room temperature for extended periods, as this can compromise both food safety and the dessert’s signature firm yet creamy texture that makes each slice perfect.
Conclusion
We’ve walked you through every step of creating the perfect chocolate pudding pie that’ll have your guests asking for seconds. This timeless dessert proves that simple ingredients can deliver extraordinary results when combined with the right techniques.
The beauty of this recipe lies in its flexibility – whether you’re planning ahead for a special occasion or satisfying a spontaneous chocolate craving we’ve got you covered. With proper storage techniques and make-ahead tips you can enjoy this decadent treat whenever the mood strikes.
Now it’s time to grab your whisk and start creating your own chocolate pudding pie masterpiece. Trust us – once you taste that perfect combination of buttery crust creamy pudding and fluffy whipped cream you’ll understand why this dessert has remained a beloved classic for generations.
Frequently Asked Questions
What makes chocolate pudding pie different from other chocolate desserts?
Chocolate pudding pie combines three distinct textures: a crispy graham cracker crust, smooth and creamy chocolate pudding filling, and light whipped cream topping. This classic American comfort dessert offers the perfect balance of rich chocolate flavor with varying textures that complement each other beautifully.
How long does it take to make chocolate pudding pie from scratch?
The active preparation time is about 45 minutes, including making the crust and pudding. However, the pie requires at least 4 hours of chilling time before serving. For best results, plan to make it a day ahead to allow proper setting and flavor development.
Can I make chocolate pudding pie ahead of time?
Yes, chocolate pudding pie is perfect for make-ahead preparation. You can assemble the entire pie up to 24 hours in advance. The crust can be made 2 days ahead, and the pudding filling can be prepared 1 day in advance. Add the whipped cream topping just before final chilling.
What type of pie plate works best for chocolate pudding pie?
A 9-inch glass or ceramic pie plate is recommended for even heat distribution during crust baking. These materials also make it easier to monitor the browning process and ensure the crust bakes evenly without burning.
How should I store leftover chocolate pudding pie?
Cover the pie loosely with plastic wrap or aluminum foil and refrigerate for 2-4 days. The pie should be stored in the refrigerator to maintain proper texture and prevent the crust from becoming soggy. Freezing is not recommended as it affects the pudding’s texture.
What’s the secret to achieving smooth, lump-free chocolate pudding?
The key is proper tempering of egg yolks and using a fine-mesh strainer. Gradually add hot milk to the yolks while whisking constantly, then strain the mixture to remove any lumps. Cook over medium heat while whisking continuously until the pudding reaches the proper thickness.
How do I get clean slices when cutting the pie?
Chill the pie for at least 4 hours before serving. Use a sharp knife dipped in warm water and wiped clean between cuts. This technique prevents the filling from sticking to the blade and ensures clean, professional-looking slices.
Can I customize the toppings on chocolate pudding pie?
Absolutely! While whipped cream is traditional, you can garnish with dark chocolate shavings, fresh berries, a dusting of cocoa powder, or even crushed nuts. These additions enhance both the visual appeal and flavor profile of the dessert.

